• Friends, our 2nd Amendment rights are always under attack and the NRA has been a constant for decades in helping fight that fight.

    We have partnered with the NRA to offer you a discount on membership and Muzzleloading Forum gets a small percentage too of each membership, so you are supporting both the NRA and us.

    Use this link to sign up please; https://membership.nra.org/recruiters/join/XR045103

Progress so far. Thoughts, problems?

Muzzleloading Forum

Help Support Muzzleloading Forum:

This site may earn a commission from merchant affiliate links, including eBay, Amazon, and others.

fosters

36 Cal.
Joined
Sep 12, 2009
Messages
87
Reaction score
0
Hello all,
Before I go much further, I’m just looking for some feedback on any possible problems you all may see. Next step is the under lugs tang bolt, and lock bolts, but before I go past the point of no return, I thought I would post some picts, at least I hope, I’m really tech challenged as well. 1st attempt at working with wood and metal.

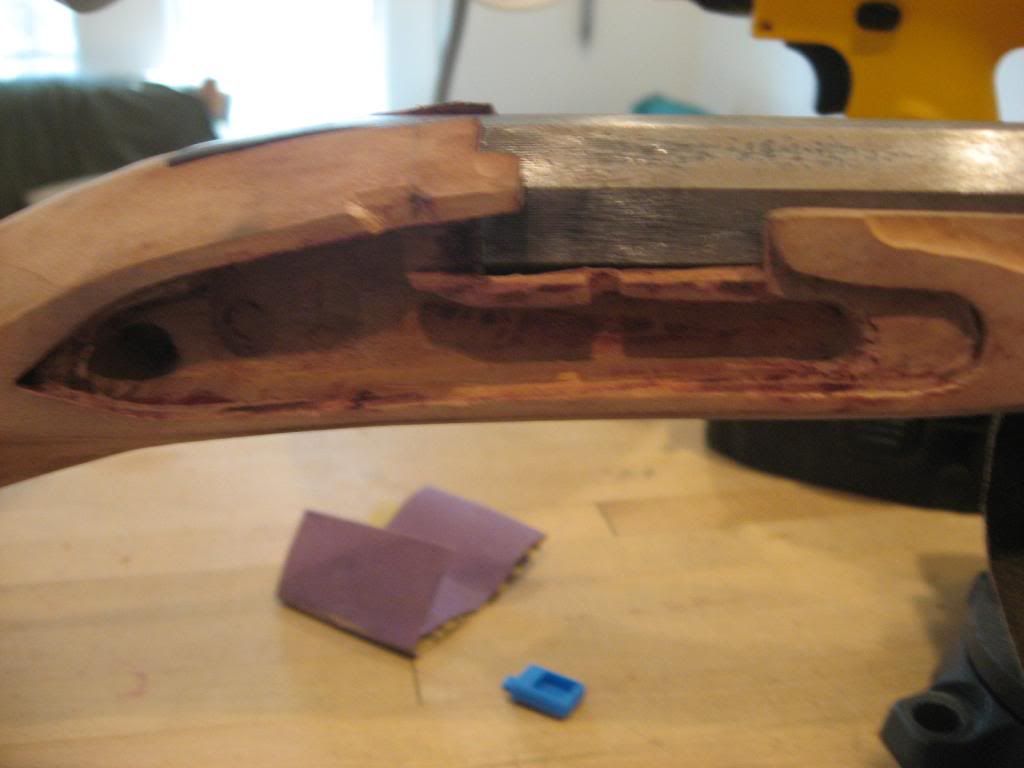
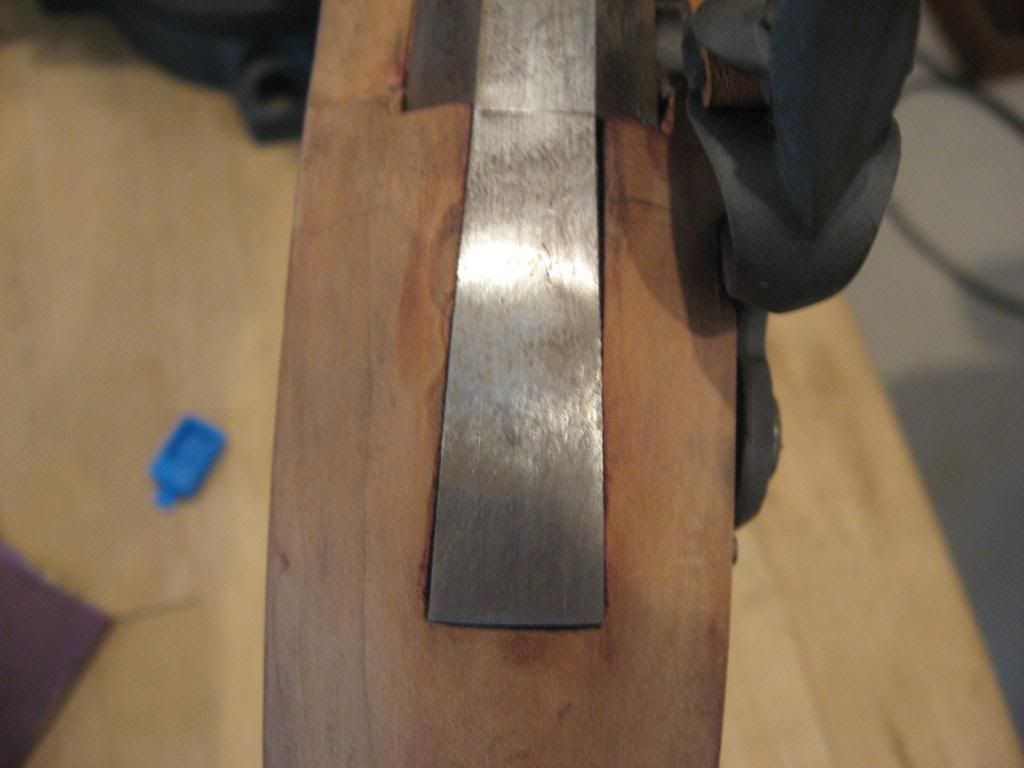
Here is a pict of the tang location. Note space on side. Hopefully will close up some when I finish filing.
001.jpg


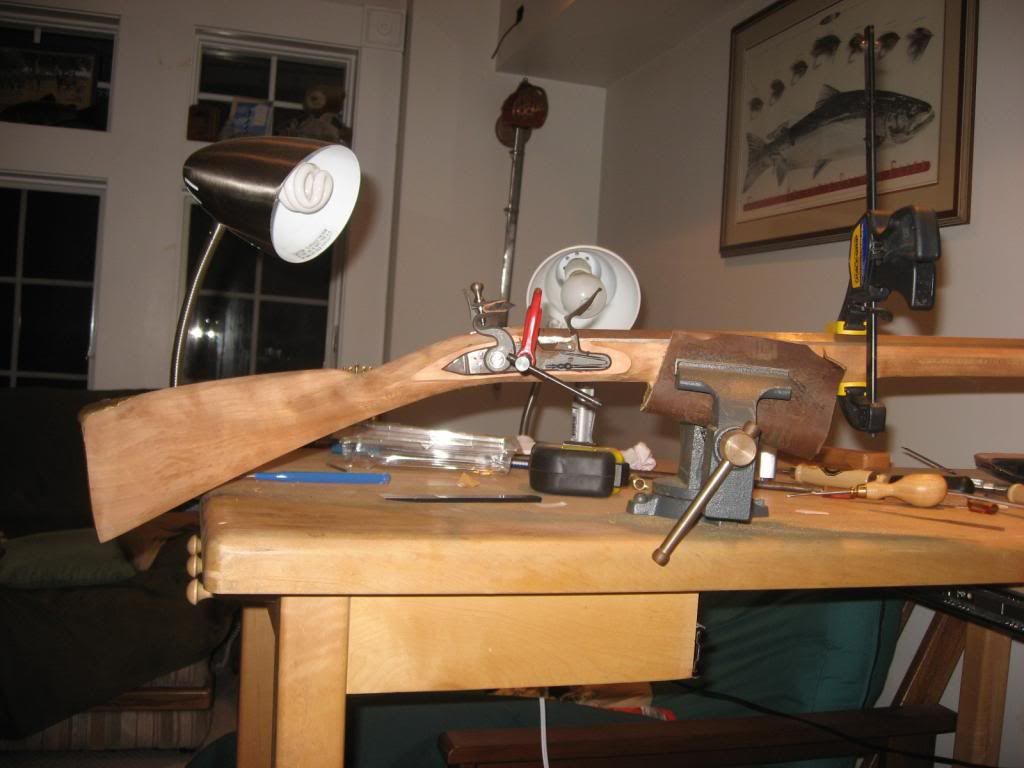
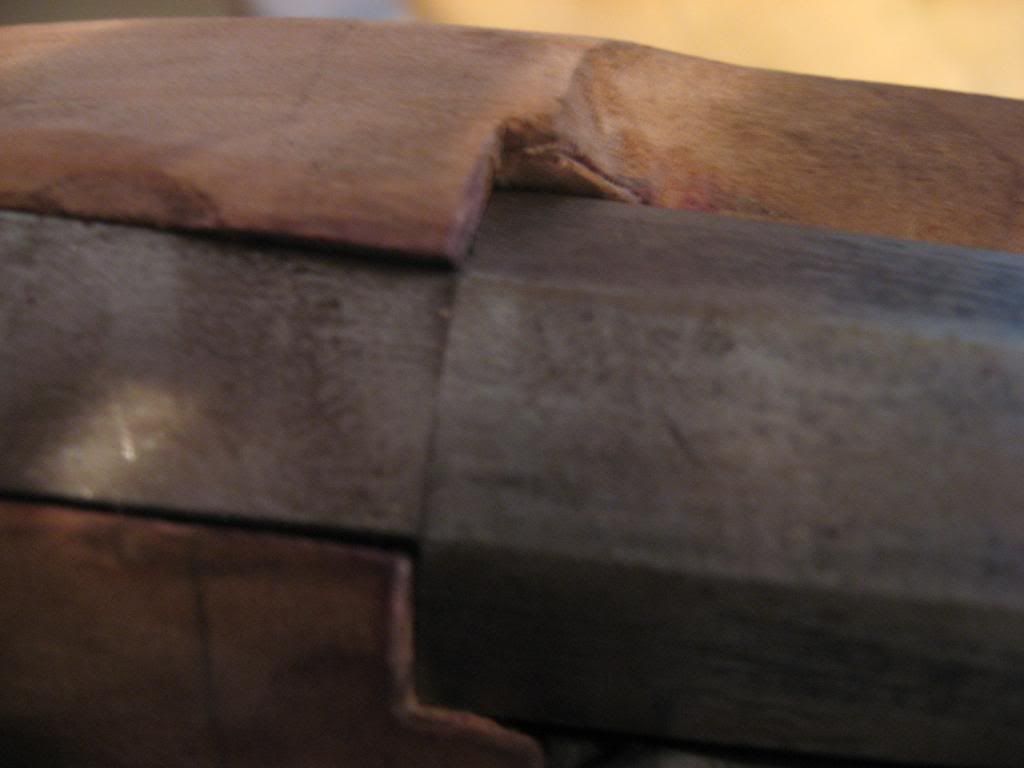
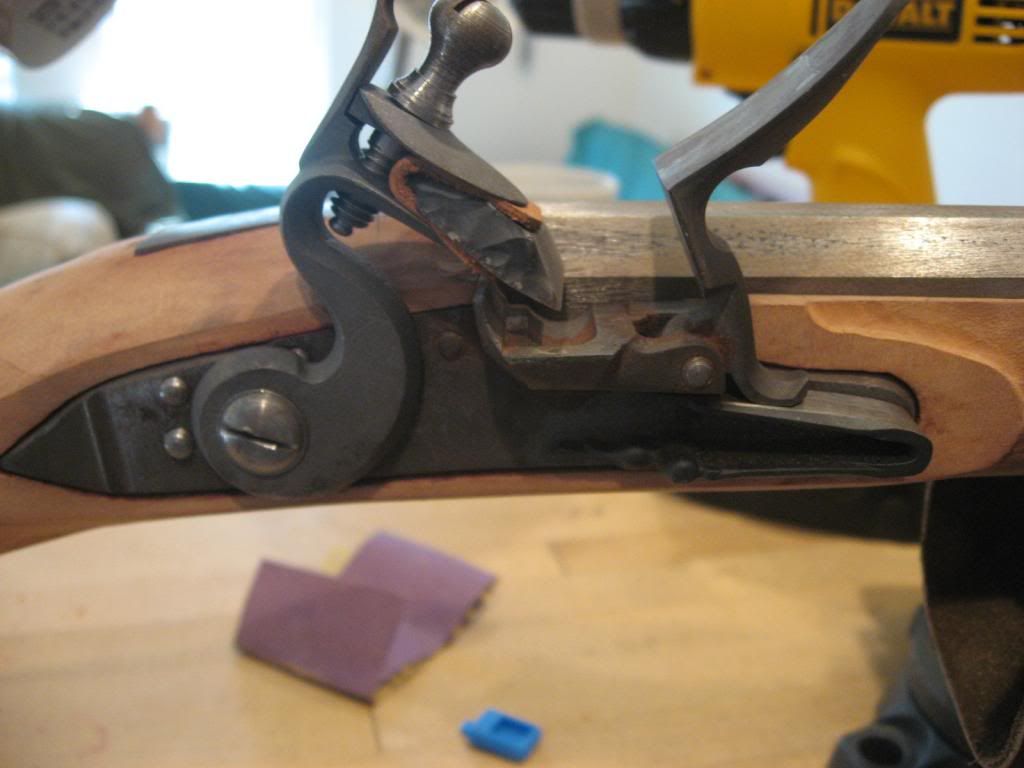
Here is the lock installed. I wish I lowered the lock panel some before I inlet it.
002.jpg


Lock mortise without lock installed.
003.jpg


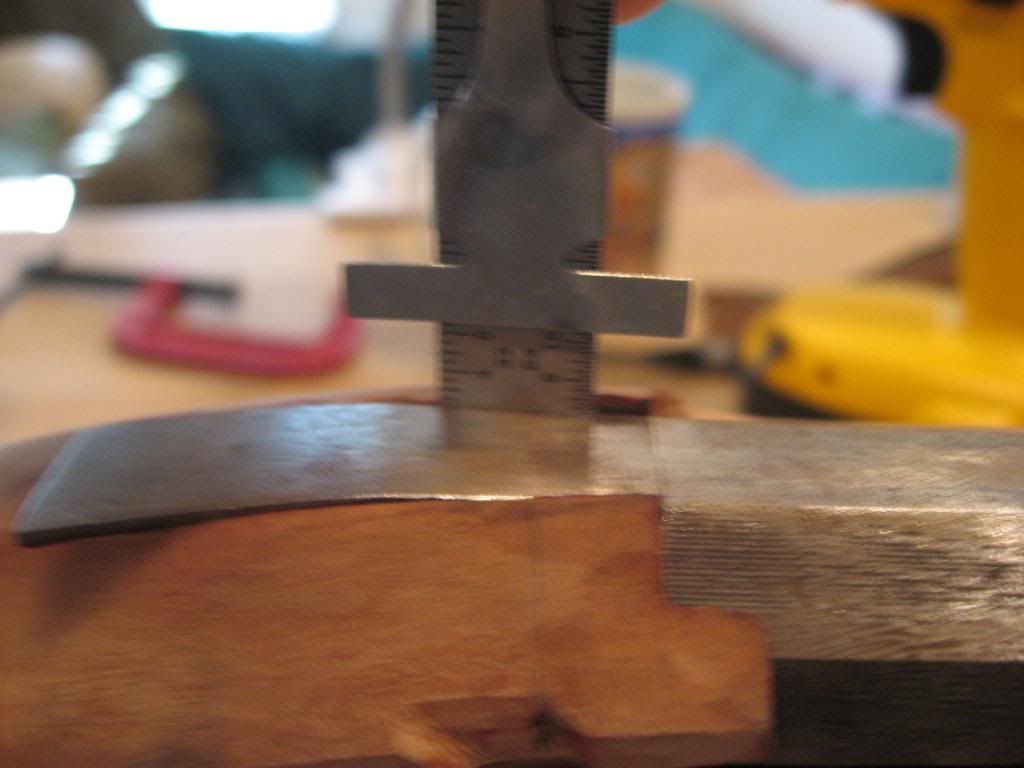
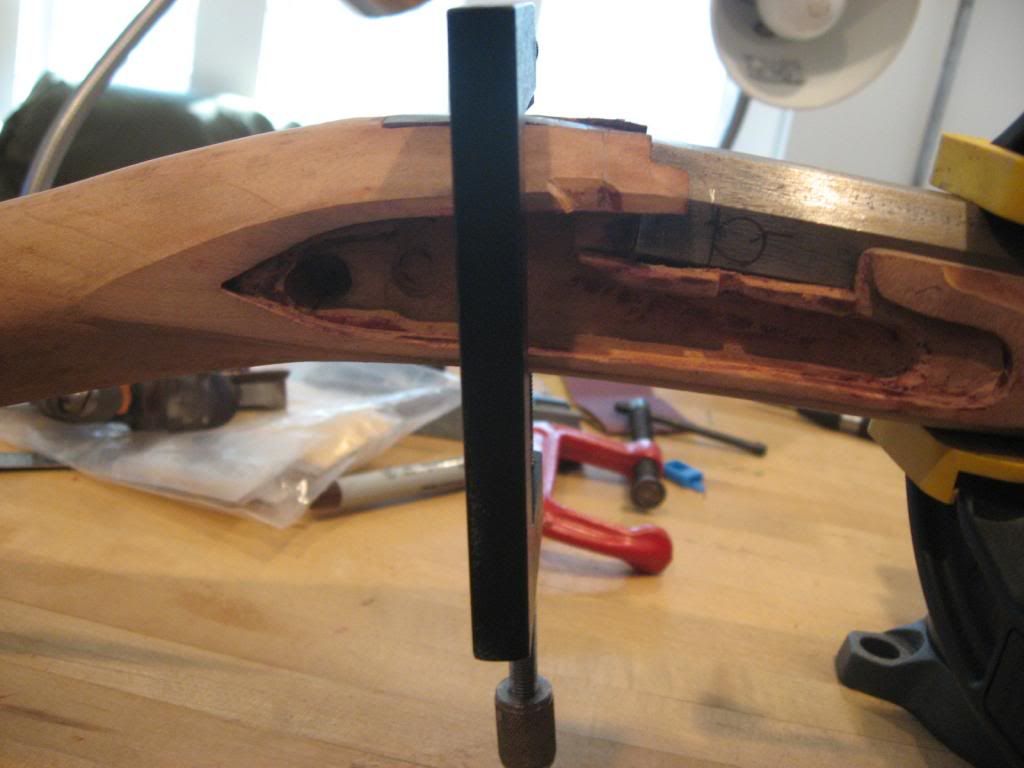
Tang inlet too low?
004.jpg


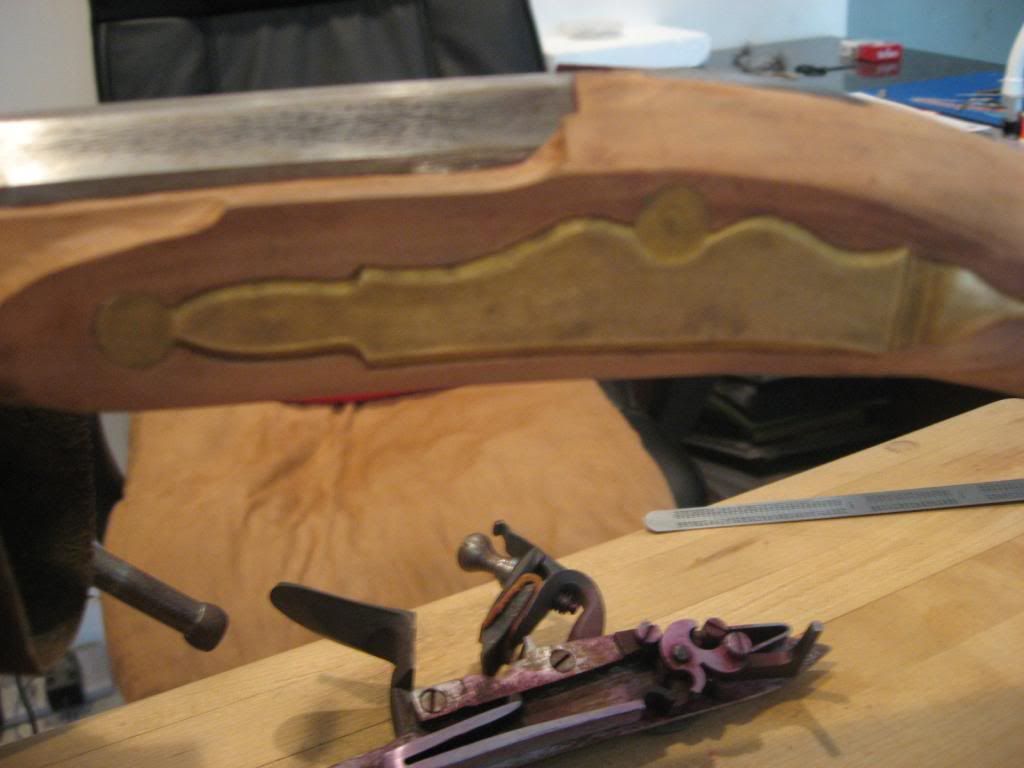
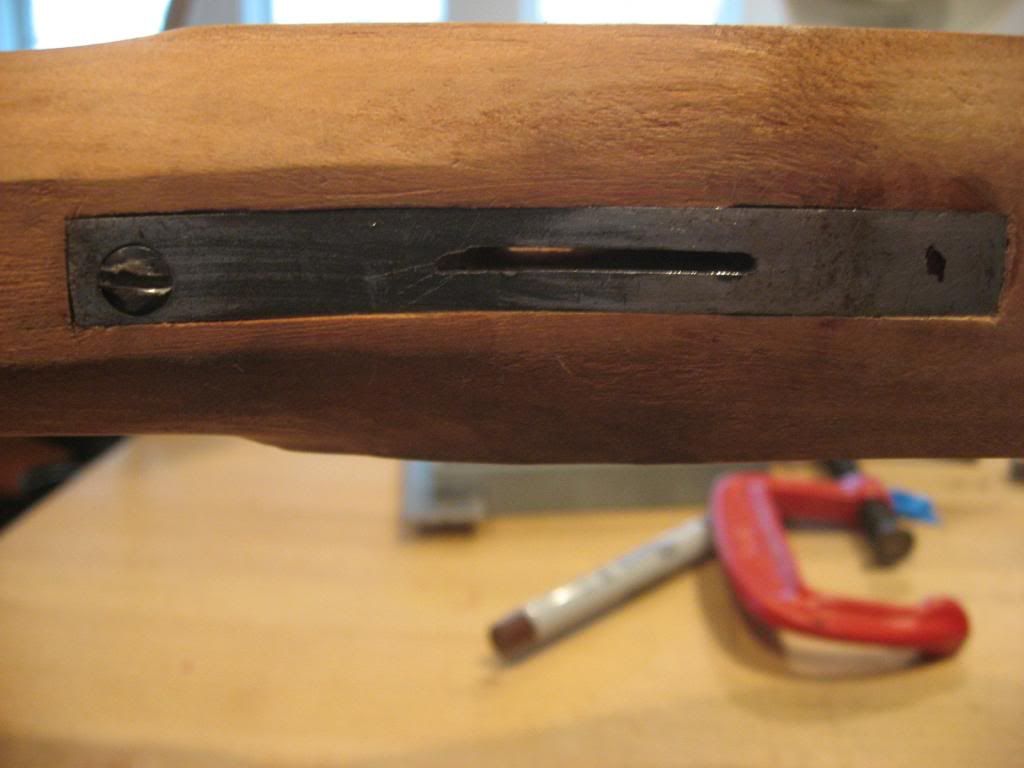
Side plate installed.
005.jpg


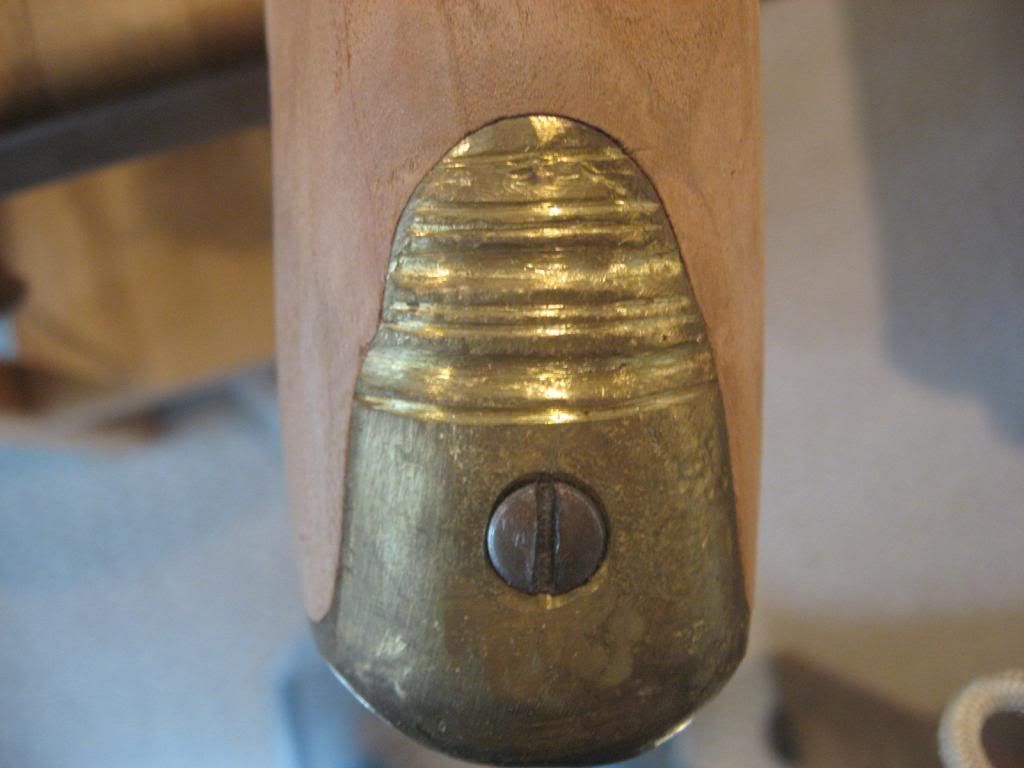
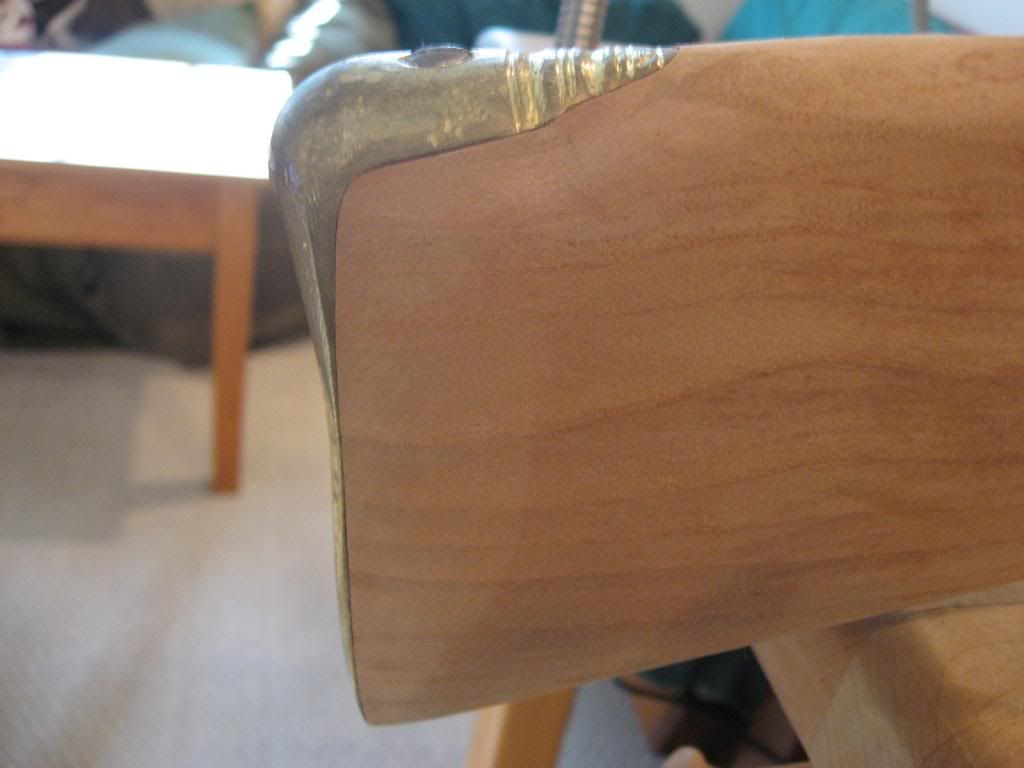
Buttplate installed top view.

006.jpg


Buttplate installed side view.
007.jpg


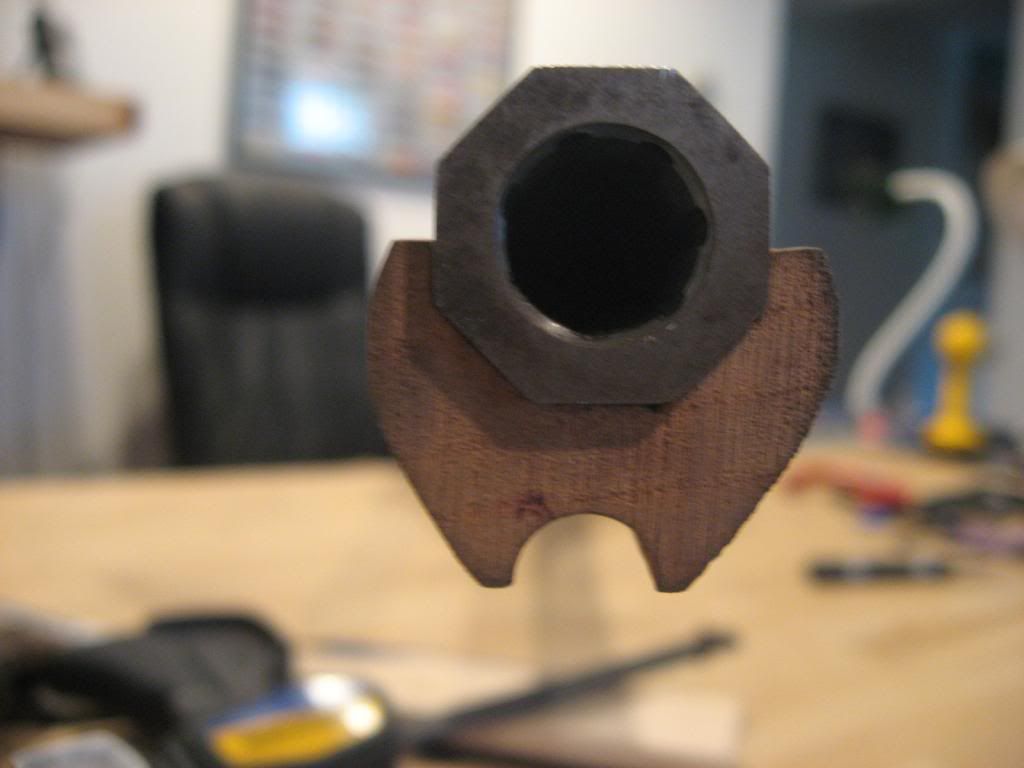
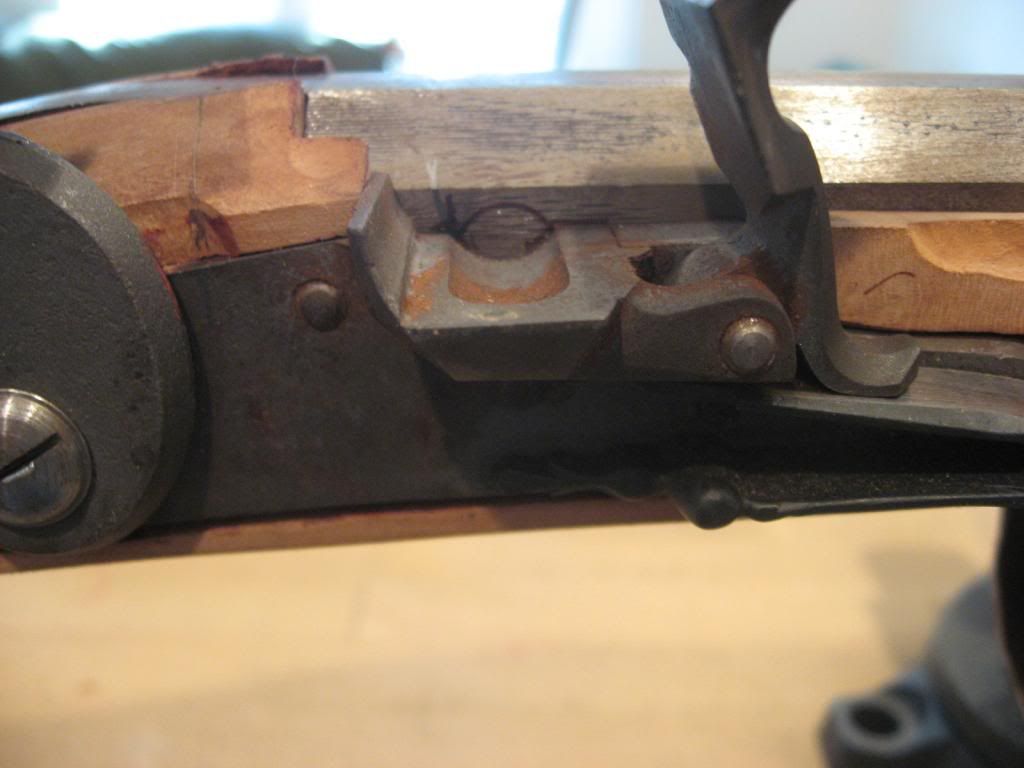
Vent location with pan/lock installed.
008.jpg


Intended tang bolt location.
009.jpg


Thanks for looking and sorry about the bad photos. Did I mention I’m tech challenged?

fosters
 
If you've gotten this far your underlugs should already be on and your barrel secured to the stock...at least that's how I do it.

Your "tang inlet too low"? No, as it appears as though you have a "hump" in the tang. You don't indicate the style of gun you are building, but other than some early guns that have a pronounced hump in the breech, it should slope down from the barrel end, not up. It needs rebent. I put the end of the tang in the vise and using the barrel to gently bend the tang. It will bend at the junction with the breech plug bolster so this new bend will then need to be filed down to give you a nice flow downward from the breech end, down through the wrist.

Don't bother drilling the tang bolt until you have this corrected and the wood taken down to the level of the tang.

If those gaps around the tang don't close up after the wood is down level with the tang you can glue in some slivers of the stock wood with stainable wood glue. Superglue doesn't take stain.

You didn't mention a trigger and I don't see it in the pictures. The trigger is inlet before the tang bolt is installed as the tang bolt goes through the trigger plate. Unless this is a precarve with the butt plate pre-inlet the trigger should have been done before that so you can determine your length of pull.

Your buttplate installation looks good in the pictures....though I can't be sure if it is aligned with the comb properly without a picture of the side of the whole butt.

You may want to raise your intended vent liner location up on the side flat a little too as it appears your vent is going to be in the bottom of your pan. While this is not a show stopper, a higher vent is expected and preferred by most.

Keep up the good work, J.D.
 
You asked if the tang inlet is too low. I say no. I like to have it a little low because It is easier to take the wood down to the metal than to file and file and file to bring the metal down to the wood. It does need to be bent a little like JD said.

I mark the center of the touch hole with a dot from a fine felt tip pen, then punch it with a center punch. Don't worry about the outside diameter of the liner yet. Once the center is punched the OD of the liner will take care of itself.

Also like JD said I like to have the barrel pinned at this point. That way it goes in the same every time and always to the same point when making measurements etc.
 
Little Feller's Gun!!! Got it!!! I do miss David Dodds. May he rest in peace. :patriot:

I went back through your old post and figured it out. I thought I recognized that butt plate and it was nagging me.

So, trigger is pre-inlet. As well as the buttplatte and most of the other stuff.

Please follow my advise on the tang. It should gently flow down from the breech through the top of the wrist on a gentle curve. If it were mine I would likely fix this first or pin the barrel down. Either way, one then the other. Just me. I find it much safer and easier to get things done with the barrel in and secure.

You chose a nice gun kit there. Enjoy, J.D.
 
JD, you mention stainable glue... can you give some brand names as I'm sure I will run into needing it at some point with my build. Are we just talking plain old Elmers wood glue?
 
It is a pre-carve so the lop was already set for the most part. I put the buttplate on early because my workspace is so small that I was worried about chipping the butt by walking into it.

The trigger plate is already installed and screwed in place. I didn’t want to post too many picts.

Your right, here’s some more info for you all. Sorry about that. It is a Chamber’s Little Feller, 50 cal. Cherry stock, Rice swamped barrel. “Berks County with Lancaster flare.” My hope is to get it somewhat close to the one David Dodds did for their catalog. I realize that is reaching for a 1st timer. Right now I’ll settle for not looking like a fence post.

I jumped ahead on a couple things while I was waiting for tools to arrive. No good tool suppliers around me so I have to mail order most if I want quality. I hopefully just did things that wouldn’t really affect the rest of the build.

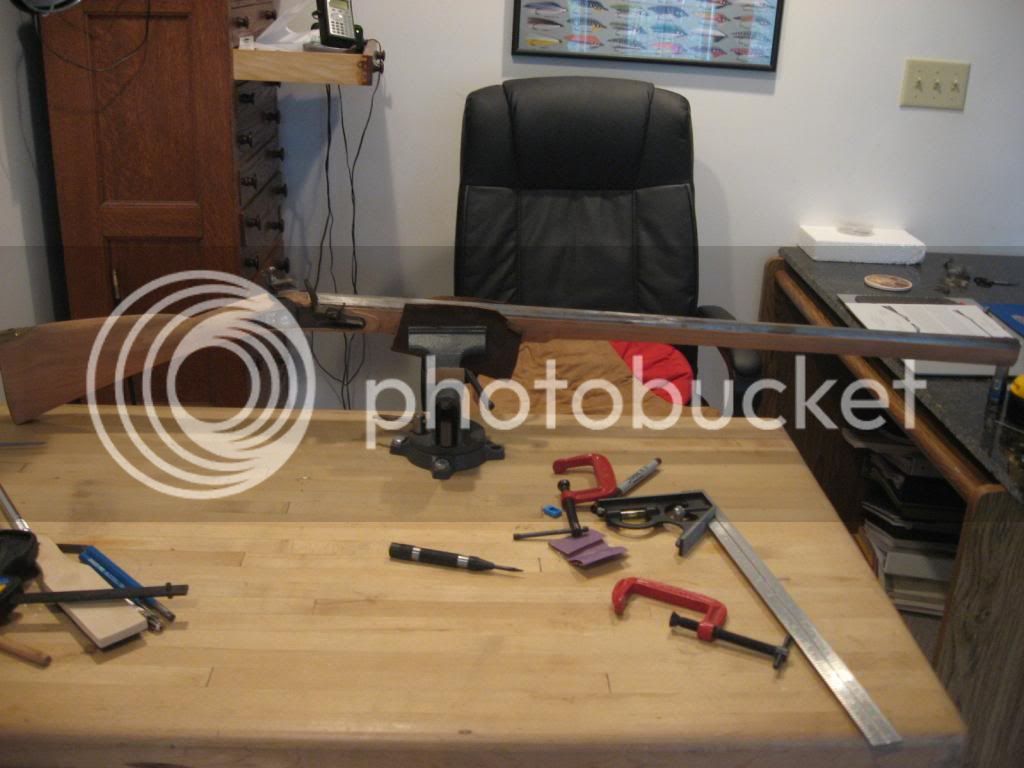
Here are some more to give you all the overall shape/style:

018.jpg


010.jpg


012.jpg


013.jpg


014.jpg


The tang gap has actually opened up since the humidity dropped here and the heat came on in the house. The left side had one as well, but I misplaced a clamp and it sort of “swooshed” the wood in place. Was thinking about trying that on the other side. Thoughts?

If I re-bend the tang do you think it will mess up my breech area? It took me forever to get full contact. I’d kind of hate to do that again, but if you think it really needs to be done I’ll give it a go. I thought most of that unsightly hump would be filed off.

I have the underlugs installed in the barrel and mostly inlet into the barrel channel by the way if that affects anything.

Thanks again!
fosters
 
J.D.
Obviously I have just gotten into this "building" thing and I saw some of Mr. Dodds guns on the Contemporary site. I really like his guns and I "needed" a short barreled gun for brush.

Matt,
Once I get this "in the white" I'll need a smoothbore to match. :) What did you mean when you said the outside diameter of the liner would take care of itself? I'm a little worried about the vent being too far in front of the breech plug face as well. The vertical line is the face of the breech plug. Ramrod tested.

PD,
I bought Elmer's version. Says it will take stain right on the label. Use it to fix a rotted door. This stuff is strong.

fosters
 
Elmers does make a stainable wood glue as does Minwax and Titebond. Are these glues truelly stainable? They likely won't stain the same color as the surrounding wood, just like two different woods don't stain the same. The secret to any glue joint is to make it as small and tight as possible. If your joints are tight they won't be noticed.

In my experience Superglue and other cyanoacrylates, leach into the surrounding wood.

(But don't get me wrong, cyanoacrylates have their uses. You just have to be more cautious with them.)

I have Elmers stainable wood glue and haven't noticed this problem with it. It will stain. You may see a repair if you look close enough but you won't see white or yellow lines or patchiness or fogging of the color in the wood around the repair.

Enjoy, J.D.
 
Thanks for the additional pictures. Good idea installing that buttplate to protect the stock. Whenever I have one off to work on the a gun I get nervous about chipping too.

Buttplate and comb alignment look good.

Rebending the tang shouldn't effect the breech fit at all as your not messing with the barrel...just the tang. It may help you with those gaps as the tang will be deeper. Just don't follow the walls of your existing mortise.

Since you already have your lugs on the barrel finish inletting them and pinning it down, otherwise your barrel won't sit in the channel right.

Everything else looks pretty good. I would avoid trying to move wood around with clamps anymore.

If you've only seen pictures of David's guns you're missing out. Wait until you get the oportunity to hold one. :wink: He was a master craftsman.

Keep up the good work...and Enjoy, J.D.
 
If I finish and pin the barrel can I still bend the tang or will that mess something up?

I am having fun. Learned alot so far. Thanks again all.

One thing I'll share that I learned which may help others is that stuffing the mainspring of a Deluxe Siler Lock into that small area was definetly a challenge. Go ever so slow and check often. It is real easy to break through into the barrel channel. Got it in there though and the lock cycles fine, whew.

f
 
No, pinning the barrel has nothing to do with the tang....you will have to unpin the barrel to bend and continue inletting the tang, of course.

Good job getting that big spring in that little area. Not breaking through is more of a pride thing though. In many cases the spring has to go through or the barrel or spring modified to get everyting to fit. Nature of the beast.

Enjoy, J.D.
 
ok, got it.

just need clarification on one thing you said though. What did you mean by "don't follow the walls of the existing mortise." I promise this is the last question til I mess something else up.

f
 
Right now it appears that the mortise for your tang is too wide....thus the gaps on either side. If you were to just deepen them as you inlet your tang deeper you will still have gaps.

Did you file a draft on the bottom of the tang so that the bottom is slightly narrower than the top?

Filing a draft on parts being inletted is standard practice as it helps you get a good fit.

If you have no draft or angle under the part when you trace it with a pencil or your knife it is impossible to get a smaller outline so your mortise is likely to be bigger than the part.

With the draft filed on the part the bottom is always narrower than the top so as you tip your knife blade/pencil under the part to lay it out it will not excede your tops dimmensions.

This tapering of the part and hole ensures a better fit, plus a hole with verticle sides will show gaps more readily than one with tapered sides. The part is easier to take in and out as well and reduces the odds of chipping the wood when doing it.

Enjoy, J.D.
 
Yup put a draft on all the parts. I got you now what you meant by the "walls." Off to the bench.

f
 
You can use a chisel and make a filler for your tang. Robby taught me this one. use a very sharp chiseland some where on the stock that wood will be removed, gouge yourself out several strips of wood, use them and the stainable glue to fill the gap.
 
Nah J.D. I'm just slow.

Mike,
I knew I saved the saw dust and the piece I cut off to inlet the buttplate for something. I'm hoping when I rebend the tang so of it might go away. Also maybe when I stain and seal the stock?

f
 
Fosters, You can get rid of the saw dust...you won't use in this build. Keep the cut-off. You will slice it and use it to test stains and finishes on.

If it comes to doing as Mike suggested though, you'll likely need longer shavings. If there is enough wood on the fore arm you will likely be able to get it from there as you will need the long grain orientation that you can't usually get off a butt cut-off. If not then it will come from inside the barrel channel. There's always options....keep 'em open.

Enjoy, J.D.
 
Fosters... worst case scenario, I know Woodcraft sells cherry and other types of wood that you could get to make the fillers if need be. I have a slight gap on one of the sides of my tang too and once I get the length of the inlet all finished, I will need a slight sliver for mine as well. I plan to make some long veneers and place them in the gap with glue and let them setup. I can then sand them down as I'm sure it will stick out of the inlet. I know it won't look perfect, but better than a gap.
 
I'm pretty sure that it will close up when I drop the tail of the tang down a little more. It actually looks worse in the pict due to the shadow. I actually have a 10"x 2" piece of cherry that came with the component set. I think they included it just in case I wanted to make a wooden patchbox. Really trying not to glue anything, and just do it correctly. I spend more time just looking at the gun than building. I try a visualize about 4 steps ahead trying to foresee any problems. As you are figuring out, every step is interconnected so if you mess up 1 it usually affects the others. It causes the build to be slow going, but I'm in no hurry.

best of luck on yours,
f
 

Latest posts

Back
Top