You are using an out of date browser. It may not display this or other websites correctly.
You should upgrade or use an alternative browser.
You should upgrade or use an alternative browser.
Shaping forestock
- Thread starter bioprof
- Start date

Help Support Muzzleloading Forum:
This site may earn a commission from merchant affiliate
links, including eBay, Amazon, and others.
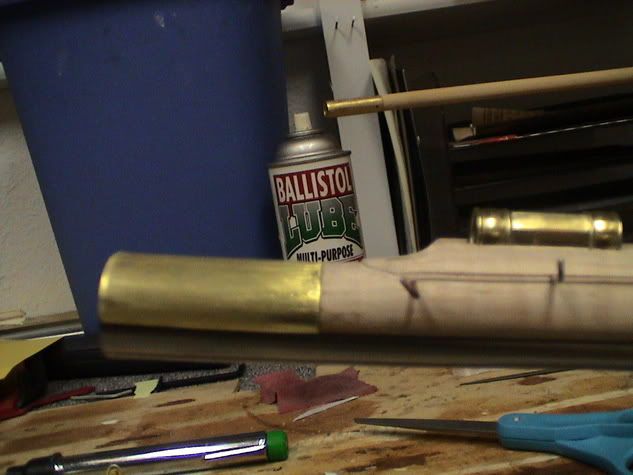
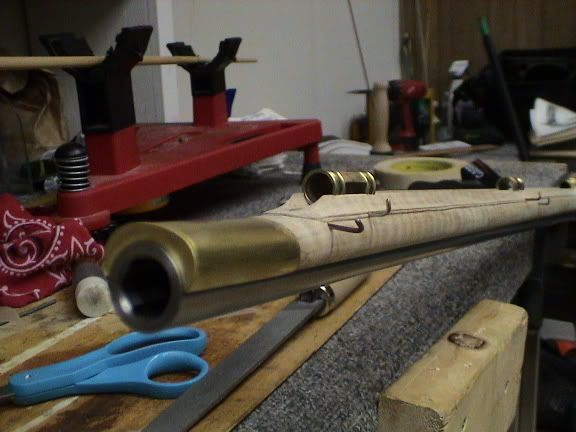
Well I am no pro, still learning as well, but this is how I treated the area. I ran, what I will call, a double beaded molding along the upper forestock and merged it into a simple molding to wrap around the front of the ramrod groove. I have seen this in pictures on some originals as well as just blending the molding out and not wraping it around. I then cut a concave radius between the bead and the ramrod groove. I ran this all from eye from studing various pictures on how different makers treated this area. I like the effect. The stock tappers to a knife edge at both the barrel juncture and the ramrod juncture.


Is this a little better? I still have to straighten out the top of the barrel channel, but I'm pleased with the sculpting I did today. I haven't seen any pictures of Bedford rifles with the incised lines running along the bottom of the forestock (although it does look nice), so I'm just going to leave it as is. By the time you thin out the forestock, it seems like there isn't much room for inlays.


looks good
bioprof: If you have a copy of The BEDFORD COUNTRY RIFLE and Its Makers by Calvin Hetrick you will notice that almost all of the inlays on the forestocks are long and thin.
You have found one reason for this. The other reason is the long thin inlays give added emphasis to the long thin lines of the whole rifle. :grin:
You have found one reason for this. The other reason is the long thin inlays give added emphasis to the long thin lines of the whole rifle. :grin:
Similar threads
- Replies
- 8
- Views
- 856
- Replies
- 2
- Views
- 342
- Replies
- 3
- Views
- 577
- Replies
- 22
- Views
- 2K
- Replies
- 95
- Views
- 5K


