• Friends, our 2nd Amendment rights are always under attack and the NRA has been a constant for decades in helping fight that fight.

    We have partnered with the NRA to offer you a discount on membership and Muzzleloading Forum gets a small percentage too of each membership, so you are supporting both the NRA and us.

    Use this link to sign up please; https://membership.nra.org/recruiters/join/XR045103

success with router guides

Muzzleloading Forum

Help Support Muzzleloading Forum:

This site may earn a commission from merchant affiliate links, including eBay, Amazon, and others.

kaintuck

54 Cal.
Joined
Jul 12, 2004
Messages
1,811
Reaction score
14
0726141131a_zps099a13b3.jpg

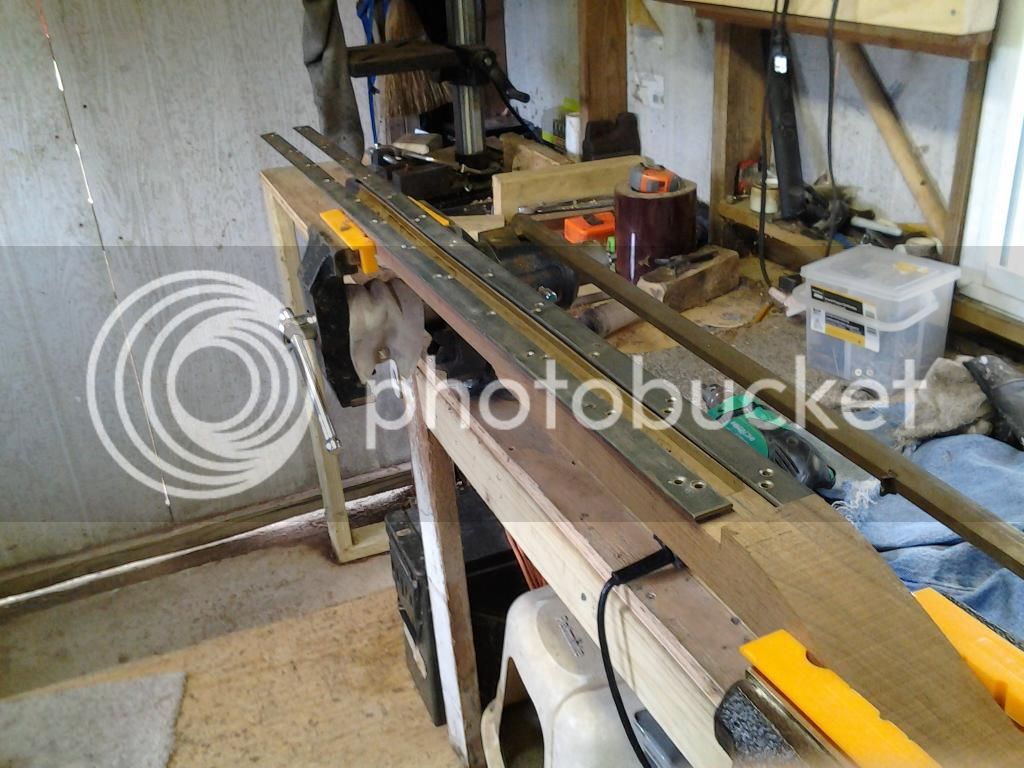
Tomtom and I have been sidetracked with things until today...after visiting Davy Crockett days at the park(not many vendors) i was able to jig up and use 2 flatbar stock to set guide rails for a little Bosche pony router:
guides_zpsec265a6d.jpg

The bars were drilled and coutersunk holes for wood screw flush fit. Washers were placed under each station that held a screw, this was a straight barrel, but if you have a swamped, alter the height by adding or subtracting washers under the screws. then it's very important to adjust the router bit for height and side to side movement...then lock it in the chuck, and route away the wood.
The RR grove was also done, then the short spaces at the ends where you cannot take the router, can be cleaned up with rasps and a chisel.....takes a while to jig up, but NO elbow grease was used in the process....and the walls fit the barrel perfectly......
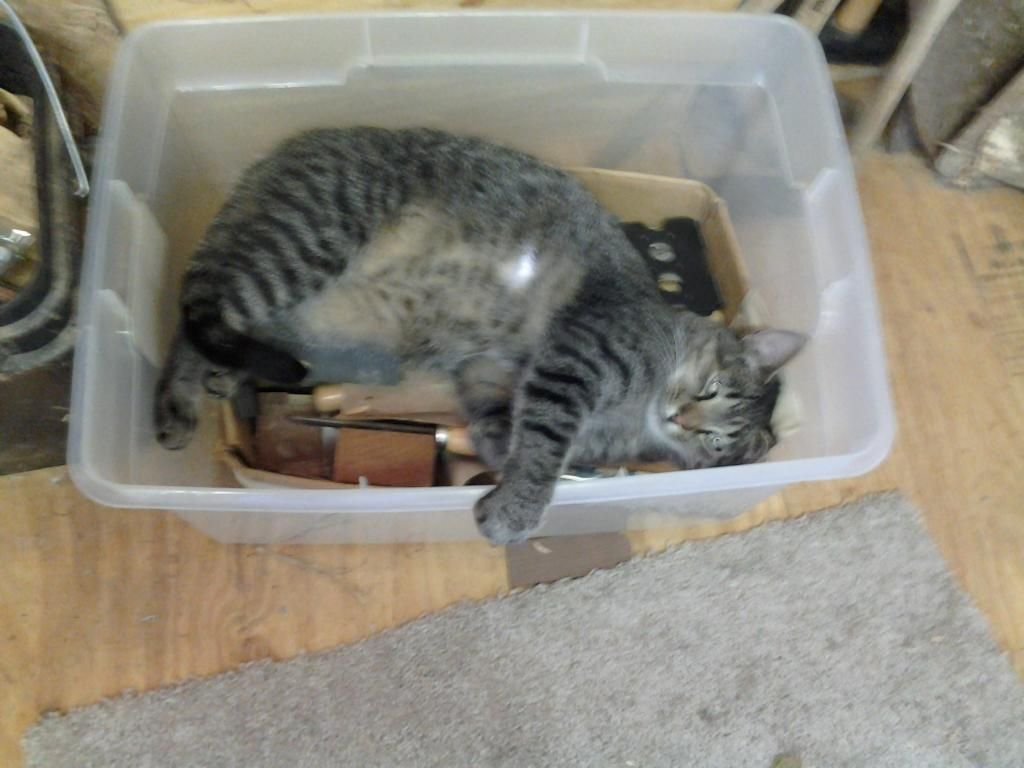
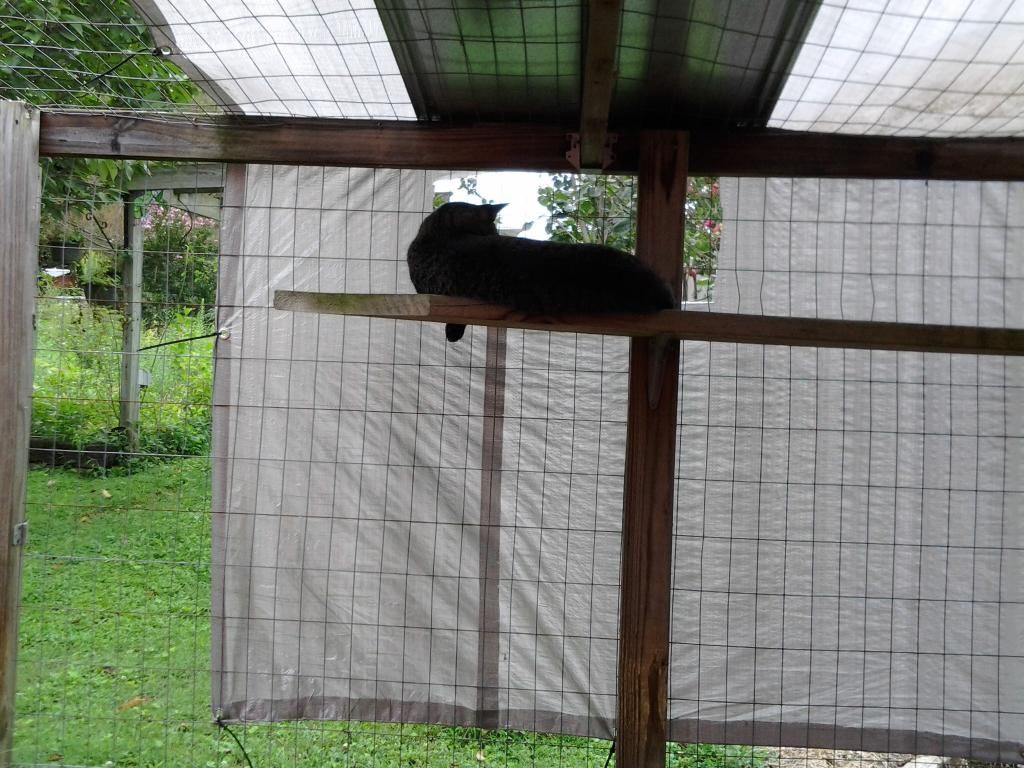
class over.....go back to napping tomtom says....
lazyforman_zps77d9397a.jpg

:grin: :bow:
 
The cherry stock & burton 40cal barrel...in a KY "Barren" SMR.
I just finished laying the barrel, and RR grove, and....drilled w/o breakout :grin: , all start to finish 4hrs.....and my hands aren't hurting......got a great snug fit, the barrel tang is next.
It can be tweaked some......I'm gonna get more bits with bearings on the top.....and flat bar stock with holes instead of washers.
I'm gonna get good at this barrel inletting if it kills me!......

Sorry to lazy to upload pictures....I'm happy I found a easier way to get a great fit.....but the blank has to be perfectly square, and your barrel surface parallel to the forearm to make the RR channel feed the drill into the stock w/o breakthrough....
:shocked2:
Now I can cut the excess wood off....and breakout the Shinto rasps.....

Marc n tomtom
 
Last edited by a moderator:
That's a pretty cool set- up ... it looks like a variant of what Alexander recommends in his book, but he uses all hand tools. I like your solution to the depth problem of a swamped barrel - a clever timesaver.

So, therefore, Thanks for the post! :hatsoff:

by the way, is TomTom an American tabby?
 
Ingenious! :hatsoff:

Are you bending the metal side rail guides, or did you grind them to fit the barrel contour? I like what you did because it lets you go just a little deeper every pass, until you get to the web thickness you want. That's a much safer way to get a thin web than trying to drill a RR hole AFTER the barrel is inletted
 
kaintuck said:
alter the height by adding or subtracting washers under the screws.

Thanks Marc.

I have been racking my brain trying to figure an easy way to get the depth changes.

Never would have thought of the "washer trick" - at least for a couple dozen more rifles :rotf:

I picked up a "trim router" from Harbor Freight a couple months back for under 30 bucks and just used it with the rails and a template guide insert to hog out a swamped barrel, but am finishing the lower flats with a chisel.

Not next time - thanks again.
 
MSW....he's just a "american barn kat" :youcrazy: :rotf:
The "M" marking on his head stands for moron the wife said...... :haha: he does his own thing and he don't care~that why I like him around in our shop.....

Col~ those rails can be bent some! I may get some 1/2" wide x1/8" flat bar.....it will work even better. The little bosche trim router does great with sharp bits.....I just don't push it.....

I like doing barrels by hand.....but this method is more realistic for my knuckles with arthur.... :doh:
I take my time and measure closely, and then route it. It needs some cleaning, and is kinda dangerous to ruin a piece of wood.....or my fingers :shocked2:

I'm sure you guys can improve this method......I'm tweeking it some myself.....
Galamb........I did sit a thunk awhile on the height issue myself.....the washers work great......just buy a bunch at the lumber yard......quick an easy to get the router up to the right distance......
Marc
 
kaintuck said:
guides_zpsec265a6d.jpg

The bars were drilled and coutersunk holes for wood screw flush fit. Washers were placed under each station that held a screw, this was a straight barrel, but if you have a swamped, alter the height by adding or subtracting washers under the screws. then it's very important to adjust the router bit for height and side to side movement...then lock it in the chuck, and route away the wood.

OK so I get what the guides/bars were for but how are you achieving the use of the bars as a guide?

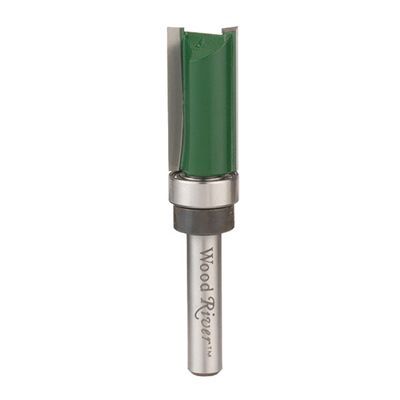
Are you using a bearing on the router bits shaft, similar to this?

129640_zpsc18165b4.jpg


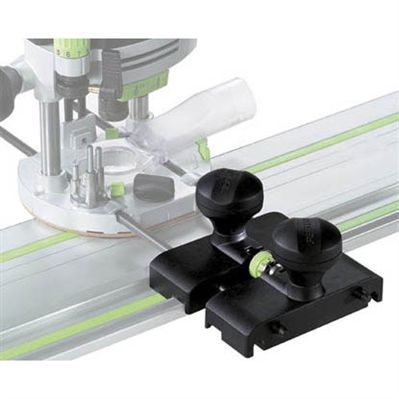
Or are you using a guide on the bars similar to this?

492601_zps6008171a.jpg


Pictures of that would be nice, or at least a description of how the rails were used!!!!

I have often thought that would a much easier way to make the barrel groove. But as one who has used a router quite a bit I also know the router tipping, or going off course can ruin a project before it gets started good. So I am trying to learn more about your process.
 
It would have to be column B for the bottom 3 flats wouldn't it? Column A would only work for the verticals.

The problem with column B is that the router guide would tend to bridge the inside radius. Column A would need huge bearings for the bottom 3 flats.
 
i found out real fast....use bits with bearings :shocked2: ...got a few sparks...but then #2 time, i put just a dab of grease along the guides and let a few hundreths clearance, the bit shank was almost touching along the metal flatbar....
then a bearing bit worked just right...smooth as silk, it was just almost touching all along the guide.

now i have used straight bits so far/with bearings, one for the max barrel with, and one for the bottom flat....then I used a chisel to get the angle between the two.

i plan on getting a 45 degree bit...and use it for this angled cut....

the trick is to get your flatbars the right height, then the bit the right cut....this is the time consumming part.....cause once all it is set....takes 30 seconds to route it....

oh......and make SURE the bit is tight, and will not drop down :shake: :( ....did it once on me...now i lock that baby in there.....TIGHT!

Col Bat~ I am at work and cant see the pictures....but I am searching for a one-do bit....but there may not be one....so a 2 - setup is required....time consumming...but my hands really like useing power tools......and, i get a nice smooth inlay....i just use my little Bosche trim router, and a light touch....
:grin: :grin:
marc n tomtom
 
Seen the pictures.....
Yes to the bearing on the bit!
Adjust the bars .0100 wider than the bearings......and the router is on top of the blank, bit is BETWEEN the guides.....
I know....it's :youcrazy: but it works!

Marc n tomtom
 
Years ago I said I used routers to inlay my barrels and was flooded with "opinions" stating
it don't work and is too risky. Have been at it
since 1962...no problems. As a carpenter that was
one of our primary tools. I make most all of my
cutters as well.
 
kaintuck said:
Seen the pictures.....
Yes to the bearing on the bit!
Adjust the bars .0100 wider than the bearings......and the router is on top of the blank, bit is BETWEEN the guides.....
I know....it's :youcrazy: but it works!

Marc n tomtom


Not crazy at all I have been doing carpentry since the age of 14. So am comfortable with a router and 2/3 of any special cut is the set up.


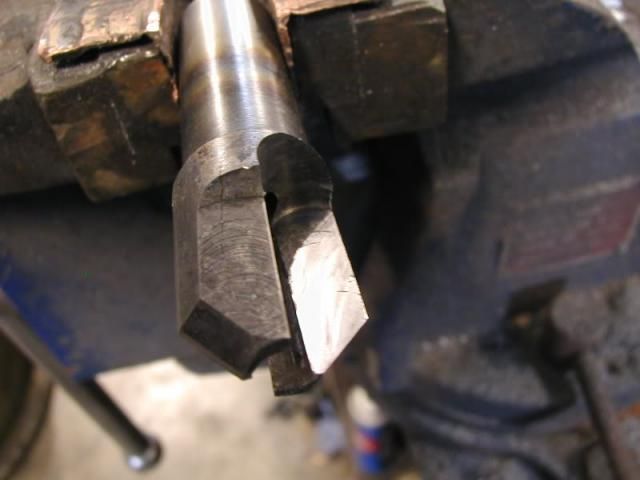
Here is a couple of bits from a gunsmith forum. They were made to cut an octagon barrel cut. I think both of these were used in a mill, from the size of the shaft and the details about the operation!

reduced_cutter_zpsd3ba8523.jpg


routerbitpolish2_zpsa587967c.jpg


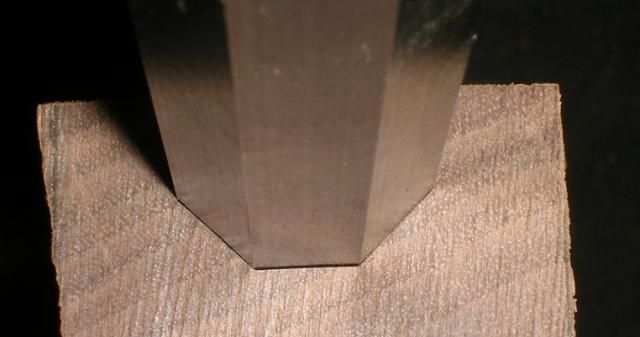
Here is the fit after cutting! Basically a one pass operation and clean-up and final chisel work at the end of the barrel.

test_cut_zpsbacbce04.jpg
 
I ain't no expert in this field but, a swamped barrel would be done the same way, and the swamped part would have to be done by hand.


The only other way I could see is you would have to develop a guide that works with the swamp! Take a look at this page from TOW and envision a pattern that looks like a swamped barrel.
http://www.trackofthewolf.com/list/Item.aspx/650/1

If you were doing several it would be well worth the time it would take to make such a guide. Using hardwood plywood you could make a guide/form that would incubus the swamped part of the barrel. The bottom of the swamp would more than likely still be easier to do by hand. With a bearing a router bit has to follow the guide, all you have to watch out for it kickback usually.

I have a molding plane that belonged to my grandfather. It can be set up with a guide and by changing the bit it will plow a straight groove or there are several other bits that over the years, my grandfather and my father have made to make special runs.
I have watched my father make moldings like today's crown mold with that plane. It took several operations the plane them out but when finished and hand sanded, you couldn't tell them from today's store bought! However it takes hours of work to preform one of the operations that it takes to make up the finished product.

So I can appreciate this operation of plowing out a barrel trough, from both ends of the spectrum!
 
Last edited by a moderator:
I did a very similar thing. I made a 48" long vise from dressed wood and I mounted the rails on the vise and used a router to do the barrel. I used a 45 degree v for the entire job- just going across the bottom for that flat on the barrel.
I practiced a couple of times on scrap 2x4's before doing the actual stock. I used chisels in the breech area to clean up the corners.
 
It's relatively easy to get the rails to follow the "swamp" of the barrel.

Inlet7_zps957cd274.jpg


The the trick with the "washers" that Marc described would raise/lower the rails in relation to the top of the blank.

The router would then raise/lower running along the rails AND follow the rails side/side that were fastened to match the changes in the barrel (width).
 
Back
Top