• Friends, our 2nd Amendment rights are always under attack and the NRA has been a constant for decades in helping fight that fight.

    We have partnered with the NRA to offer you a discount on membership and Muzzleloading Forum gets a small percentage too of each membership, so you are supporting both the NRA and us.

    Use this link to sign up please; https://membership.nra.org/recruiters/join/XR045103

TOTW Vincent Ohio Rifle Build

Muzzleloading Forum

Help Support Muzzleloading Forum:

This site may earn a commission from merchant affiliate links, including eBay, Amazon, and others.
Been busy at work (away from home) quite a bit lately, but have made some progress. I'll try to take pictures tomorrow and add them to the post.

I did about 3 or 4 coats of Permalyn Sealer, letting them dry a full day in between.

It then sat for close to a week, and I applied my first coat of Chamber's Traditional Oil finish. I probably did this one a bit light, and probably could have lathered on more sealer on a few parts prior to the Chamber's oil finish.

It sat 24 hours, then I put on the second coat of Chamber's Oil Finish today. It's looking good. I expect I will do at least one more coat of finish, and then rub it back from shiny.

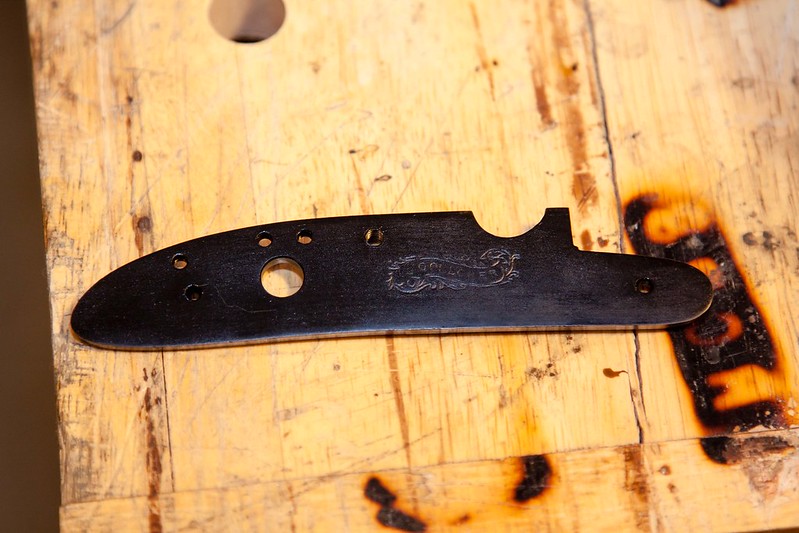
Meanwhile, I've been browning the lock plate in preparation for rust blueing. That has taken ages, with a few mis-steps. Anyway, after umpteen applications of LMF resulting in a brown that was not entirely even, I boiled it in Distilled water for about 6 minutes tonight. Came out a fairly deep black. I've soaked it in oil this evening and will look at it in the sunlight tomorrow. I figure I can always sand it off and start again.
I am beginning to think that my biggest problem with browning is that I am getting the surface too smooth. Combined with low humidity and temperatures around 40-50 degrees it progressed slowly. As an example, I left a coat on for 6 days and it didn't even come close to pitting.

As an anecdote, I just discovered something interesting. My barrel (in the white) was sitting for close to a week in the trough of my workbench and happened to be just above (but probably not in contact with) the cloth that I had used to apply the LMF. There was a section of the barrel about 1.5 inches long that had browned from what I must assume are the vapors from the cloth.

Worst part is, the brown was miles better than the brown I achieved on my lock plate! Nice even tone, good color, not too thick etc etc. Bugger.

Since it was such a small section of brown, on about 4 flats, I rubbed it off with a scuff pad. Broke my heart.

Might just try soaking a barrel length cloth in LMF and leaving it near my barrel!!
 
I too wound up with deeper pits trying to brown things in low humidity and with the metal polished finer (600 grit) than when I tried to do it in higher humidity (hanging in the shower) and polished rougher (220 grit) before application of the chemicals.

Speculating, it seems with the finer polish the LMF needs to create its' own pits in order to start the browning process. If it were rougher, the unevenness is already there, and the chemicals can go to work sooner. Just a theory mind you.
 
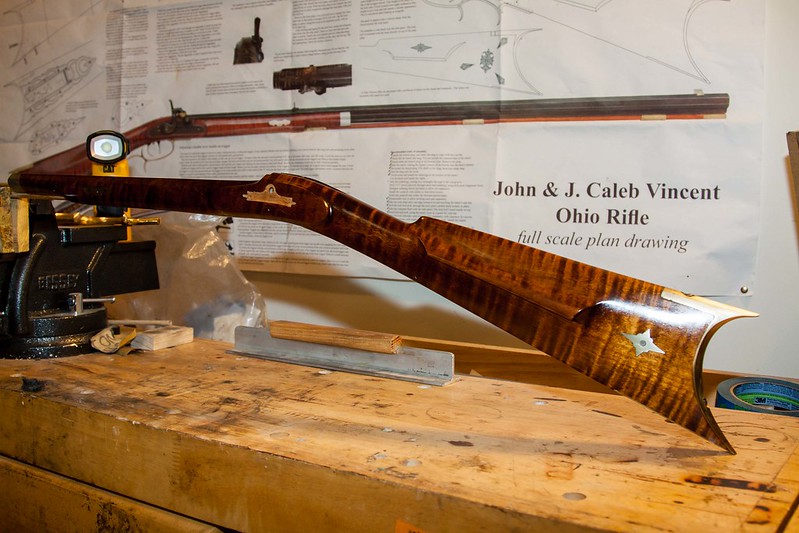
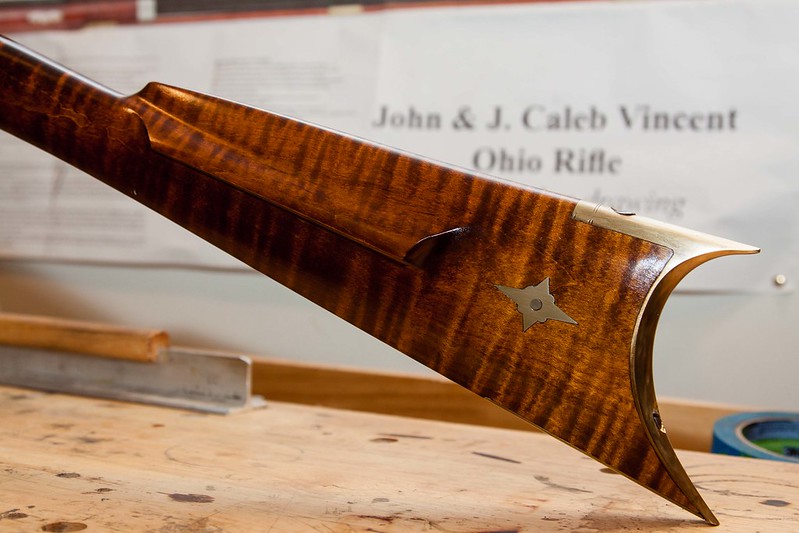
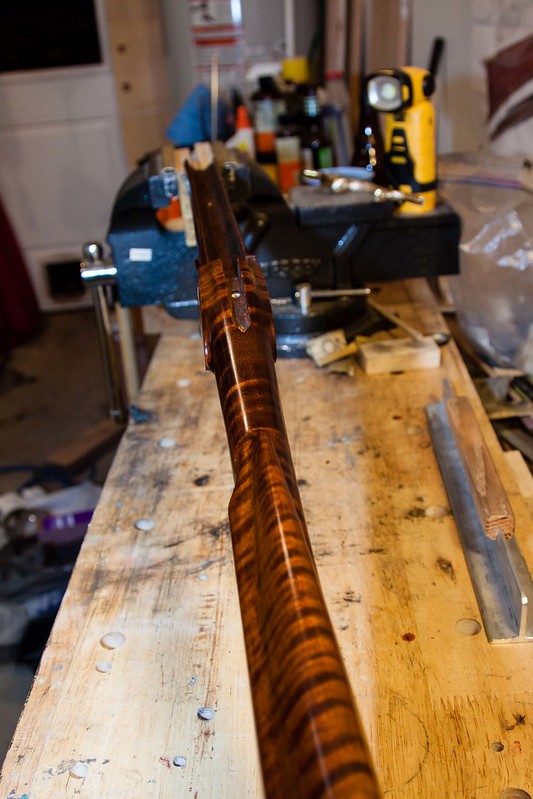
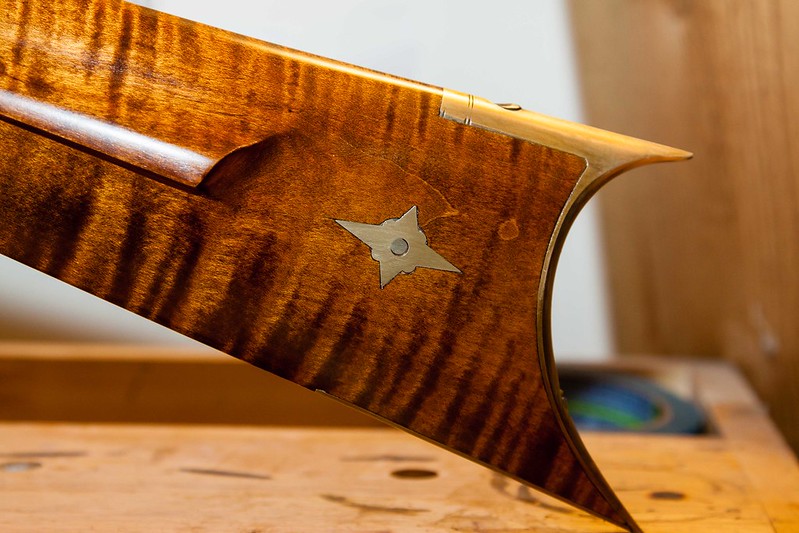
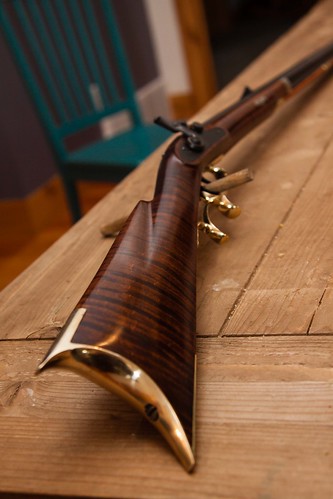
Finally, some new pictures.

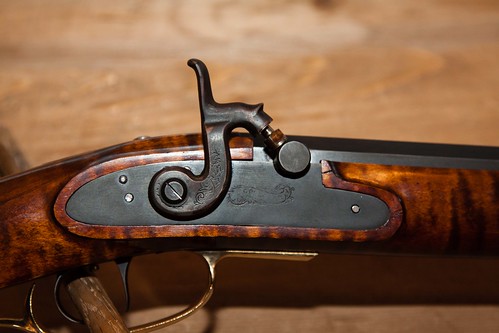
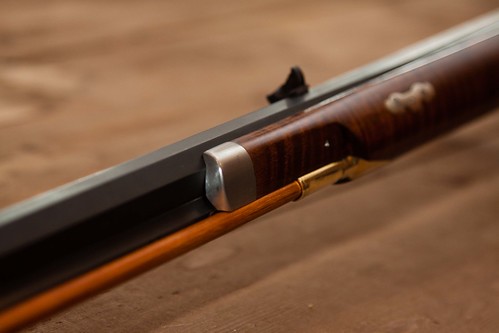
I'm on my third coat of Chamber's Traditional Oil finish, it is drying right now. I hand rubbed it in. Prior to that was 3 coats of Permalyn sealer.
The stain is aqua fortis, and LMF Lancaster Maple.

IMG_3461 by chowmif16, on Flickr

IMG_3456 by chowmif16, on Flickr

IMG_3463 by chowmif16, on Flickr

IMG_3465 by chowmif16, on Flickr

IMG_3466 by chowmif16, on Flickr

IMG_3470 by chowmif16, on Flickr

The color has come out wonderful. I did not sand between coats of Permalyn Sealer, as it did not say to on the bottle. I'm wondering if I will regret that. I have used steel wool and scuff pad between the finishing coats.

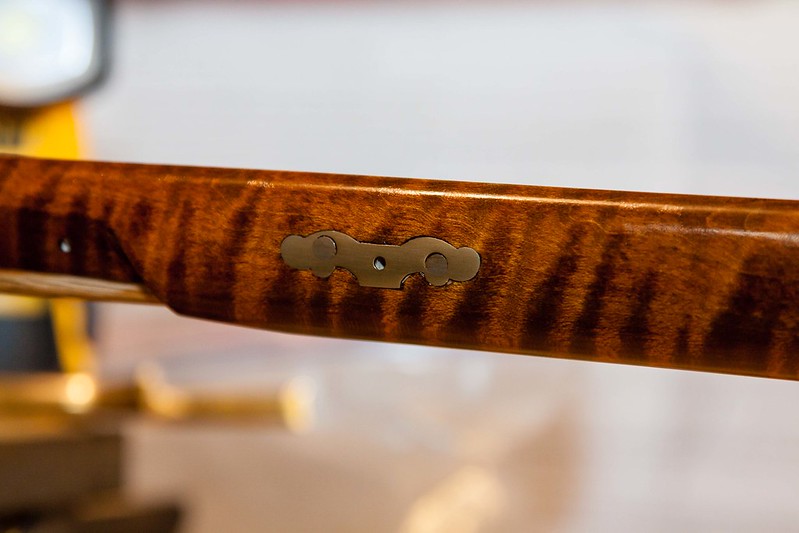
My inlets for the inlays aren't great, but I'm getting better.

Cheers,
Norm
 
One way to tap a hole straight is to use a tapping block as a guide. This simple fixture can be made very easily by using a piece of scrap metal about 1" thick by 1" square (depending on tap size) and drilling a clearance hole through the block the diameter of the tap. After the tap hole is drilled the tapping block is positioned over the hole and the tap is inserted and turned into the work piece to tap the hole. The tapping block keeps the tap straight and perpendicular to the face of the work and hole. .
 
It's coming out looking real nice. I would be proud to own such a rifle.

The the color and finish on your lock plate. It came out real nice.

I absolutely love your stock! Very pretty wood with nice figure in it. Your finish really brings it out.

That rifle is no Wall Hanger! :haha:

Very nice job. You should be rightly proud!

Respectfully, Cowboy :thumbsup:
 
Thanks fellas, I'm looking forward to shooting it.

Got the front sight fully installed and am browning the barrel and the rest of the parts that need it.

The last thing I'm worried about is the underlug for the barrel pin. When I drilled it, I almost missed the lug. That left a very skinny amount of lug left towards the bottom. I'm a bit worried it is too little and may break from use.
I looked through all the under lugs I have and they are all the same height, so I can't replace it. I'll have to do a search for taller lugs, or build one of my own. I do have room left in webbing between the barrel and the ramrod channel for a taller lug. I may just have to make one. I don't mind replacing it after the barrel is browned, nobody will see it but me!

Still have one more coat of oil finish to do, and a fair amount of brass finishing to do.
 
Stain and Aquafortis? It looks great, but I don't remember hearing about many people doing that. Did you stain then AF, or AF then stain? From my experience I would guess that you had to do some sanding. AF came in brown enough as it was without needing a stain on my rifle.

Nice looking work bench too, I'm afraid to include mine in any pics with how cluttered it is lol.

As for that underlug, I did that on my first build, the middle lug is actually only a about 5/6th of a complete hole as I missed. I haven't had any problems as long as there is enough to still grip the pin and the pin doesn't drift on it's own.
 
Jimmy,
I'm no expert on stains and finishes, so I'll tell you my thought process when I did this one.

I had done one other pistol stock with AF before and it turned out pretty nice, but not great.
I had planned on just using AF. When I applied the AF and then heated it with a heat gun, I didn't get as much red as I expected and if memory serves, it went more brown (with some red) than I thought it should. I didn't want to continue heating and get more brown, so I stopped there. I had heard somewhere on the forums of guys then using stain, and I had some LMF Lancaster Maple. I did a test patch on the trigger guard inlet, liked it, and then decided to go for it. Short answer, rather lucky than good! It could be that I just needed to be brave and heat it more to get the red. I will do some testing on scrap next time before finishing.
As a side note, the Chamber's Traditional Oil finish also has a bit of color to it. In the can it looks dark, but on a piece of hickory it comes out a very light yellow/orange-ish. I have about 4 coats of it on the rifle now, and the color is certainly not detracting from the AF and the stain. It's might be hard to tell from the pictures, but in the sunlight there are some really nice yellow/gold undertones in areas. And I did get that irredescence that I was hoping for.

Glad to hear about the underlug. I had visions of it failing on my first or second shot.

As for the workbench, well.... I had coincidentally just done it's six month cleanup!
 
Your rifle looks amazing. :hatsoff:

You were definitely overreacting when you were being so critical about your work! Don't forget that the original American masters still had to feed their families, they weren't creating high art, they were just making a thing to do a thing. :grin:
 
I did that too with mine. With mine I brazed on a glob of brass and filed it out so there was a bit more metal between the hole and the bottom. You have to bear in mind though, that in addition to the single pin holding it, there is also a ramrod going through the stock that is held by the pipes on the under lug. So, for much of the time, you really don't even NEED a pin.
 
Col,
how funny, I had the same thought process about the ramrod. It was my "just in case" back up plan.
I had also thought about brazing on some metal as you just mentioned. I now have a hot enough torch to do it, but was a bit worried I would over do it.
I'll figure out what to do. I already started browning the barrel, but don't mind either replacing the lug, or taking it out and brazing more metal on it. Might be good practice, and nobody will see the end result but me.

Thanks for the moral support!
Norm
 
Well,
She's pretty much finished. There are a few cleanup items to do.

I will polish the wood finish and dull the sheen a bit.

The rear finial on the triggerguard doesn't sit in it's inlet properly, so I will work on that. Should have caught it earlier.

The rust blue on part of the hammer partly rubbed off when I carded it, so I will have to sort that out as well.

Here's a few photos:

IMG_3492 by chowmif16, on Flickr

IMG_3484 by chowmif16, on Flickr

IMG_3494 by chowmif16, on Flickr

IMG_3488 by chowmif16, on Flickr

IMG_3502 by chowmif16, on Flickr

IMG_3504 by chowmif16, on Flickr

All comments welcome!

Cheers,
Norm
 
Where does it balance in your hand? Mine has a 34" barrel and it balances just about at the entry pipe. Be careful when you shoot it, that deeply hooked butt plate can turn in to a fork if you shoot it off your shoulder instead of your bicep!
 
Col.,
It balances at roughly the middle of the rear entry pipe. Can't remember what the barrel length is, but it's whatever comes standard on the kit.

I couldn't stand the rear spike off the top of the buttplate, I mean, really couldn't stand it...
So, I found a picture of an original Vincent that didn't have that huge extension. That gave me license to cut it off, and I very happily did. It still digs in a bit, even when not holding from the shoulder, so I will look out for that.

Cheers,
Norm
 
The "standard" barrel from Pecatonica and ToTW is 36". It looked a bit long to my eyes, so I had it cut to 34" for me before I ever started.

I actually like that deeply hooked butt plate though. I shoot a lot of competition .22 with a hook, and really like it. But, it took a bit of getting used to too. Of course, I never shoot more than 50 gr. 3Fg, so it never really kicks much. I'm more interested in paper punching with it than anything else.
 
Back
Top