• Friends, our 2nd Amendment rights are always under attack and the NRA has been a constant for decades in helping fight that fight.

    We have partnered with the NRA to offer you a discount on membership and Muzzleloading Forum gets a small percentage too of each membership, so you are supporting both the NRA and us.

    Use this link to sign up please; https://membership.nra.org/recruiters/join/XR045103

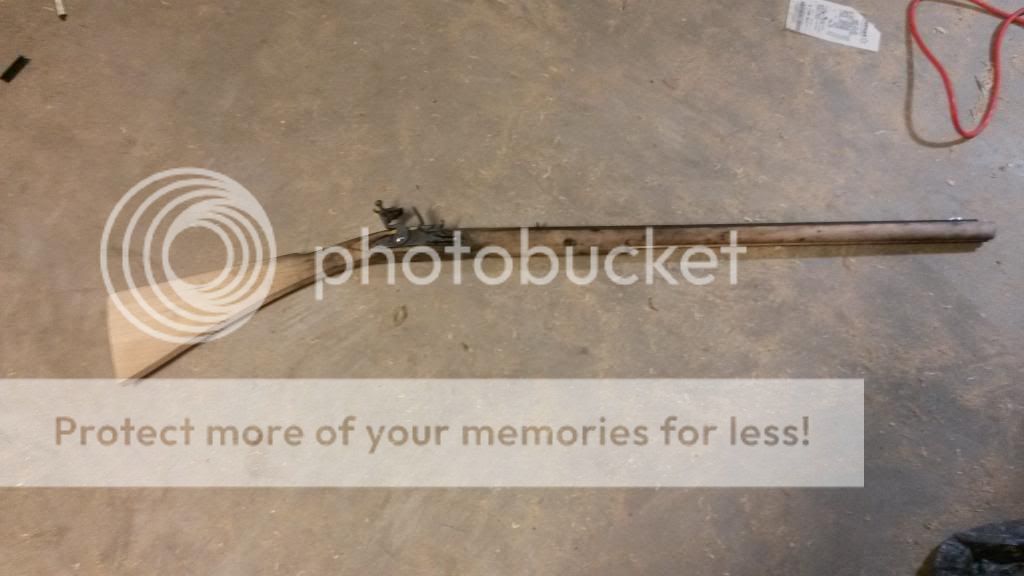
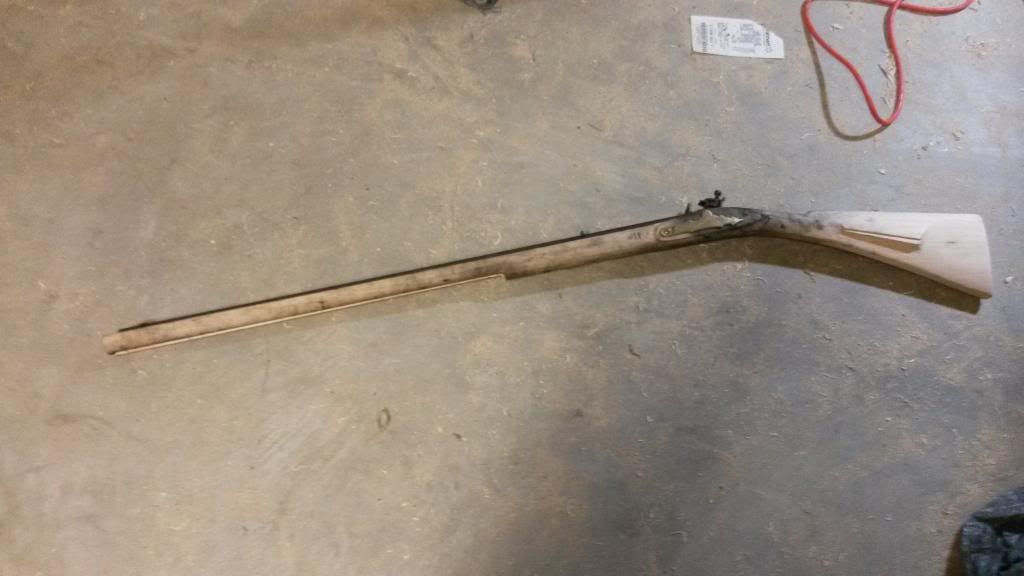
Traditions Kentucky Complete Rebuild

Muzzleloading Forum

Help Support Muzzleloading Forum:

This site may earn a commission from merchant affiliate links, including eBay, Amazon, and others.

Doc G

32 Cal.
Joined
Feb 27, 2014
Messages
12
Reaction score
0
Hey everyone, this is my first post on this website. Been looking around it for quite some time and have really grown to appreciate all the help and dedication floating around this website. I come to you all with a huge project, at least for me because its the first time doing something like this before.

Couple of months ago I bought a Traditions Kentucky Rifle kit that ended up being a disaster, one thing broke after another and after 4 months of trying to contact Traditions and constantly losing bids on eBay for replacement parts I have decided to rebuild it the way I want. I will be reconstructing my own design of a rifle, not really following any form of historical rifle. I will also be converting the percussion to a flintlock, something that Traditions very plainly says in the FAQ that cannot be done. Please follow along and check in often, this is the first time for me doing anything like this ever and am very excited. Parts are on the way from Trackofthewolf and I will be updating as I go along.

I'll post some of the pictures I have of whats going on.
 
Well, I'd get wood for a one piece stock. I always hated that two piece wood stock idea. You might as well put some cast into the stock you make yourself. Maybe do some skip line checkering at the wrist. I'd toss the trigger/trigger plate and make my own trigger and pin it to the stock- you can get a nice 3 pound pull that way. The trigger plate would then be just a flat piece, wedged into an undercut in back and held in front with the tang bolt.
I like pinned trigger guards versus the ones with screws. Pin as much as possible. A nice patch box if you switch to flint but be sure the flint switch is do-able.
Maybe some inlays.
 
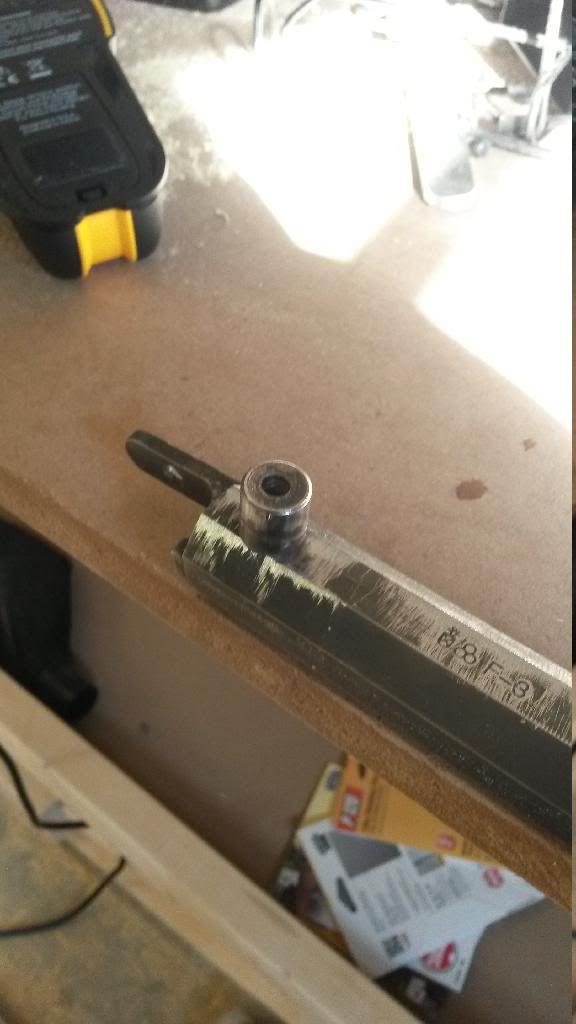
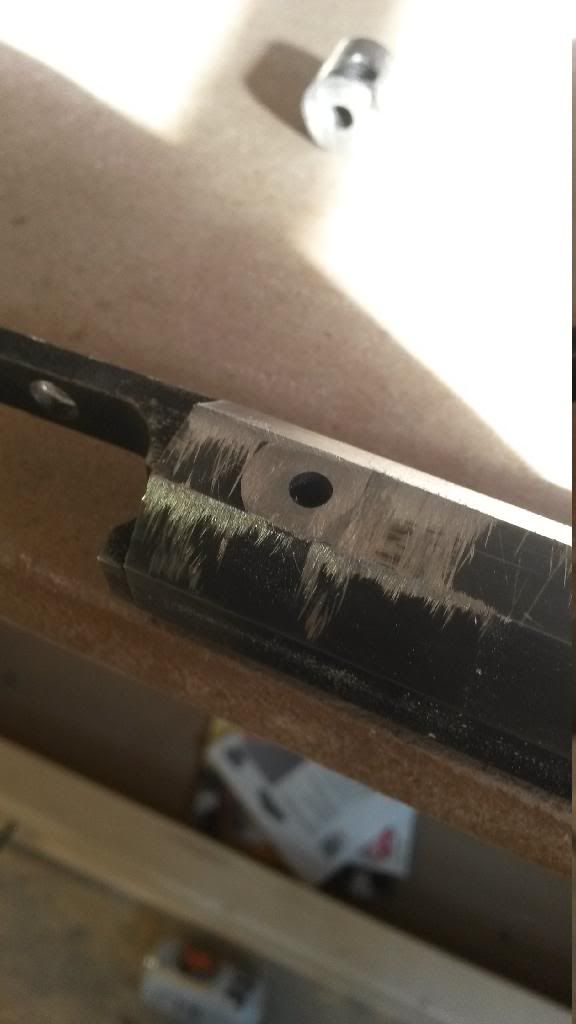
I've got a one piece fullstock on the way as well as a flintlock on the way. Ordered a vent, drills and taps so I can fix the hole size in the barrel. I chopped off the pqrt that the nipple attaches too and smoothed it out with a file. When my parts get here ill be able to drill and tap the hole to the correct size and put the vent in, position the lock and start inletting the stock.

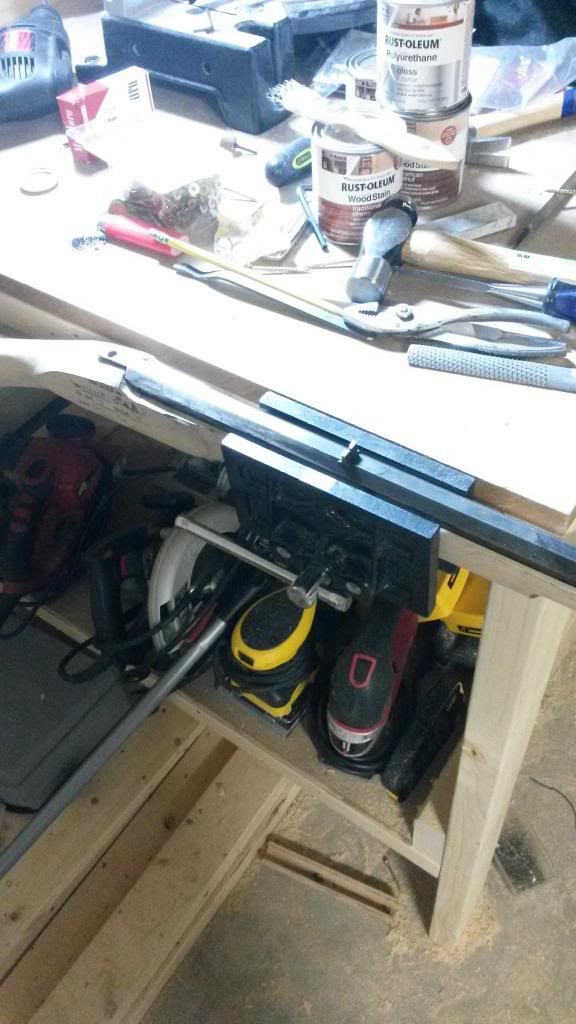
I promise I'll post pictures eventually, kind of annoying to do it from a smart phone.
 
This is a picture of the offset that the nipple screws into.


And here it is after I got to it.

 
Decided on loosely following a sourthern mountain type of build.

Parts are ordered, showing up over this week so I should be posting some updates later this week. Id love for any feedback from you all as im going along.
 
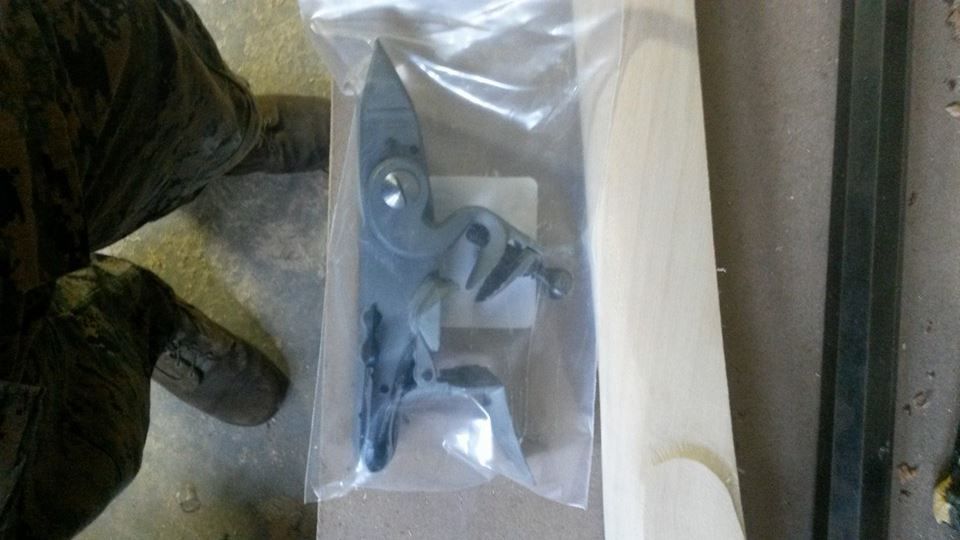
Finally got the parts in the mail.

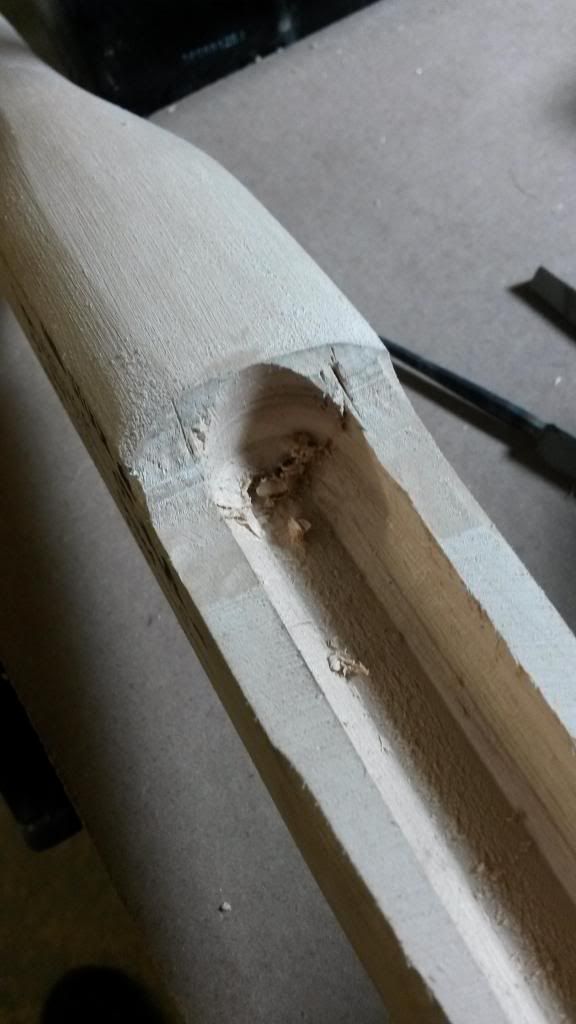
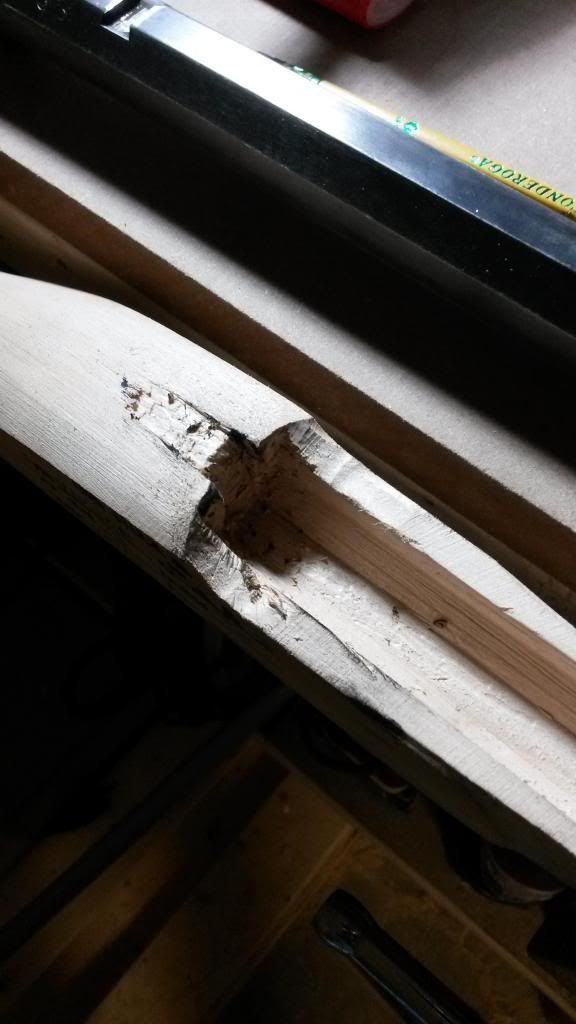
Here is a picture of the stock inletted for just the barrel. It seems they use a router bit or something because the end near the butt is rounded and not cut out so thats what I got to work on first.


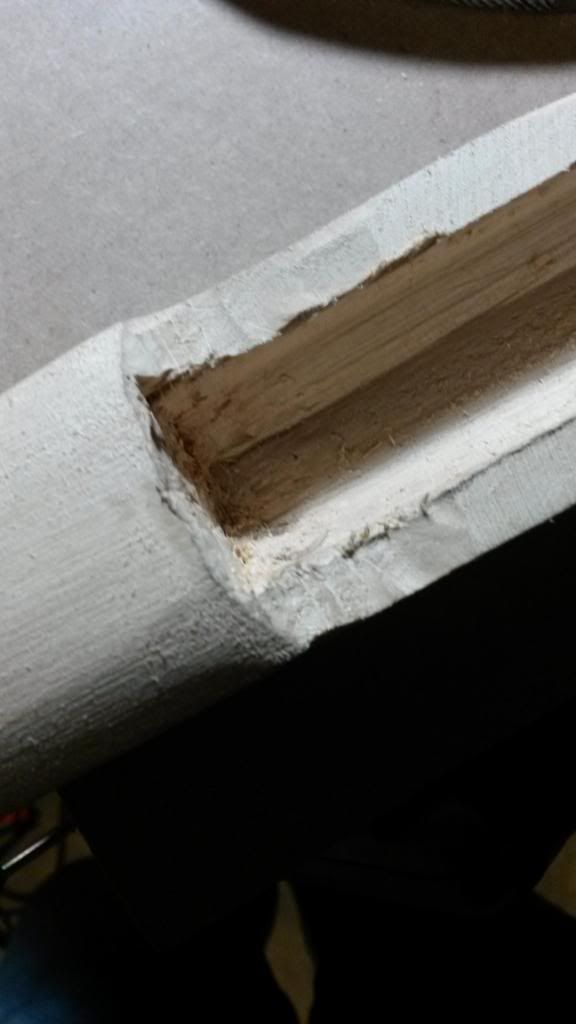
And here it is after I have roughly evened it out.


Starting to inlet the breechplug. It's a pain in the butt to inlet a barrel with the breechplug already installed.


And lastly, got a picture of the barrel sitting high up in the barrel groove. I need to hit that with inletting black because the barrel is catching at a few places and better fit the breech plug. After all this is done and the barrel is in its new home I will begin inletting the flintlock that way I can pull it out and drill out the new touch hole.

 
With a straight octagon barrel, turn it end for end and inlet the muzzle into the stock where the breech will end up.
That way, the breech plug won't be in the way while your getting things right.

Speaking of getting things right, that flat wood at the breech plug area of the barrel should be very smooth and be making at least 90 percent contact with the end of the barrel.

This is important because that area will be taking most of the recoil when the gun fires.

If it was a swamped barrel, this end for end trick doesn't work because the taper on a swamped barrel is different in the breech area than it is on the muzzle end.
 
That is a great idea, I would have never thought about doing that to get a flush backing. It has been a major pain in the butt to inlet with the breech plug already installed.

Thanks alot for that tip, I will make sure to flip it around to make sure that the back is flush and makes more than 90% contact with the barrel.
 
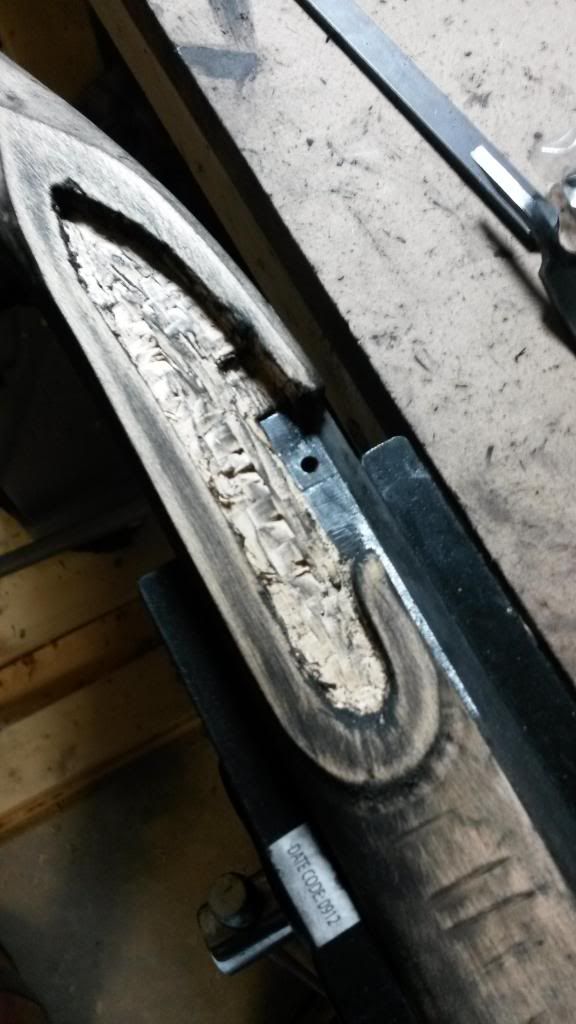
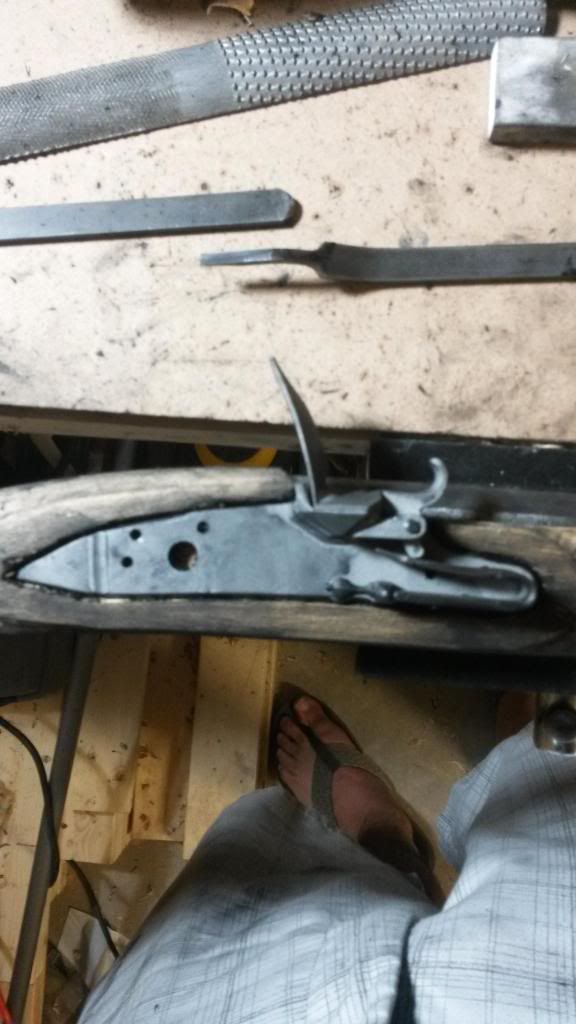
Object of today is to get the lock inletted, heres a picture of it before.


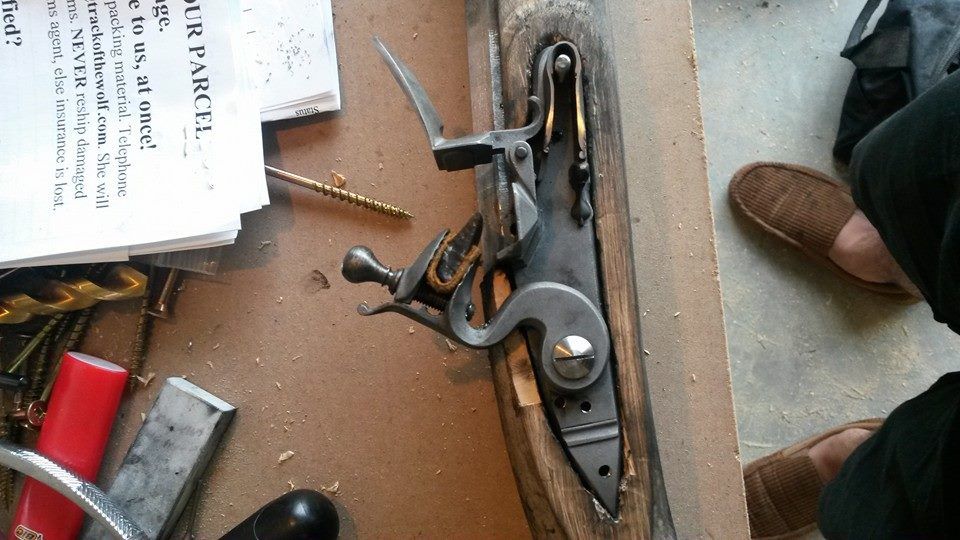
Got the lock inletted, just the plate though. Now I'm going to rebuild it peice by peice and inlet the room needed for each peice and then figure out where the sideplate is going to go and where to drill the holes. By the grace of God my touch hole lined up perfectly with my flash pan so I don't think I will need to do anything to it but we will see. Won't be able to work on this until later in the week, leave for the field tomorrow morning and I'll be back Wednesday night.


Back from the field and finally able to get the whole lock assembled and all the individual parts of the lock inletted. Now I'll move on to inletting the sideplate while I wait for my barrel staples to get here.


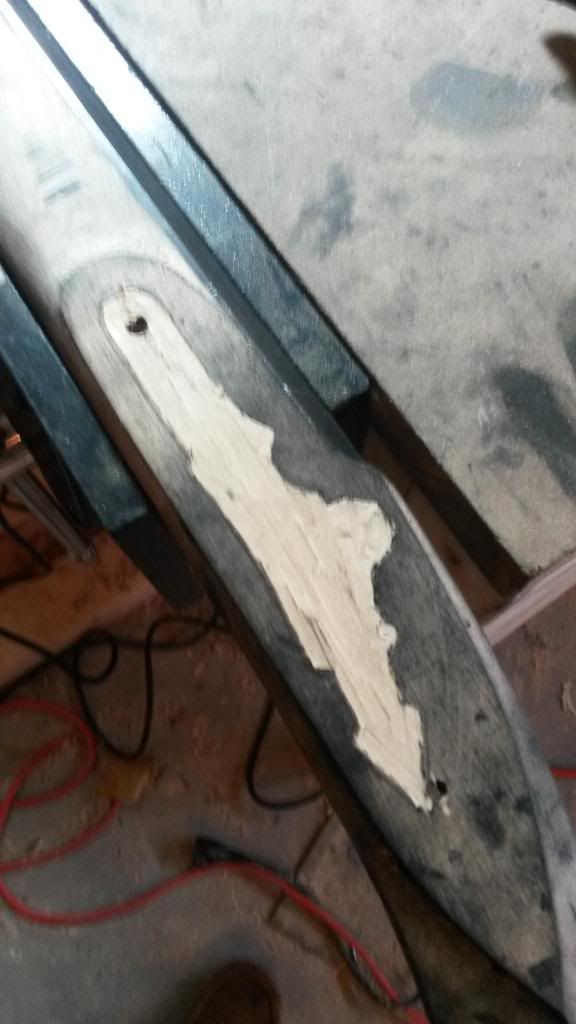
I went alittle ham with the chisel so I will have to use some filler on some gaps around the lock. As disheartening as it is to know I mucked some things up I get over it knowing that the fact that I built the rifle myself makes it better than a perfect store bought one, in my opnion.

 
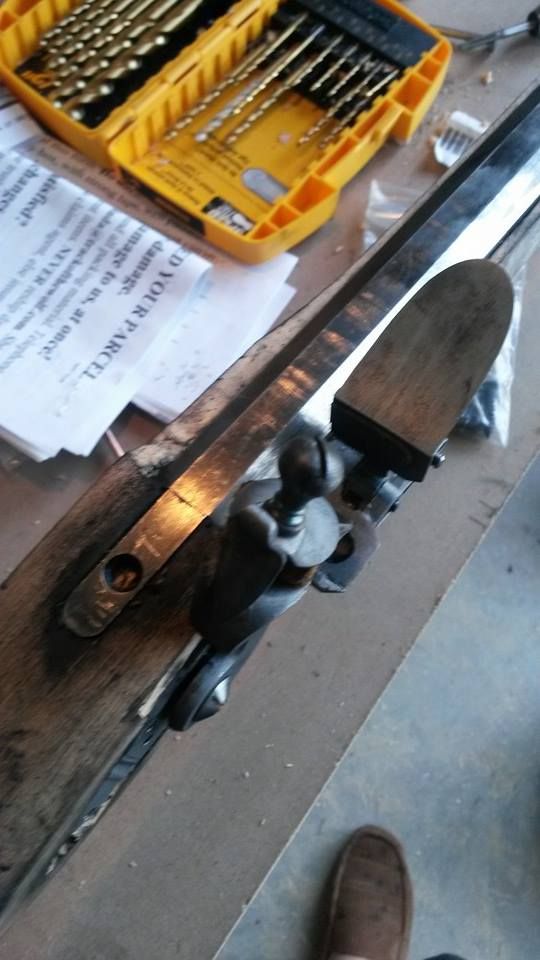
Started working on the sideplate, got a few more pictures for ya'll.


Starting to look like a real rifle!
 
Doc.

A few suggestions & a question.

I don't know what you are using to cut in your inlets with, but I suggest ya get a large blade Exacto knife, if you are not using one.
Lay the part to be inlet against the rifle.
Take a very fine point pencil & mark the part edge on the rifle.
Take the Exacto knife & cut just INSIDE that pencil mark, vertical cut. (Important to stay Vertical.
Now go to the inside of the inlet & cut about a 1/8 cut at a 45 deg. angle into... the iriginal vertical cut.
Lift out that slanted V sliver. Do this all the way around the inlet
Now ya remove the center wood with a small chisel & do not get into your V cut.
This keeps your edges sharp & you will not need filler around your inlets.
When ya get about 1/8" of the wood removed, blacked your part, lay it in the inlet, tap it lightly with a hammer, lift it out, remove the marked wood.

And a question....... :hmm: Why is there a hole in the tail of the lock ?

There is not supposed to be a screw or retainer in that area. If you are using it to retain the lock, the lock is retained by the rear lock screw, & that is supposed to go from the sideplate to the bolster of the lockplate.


Looks like you are making some good progress.

I assume you have the barrel pinned to the stock ? If not, you need to do that prior to installing the trigger asm. or doing the buttplate.

Keith Lisle
 
I was an ***** and drilled it for the screws. Ill be purchasing a new lock plate and find a better place to set the screws.

Slowing down quite a bit on it because im waiting for parts and ive been getting the vegetable garden all set up. Also have to get the coop done before the chicks arrive.
 
You don't need a new plate. Just take it to a welding shop with a tig or mig welder, and have the holes filled, then all you need to do is file it flush. you can then drill the holes in the correct place. You need a book on building, and (MUCH) sharper tools. Your tools should glide like a hot knife thru butter, and they need to be sharpened regularly. With a few exceptions any tool you buy is dull compared to how sharp it should be. Good luck, everybody has to start some where. For sharpening techniques, google "scary sharp" for instruction.


Bill
 
Bill Knapp said:
You don't need a new plate. Just take it to a welding shop with a tig or mig welder, and have the holes filled, then all you need to do is file it flush.
Bill

Another way to fill those holes is to slightly countersink both sides of those holes. Screw in a screw cut about 1/4 inch longer than the thickness of the lockplate. Round off both ends,of the screw, before inserting into the holes. Peen the screw from both sides, until the bevel is filled. File flush and polish. If done correctly, the filler screws will never be seen.

The rounded ends of the screw will fill the bevels better than simple cut off ends of the screw.
 

Latest posts

Back
Top