• Friends, our 2nd Amendment rights are always under attack and the NRA has been a constant for decades in helping fight that fight.

    We have partnered with the NRA to offer you a discount on membership and Muzzleloading Forum gets a small percentage too of each membership, so you are supporting both the NRA and us.

    Use this link to sign up please; https://membership.nra.org/recruiters/join/XR045103

Trigger Guard Inletting

Muzzleloading Forum

Help Support Muzzleloading Forum:

This site may earn a commission from merchant affiliate links, including eBay, Amazon, and others.

Buckskinn

45 Cal.
Joined
Dec 12, 2018
Messages
501
Reaction score
429
Location
Mukwonago, Wisconsin
I've been researching my issue and haven't come up with a solid answer to my problem, so I figured it deserved a new thread...

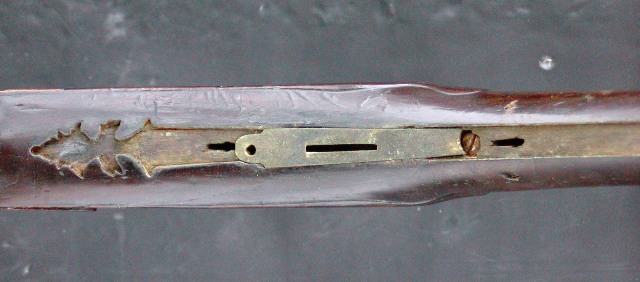
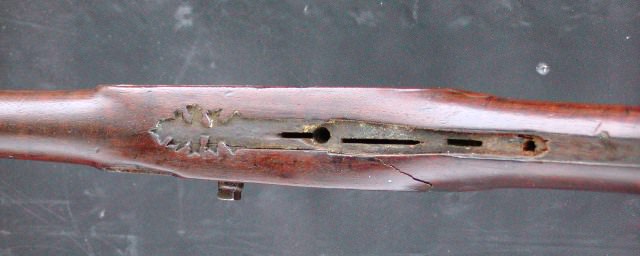
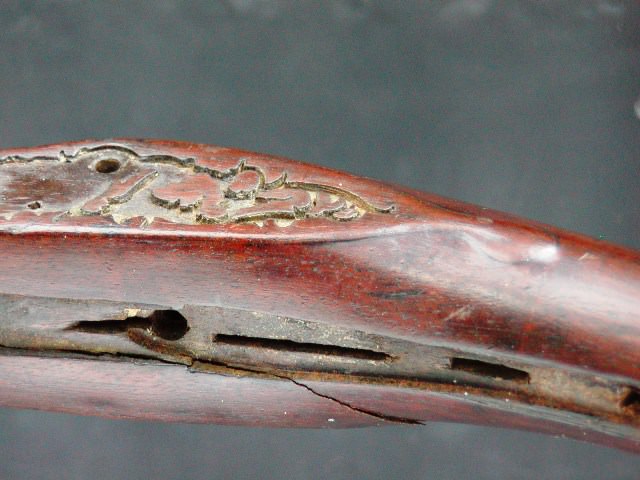
At first I thought my issue would be the rear of the guard, but after looking at it more and with Zonie's and Dave's input I don't think it will be an issue. The front has me scratching my head. Looking at it after I cut the slot for the front gate to be pinned, the front of the guard seems way to high to be able to be inlet and look right. The stock looks too curved for the guard. I don't think I did much contouring there, but maybe I did more than I thought.
20190213_180135.jpg
20190213_180145.jpg


And ideas? Was thinking maybe I could thin the top of the guard or try and slightly bend it to match the contour of the stock more... But I don't know.

I think I'm going to do some more stock work, as Dave suggested and see what people think before pulling out the chisel.
 
I suspect this style of Jaeger guard is meant to sit flush on the wood surface and it appears that too much wood may have been removed in establishing a curved radius on the bottom. This photo of an Edward Marshall appears to show a bottom that is more flat.

https://www.trackofthewolf.com/Cate.../1/EDWARD-MARSHALL-LONGRIFLE-FLINT-PARTS-LIST

What to do now? ( 1 ) Braze on more brass under the finial so it can be contoured to match the stock or ( 2 ) cut the trigger plate shorter to allow the guard to be set more deeply.

EDWARD-MARSHALL-LONGRIFLE-FLINT-PARTS-LIST
 
Hi Buckskinn,
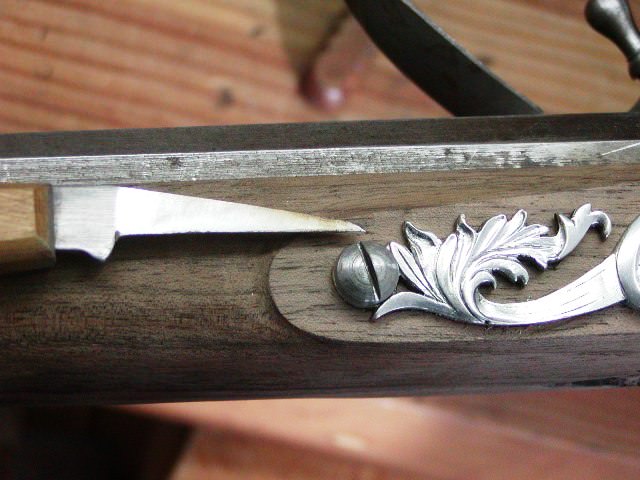
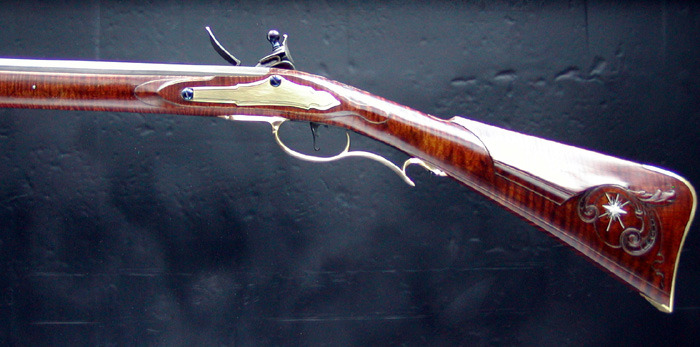
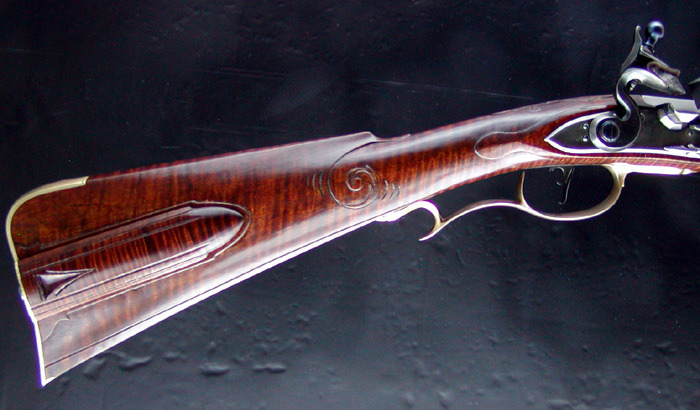
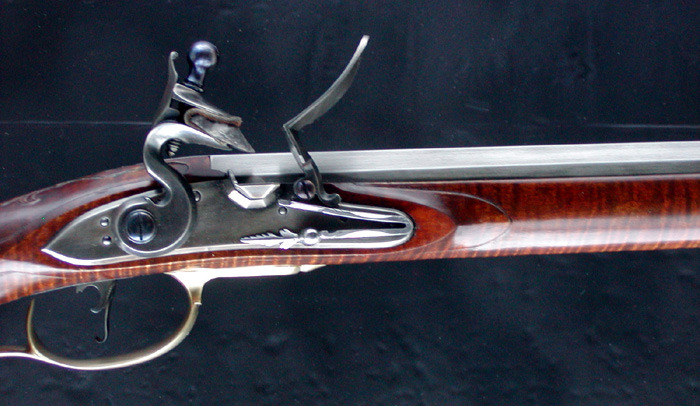
I think everything is fine. First, before inletting the guard, finish doing the other detail work on the stock. Your lock moldings look rough and need final shaping and sanding or scraping. Get everything almost ready for stain before worrying about the guard. Before starting the guard, thin the extensions by filing the bottoms. Most cast guards are too thick and need to be thinned. By thinning you also make the guard more flexible and easier to fit to the profile of the stock. With this particular guard, it is best to file a 1/32" deep step on the bottom just where it overlaps the trigger plate. That way it can be set into the wood deeper. Next file all the edges so they are nice and clean and sharp. The edges should be no thicker than 1/32" and that will be the depth of your inlet. When inletting this guard the knife I show below is very useful for cutting the outline. The little skew point gets into the tight corners very well. Do not put any pins or screws into the guard until everything contour and profile of the stock is finished and ready for stain. That way, if you have to deepen the inlet of the guard you are not screwed. Don't worry about tightly inletting the front lug for the cross pin. Leave a little slop in the inlet so you can move the guard around a little as you position it for inletting and as it is inlet. The other photos below show a modified version of this guard inlet on a gun.

dave
3N3PZHs.jpg

CiPztg5.jpg

80ccJNC.jpg

u57p7v4.jpg

dkxGiCr.jpg
 
Hi,
One more suggestion: be very careful using a gun shown on TOW for sale or as a kit as a guide. If you want to know what the Edward Marshall rifle looks like, look at the original not a gun by someone who likely never saw the original.

dave
 
Dave,
Thanks for the input, very helpful. When you earlier said to shape stock prior to guard work, I figured you just meant general shaping. I am no where near final shaping/sanding. I will get things to final stage as recommended before inletting. I am also going to post a good amount of pictures of where I am at when I feel I'm close to final and get suggestions/critique prior to staining so I'm not stuck with somethings that should have been altered. This has been a real good tutorial for me and a hell of a lot of fun to boot!
 
Hi Buckskinn,
Just remember the forward finial on the Marshall guard is wide so don't curve the stock under the lock area too much.

dave
 
Hi Buckskinn,
Just remember the forward finial on the Marshall guard is wide so don't curve the stock under the lock area too much.

dave
I like to leave the area where the trigger-guard will be inlet somewhat flat. Once the guard is in, then it is a far easier matter to profile the wood so it flows & blends into the forestock and wrist areas.
 
Well I gave myself another hurdle this evening. I worked on the stock shaping for a while then started playing with the guard, thinning etc. I was getting it pretty close to where it would work and was trying to bend the guard just a bit and I broke the tree off of the front of the guard. It didn't break off, but I heard it crack and can see it as well. I walked away for the night after that. I suppose I was not treating it as cast brass...

so now I can either order a new guard from Chambers, no big deal. Or I could braze it if I can find a matching solder, or I could whop that three teared chuck off and make it a lot easier on me... The trigger guard is by far the biggest issue I've had with this build.
 
This is a very unwashed opinion.
I do not think it would look bad at all with those finials gone. To me it's more conservative that way. Maybe more American? If you do that, the front finial that's left still needs a lot of file work IMHO.
Mr. Person is the guy for these early guns. Lets see what he thinks.
 
Hi,
I agree with 54Ball. I never really liked the finial very much but I do really like the tall robust bow and handle. It is one of the only guards you can easily buy like that without a lot of German Jaeger funkiness. Anyway, I liked the way it looked on my Star of Bethlehem rifle shown previously. The original that rifle was based on (RCA #52) has a very similar guard but with squared off finials typical of long rifles. I just adapted the Marshall guard as best I could to be similar but also to please my design tastes. Notice how the guard and toe plate match. I was not building a bench copy so I had some room to maneuver. Wax cast brass hardware can be brittle. I usually anneal it by heating to red and quenching in water. You can also just let it air cool. However, even then, wax cast brass parts can only be bent a little. Never heat bend them. You could solder the final but there is no really good brass colored solder of which I am aware. There are yellow colored solders but the color match may not be very good. The trick is to have a very thin tight joint. As far as historical precedence, unless you are making a bench copy of the Marshall rifle, reshaping the finials will look fine. Personally, I would be tempted to do it it anyway unless my objective was a copy of the Marshall rifle.

dave

dave
 
I was really hoping you guys would say that... I could have always knocked it off regardless, but it would have been eating away in the back of my mind every time I picked up the rifle. As much I as would like it to be a bench copy of the Marshall rifle, it is far from it.

I assume it would look out of place if I left the point on the rear finial and should cut that off as well???
20190212_154440A.jpg
 
This is a very unwashed opinion.
I do not think it would look bad at all with those finials gone. To me it's more conservative that way. Maybe more American? If you do that, the front finial that's left still needs a lot of file work IMHO.
Mr. Person is the guy for these early guns. Lets see what he thinks.
After this post I hesitate to participate. I have had many old guns apart. Many of the guards of this style are concave on the bottom side to conform to the slightly rounded surface of the bottom of the stock in this area. If Dave would take his antique English fowlers apart he would see this.
Seeing as how the Edward Marshal gun was made in America it would be ridiculous to cut off the finial because it's too 'fancy" for American work. American gunmakers weren't untalented dolts. Don't cut those finials off! INLET THEM!
Hi,
Take apart my fowlers like this?
f7fyZbA.jpg

C166fLE.jpg

oxhSjiE.jpg

uz2RJiB.jpg

bQikec5.jpg

Revealing that the inlets and guards are all flat on the bottom. Those photos are from an extensive series of tutorials I did last year discussing mid-18th century British sporting guns posted on the "other" major gun making website. Eric Kettenburg has an extensive and comprehensive essay on his website discussing the two Marshall rifles (Edward and William). The rifle is also discussed at length in Bob Lienemann's second volume on Moravian gun making. I clearly was made with an imported barrel and lock. There is disagreement over whether the brass hardware was mostly imported or local manufacture, or a mix of both. With regard to Buckskinn's kit, if he is trying to make a bench or close copy, then I would urge retaining the finials. If not I would suggest he do what is comfortable for his skill level. However, I would never insist he do anything.

dave
 
Last edited:
I'm quite surprised the front finials on those trigger guards aren't concave on the bottom, I believe of all the English fowling guns I have owned (2 Nocks, Egg )and others I have had apart that was the case. Same situation with my French guns and German rifles. I nearly always add slight concavity to my guards using a swage block.
I am familiar with Kettenburg's and Lienemann's writing on the Moravian guns and have spoke with both gents in depth on the subject.
Marshal guard: I believe there was originally a German import guard that arrived in the Moravian gunshops that they may have used as a master to cast some of their guards. The signed Albrecht gun's trigger guard is identical in side profile as the Marshal guard although the finials are filed slightly different. It was obviously cast from the same master as the marshal gun. It seems there is another Moravian gun that uses this same guard but I can't recall which at the moment.
BTW, I may not insist the man do as I say, but I would strongly encourage him to take the challenge and do this properly.
Hi,
Show us. Post some photos. That would be very helpful.

dave
 
Hi,
A few days ago I received this original fowler made by Elston of Doncaster, UK during the 1770s 0r 1780s. I've not diassembled it but I will do so completely, photograph it, and add the photos to the tutorial "Understanding the Mid-18th Century British Fowler", which I posted last year on another forum. I decided to pop the guard off today and take a look at how it was inlet. The guard is iron so I will be able to show one from brass, another from silver, and a third from iron. The photos below show the guard and its cross section. It is essentially flat on the bottom but actually has a very slight hump in the middle.

dave
ScqyhDl.jpg

Ry3n0DI.jpg

iYDPsnT.jpg
 
After this post I hesitate to participate. I have had many old guns apart. Many of the guards of this style are concave on the bottom side to conform to the slightly rounded surface of the bottom of the stock in this area. If Dave would take his antique English fowlers apart he would see this.
Seeing as how the Edward Marshal gun was made in America it would be ridiculous to cut off the finial because it's too 'fancy" for American work. American gunmakers weren't untalented dolts. Don't cut those finials off! INLET THEM!

Did I ever say American Gunsmiths were untalented dolts? Did I ever say American gunsmiths were incapable of fine work?

Buckskin does not have to really "Cut" the front finials off as he accidentally broke the guard! It's cracked and likely will not survive the finish work in one piece. Worse yet he could inlet it partially broken...break the guard and have to order a new one...one that does not fit the inlet.

Since the front finials are a small detail. Since their absence would have no real bearing on the overall architecture of this rifle I feel it would be fine for him to proceed without them. The guard still needs work. In my opinion, by judging other rifles of the period that rifle would finish just fine without the three acorns.

It's his choice. If he wants to keep them, he can repair the guard or likely the easiest solution...order a new one. I'll say it again....the rifle will finish just fine with out them. that's my opinion and I respect yours.

Ultimately it's Buckskin's choice.

(the original Rifle)
http://www.erickettenburg.com/Site_2/Part_12,_contd._files/Mar8_1.jpg

http://www.erickettenburg.com/Site_2/Part_12,_contd._files/Mar7_1.jpg

Compare that link to this....
20190213_180145-jpg.4606

Look at how the trigger guard is executed on the Marshall Rifle. 2 main things. The guard (appears) to be set rather deep. It may not be as deep as it appears...if so there has been a lot of file work.
(Buckskin's Rifle) It's Obvious the guard needs to come down. As Mr. Person advised, it's a good idea to go head and refine those lock panel details....then work on the guard. To get that guard down....the guard will have to be notched at the trigger plate. That and the file work.
Thoughts on file work.....
Cast guards like in the 18th Century were rough indeed out of the mould. They were pretty much just blobs. Most of the time the mould halves were slightly offset. Look at the links and you can see this on the original. Note that the guard is not perfectly symmetrical. It was the file skill of the smith that makes these castings artful, making the imperfect look very good.

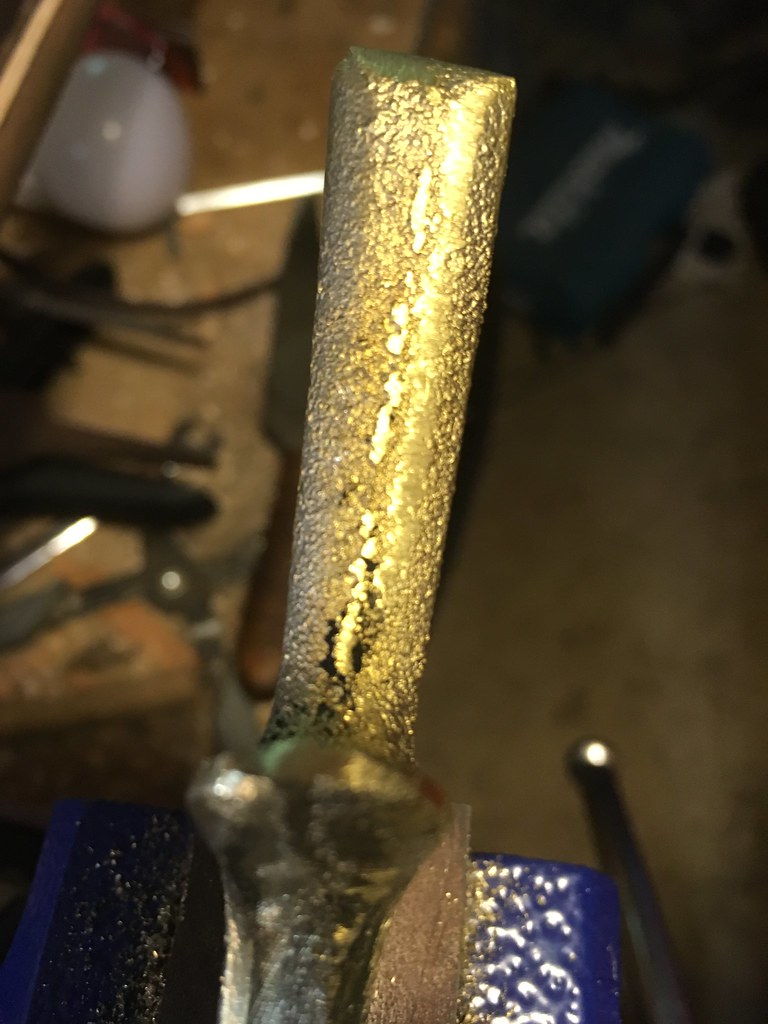
Modern wax cast stuff looks really good. It looks so good that a new builder may just "clean it up" when in reality it's still pretty much a blob...a clean looking blob, but a blob needing a great deal if file work all the same.

Buckskin, It would be a good idea to study photos of the original and try to recreate the look and fit of that guard, even without the finials.

I'm not into this rifle, Buckskin is. From what I see now.....

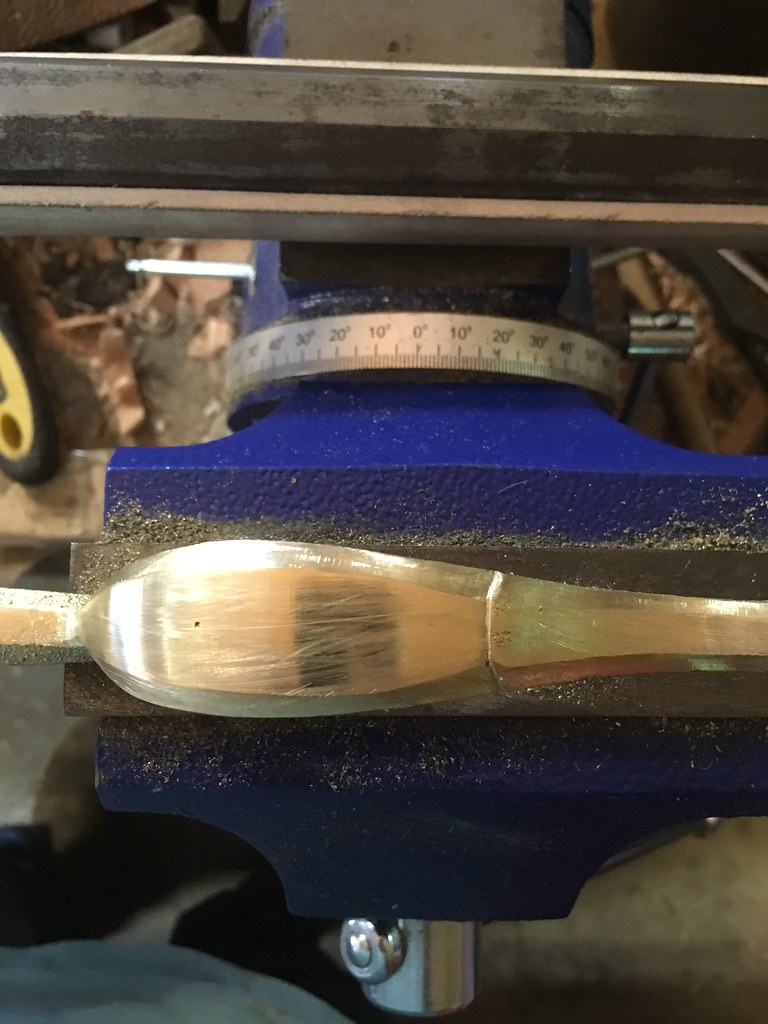
I Like to get the guard nearly file-finshed before I start putting it on a rifle. Why? If I have to tweak the guard shape (by filing) later...it may not fit the started inlet. I like to file a draft on the bottom (wood) side to meet the inlet line. This draft aids in letting the guard down. Trigger plate notch...there, it's a slow go.

Bending....guards are funny things where the bend needs to be tweaked may not be where you think it needs to be tweaked. To get the front finial down.....you may need to work at the bow. Then it may need to be twisted a little. It my be fine as is....it's one of those things....what ever is necessary.
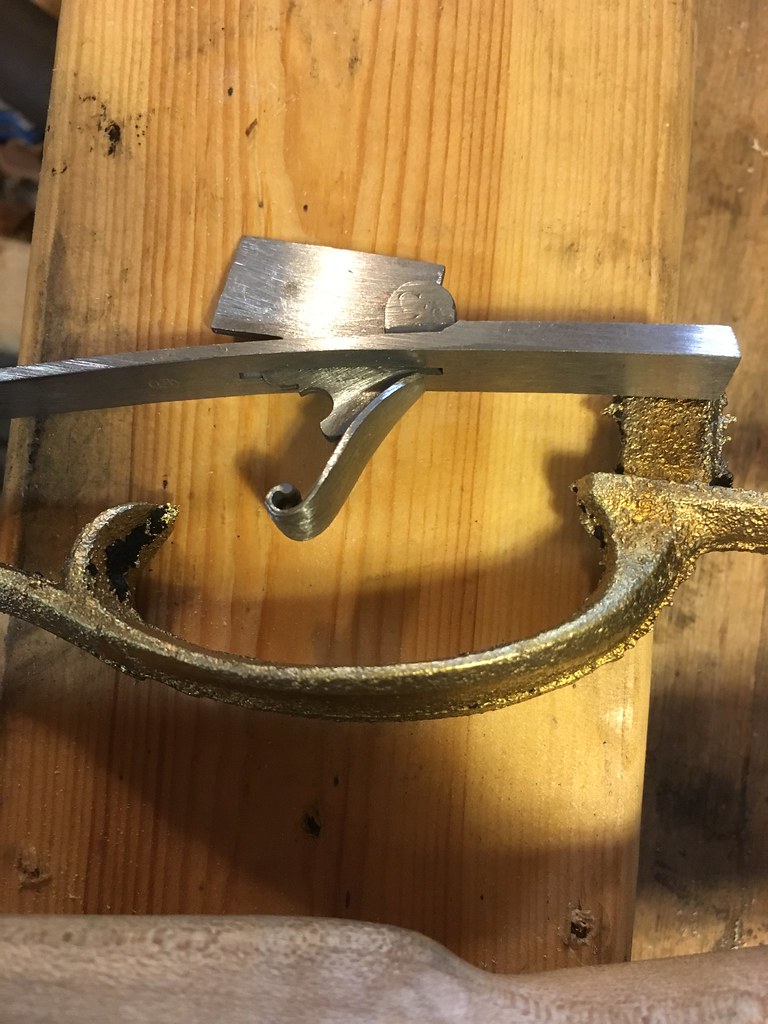
Untitled by Travis Brown, on Flickr

Untitled by Travis Brown, on Flickr

Untitled by Travis Brown, on Flickr

Untitled by Travis Brown, on Flickr

Untitled by Travis Brown, on Flickr

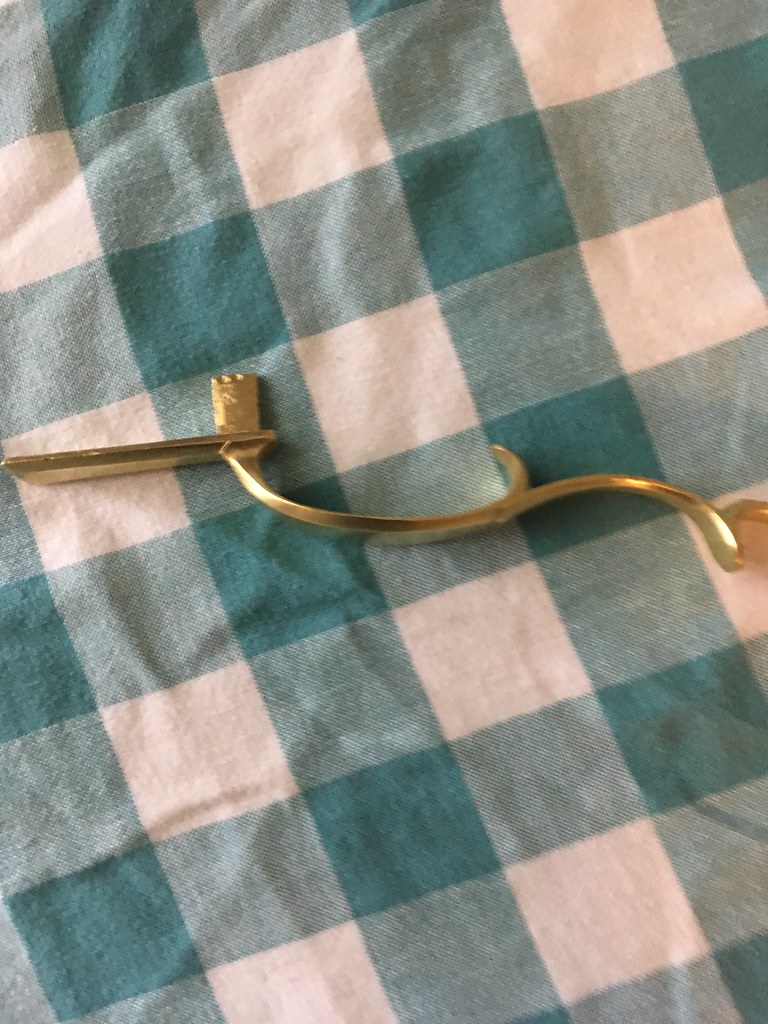
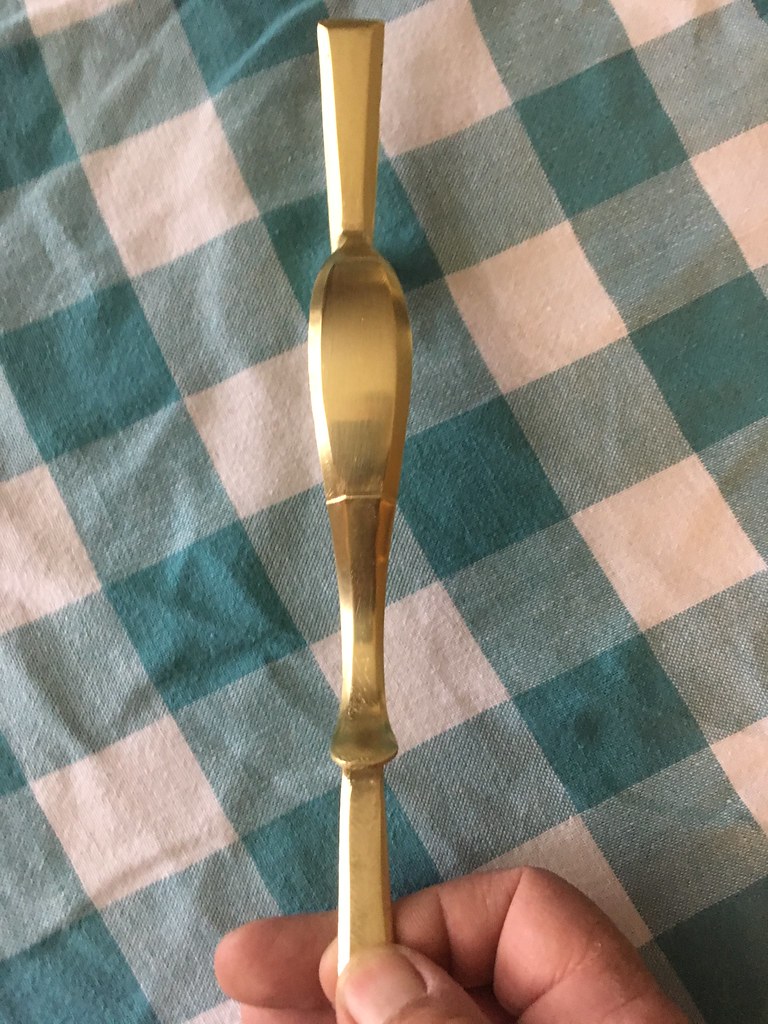
This is rough as cob sand casting. This is an example of the great deal of filework required. Since it was cast crooked, it will not be symmetrical. Other than the lugs this castings is ready to be fit to the stock. The profile is set. While it needs some more cosmetic work to clean it up in spots it's ready to be letted .

Buckskin I honestly feel you have lots of lee way here and the main priority ought to be the execution of the workmanship, architecture and mechanical function....
 
Back
Top