-
Friends, our 2nd Amendment rights are always under attack and the NRA has been a constant for decades in helping fight that fight.
We have partnered with the NRA to offer you a discount on membership and Muzzleloading Forum gets a small percentage too of each membership, so you are supporting both the NRA and us.
Use this link to sign up please; https://membership.nra.org/recruiters/join/XR045103
You are using an out of date browser. It may not display this or other websites correctly.
You should upgrade or use an alternative browser.
You should upgrade or use an alternative browser.
Update on the Snaphaunce Fowler
- Thread starter jsn
- Start date

Help Support Muzzleloading Forum:
This site may earn a commission from merchant affiliate
links, including eBay, Amazon, and others.
jtmattison
70 Cal.
- Joined
- Mar 17, 2004
- Messages
- 4,686
- Reaction score
- 8
Looking good.
:thumbsup:
HD
:thumbsup:
HD
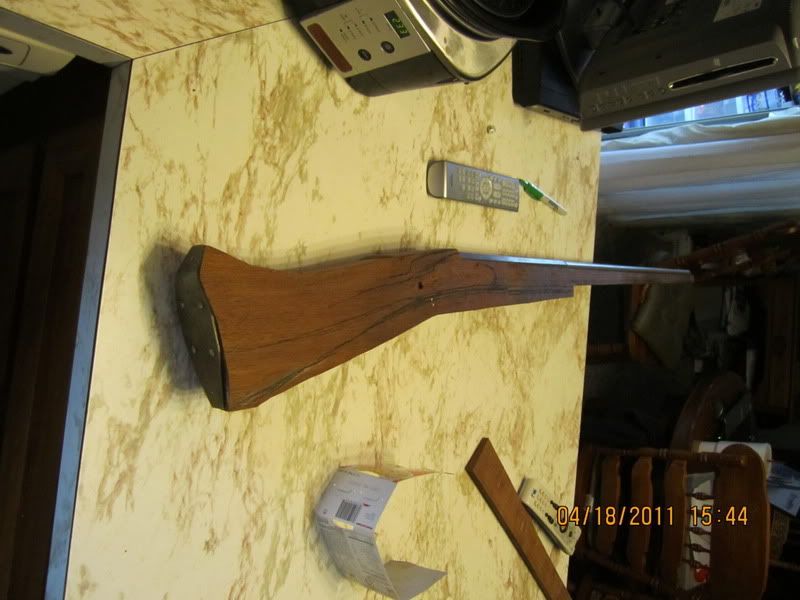
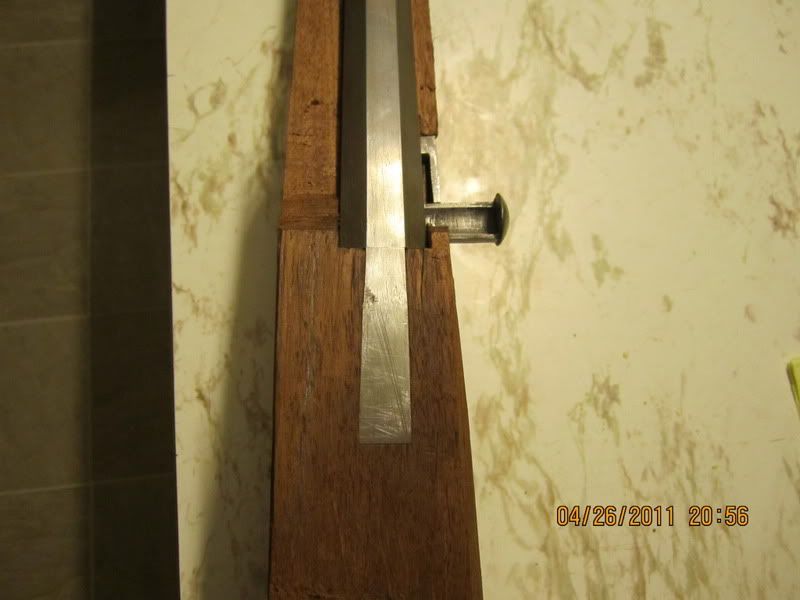
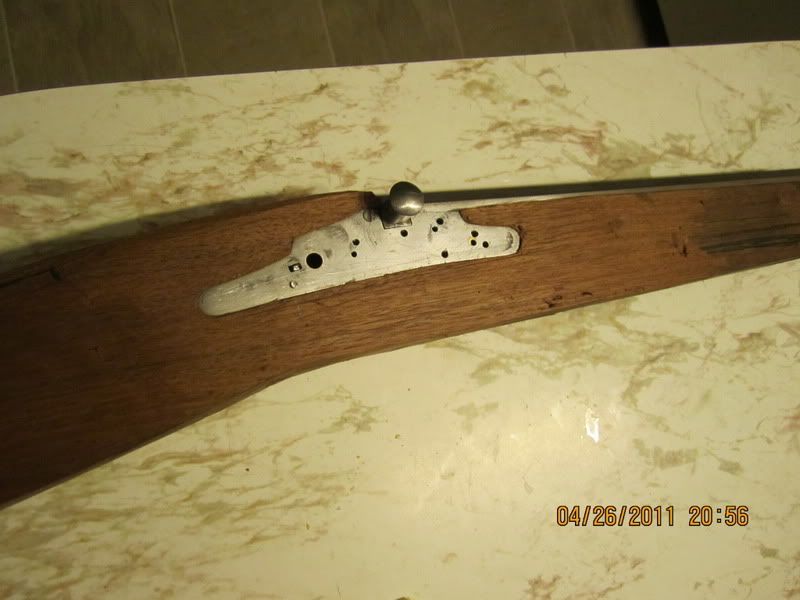
Sorry for the long wait, its been rediculous trying to work on this when all these storks have been rollig thru. oh well the lock is down, getting ready to have a ramrod drill made at a local welding shop then I can really start shaping and such!


Guest
moving right along.
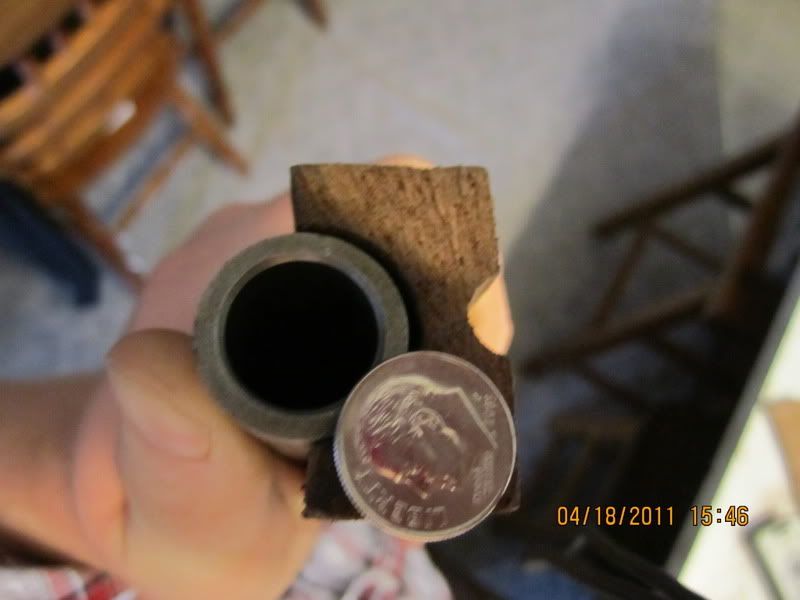
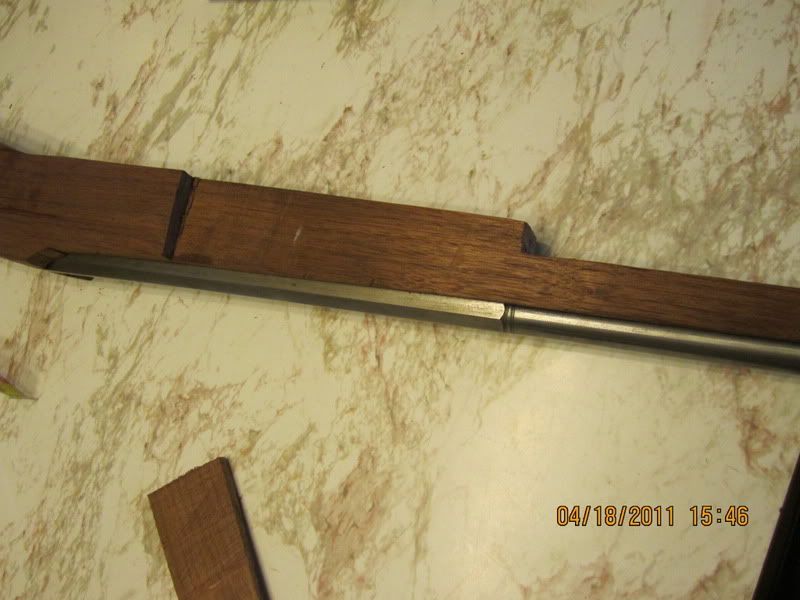
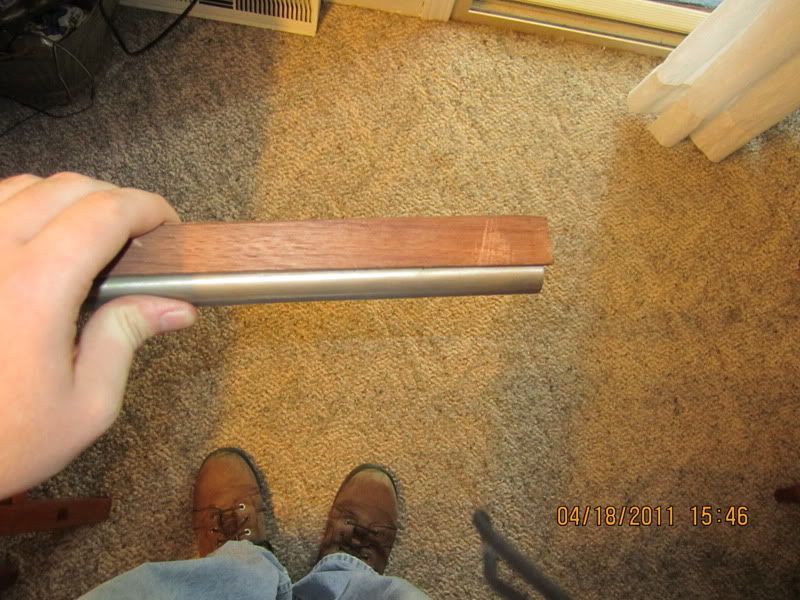
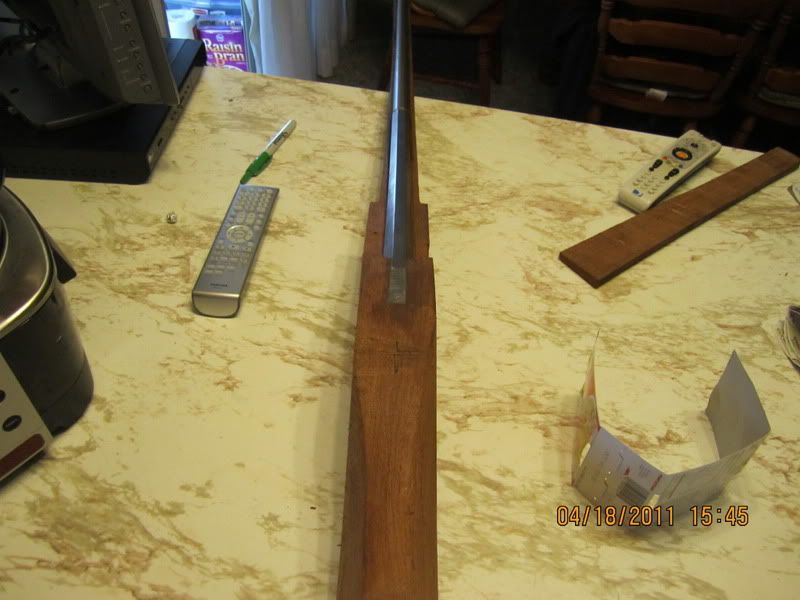
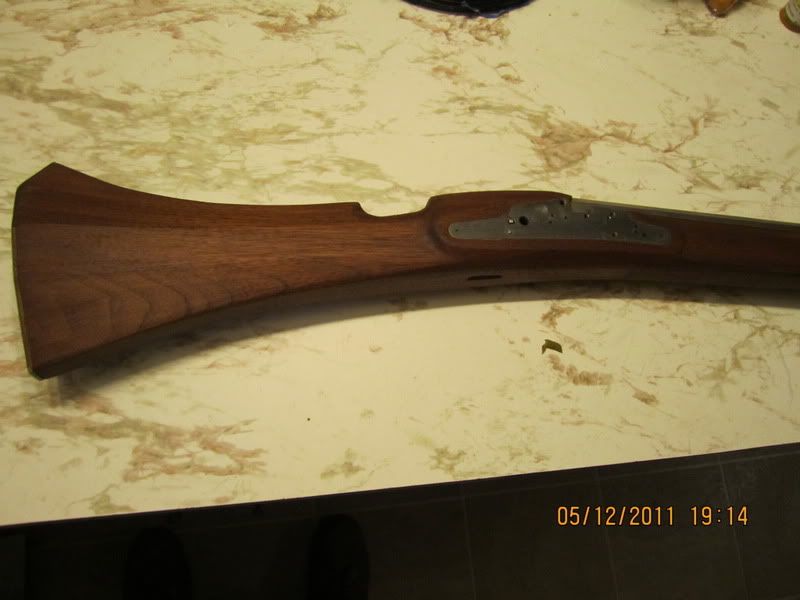
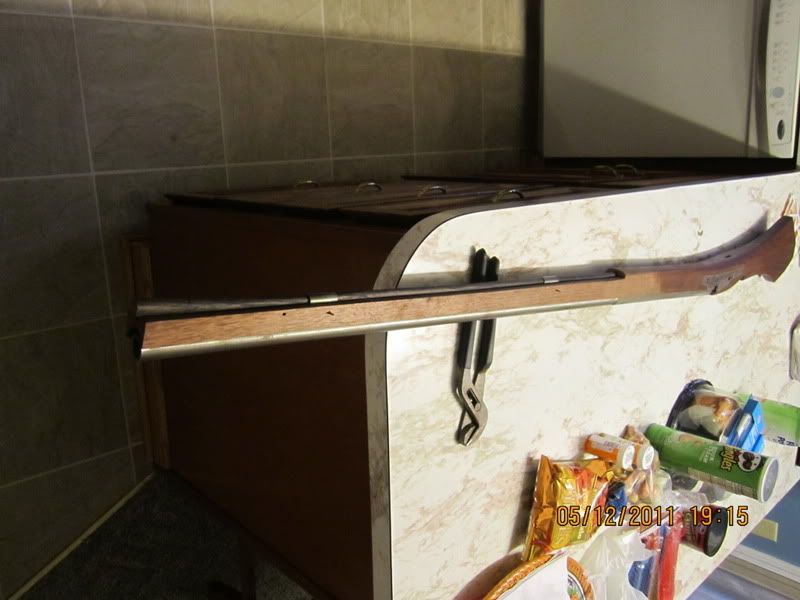
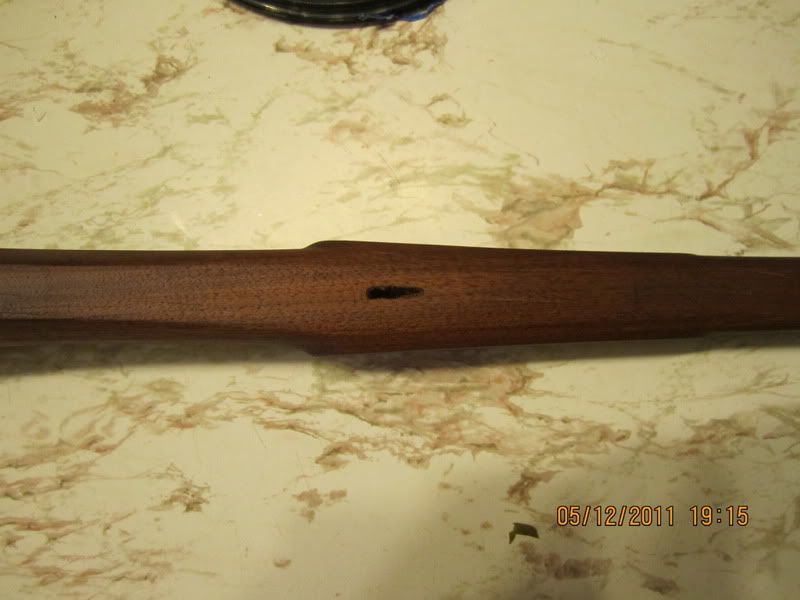
Well Today I got my ramrod drill made, charge $12 for the bit $6 for the rod Welding job was free from a local shop, Ill definately contact them again if I want any major welding done again. Well anyway in 3 hours I drilled the ramrod hole, the web at the breech is about what I expected, about 3/8 the muzzle it is 3/16 so its a bit of tall forestock at the breech but I believe it wont be as noticeable when its done after all of the shaping. Anyway its the first time Ive ever drilled a ramrod hole. Well here are some pictures of the gun at the moment.
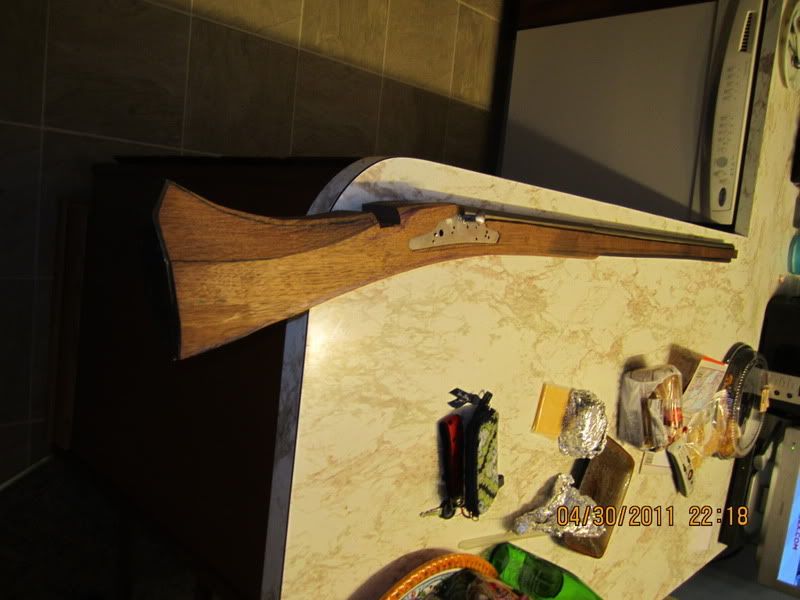
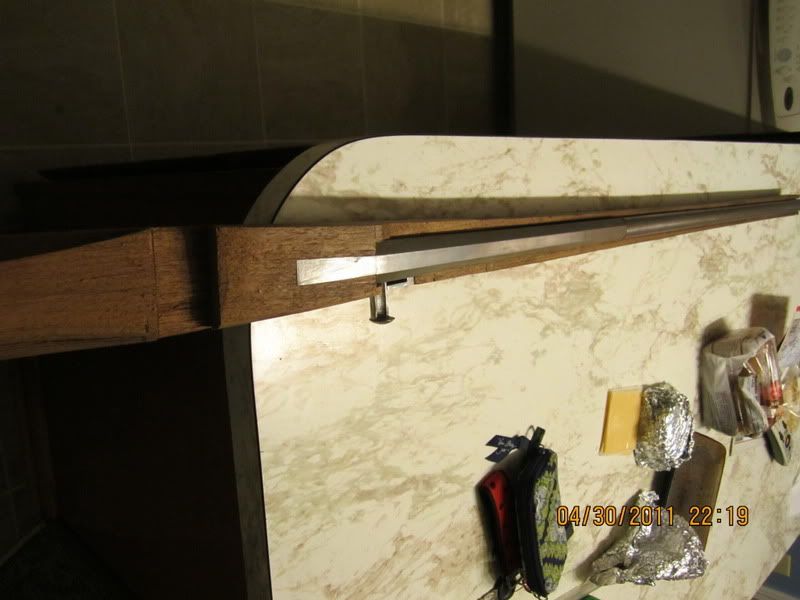
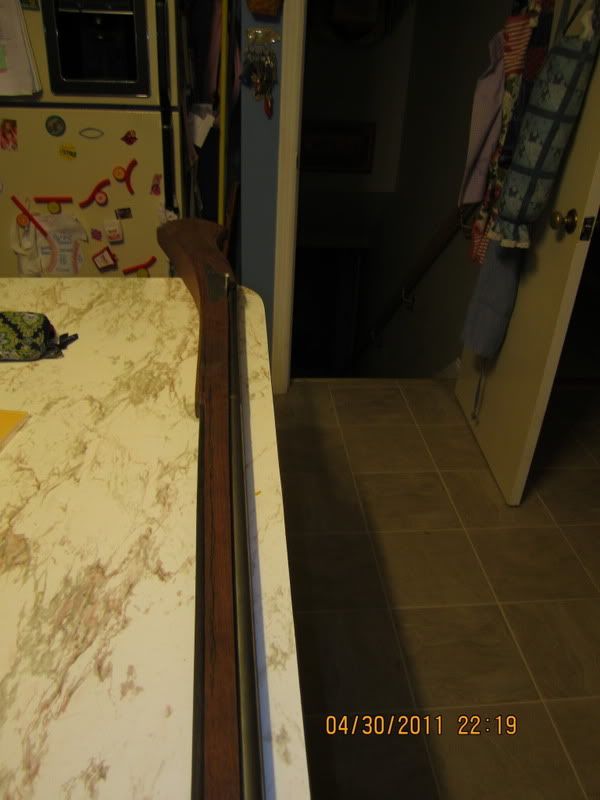


This is how far Ive gotten in my spare time, theres a small gap on the left side of the barrel channel, so I will glue in a splinter then the forward ramrod pipe is a bit wobily so I will also fix that by mixing sawdust and glue to make matching putty that can be stained.
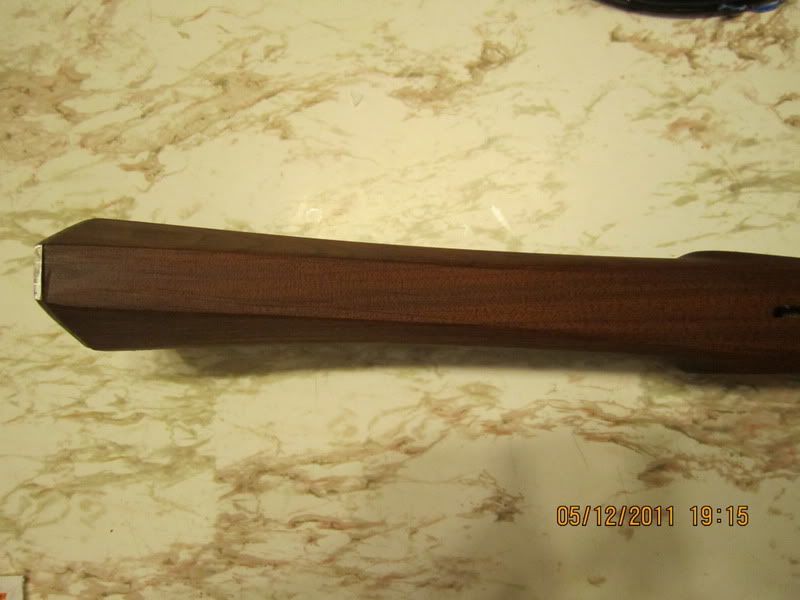
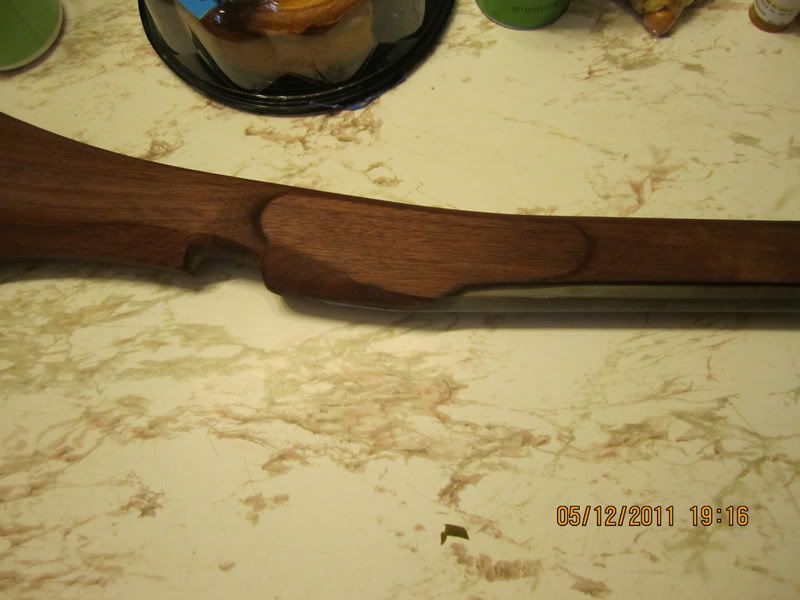


- Joined
- May 24, 2005
- Messages
- 5,441
- Reaction score
- 5,212
This is going to turn out very cool. :thumbsup:
- Joined
- Nov 26, 2005
- Messages
- 5,203
- Reaction score
- 10,793
Hi Odd fellow,
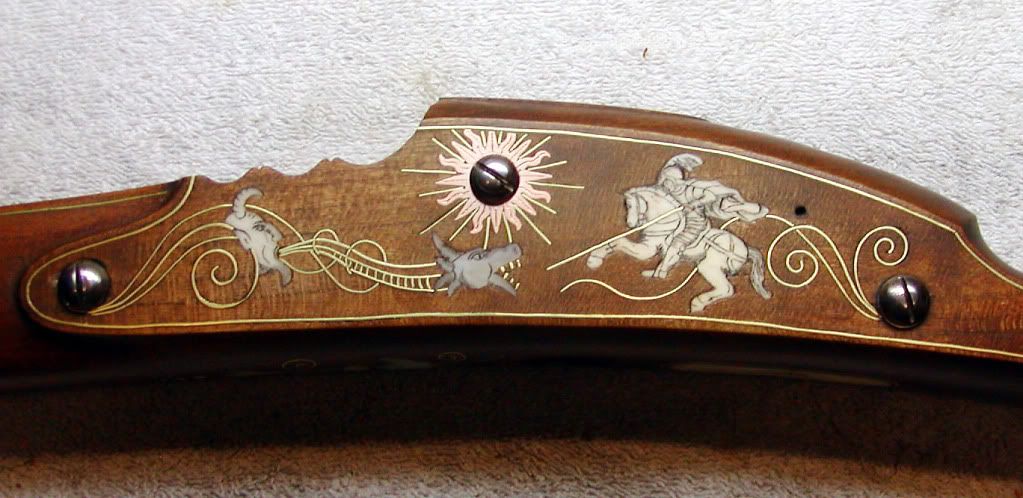
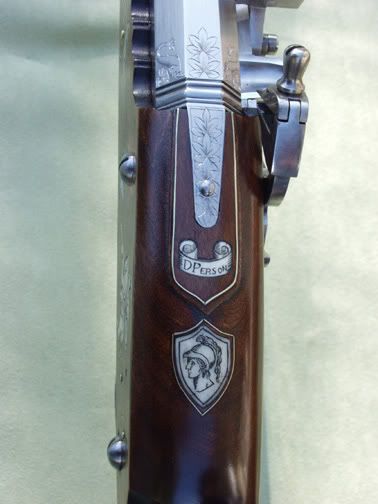
It looks like you are progressing but you really, really, really, need to look at a lot more photos of original snaphaunces. You are creating kind of a hybrid between a later 17th or 18th century gun and an early 17th or 16th century gun. You won't find many English or Dutch snaphaunces with lock panels as you have done them. In addition, the barrel tangs usually did not flare out. They were parallel sided or they tapered toward the butt. The stocks were also parallel sided through the lock panels. There certainly are many variants and exceptions to every rule but it really pays to spend time looking at originals and photos. Below are photos of an early 17th century gun that I made. Note the lock panel has a molding in the front but remains flat with the buttstock in the rear (no molding). That was typical during the early 17th century. Actually, more typical was to have no front molding, just the lock panel having a straight edge that was vertical or angled forward and not curved around the front of the lockplate or sideplate. I included a photo of an original French wheellock that illustrates this.
Good luck and keep going. You are doing well but spend some time doing research. It will really pay off in the end.
dave


- Joined
- Jun 12, 2005
- Messages
- 8,014
- Reaction score
- 1,021
Dave-
That's a fantastic scene of St Michael putting the hurt on the dragon.
What did you use to to the inlays?
Thanks!
MSW
That's a fantastic scene of St Michael putting the hurt on the dragon.
What did you use to to the inlays?
Thanks!
MSW
The only reason I did the lock pannels as I did was that the wrist of the gun was over 2 inches wide, the curve I am going to remove I do understand what you are saying about that tho I am still in the process of shaping, the finish is on there to see where I need to take off, Im trying to get it to be like a gun that would have been here in the 17th century so I am letting some later styling leak into it but also some earlier. This is my first gun that was not a kit or parts of a kit also. It did take some cringing to let some things thru tho, I realize that the tang is wrong but figured it wouldnt effect the overall gun. Thankyou for the advice also, looking back when I started I was working off of some not entirely correct models also. Btw your piece is about the closest to pc that I have found other than an origional. I was mixing some matchlock traits from german and austrian muskets with some of the museum pieces and the mayflower gun you posted earlier to create a more common mans gun which really is kind of funny since the common man could hardly afford a matchlock but I like it! Forgot to mention that the barrel is 9/8 wide at the breech and less than 7/8 at the transition, sould have chosen a better barrel.
- Joined
- Nov 26, 2005
- Messages
- 5,203
- Reaction score
- 10,793
Hi MSW,
Thanks for the interest. I don't want to stray from Odd Fellow's thread so just click on the link:
http://www.muzzleloadingforum.com/fusionbb/showtopic.php?tid/256679/
dave
Thanks for the interest. I don't want to stray from Odd Fellow's thread so just click on the link:
http://www.muzzleloadingforum.com/fusionbb/showtopic.php?tid/256679/
dave
Last edited by a moderator:
- Joined
- Nov 26, 2005
- Messages
- 5,203
- Reaction score
- 10,793
Hi Odd Fellow,
I am very impressed with your work and determination. Please do not take any of my comments ill. They are meant simply as helpful advice from a mentor, as I think you understand very well. I am very jazzed by the fact that a lad of your age has the drive and ambition to recreate an ancient gun. Your skills are developing well and I think you may evolve into a top gunmaker if you choose to. Be patient and focus on details, and I think you will do great.
Your Friend,
dave
Im not the best at typing sorry if I sounded upset, I wasnt, I really enjoy the help all of you give!
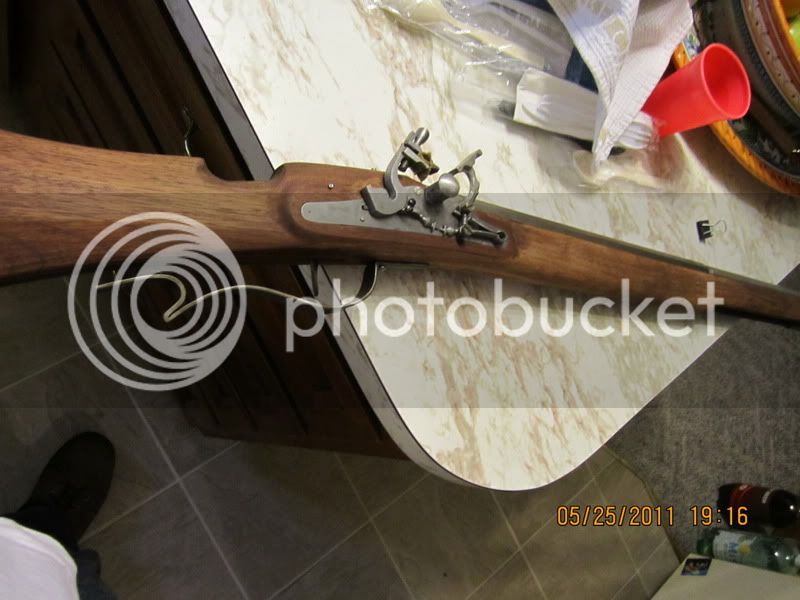
Oh in the wrist area I was using some details from a Jack Haugh rifle on TOW, I honestly had absolutely no Idea that they continued thru without a cut down arround the lock, The thickness of the pannel is about 3/8ths of an inch wide which Im going to thin to an 8th and flatten the back to seem a bit more period correct.
In a way it is kind of funny how they almost never take overhead photos of the tang and wrist on these types of guns huh?
- Joined
- Jun 12, 2005
- Messages
- 8,014
- Reaction score
- 1,021
odd fellow said:In a way it is kind of funny how they almost never take overhead photos of the tang and wrist on these types of guns huh?
Yes! maddeningly so! Especially when, in my opinion anyway, that's where the geometry of the gun links with the geometry of the wrist and hand of the shooter and really effects the way you grab the thing!
By the way- keep up the good work!
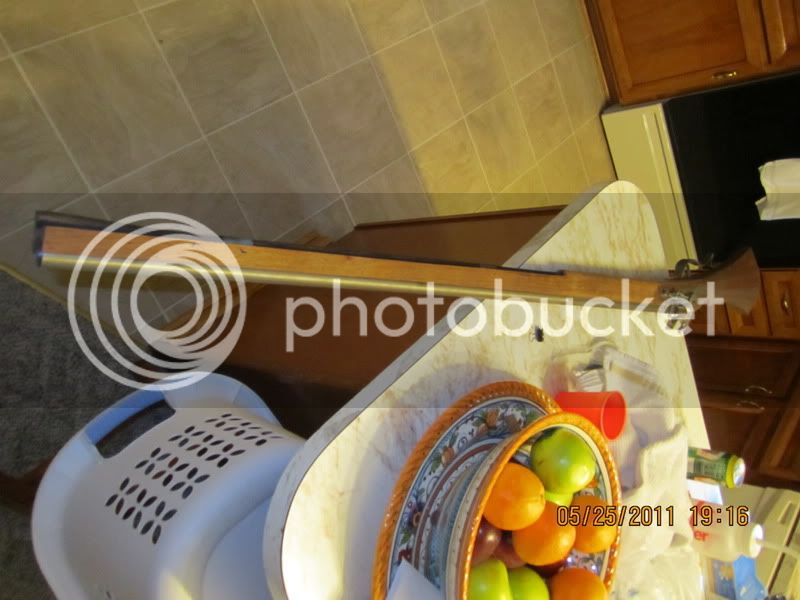
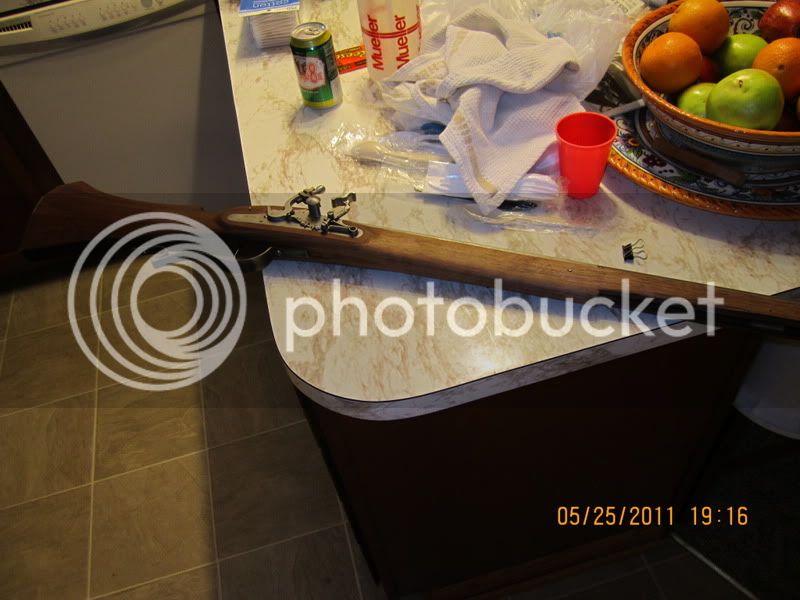
An update on the project! I inletted the trigger, made and dovetailed the lug for the octagon section, drilled it in place, now I have started shaping the forestock. Now its time for the other 2 lugs, attatching the lock to the stock and final shaping of the whole stock and the hardening and tempering of the whole lock!


Similar threads
For Sale - Parts
17th Century Snaphaunce/Flintlock lock plate fancy
- Replies
- 0
- Views
- 127


