Yet Another Kibler Woodsrunner

Muzzleloading Forum

Help Support Muzzleloading Forum:

This site may earn a commission from merchant affiliate links, including eBay, Amazon, and others.
Joined
Oct 26, 2022
Messages
23
Reaction score
97
Location
Texas
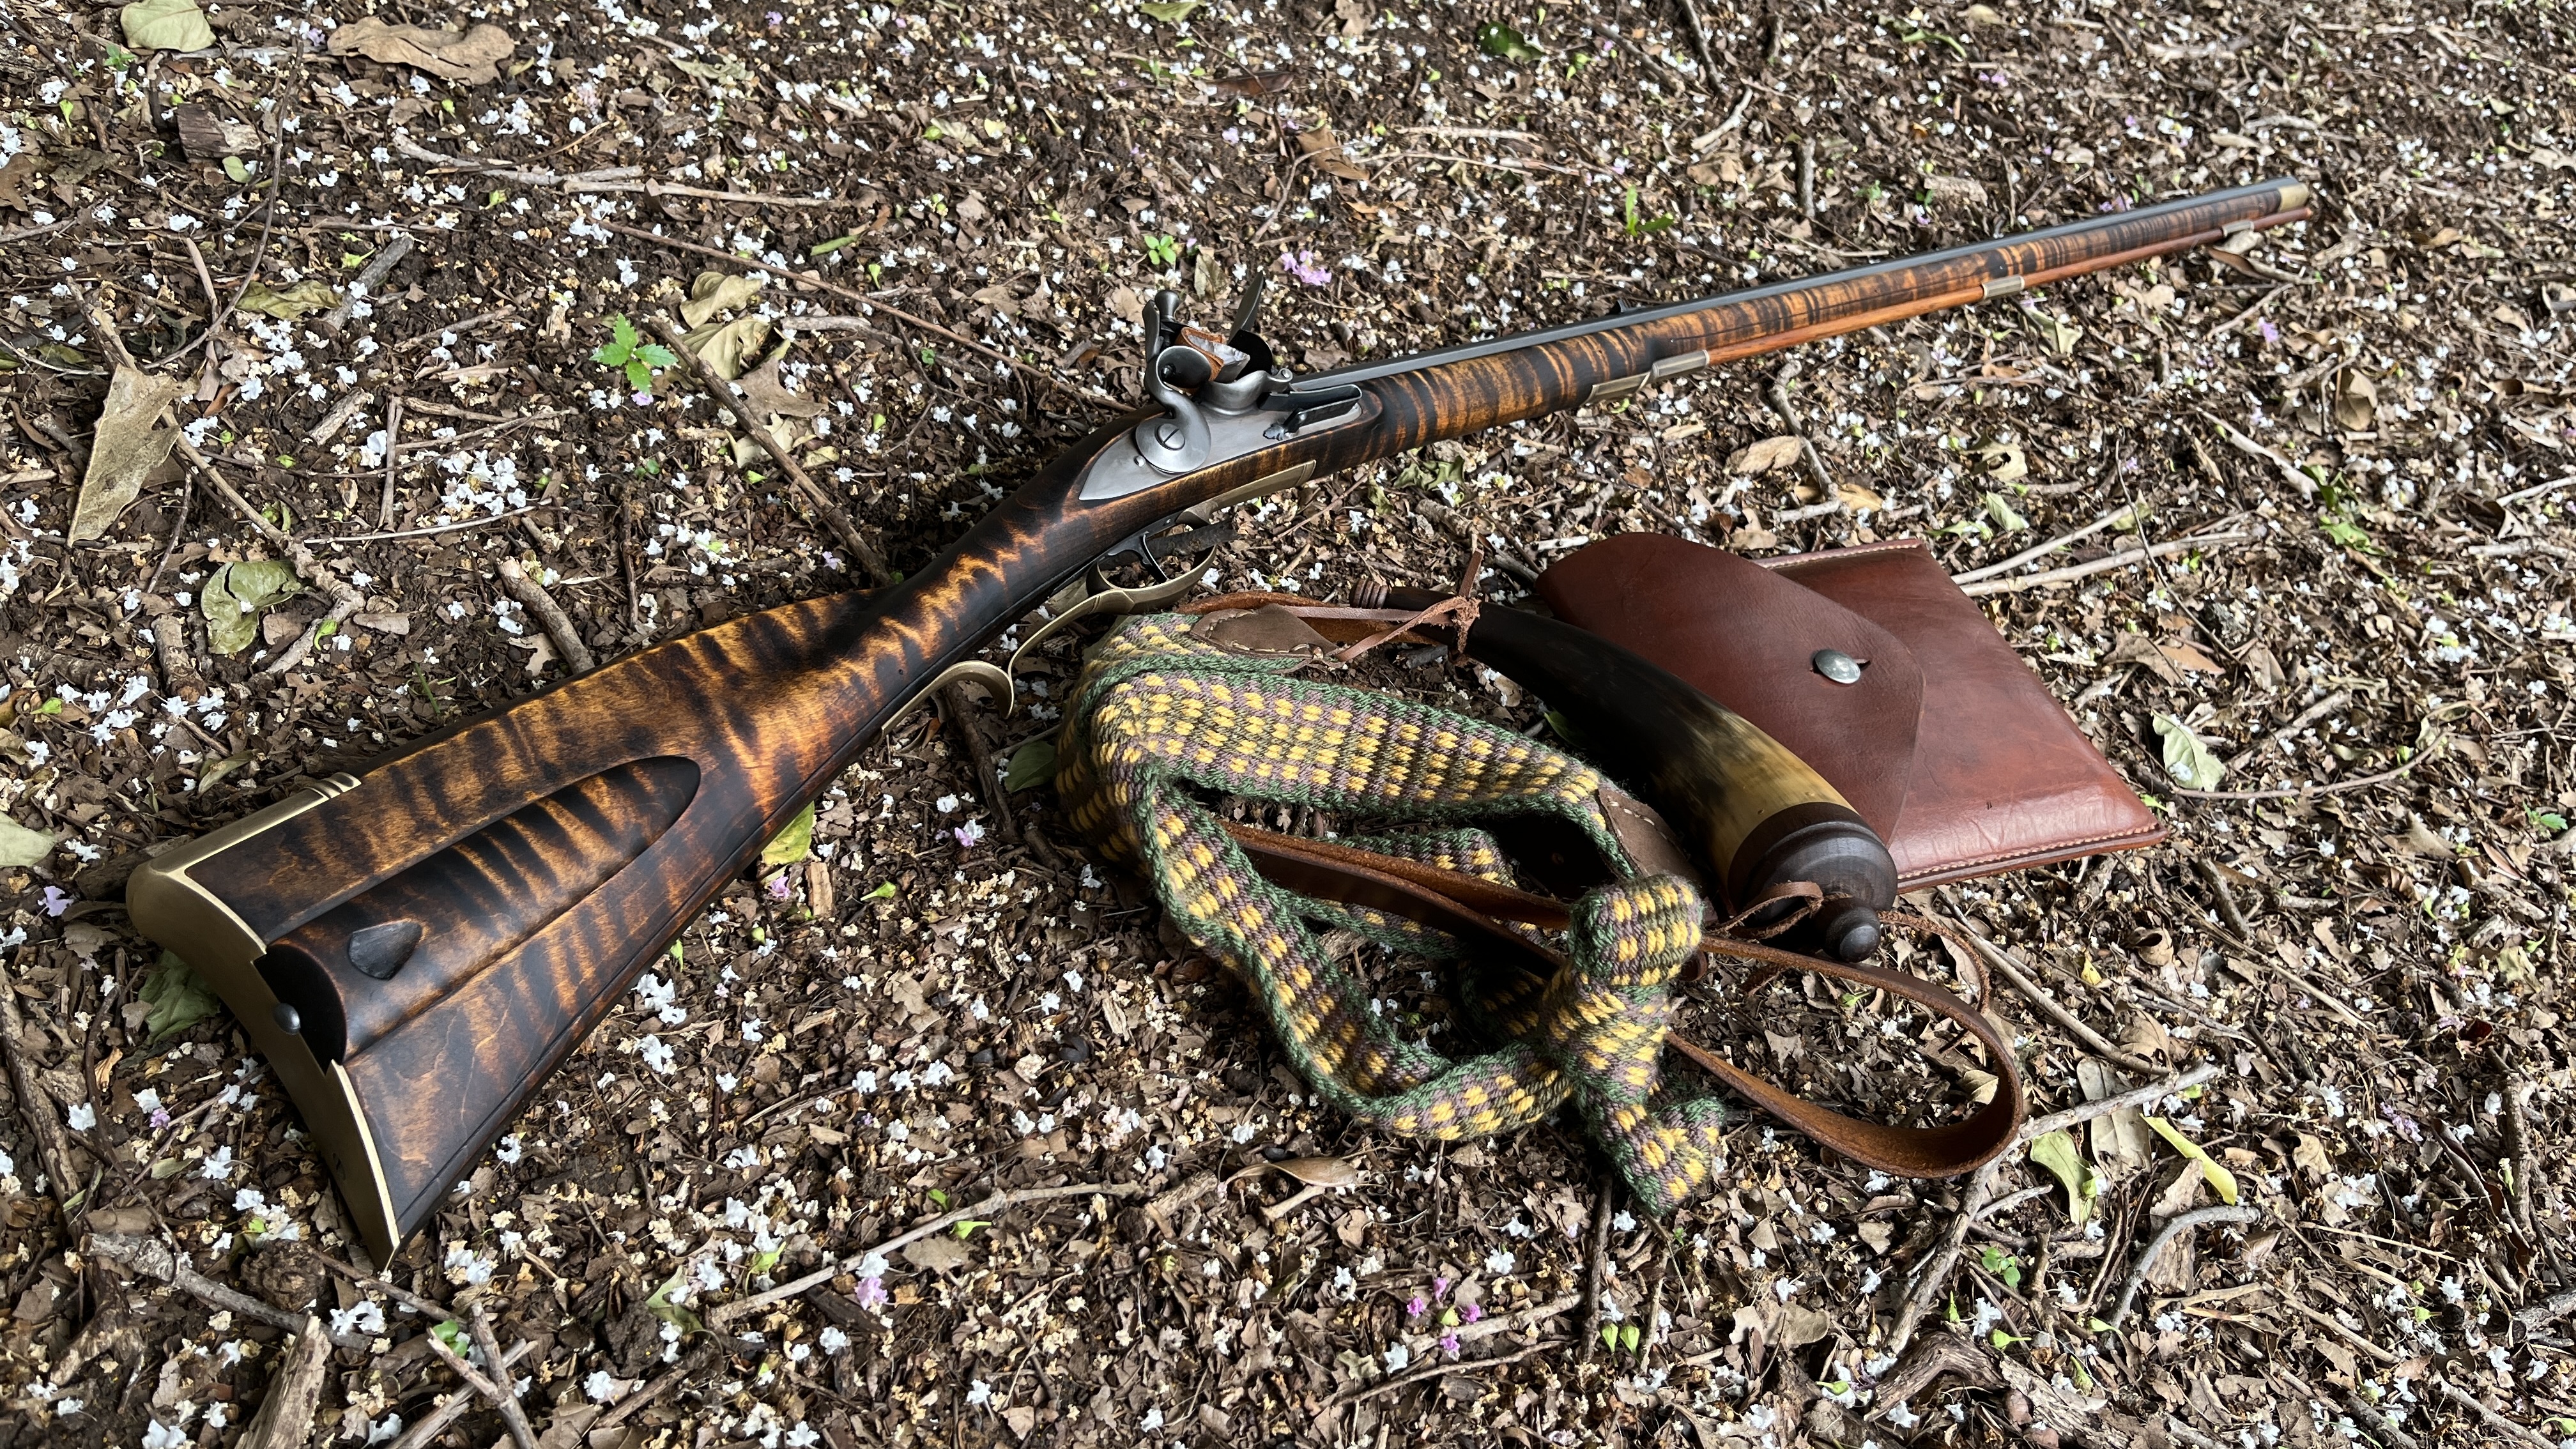
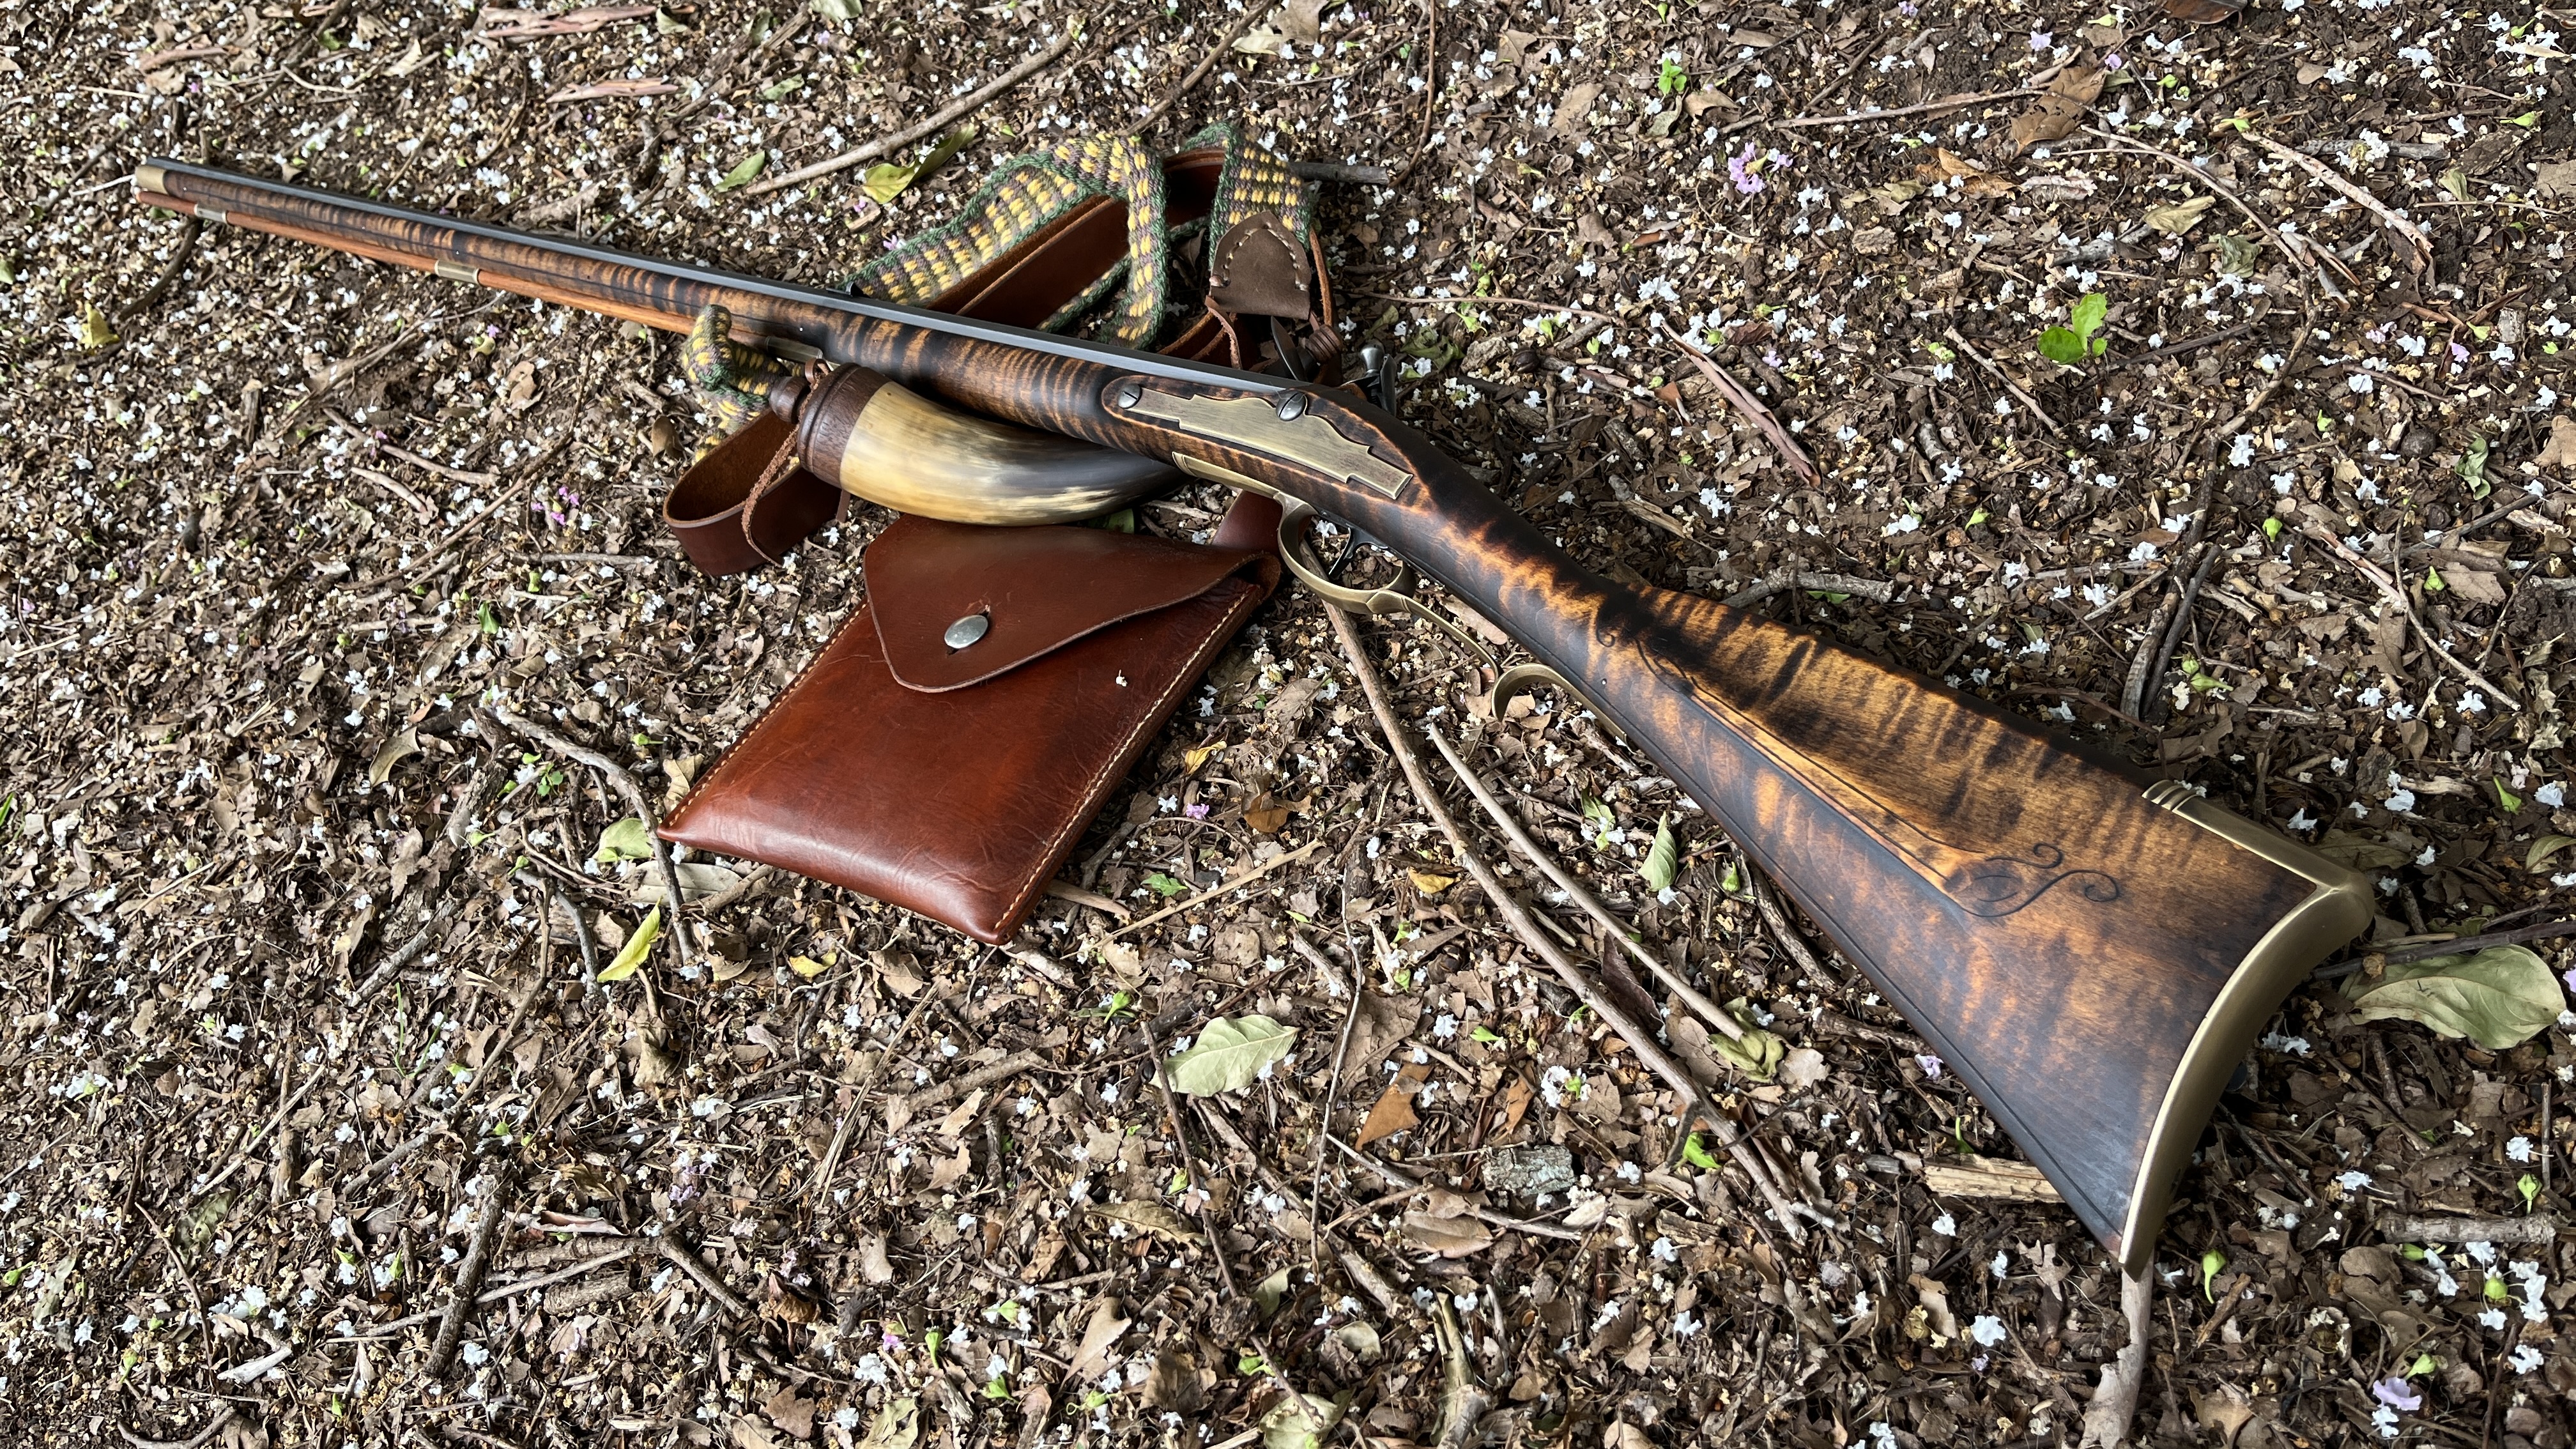
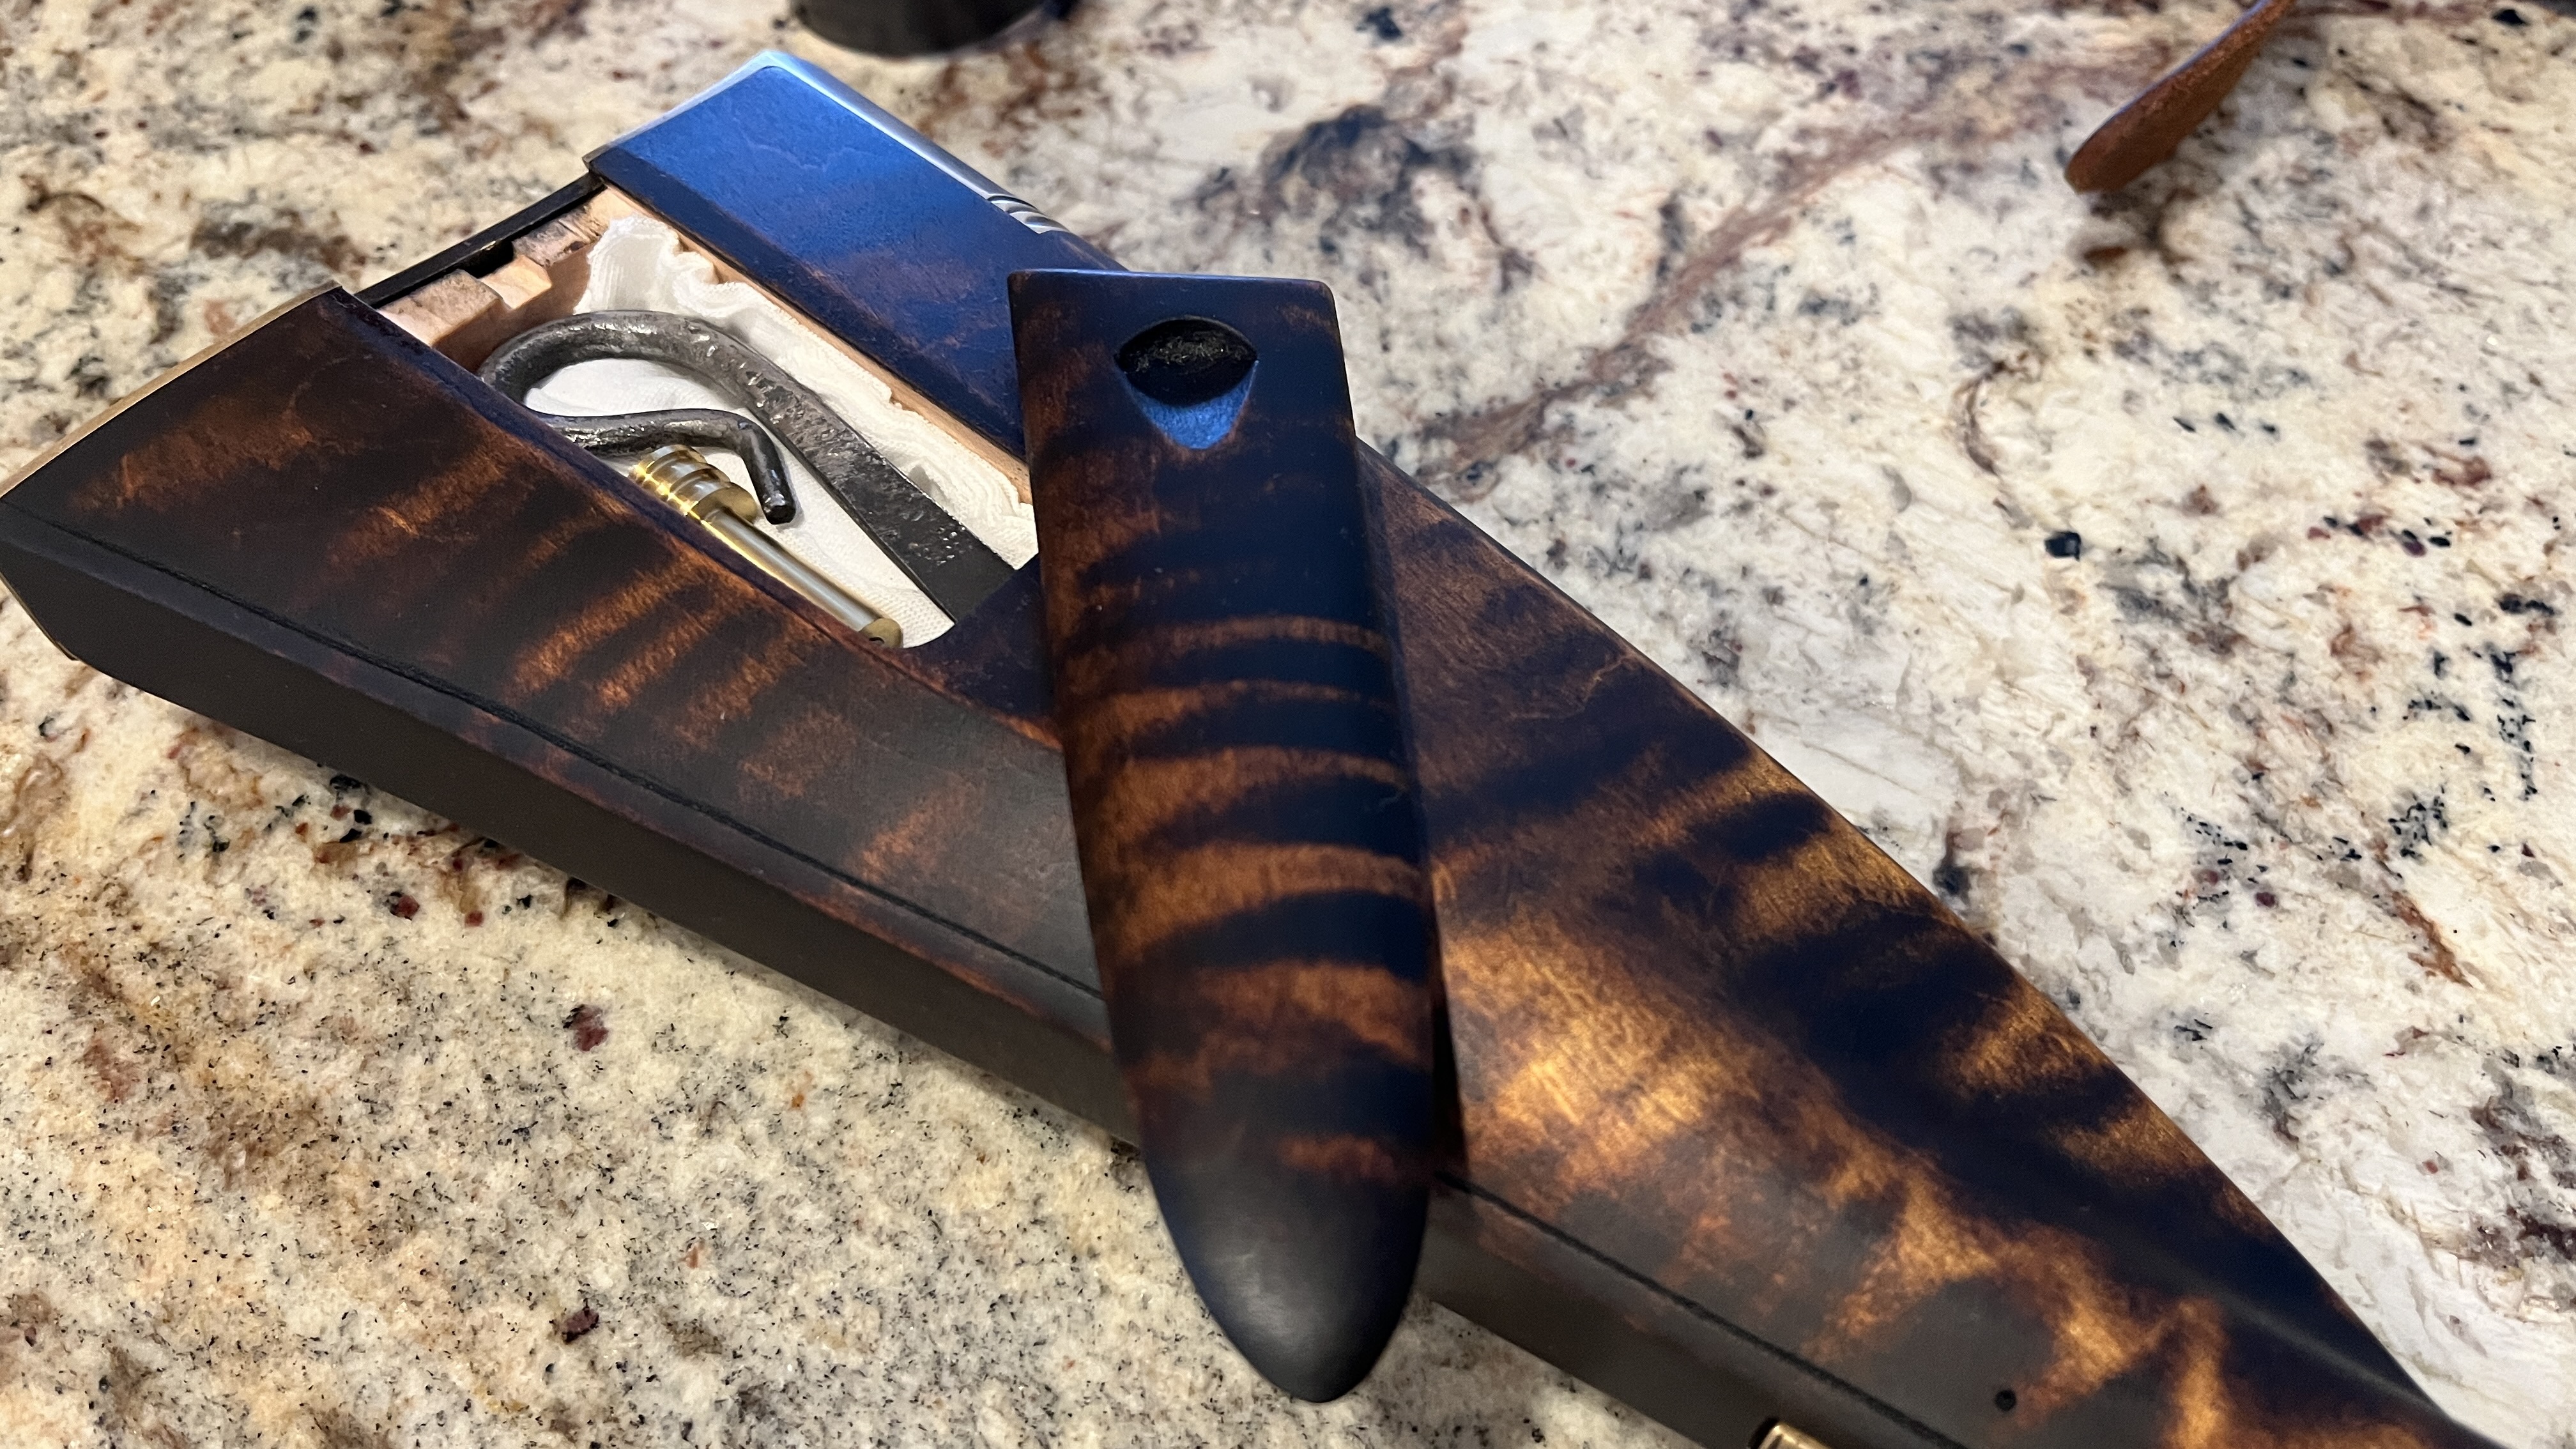
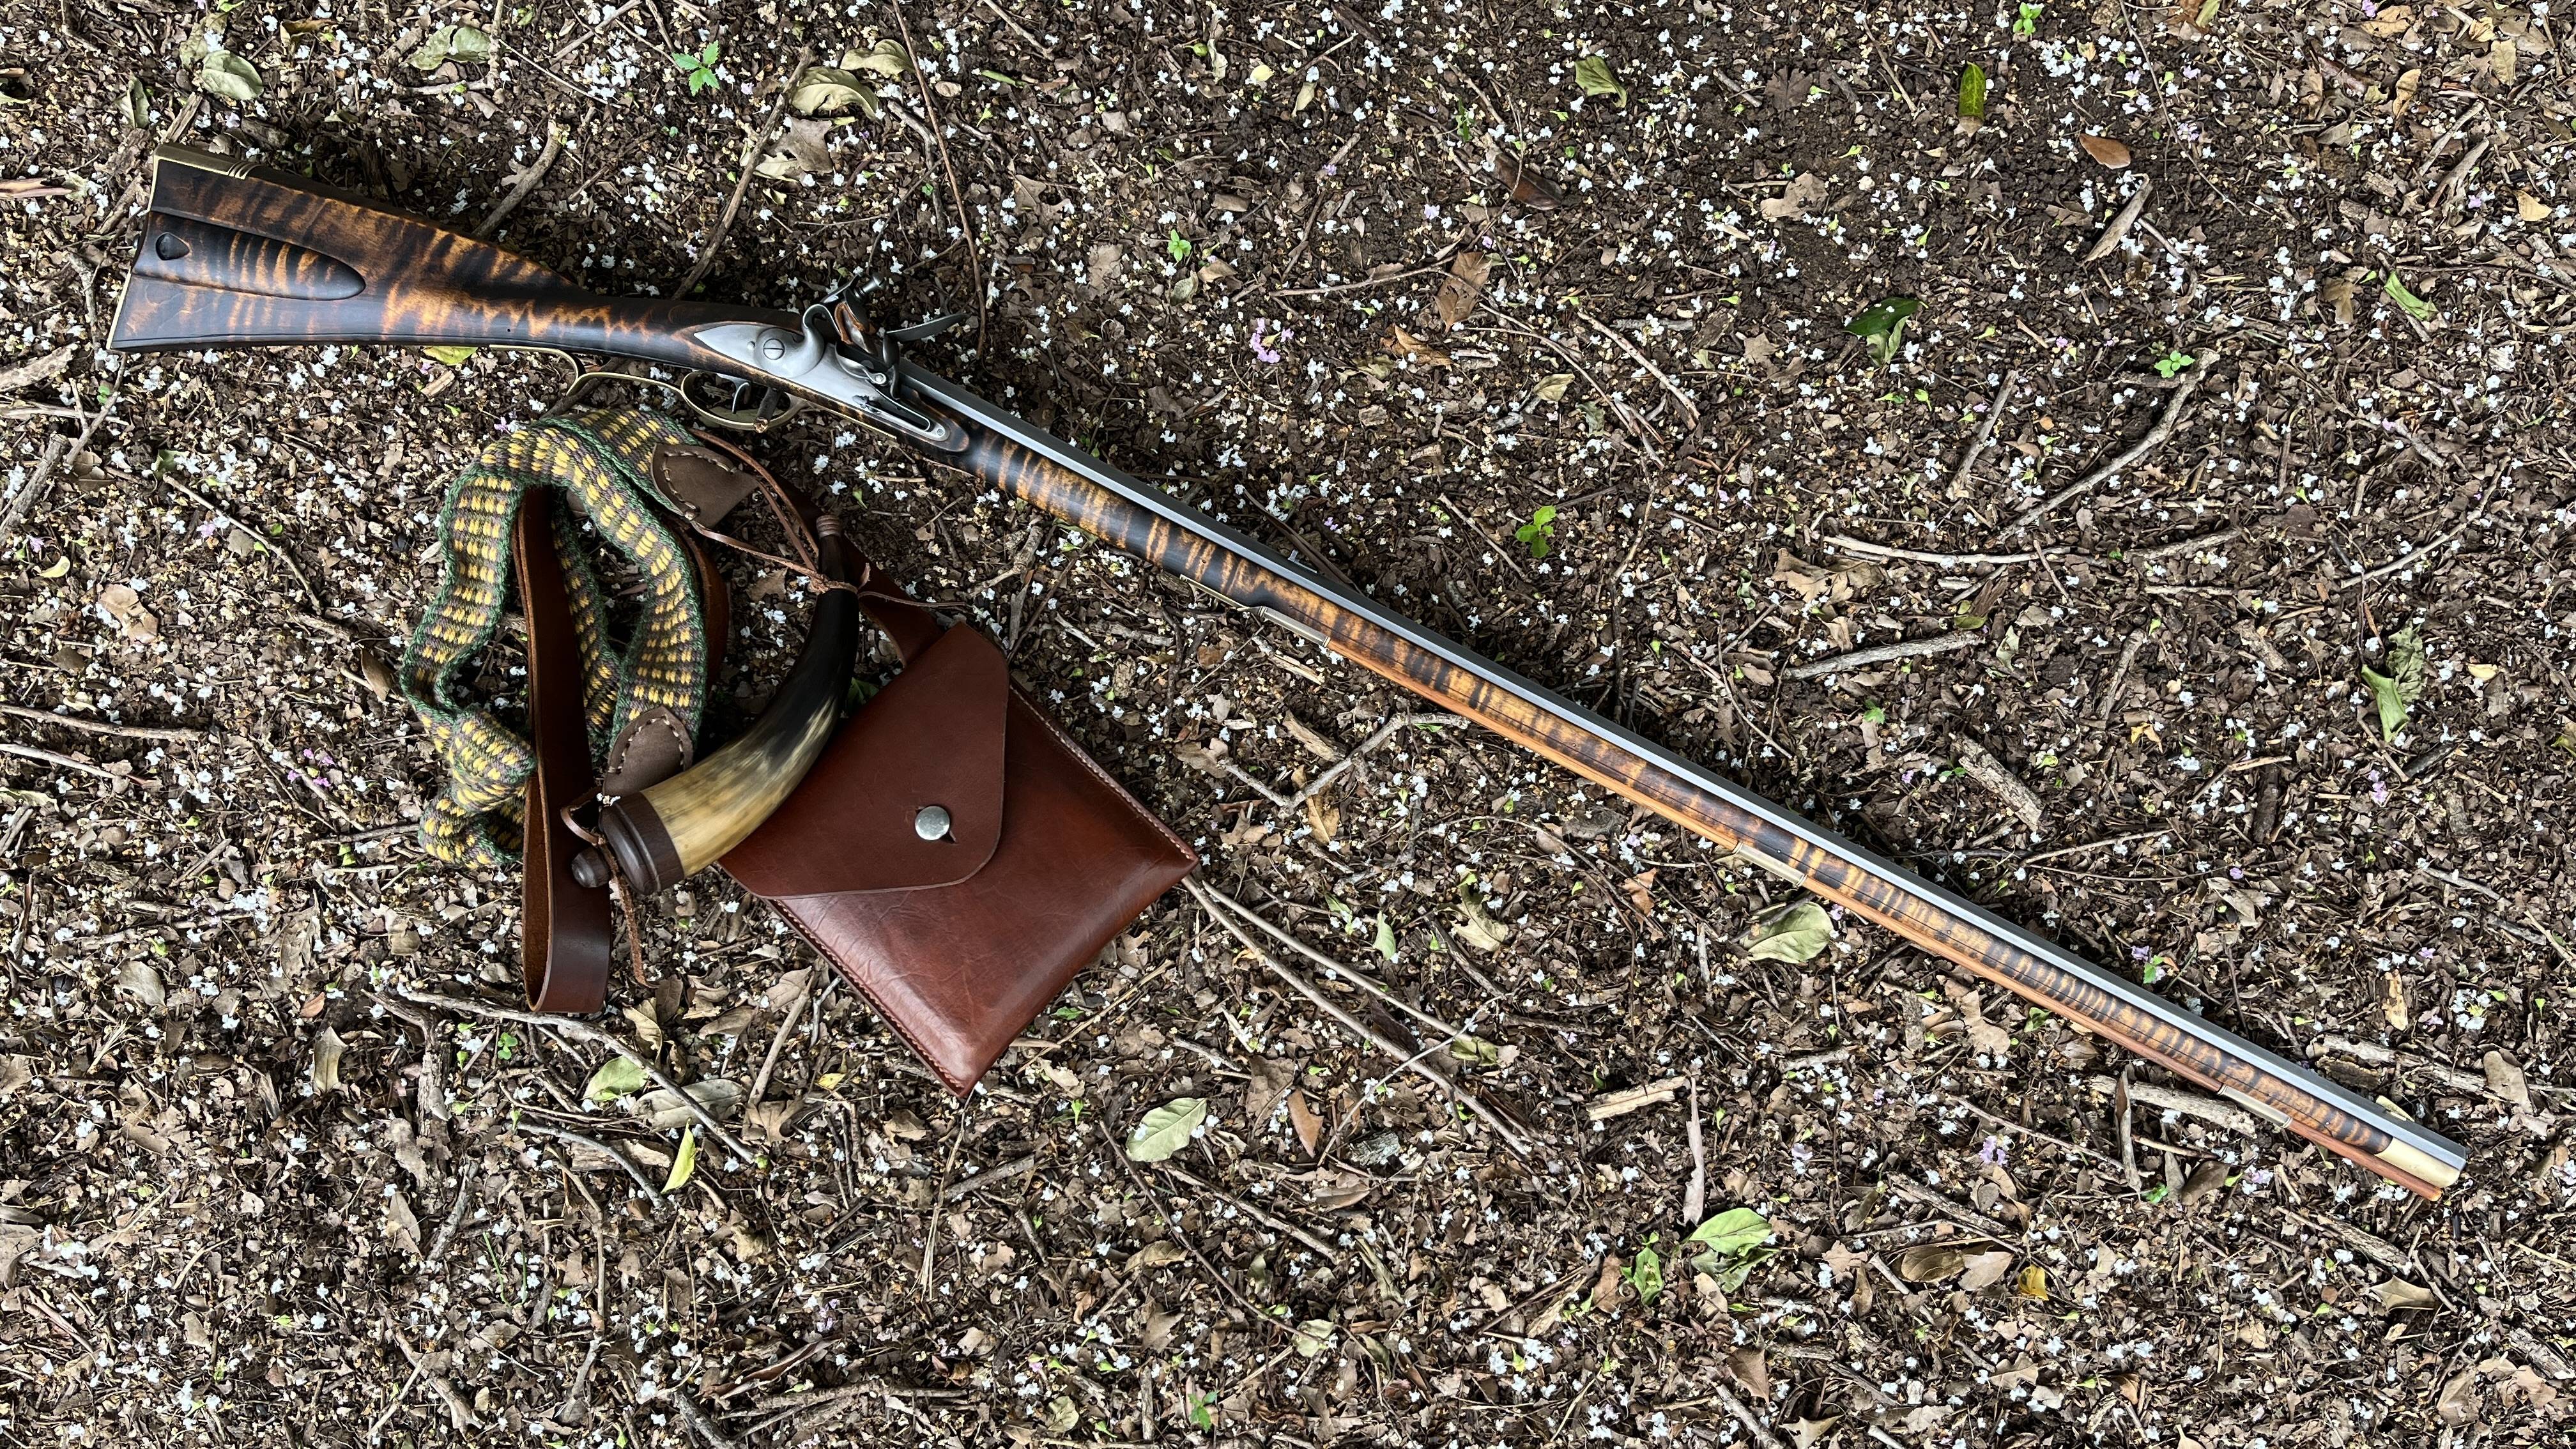
Thought I'd make my first post with a few pics of my 99% completed Kibler Woodsrunner. (I'm only wrapping up the last few coats of Tried & True every few days - humidity isn't playing nice.)

This is my first kit build. My first muzzleloading rifle, as a matter of fact, although I grew up with them with a father who used to build 'em for a living back in the 70s.

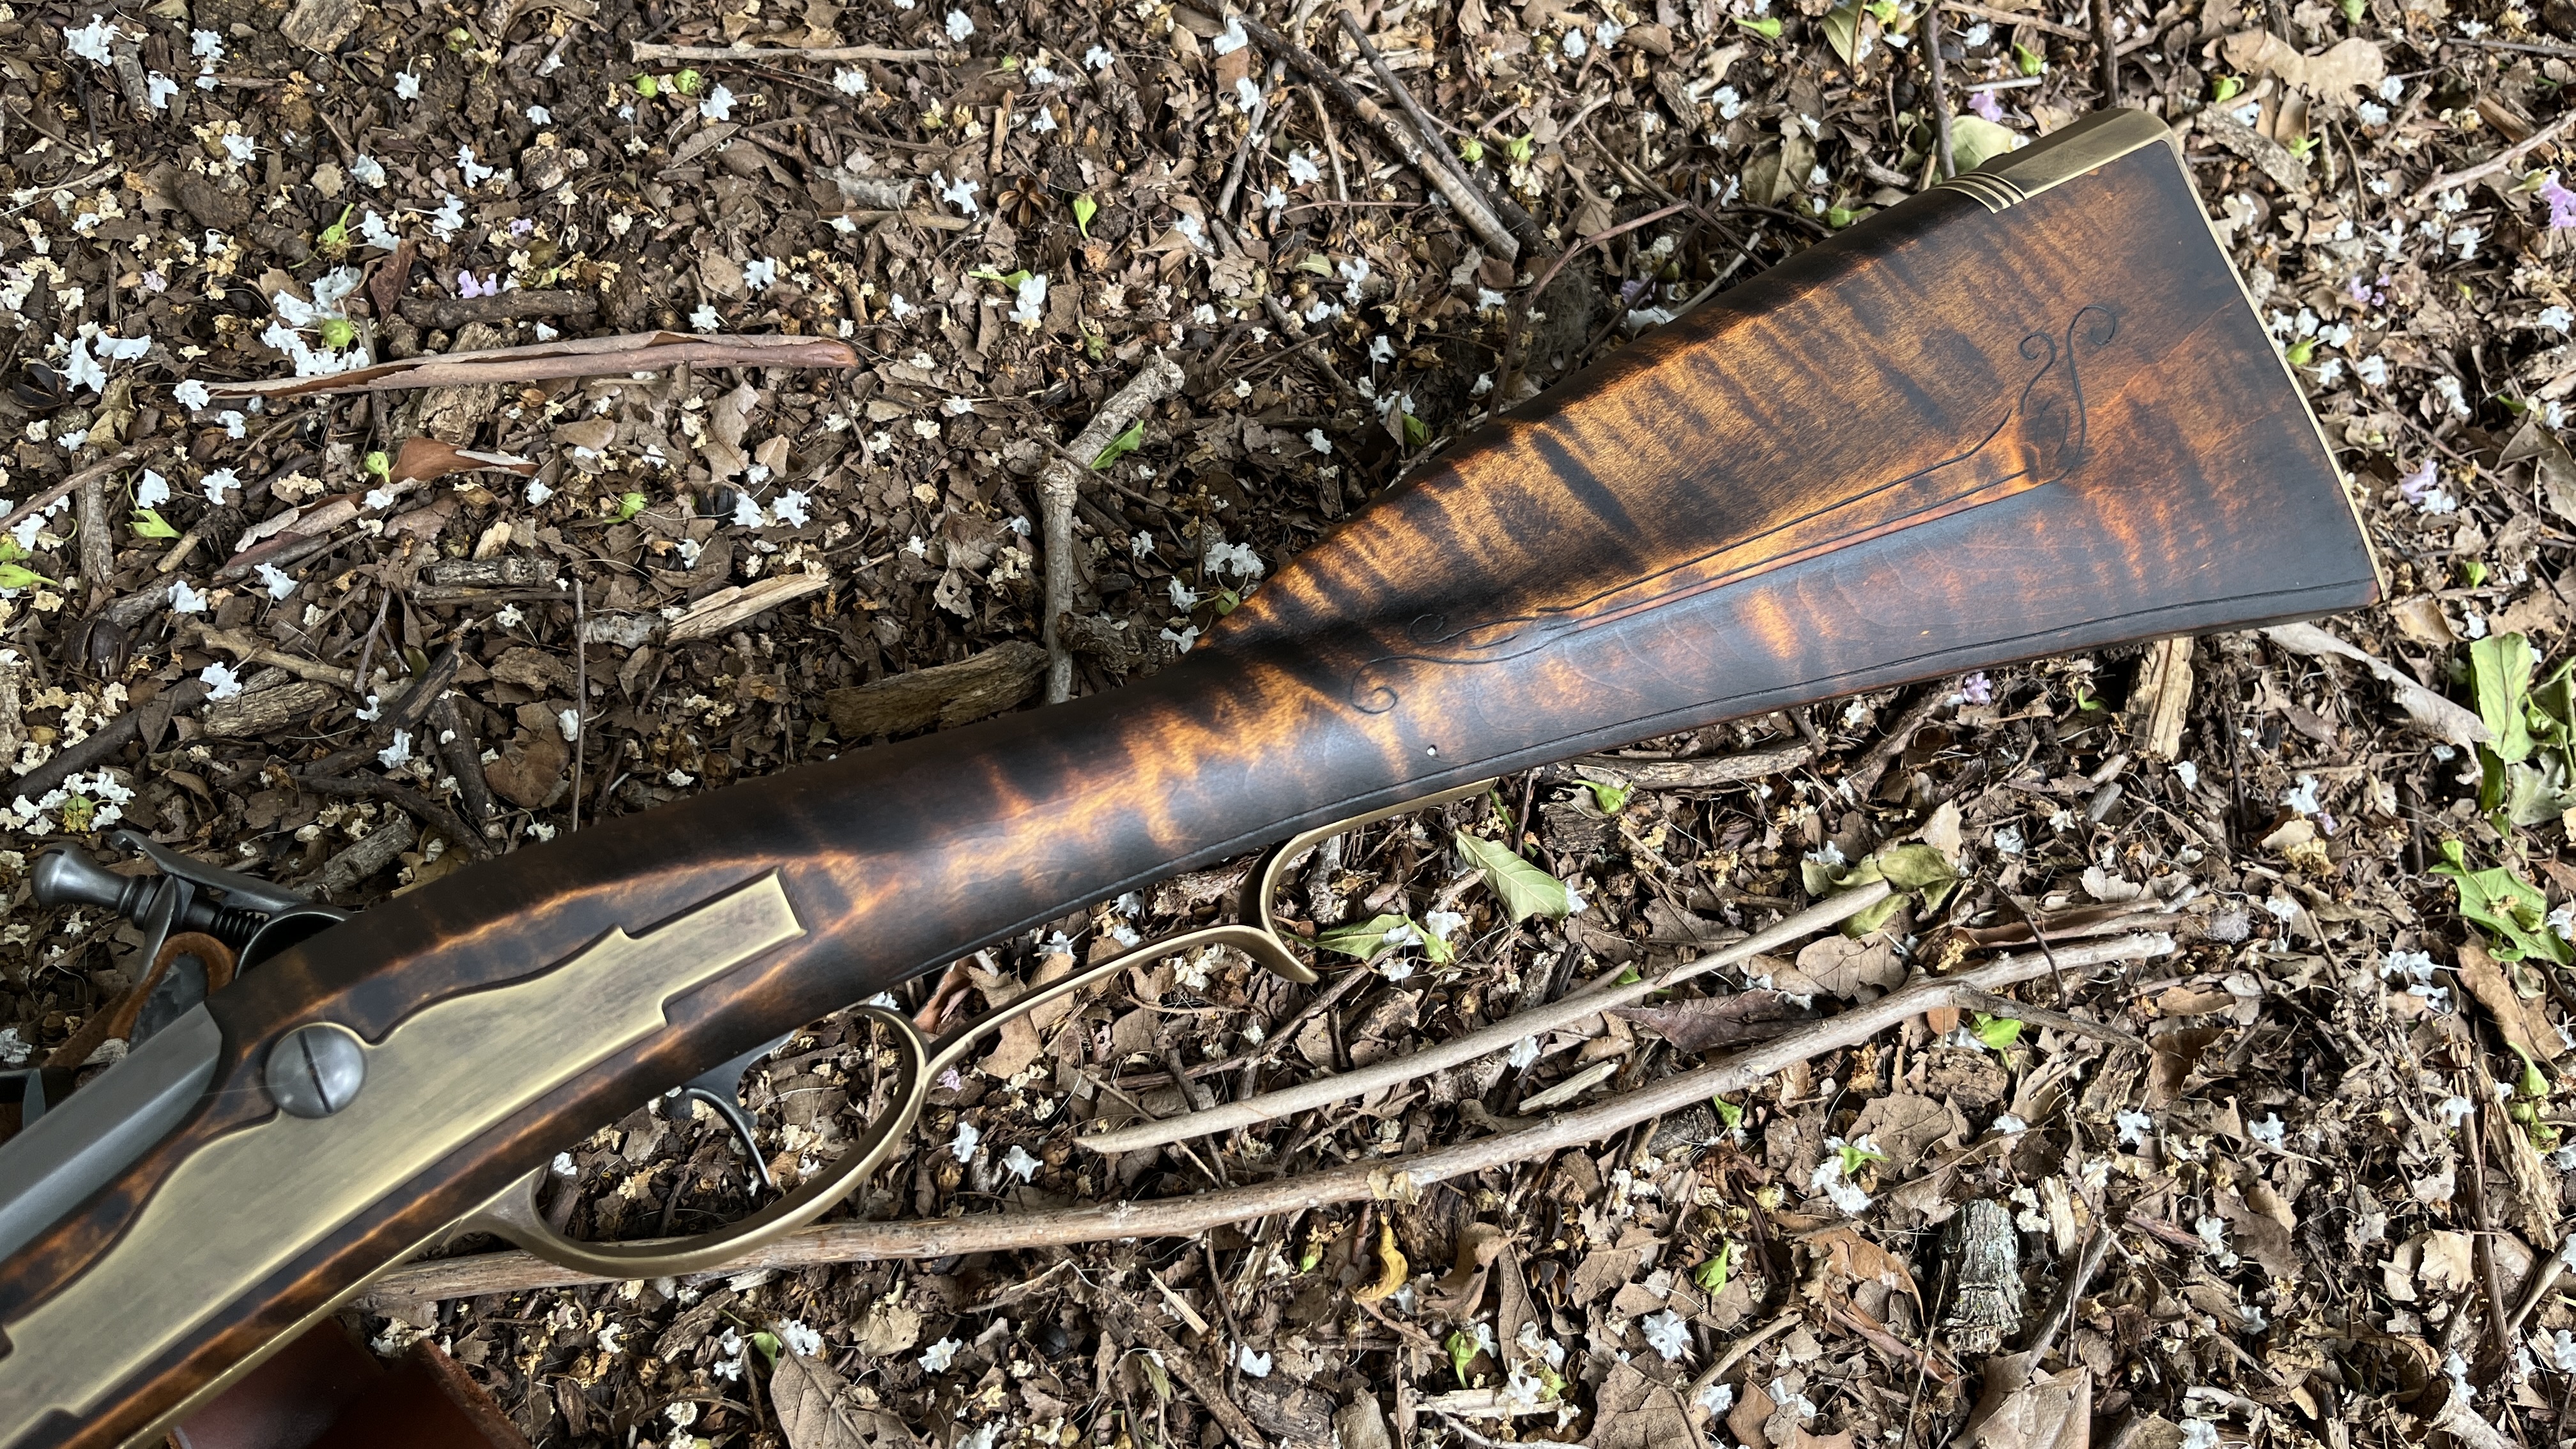
Tried a little bit of simple carving which will never be confused for a professional job. This is some of that poorly executed stuff everyone talks about. 🤣

Had a few oh-#$%$ moments with the assembly/finishing, but I'm happy with how everything turned out in the end.

As the saying goes... there are many like it, but this one is mine.
P2oGQKD.jpg


t88bd8a.jpg


WYg8zze.jpg


mP7k7G2.jpg


pzUWRWr.jpg
 
Whoee, sure like the look. Be careful though. You lean that little girl up against a tree and walk away, your liable to lose her!!

Doc
 
Your incised carving looks good. And good for you trying it. Congratulations on a nice rifle that you built.

Thank you - Cutting all the lines was probably the the most nerve-wracking part of the project. There are some obvious strays here and there and some unevenness in some lines. I used an old Herters single-line checkering tool for the forestock and toe lines.

I tried all sorts of chisels and gouges as I practiced various scrolls and such on some scrap, and I ultimately ended up cutting the cheekpiece design with the pen blade on a Case pocket knife. A small Swiss riffler file was probably my most valuable tool through the entire carving process.

Credit for the design goes to Jim Kibler and his bench copy. I just really like the design. I think it pays homage to the rifle's namesake but tweaks some things to make it a more eye-pleasing design. I considered trying to emulate the relief carving, as well, but a man's gotta know his limitations.
 
Beautiful job. I love your finish!

Thank you for the validation, and thank you for all the videos. I simply followed your iron nitrate with tannic acid video to yield these results.

I wasn't so crazy about this "fancy" grade piece of wood through the assembly process, but that all changed after getting it all finished. I think it turned out very unique, particularly up through the wrist.
 
Very nice!
I’m considering ordering one but not sure which grade of maple stock to get.
What grade is yours?
good day.

I opted for the mid-grade "fancy". I'm no maple expert, and I was really questioning just how fancy this was and wasn't too impressed as I was going through the sanding process. Wetting it down through the whiskering process gave me somewhat of an idea that it would be okay but didn't quite prepare me for what I ended up with. I honestly probably wasn't able to fully take in the beauty until I took the pics I posted.

As I was finishing the gun, I was questioning my decision to use the tannic acid treatment. I knew I was going to have to rub the black back, but I wasn't expecting just how much rubbing it took. It ultimately paid off with this crazy beautiful patterning. The EKG-looking effect through the wrist is something else and nothing like I was expecting.

Very nice surprise. I went in to this not knowing how it was going to turn out - partially out of laziness, but also a little bit of enjoyment of the mystery during the process. I knew I was going to use the Iron Nitrate and Tried & True, and I picked up some tannic acid just in case, but I didn't do any experimentation or try out any other stains or dyes to control the outcome.

A little more about my process:

- Sanded per Jim's sand-along video - 150/220/320. Used similar backers and blocks, as well.
- Filed and sanded and scotch-brighted the brass down to a matte finish - dunked in Jax brown and buffed back with scotch-bright.
- Disassembled, filed, and sanded the lockplate, cock, and frizzen. Dunked in Oxpho Blue and buffed back to almost nothing.
- Draw-filed the top 5 bbl flats, finished with Oxpho Blue and rubbed back to almost nothing.
- Steamed various dents, dings, gouges, and stray lines throughout the assembly. Some successfully, some no so much. Those things seem to come out of nowhere.
- Tannic Acid > Iron Nitrate > Tannic Acid > Iron Nitrate > Blush > Tried & True cut w/Turpentine scrubbed in w/maroon scotch-bright.
- Still applying subsequent coats of straight T&T as I type this - up to 4 or 5 treatments, now.
- Took a couple of small chips out of the corners of the toe while the buttplate was off - kinda sorta repaired with sawdust & superglue... touched up the finish in the area best I could. Yeah, rustic.
- If anyone's wondering about the shot pouch, I made it in March around the time I ordered the kit kind of following an NMLRA video with Jeff Luke for a little bit of guidance.


Here's a gallery with a bunch of pics I took during the assembly and finishing process for anyone interested.
 
Last edited:
Back
Top