Hi,
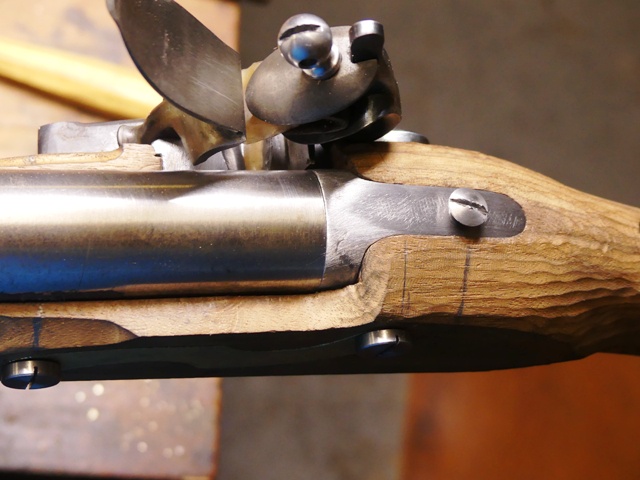
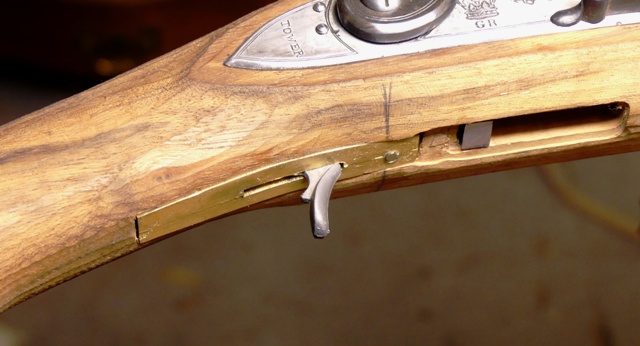
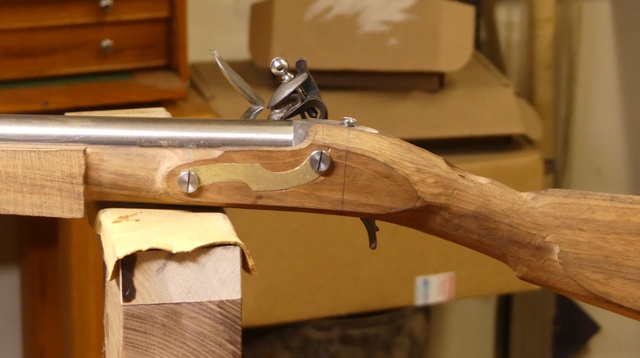
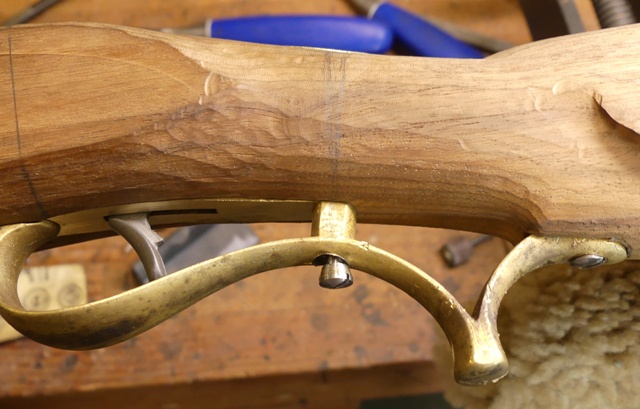
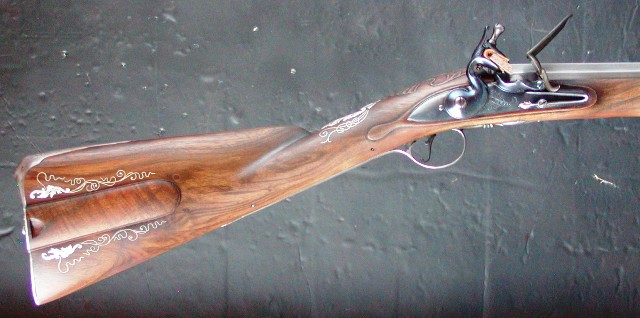
So now on to the trigger guard. This is nothing like installing a guard on a typical long rifle. This involves a lot more planning and fiddly work. You have 3 points of contact and 2 must intersect exactly with the fitting of other parts. The first step is that the predrilled hole in the triggerguard for the forward extension has to line up exactly with the lug coming down from the bottom of the standing brech.
That lug supports the ramrod retaining spring anchored by the same screw, which also secures the front extension of the guard.
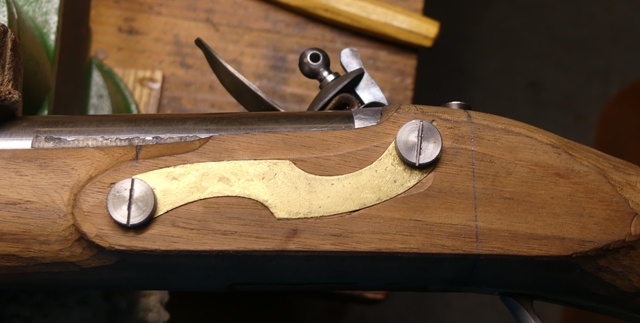
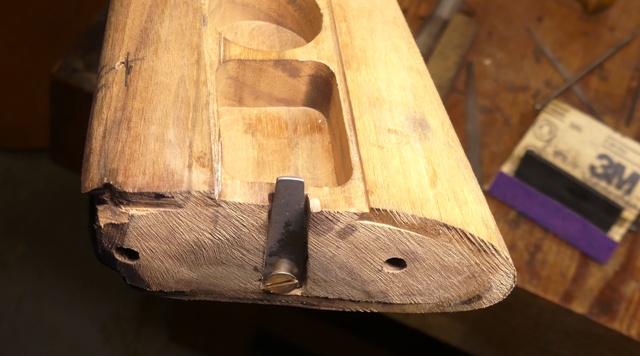
Next, the rear of the guard must fit the step in the stock and be secured by a wood screw.

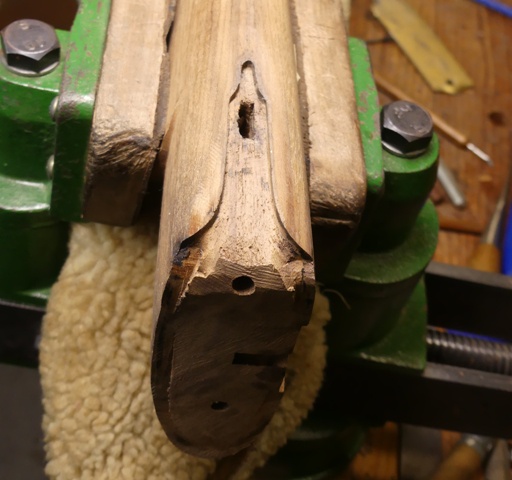
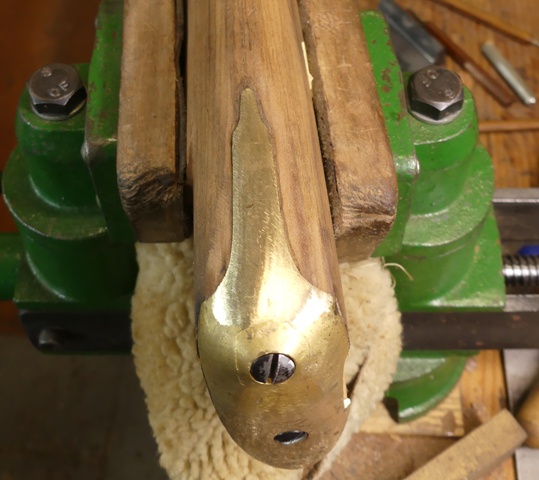
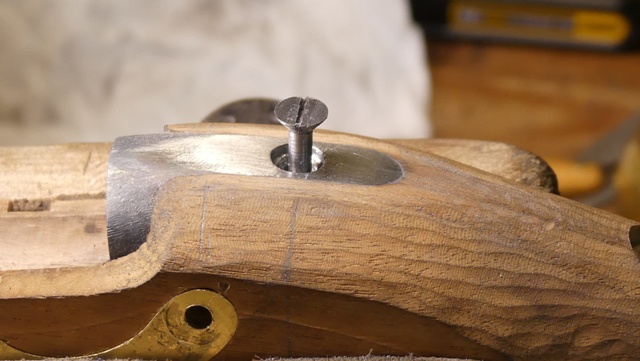
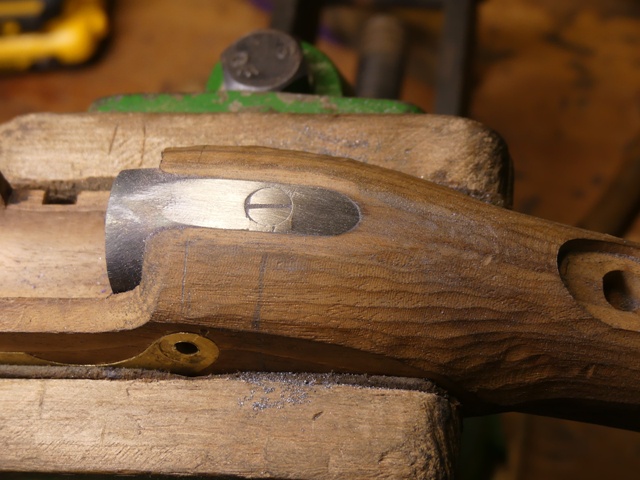
The inletting for all this was minimal with most of it done by machine but that meant I had limited ability to move things around. For the final screw holding the guard, that was a problem. The third screw goes through the trigger guard, the wrist, and screws into the thumb plate. The problem was the position of the boss on the trigger guard was too far back on the stock relative to the thumb plate. The guard had been mostly machine inlet so its position could not change and now that anchoring screw had to be drilled at a radical angle to the guard. Well, I am pretty resourceful and figured out a solution. I drilled the hole at the required angle and tapped the boss under the wrist plate. Then I used a Dremel and diamond bit to reshape the counter bored hole for the screw cast into the guard. Finally, I tapered the head of the screw so it would automatically adjust to the offset angle and slip into the counter bored hole.
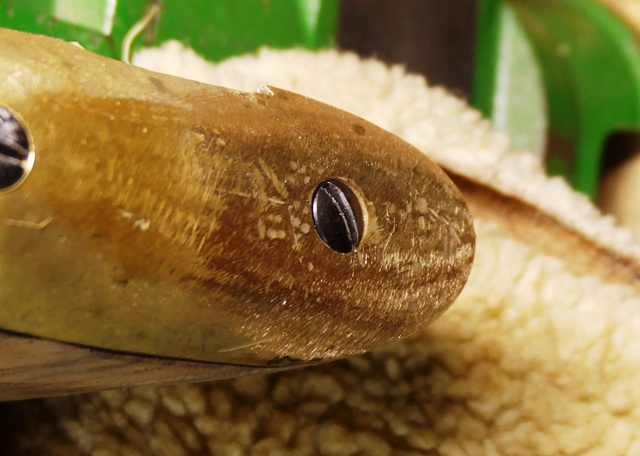
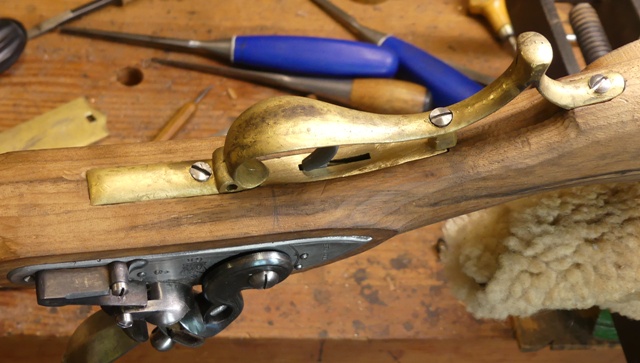
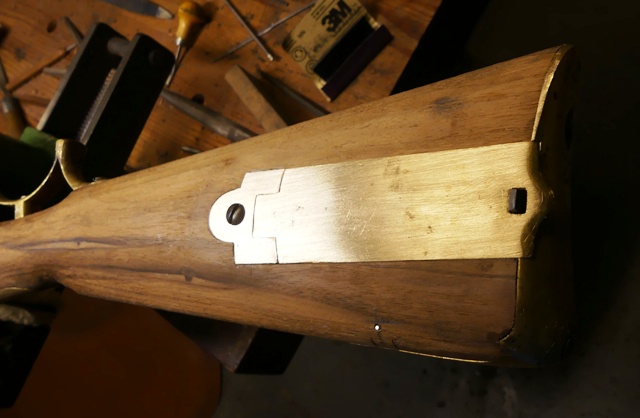
It can now be dressed off flush with the triggerguard.
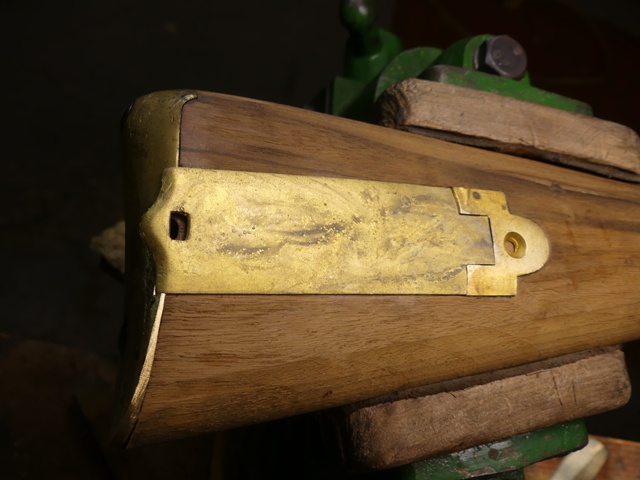
The wrist plate inlet easily but with all the fussing over the angled screw, it got a little cocked in its mortise. No matter, I just gave it a good bash with a mallet and that straightened everything out.
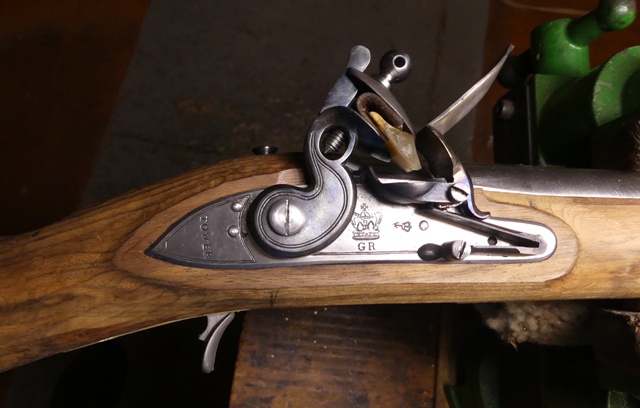
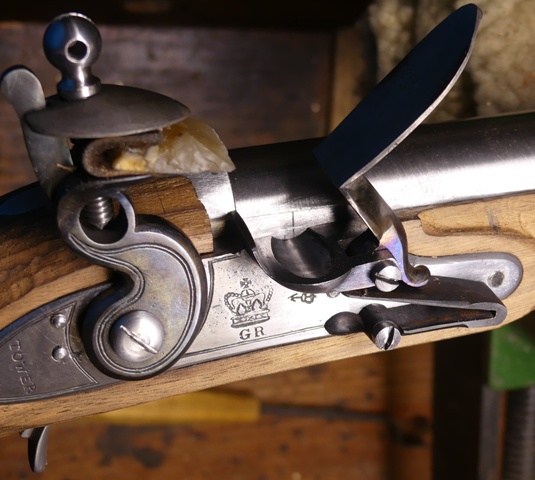
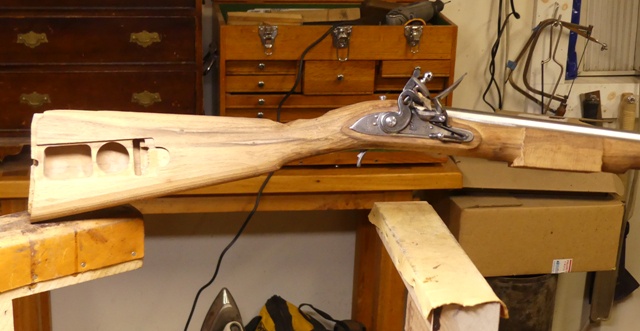
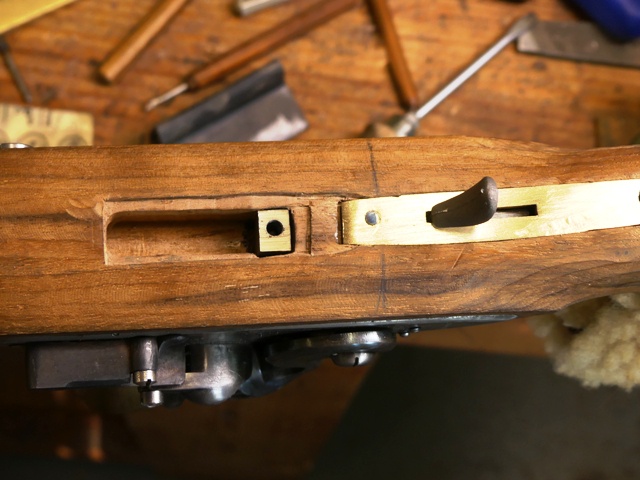
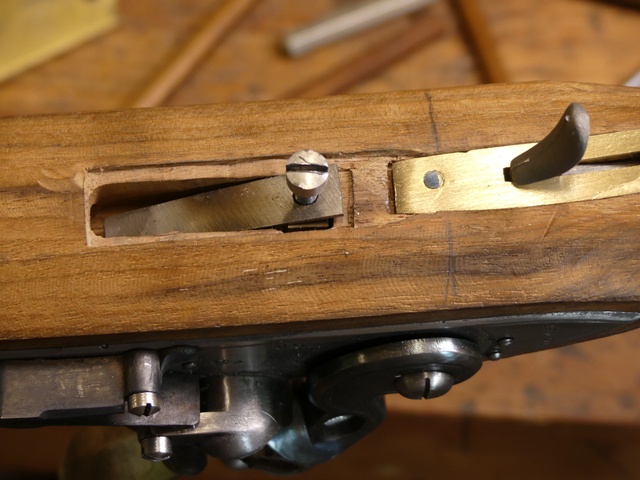
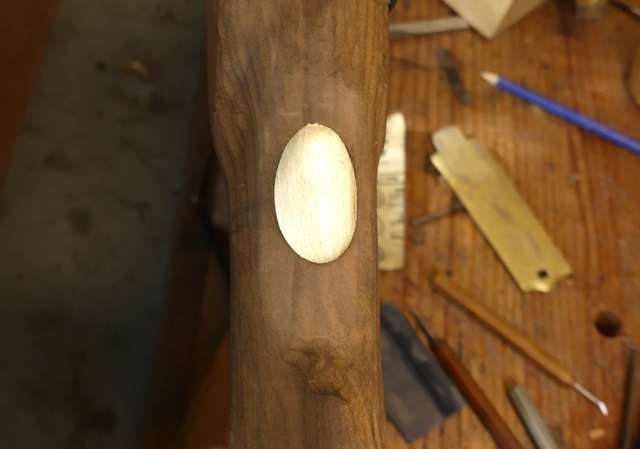
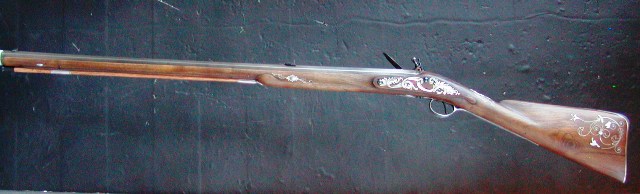
Finally, I cleaned up the patch box assembly and began inletting it. It required some finesse and positioning but is is staring out just fine.
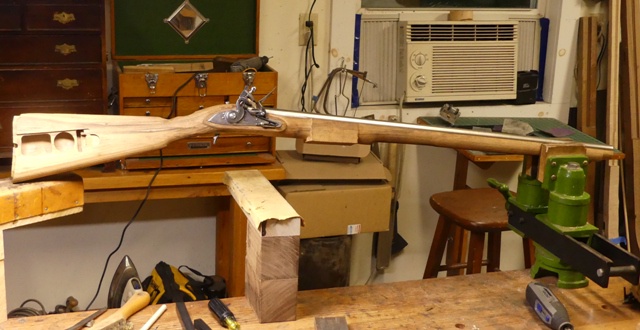
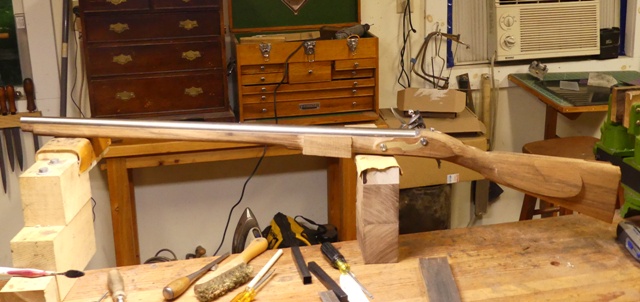
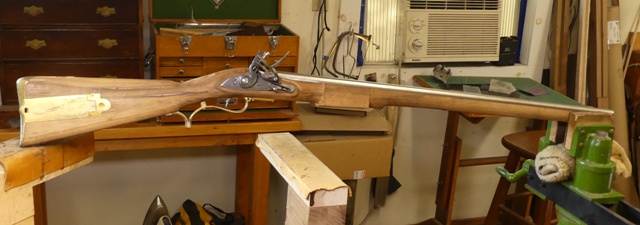
So here is where I am at the moment.
dave