• Friends, our 2nd Amendment rights are always under attack and the NRA has been a constant for decades in helping fight that fight.

    We have partnered with the NRA to offer you a discount on membership and Muzzleloading Forum gets a small percentage too of each membership, so you are supporting both the NRA and us.

    Use this link to sign up please; https://membership.nra.org/recruiters/join/XR045103

#3 Hawken Full Stock

Muzzleloading Forum

Help Support Muzzleloading Forum:

This site may earn a commission from merchant affiliate links, including eBay, Amazon, and others.
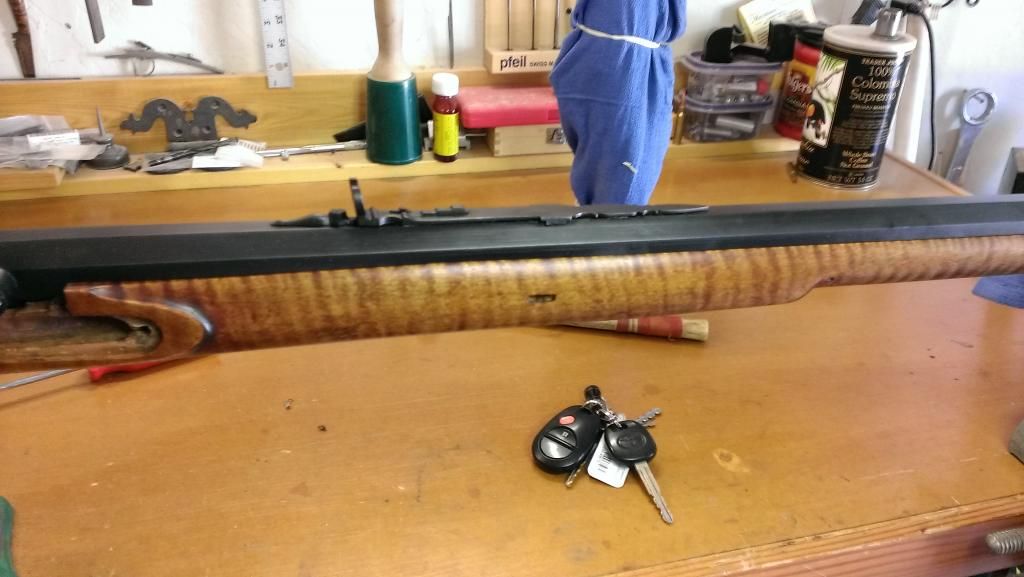
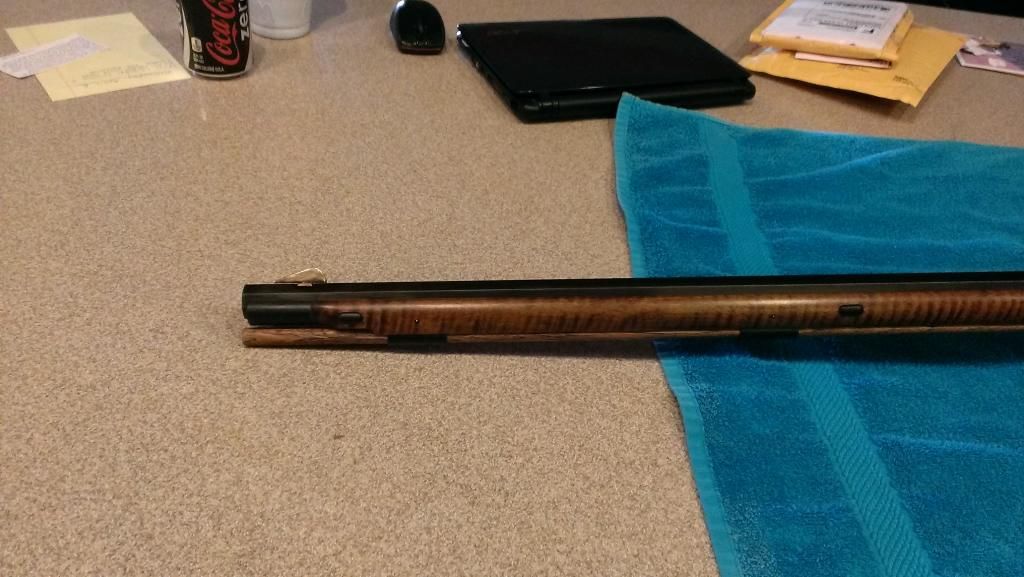
What makes it so obvious is the nosecap it not tall enough. Had it been taller & went down to the RR & eliminate that gap between the RR & the nosecap, it would not have stood out as much.
But I agree, you should have trimmed the wood back to within 1/2" of the front pipe, as to better access the RR.

If fact, I would still trim it back. There is no easy fix for the gap now, but if your RR swells or warps at all, you will not have enough there to grab a hold on & get it out.
That being said, make sure you RR goes in the stock & pipes Easily.....

Looks like it is going to be a pretty stock.

Keith Lisle
 
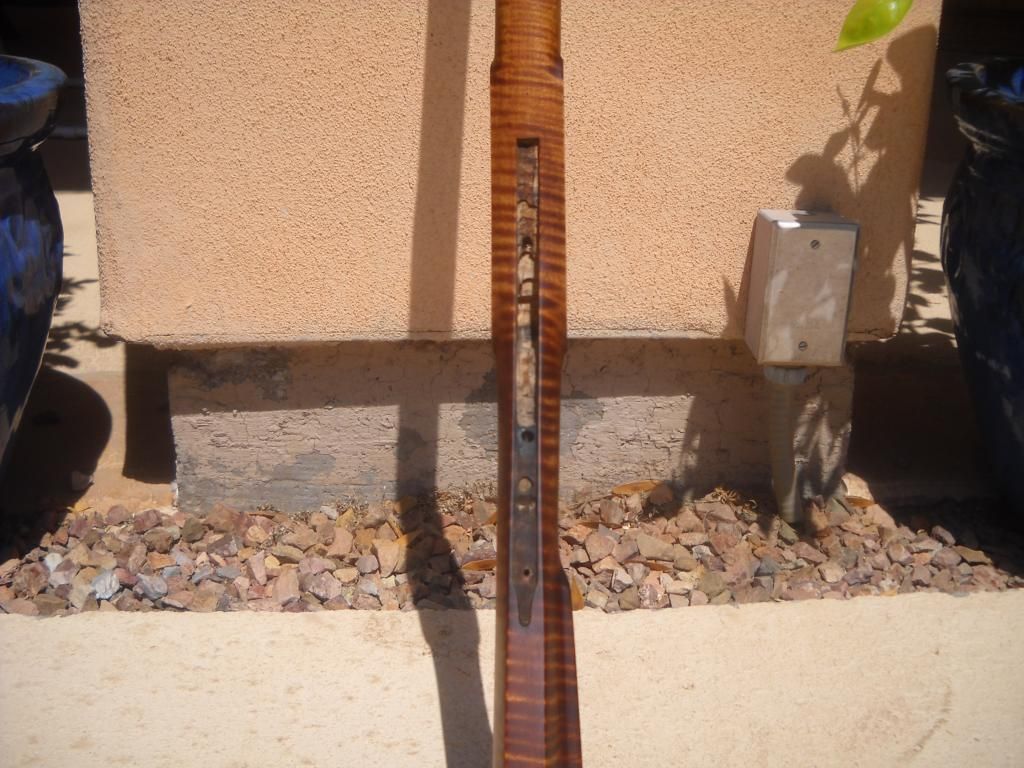
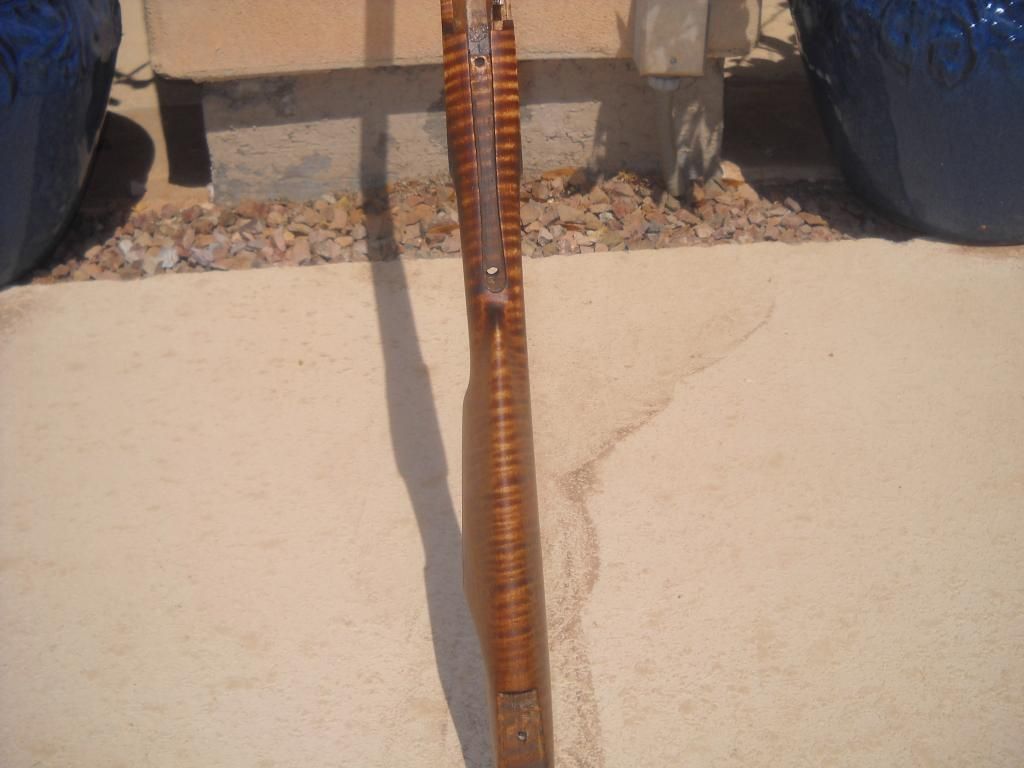
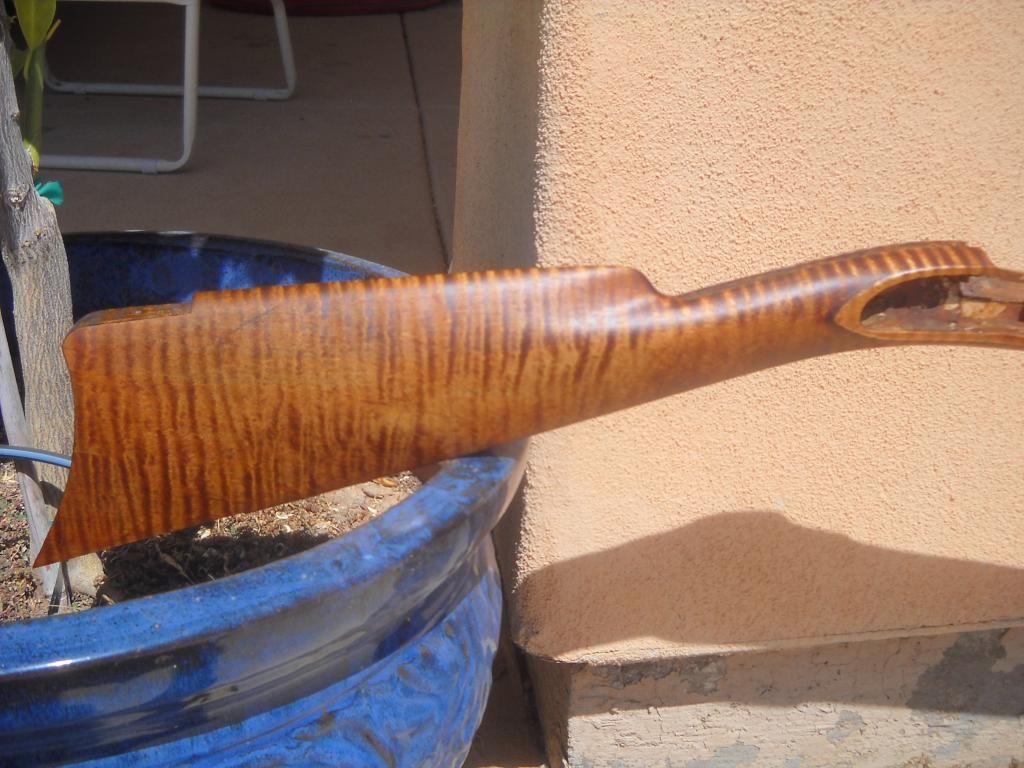
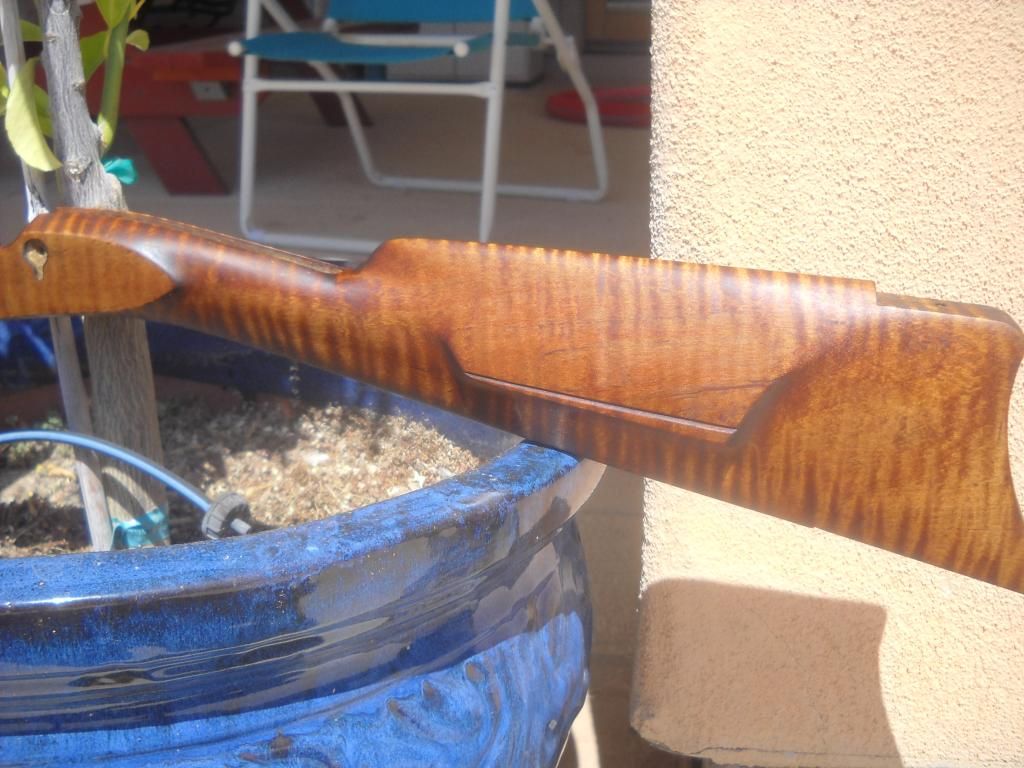
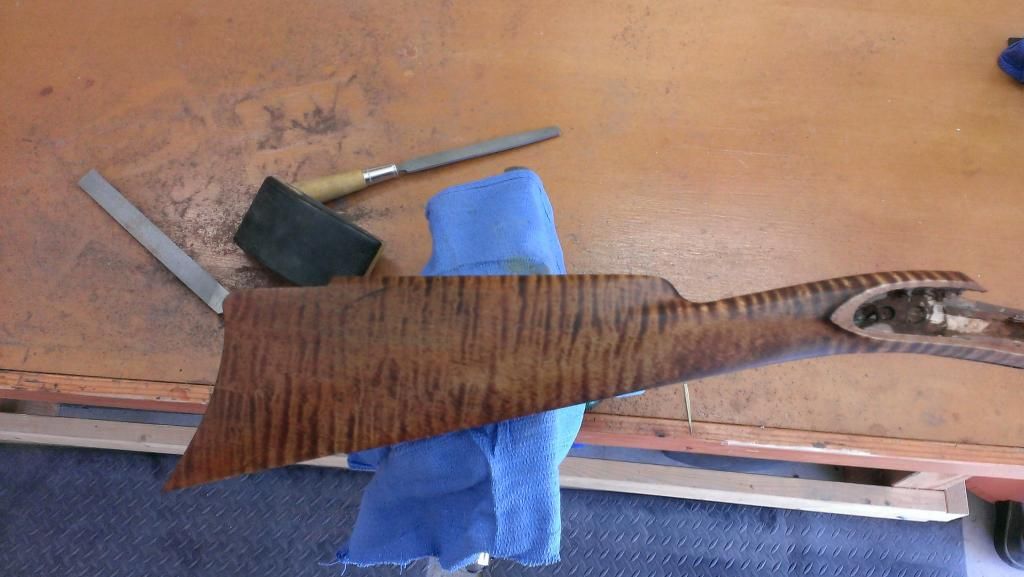
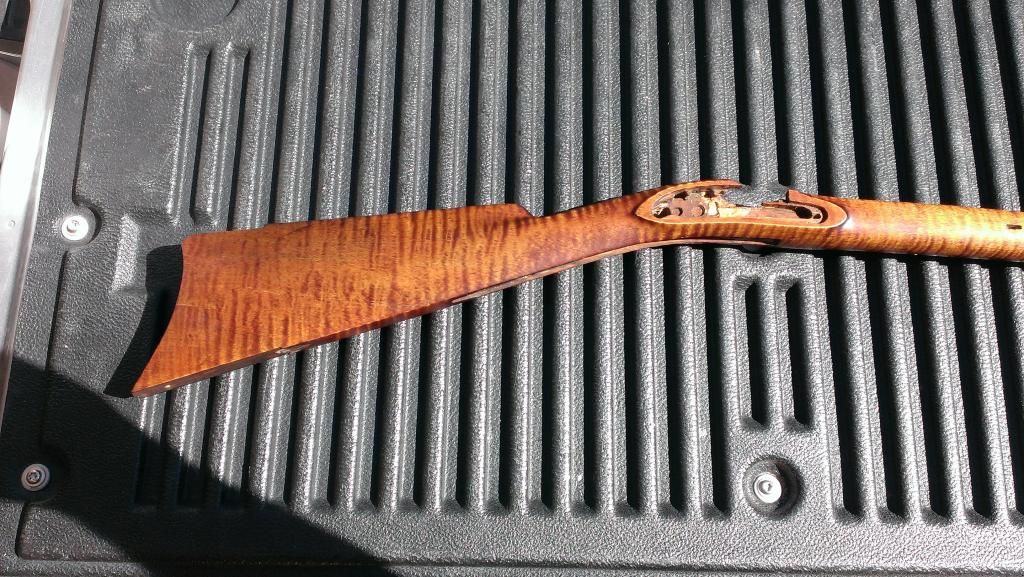
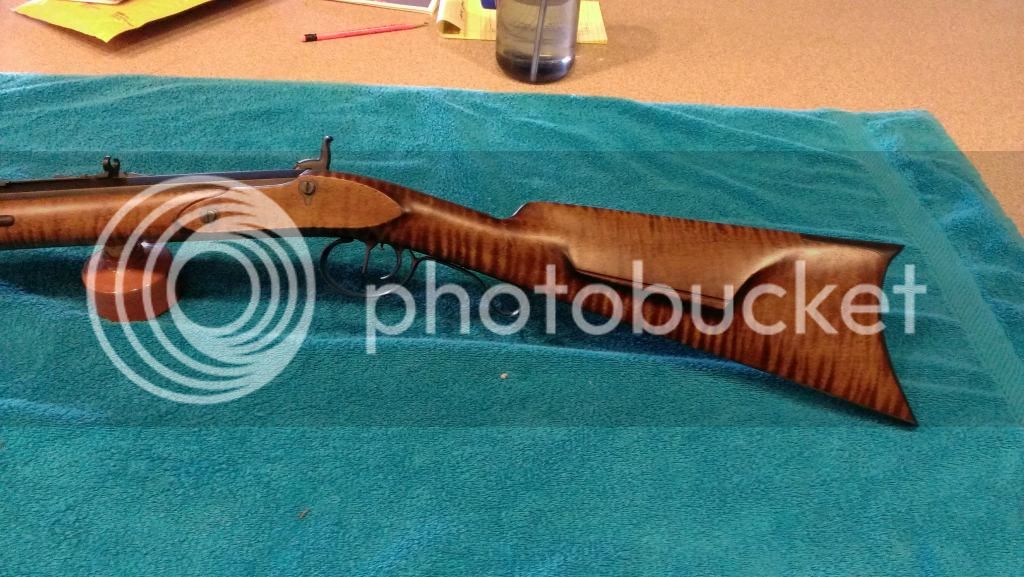
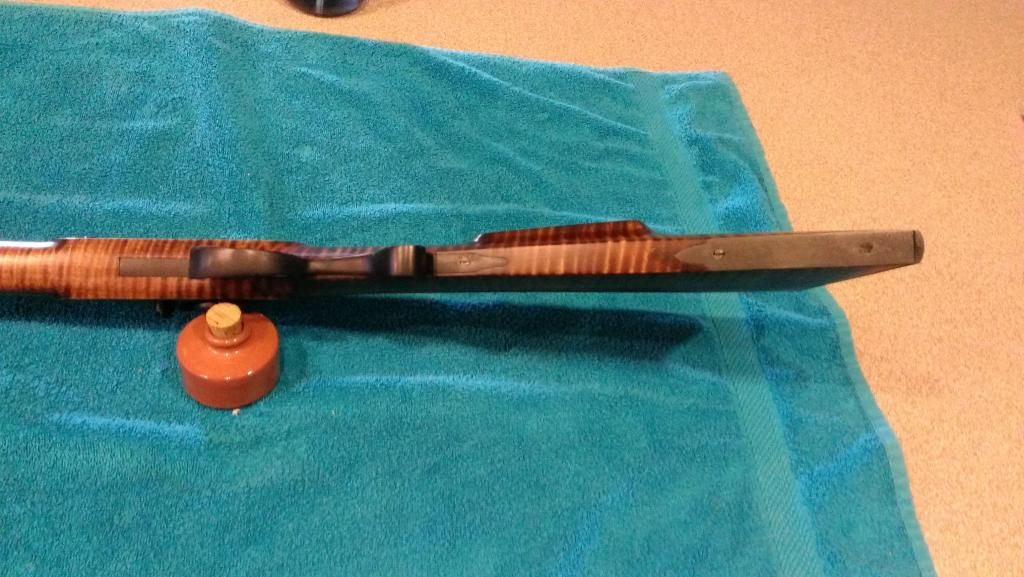
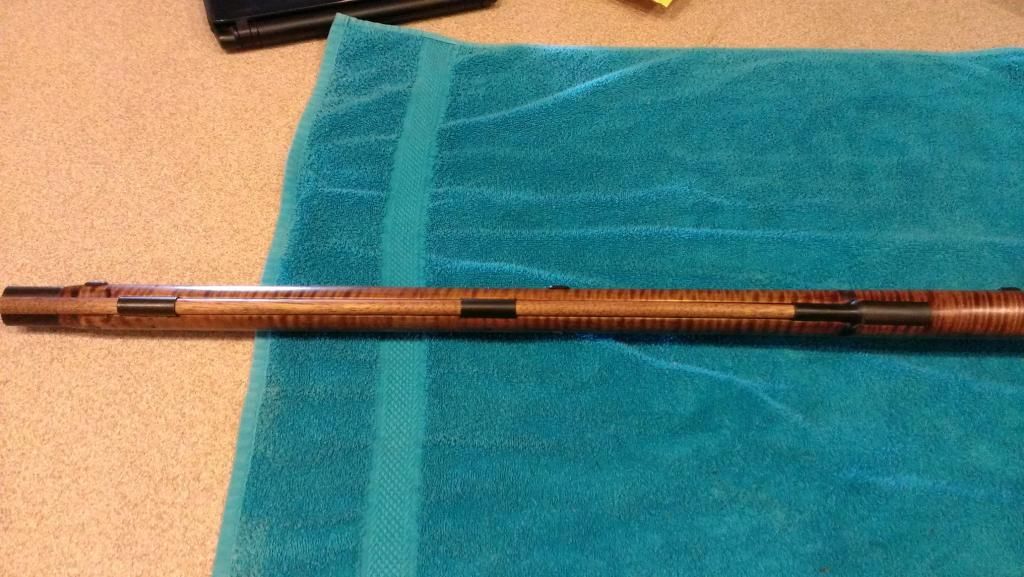
Second coat BLO, and a day in the sun. My other ones darkened up a bit when I let them cure in the sun. Even after neutralizing. Well see. I typically like a darker gun but this is pretty. These pics are more for new builders that haven't done this so they can see what she looks like through the steps. The wood is starting to take on that 3D glow now. I also painted all my in-letting with a mat Spar Varnish for water proofing.


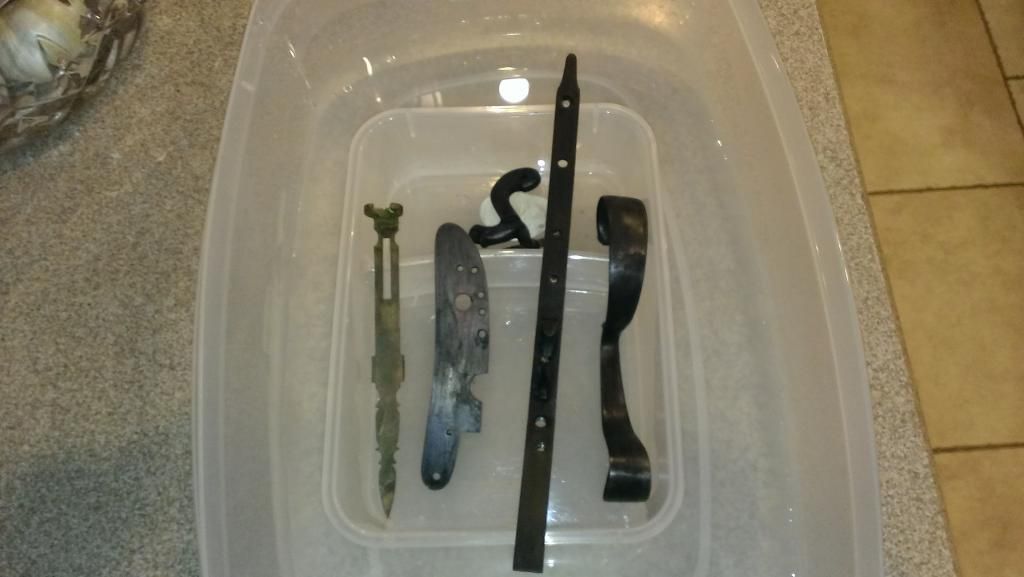
Well Im rusting parts and boiling and rubbing BLO. Here is a pic of the small parts. The trigger, Guard, plate and hammer were boiled once. Not sure what happened with the plate. All the black carded off it. I prepped it the same as the others. Might just take an extra coat or two, Not worried, the butt plate looked like hell the first coat or two also but came out beautifully. The sight has only been rusting for an hour.

 
I love how that stock finish is working out! Such a pretty piece of wood. I'm trying to plan the finish on my Lancaster kit from Tip, and it's always great to see something like this. Thanks for sharing.
 
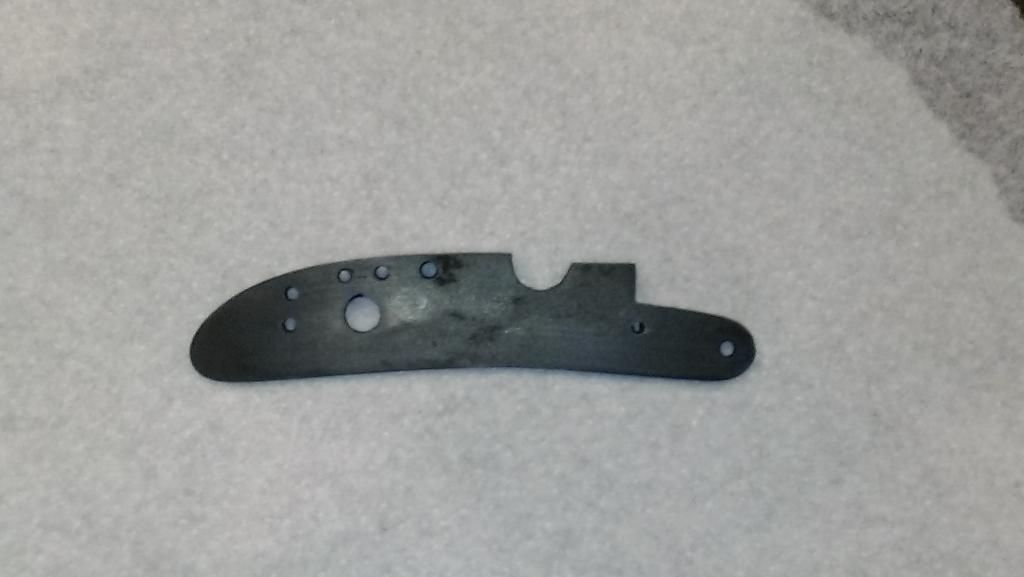
Quick question, The lock plate has been rusted and boiled numerous times. It comes out black as night and rubs right off, down the center of the lock. Almost back to silver. It rusts nice, blacks nice and rubs off. All the other parts are taking nicely. Have them at a point where they are not consistent color, but black, They look antique. This lock is killing me. It didn't look like I coppered it when applying the LMF and I de-greased it well. Should I keep going or sand the face down and try again.

what it has looked like after the last two cardings
 
Sean, I would sand it back down to the finish level you want then soak it overnight in acetone (or similar).

There may be oil or some contaminent well worked into the steel that's preventing the (rust) from sticking.

I can't really help you much here, I always cold blue the lock - inside/outside and all the guts. It isn't as durable as rust blue, but I figure the lock doesn't take the same kind of beating/bumping that other components do.

Plus I just find it easier once I have it to the level of finish that I want. Soak in acetone overnight, flush it well with fresh water - dry and then cold blue (Birchwood Casey Super Blue is cheap/fast and gives me the look I'm after if I'm not leaving the lock "in the white")
 
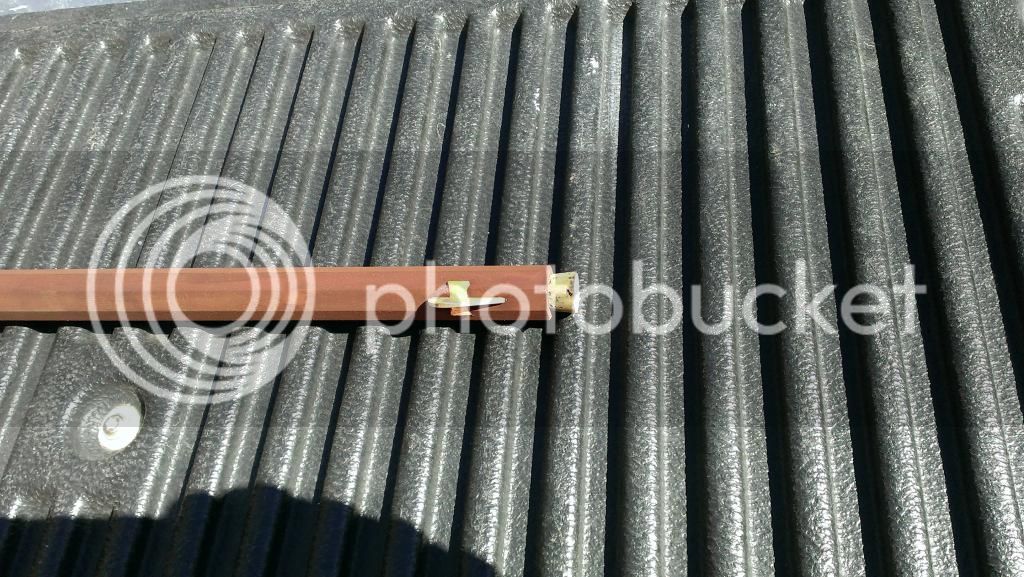
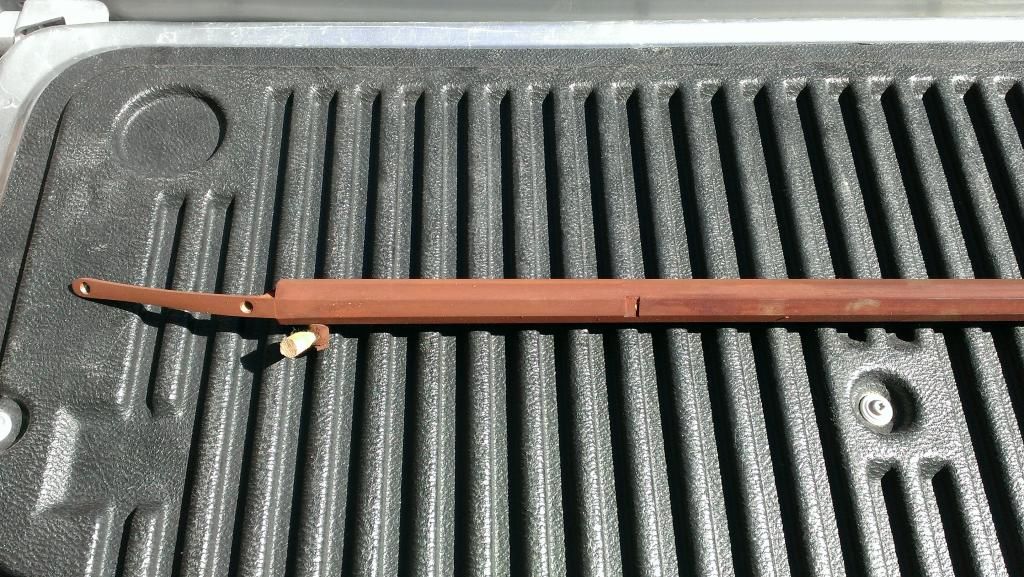
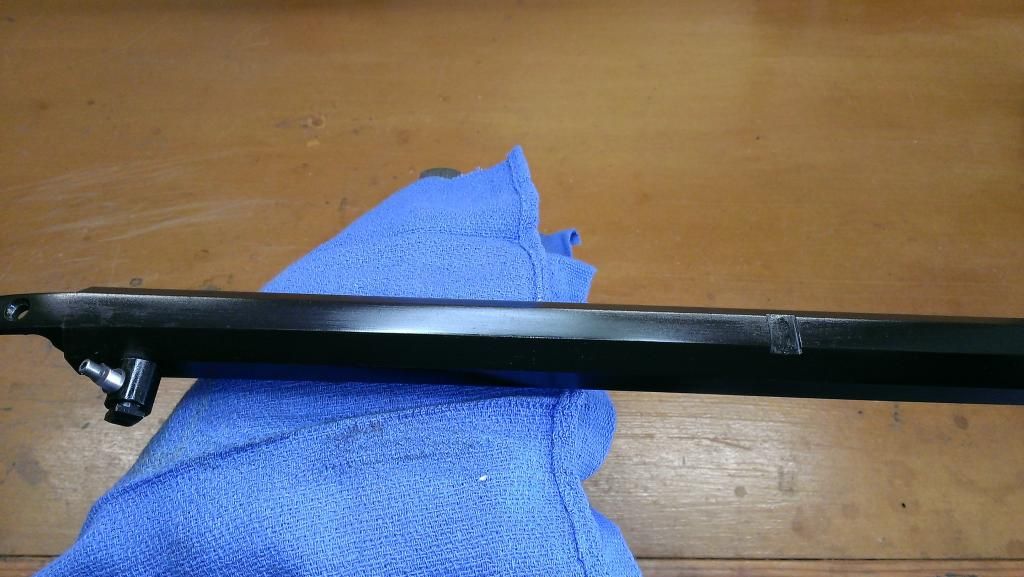
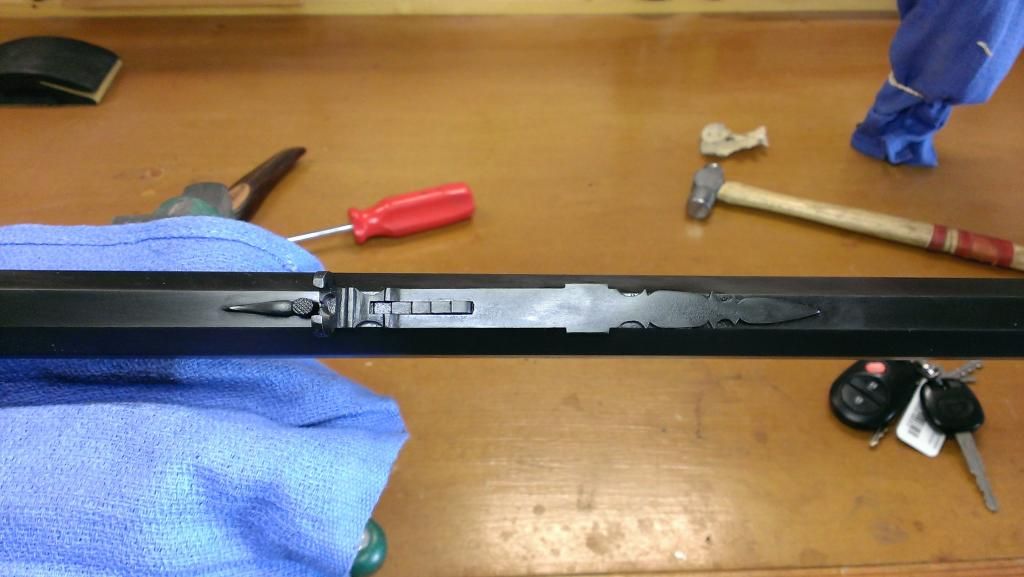
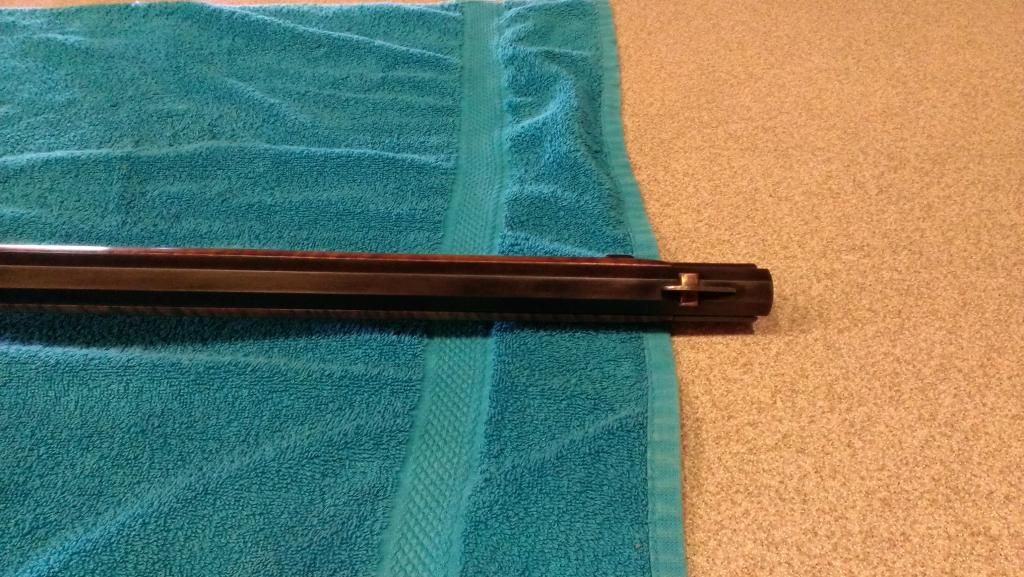
Sounds like a plan. Here is the barrel before Boiling water and after. WOW :grin: :grin: :grin:


OH LA LA. Deep dark Satin Black. In oil right now.


Im stunned and sold on Rust Blue.
 
Pretty sweet eh?

When you can get "historically correct" results like that I just don't see the attraction to rust browning, which to me just looks like an "un-cared for" rifle.
 
Really nice work Sean! I can't wait to see her all assembled.
I'm glad you went with the rust blue. It looks awesome!!!
 
Got the rear sight on without a scratch. Oiled the hell out of it and wrapped the barrel with tape. Once on, lifted the ends and the tape released easy.


AND NOW FOR A TASTE OF THINGS TO COME. COULDN'T HELP IT.

 
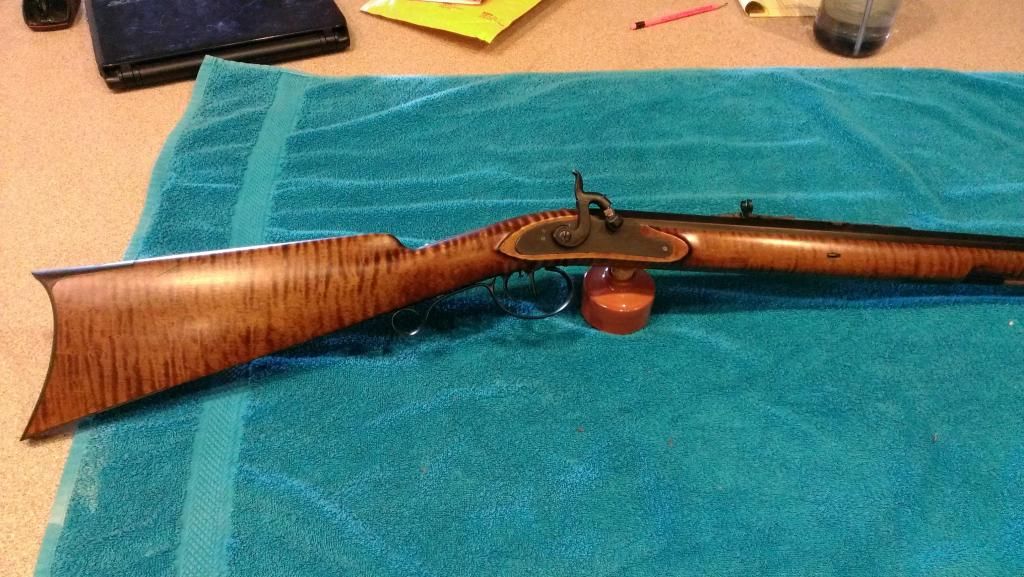
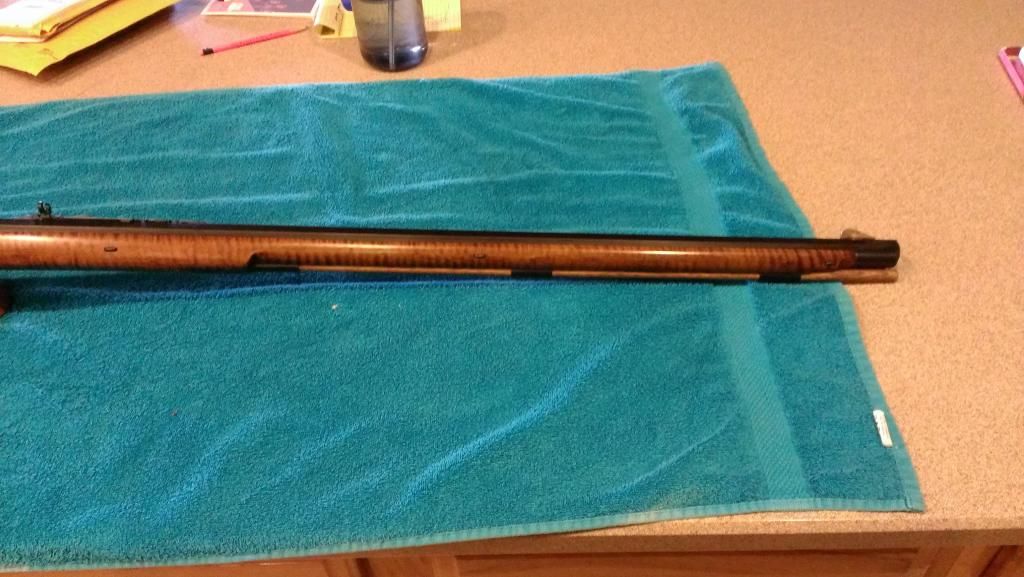
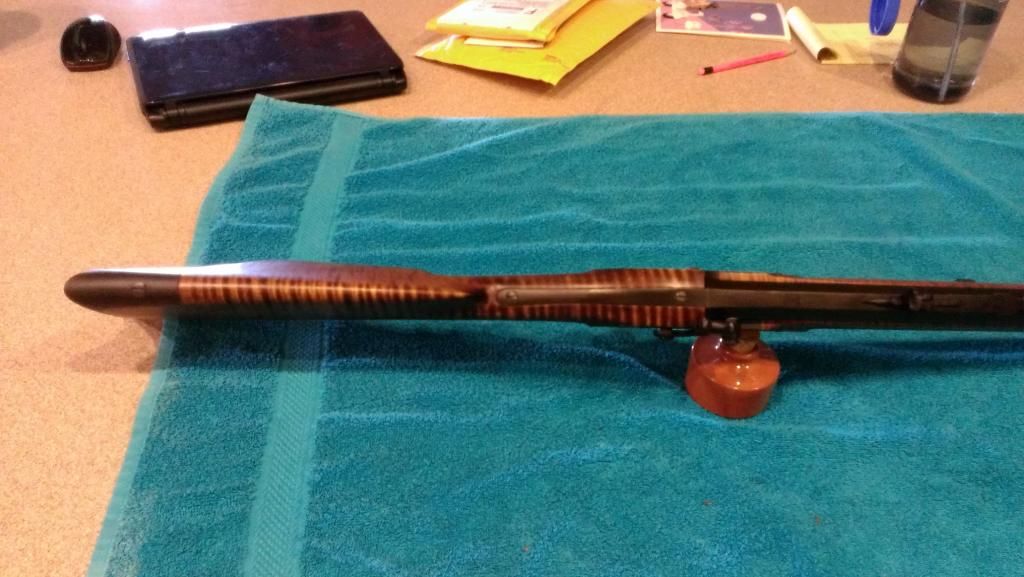
Well, here she is. Still have some finish coats to put on but that's all loving, rubbing stuff. I decided to take some burlap and oil and rub the blue back just a hair. I know a lot of guys hate aging but I didn't want a queen. Wanted it to look like my Grandfather used it for hunting and lovingly took care of it before handing it down. Already got a scratch in the stock on the for arm. Had it leaning up against the bench and daughter came flying in on her skateboard. Well needless to say it slid down the bench before I caught it. At least I caught it. It has a few builder flaws here and there which are obvious but Im getting better with each build. The stock really darkened up like I hoped it would. Im going to try something different and used Howard's lemon oil and bees wax combo for the final few rub downs and future care. I've heard a lot of good thing about it. Still waiting on the ramrod tip to come in.

HERE SHE IS, SORRY BAD PICS, CAMERA IS DYING.


Sean, nice looking rifle.

Even the muzzle end looks like you got it reshaped a fair bit. Looks fine, at least at the focal length of the camera.

So what you building next??
 
Sean,

Been following your build for quite awhile.
Rifle looks great!

You will look back fondly on that skateboard scratch many years from now.

You know who is resting comfortably on my living room wall. (Everyone else has to stay in the cold,dark safe)
 
Yes, but in a few years the "source" of that "battle scar" will have changed from "skateboard" to:

"a couple years back, while scouting an Elk, I ran into the Griz and ...." :rotf:
 
Back
Top