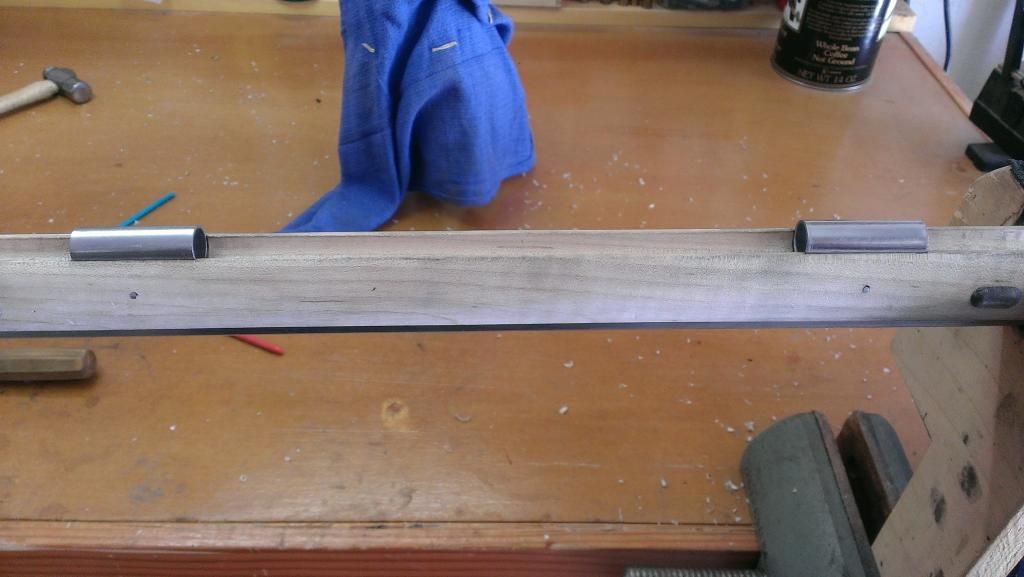
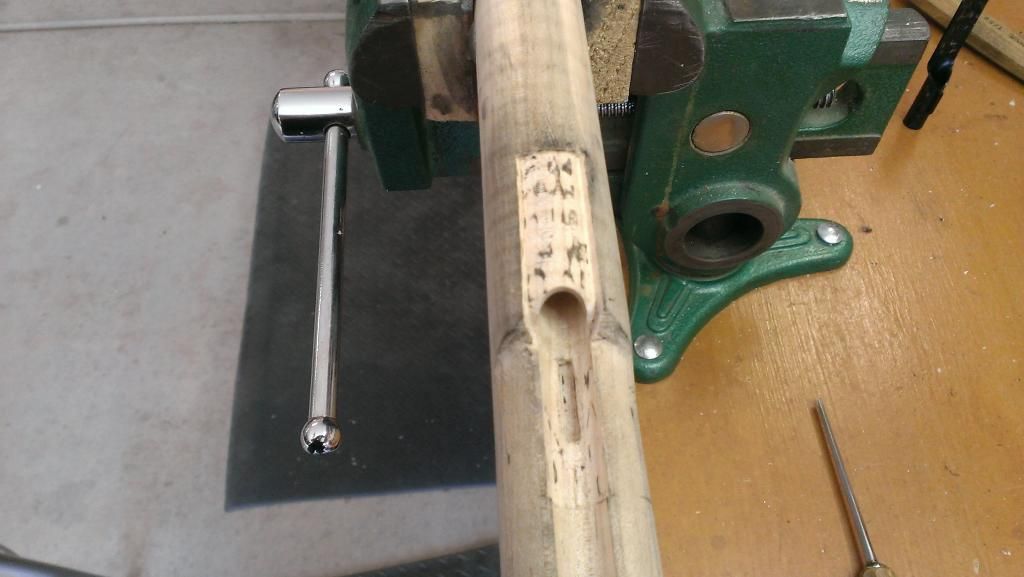
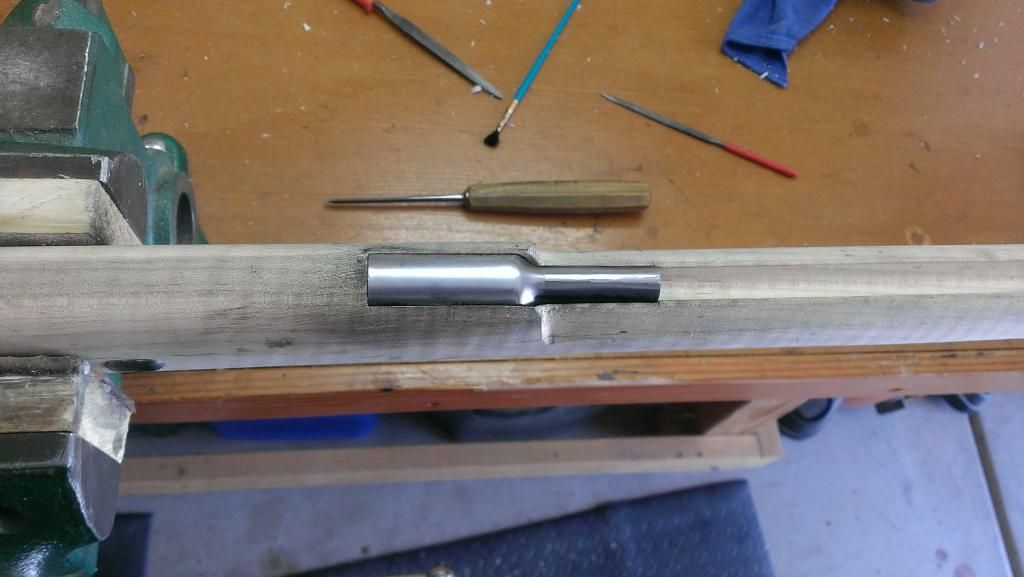
I sent an e-mail to Tim at L&R with pics of the lock in all positions and he told me to send it back and they would fix her up. Went out in the mail today. Sit and twiddle the thumbs. I guess I could start shaping things out while I wait.
-
Friends, our 2nd Amendment rights are always under attack and the NRA has been a constant for decades in helping fight that fight.
We have partnered with the NRA to offer you a discount on membership and Muzzleloading Forum gets a small percentage too of each membership, so you are supporting both the NRA and us.
Use this link to sign up please; https://membership.nra.org/recruiters/join/XR045103
You are using an out of date browser. It may not display this or other websites correctly.
You should upgrade or use an alternative browser.
You should upgrade or use an alternative browser.
#3 Hawken Full Stock
- Thread starter sean30ber
- Start date

Help Support Muzzleloading Forum:
This site may earn a commission from merchant affiliate
links, including eBay, Amazon, and others.
galamb
58 Cal.
I don't think you over filed the trigger - as long as the set trigger bar can trip the sear the lock should function fine.
(and yes, in the pic the fly looks to be correct).
Although you have blacked it and "didn't" notice anything hangin' up I would still suspect something is.
How about the hole that the sear arm is going throught?? if the sear arm is either bangin' against the top OR bottom that could be hangin' it up enough that it's (chattering) into the half cock notch (preventing the fly from doing it's job).
I have a couple other "maybe" ideas - can you post up a picture of your lock inlet - want to see the "inside" (won't pick on your inletting - mine usually looks like I let a drunk beaver go at it) - most interested in the clearance for the sear and the sear spring - might be able to see something you don't...
galamb
58 Cal.
Sean, forgot this is a replacement plate. You got some good info over on ALR, particularly the observations from Bob Roller (who is one of the best contemporary lock makers alive today).
Rework the plate - clean up all the holes/re-thread everything and make sure the plate isn't "bent" - just lay a straight edge (they sometimes are - a hammer usually convinces them to "become flat" again)...
May also have to ream out the hole (going through to the hammer side of things) to allow the tumbler to get where it needs to be - that hole is often "undersized" on a replacement plate.
I was thinking of trying rust bluing. I know the procedure but was wondering if anyone had some good pics of the outcome, Ive never seen one. Thanks in advance
galamb
58 Cal.
Hey Sean, per our other conversation, here is some pics (birds eye) that I have scaled for ya.
1- J&S, 2- S, 3- J&S (all full stocks)


1- J&S, 2- S, 3- J&S (all full stocks)


Hi Sean,
As promised I'm posting some of my thoughts from my own experience with rust bluing.
I've reblued many, many modern double barreled guns with rust bluing and several other types of guns.
Last winter's project was a more or less modern .50 cal underhammer which I'm not allowed to post here. (if anyone would like to see an example of my rust bluing, PM me and I'll get the pics to you.) I did PM the pics to Sean.
The process is labor intensive but straight forward. It's imperative that you have a few things.
A large tank and heat system for boiling the parts.
An ultra fine .0025" wire wheel Degreased and / or 0000 steel wool also degreased.
Pure water. Some folks use distilled water. I've always gotten away with using tap water. An unseen oil slick on the surface of your boiling tank can be your worst nightmare.
A good quality rust blue chemical. These two have worked well for me in the past.


Good lighting.
A day to devote to the process.
Important, Once your piece is degreased and ready to apply the first application of chemical, you must never touch the piece with bare hands. Latex gloves are advisable.
Never go over the same area twice with the applicator when applying solution. Don't scrub or rub the solution onto the steel but rather use long, even strokes.
Detailed instructions come with the solutions if you order them from Brownells.
I don't know if it's the way the Hawkens did it but it works for me.
As promised I'm posting some of my thoughts from my own experience with rust bluing.
I've reblued many, many modern double barreled guns with rust bluing and several other types of guns.
Last winter's project was a more or less modern .50 cal underhammer which I'm not allowed to post here. (if anyone would like to see an example of my rust bluing, PM me and I'll get the pics to you.) I did PM the pics to Sean.
The process is labor intensive but straight forward. It's imperative that you have a few things.
A large tank and heat system for boiling the parts.
An ultra fine .0025" wire wheel Degreased and / or 0000 steel wool also degreased.
Pure water. Some folks use distilled water. I've always gotten away with using tap water. An unseen oil slick on the surface of your boiling tank can be your worst nightmare.
A good quality rust blue chemical. These two have worked well for me in the past.


Good lighting.
A day to devote to the process.
Important, Once your piece is degreased and ready to apply the first application of chemical, you must never touch the piece with bare hands. Latex gloves are advisable.
Never go over the same area twice with the applicator when applying solution. Don't scrub or rub the solution onto the steel but rather use long, even strokes.
Detailed instructions come with the solutions if you order them from Brownells.
I don't know if it's the way the Hawkens did it but it works for me.
I can't thank you guys enough :bow:
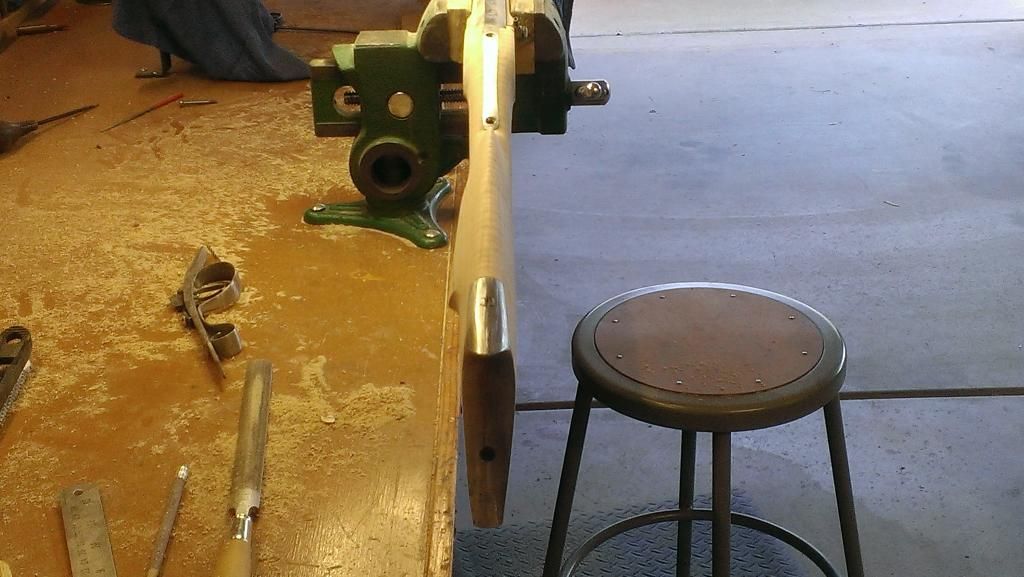
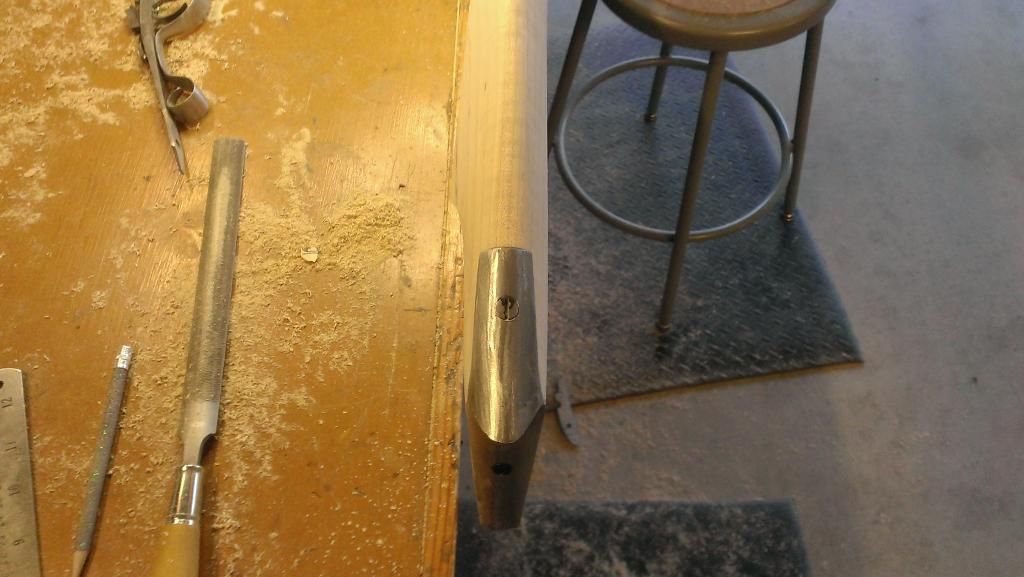
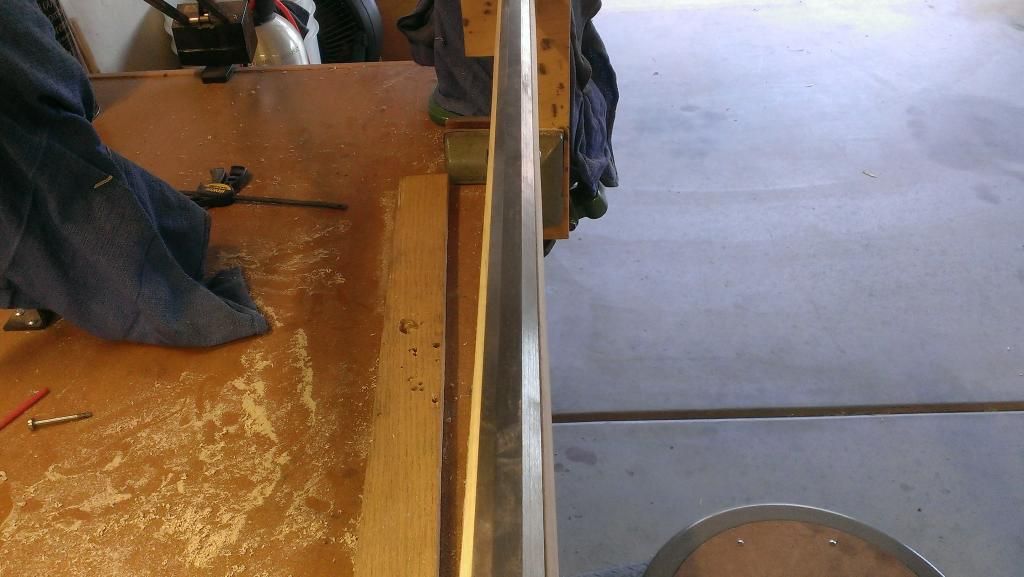
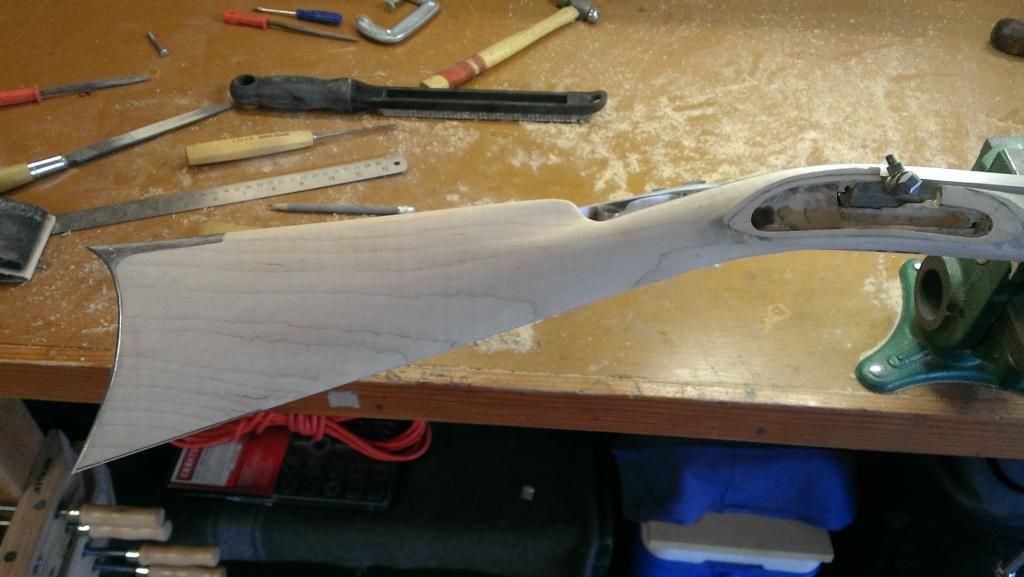
Alright, starting to get things thinned out and shaped up. I haven't done the lock panels yet but Im getting the forearm and butt thinned way down. May not look like it but I've taken a bunch off. Shavings and sawdust everywhere. Still a bit to go but want to shape out the panels first. Comments welcome. Im thinking of thinning out the cheek a bit. Need to throw it up with my eyes closed a few times and see how she rests when I open them. At a minimum Im going to thin the cheek forward and taper it thicker to the back as there is no cast off on this.


galamb
58 Cal.
The comb line in your last pic is looking really good.
From the pics it's tough to tell if there is a lot of meat on the cheek piece.
What I can see doesn't look bad, but as you note, it's more about how it fits "you".
This is going to be a beautiful rifle when you get done with her.
From the pics it's tough to tell if there is a lot of meat on the cheek piece.
What I can see doesn't look bad, but as you note, it's more about how it fits "you".
This is going to be a beautiful rifle when you get done with her.
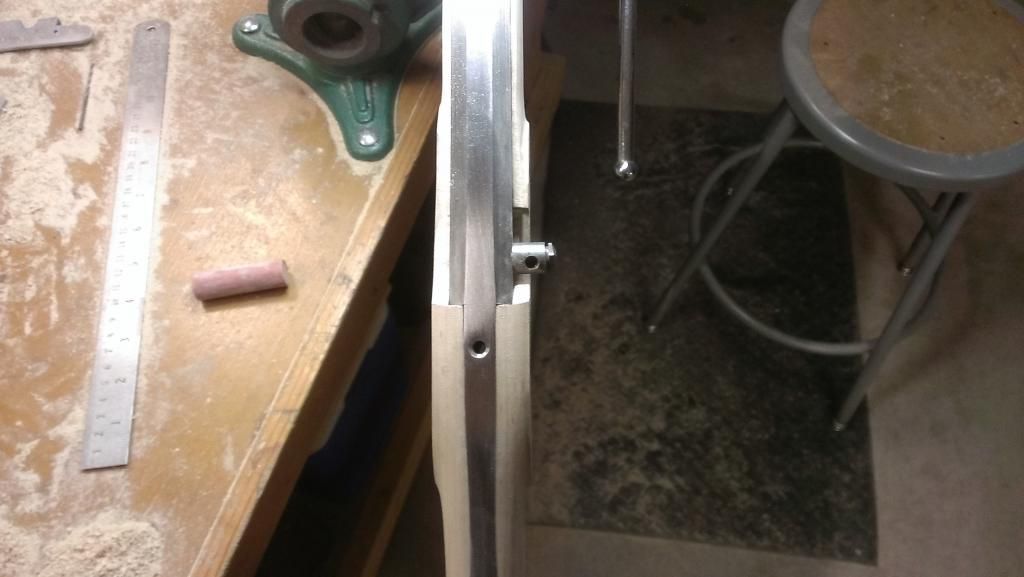
Dont mind the lock plate, its the old one and just thrown in for visual. Panel is ruffed in, wished the bottom curve wasn't pre-carved so much, but oh well. Made a template of the lock panel and transferred to the other side. She will still look nice when done.
THINNED
SHAPED
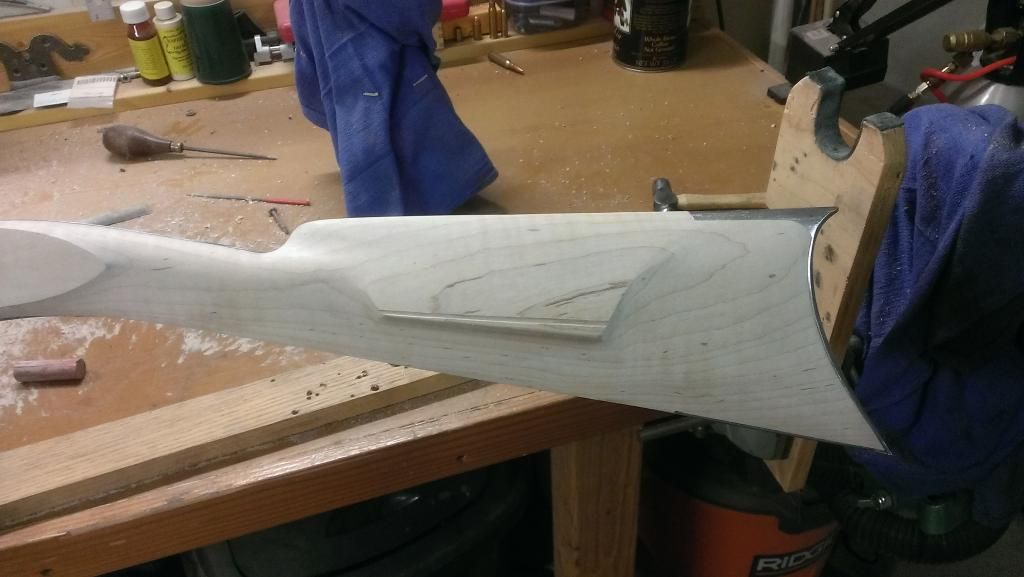
RUFF SHAPED
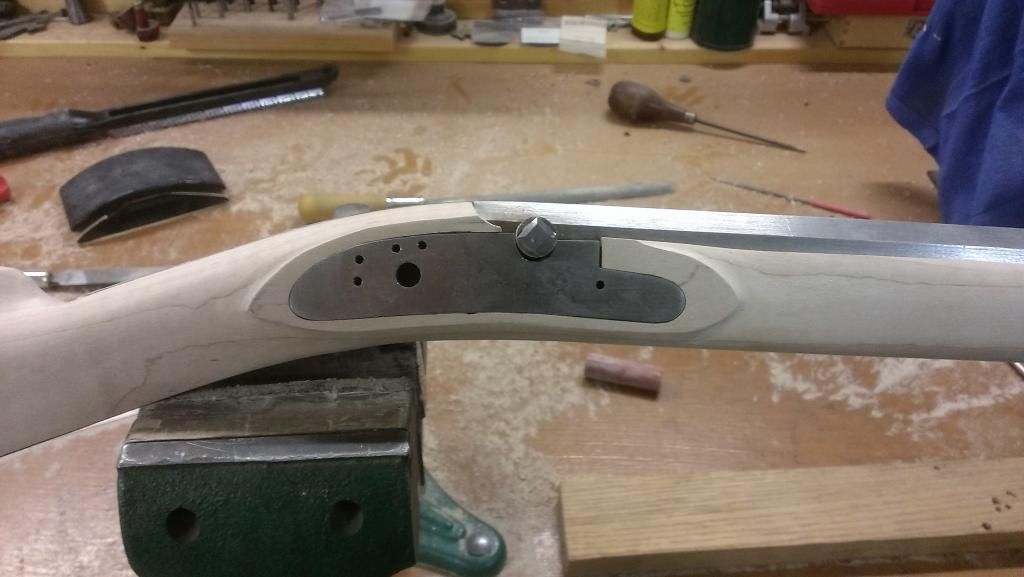
TEMPLATE OF LOCK PANEL
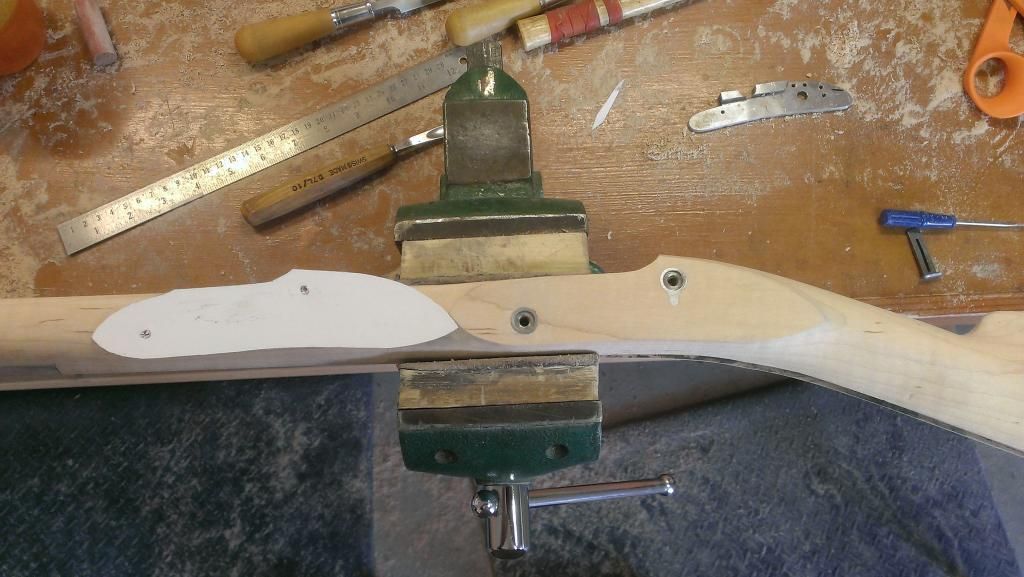
OVERLAY
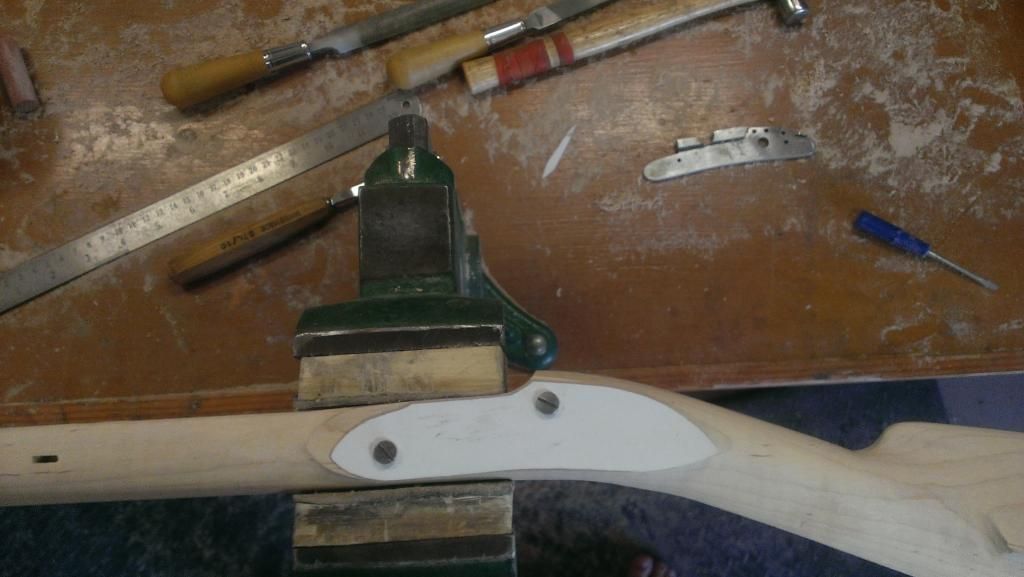
TRANSFERED
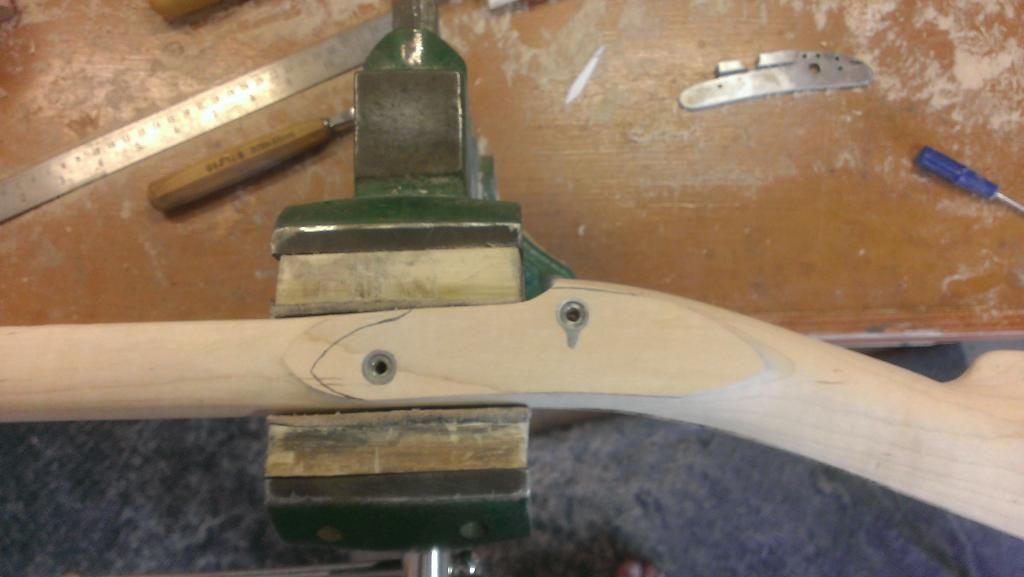
THINNED

SHAPED

RUFF SHAPED

TEMPLATE OF LOCK PANEL

OVERLAY

TRANSFERED

General thoughts on front sight placement. The blue prints I have show the front sight centered at the back end of the nose cap. Set up it looks to far back visually. Is there a general rule of thumb for the Hawken?
galamb
58 Cal.
Dug through my pics of original full-stock's. Found six - here's the results of front sight placement.
(when I say back or rear line of the nose cap I mean project a straight line up from the rear most of the nose cap up to the top of the barrel)
#1 - the "middle" of the sight blade is in line with the back (line) of the nose cap
#2 - same as number one
#3 - about 2/3's of the blade is behind the line of back of the nose cap
#4 - same as number 3
#5 - the front of the dovetail is about 1/4" behind a line to the rear of the nose cap
#6 - the "rear" of the sight blade is in line with a line to the rear of the nose cap
To "my eye" I liked the look best where a line projected up from the rear of the cap cuts right through the middle of the sight blade - just looked "balanced" to me - but it's a personal thing.
Mr Sapergia on ARL and Graham helped with correcting the line of the panels. Thank you both.
Just futzing around while waiting for the lock to come back, Playing with Rust bluing on the pipes and butt plate. Getting her figured out. Ill post some pics of that in a few days.
Taylor Sepergia's Rendition
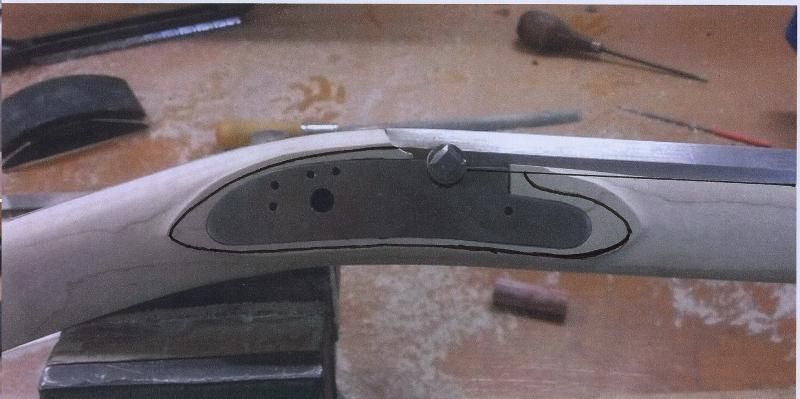
Final rough shape
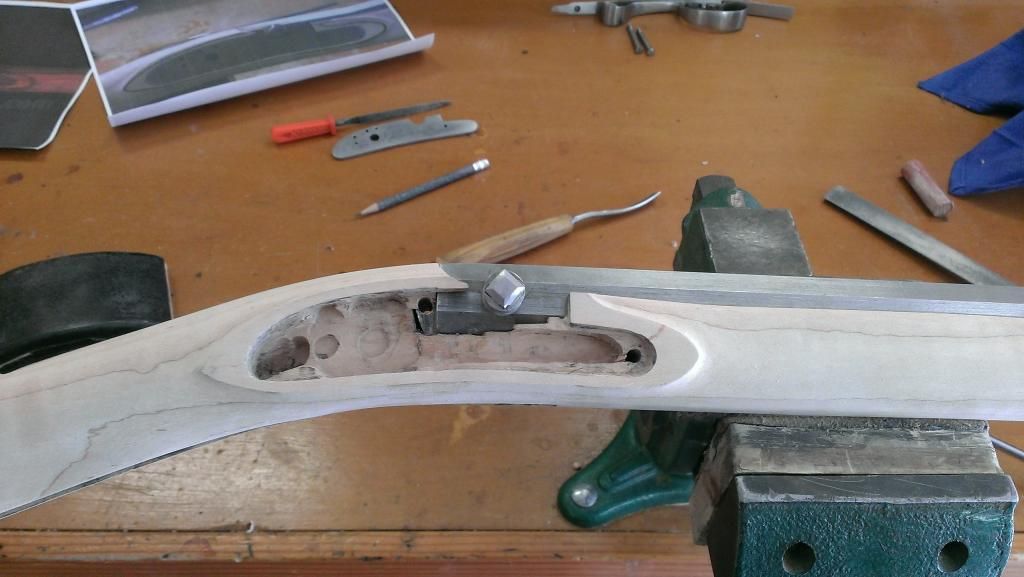
Just futzing around while waiting for the lock to come back, Playing with Rust bluing on the pipes and butt plate. Getting her figured out. Ill post some pics of that in a few days.
Taylor Sepergia's Rendition

Final rough shape

galamb
58 Cal.
Sean, I do hope you enjoy this rifle when you get her done.
I built a Hawken a few years back - had to have one, but after humping that 10 1/2 lbs around for part of one season - over hill/dale in dense hardwoods, I sold her - I'm a whimp, I admit it :rotf:
It's great that Taylor jumped in and helped sort out that lock panel.
Although he is not well known outside of the ALR circle he is one of the better contemporary Hawken builders in the business today.
I will say though that your build has re-ignited my interest in building a full-stock Hawken - maybe a really early one with significant Maryland influence (ok, stop that, have to finish the Ohio on my bench which I have set aside to start the Maryland that was the subject of my barrel inletting experiment with a Shenandoah rifle next on the list - I need 6 hands and a couple of benches :rotf: )
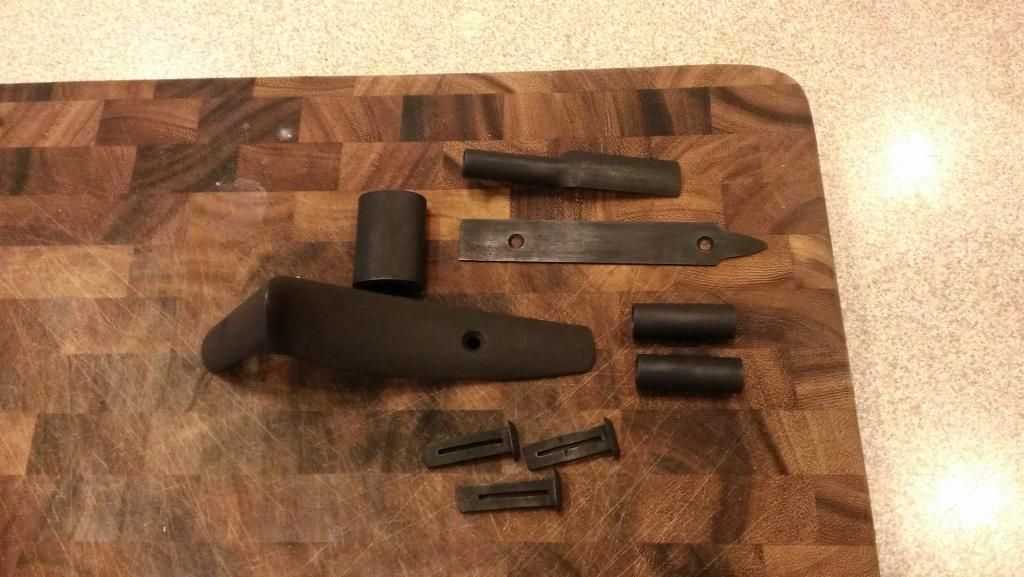
Started playing with the rust blue. Let the parts set overnight in a closed container with water in the bottom, and boiled in distilled water. Still need to so several more coats. The sooty black stuff get everywhere and doesn't wash off hands very well. Can you say latex gloves. Interesting new finish for me. I already like it. Sheet metal doesn't take as fast as cast parts it seems.
BROWN
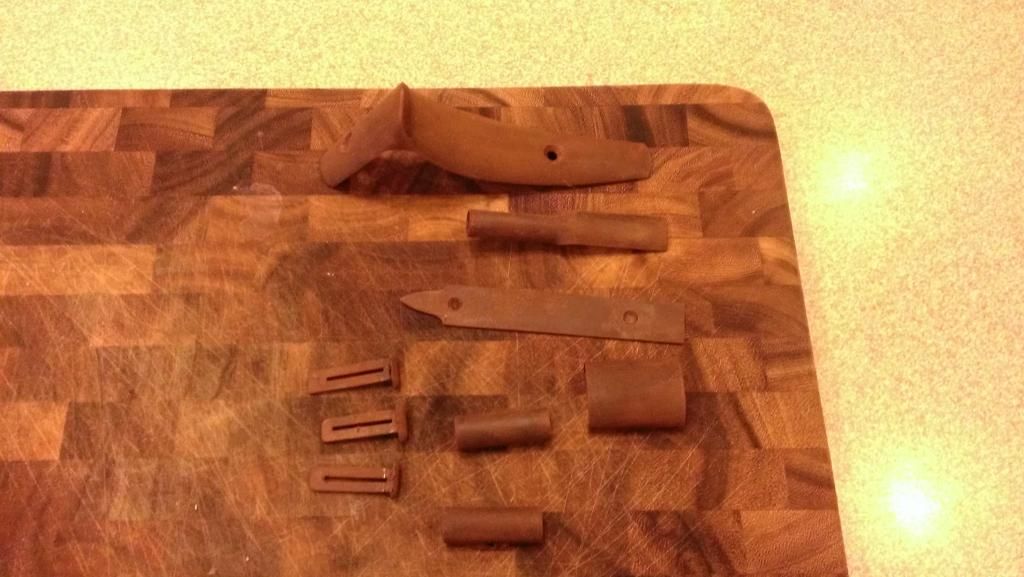
BLACK
BROWN

BLACK

Got my lock back from L&R today, :grin: :bow: Thank you Tim for the super fast turn around and the nice fitting parts. Looks good, works good. Onward with the build.
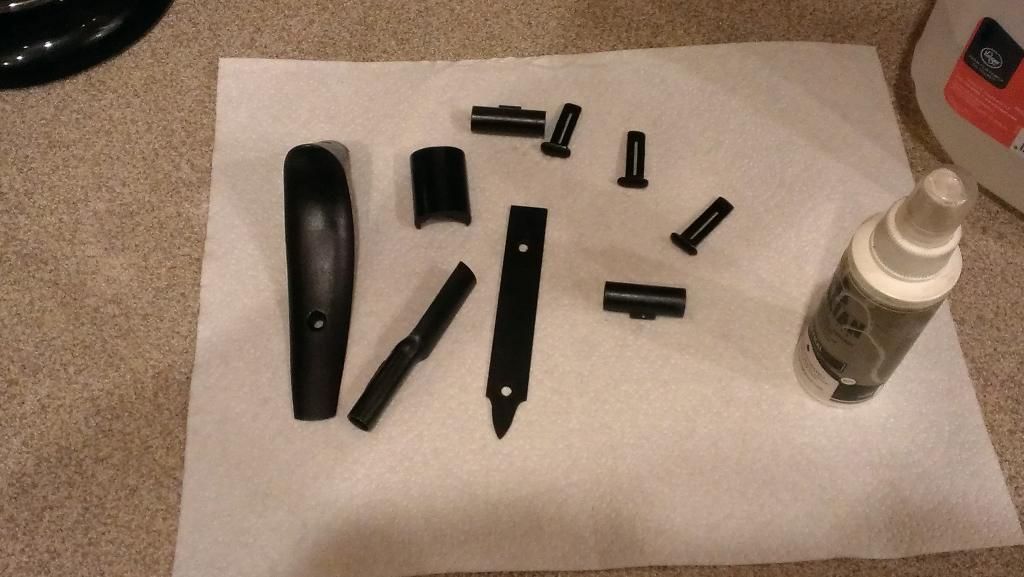
Finished with the Rust Bluing on these pieces. I coated with LMF brown, and sweat tanked it, coated again without carding and let it tank for about 8 hours. Boiled in distilled water, coated again and tanked it for about 8 hours then boiled again. Coated and let it set over night then boiled again in distilled water, rubbed it back then boiled in distilled water again with baking soda. Flashed it and coated in oil. I like the color and the rough texture that I got from not carding and letting it rust out. Gives it a nice mat finish. Here she is sitting with a good coat of oil. Ill let it set for a day coated then rub the oil back.

Ok, so I received the Long Hawken Rear sight from L&R. My question is, what is the proper filing of the rear notch as it comes unfiled. Is it a slight "V", a straight notch? or something else.
galamb
58 Cal.
Sean, the only pic I have (of an original) where I can see the notch it looks to be vee'd, but rounded over on the bottom (if you get what I'm saying.
So wider notch at the (top), sides tapering down to a rounded bottomed notch - but it's really a tiny notch.
I say, go with whatever you think will work best for you to get the sight picture you want.
Sights are sometimes a very personal thing and many could have been replaced over the years to the point of where very few original rifles still even have original sights (?????)
Similar threads
- Replies
- 1
- Views
- 493
SOLD - Pending funds
Custom Full Stock Hawken Rifle In .50
- Replies
- 4
- Views
- 761
- Replies
- 6
- Views
- 1K
- Replies
- 5
- Views
- 1K
Latest posts
-
-
-
-
-
FOR SALE very nice Veteran Arms 1st Land Pattern Brown Bess for sale!
- Latest: FlintlockMilitaryRifle
-
-
-


