-
Friends, our 2nd Amendment rights are always under attack and the NRA has been a constant for decades in helping fight that fight.
We have partnered with the NRA to offer you a discount on membership and Muzzleloading Forum gets a small percentage too of each membership, so you are supporting both the NRA and us.
Use this link to sign up please; https://membership.nra.org/recruiters/join/XR045103
You are using an out of date browser. It may not display this or other websites correctly.
You should upgrade or use an alternative browser.
You should upgrade or use an alternative browser.
And So It Begins........
- Thread starter pdt1793db
- Start date

Help Support Muzzleloading Forum:
This site may earn a commission from merchant affiliate
links, including eBay, Amazon, and others.
After seeing your pictures we can now say,
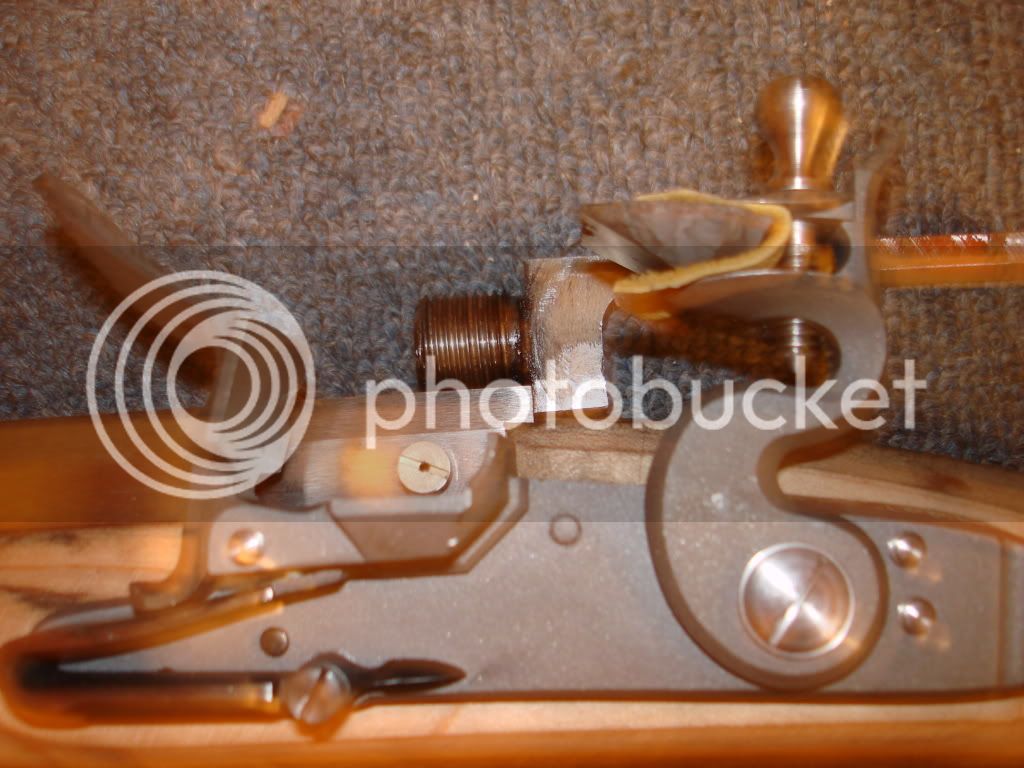
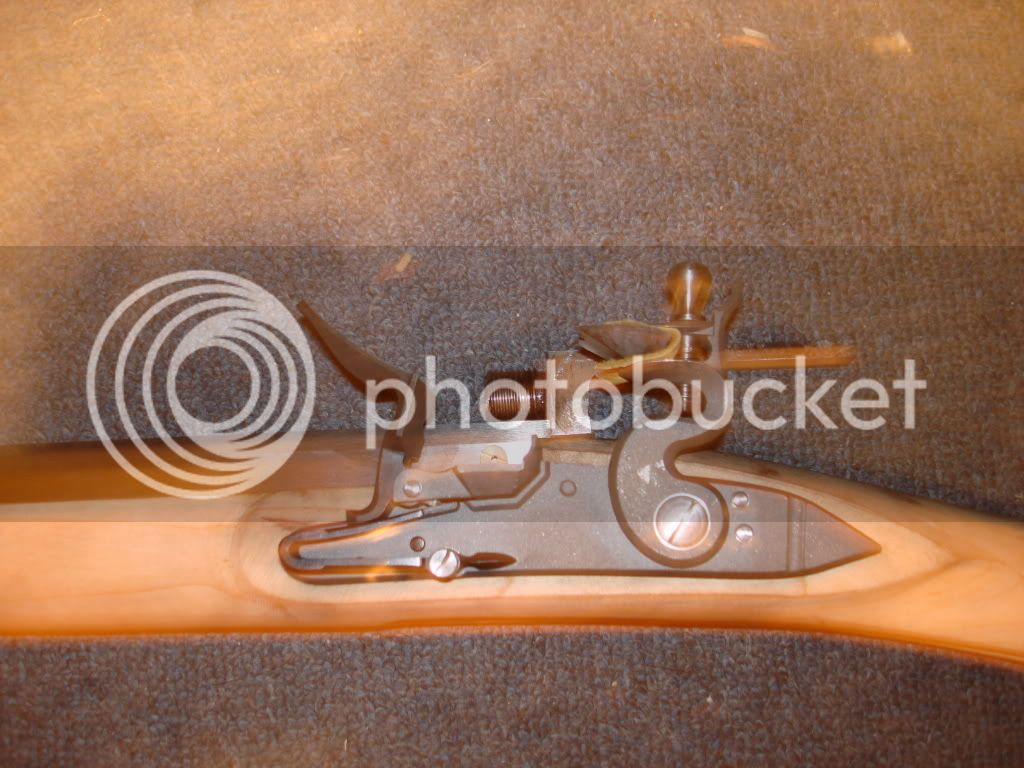
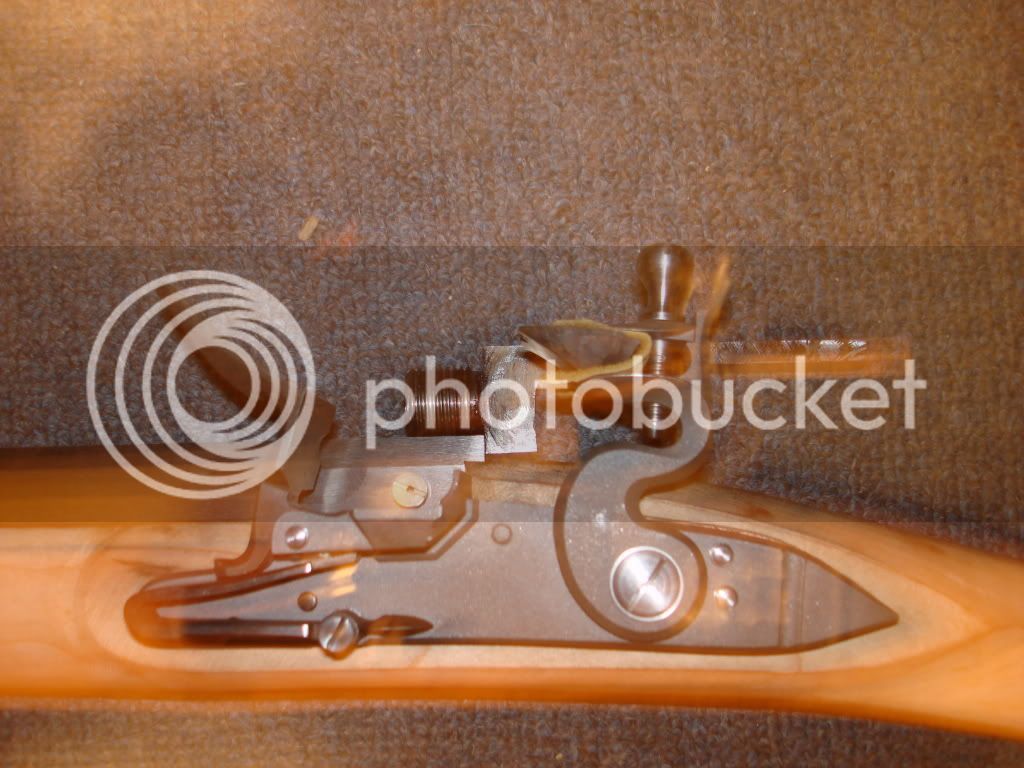
"After you move the barrel back towards the butt about 1/4 inch (more or less), THEN you can think about doing something with the barrel tang.
"After you move the barrel back towards the butt about 1/4 inch (more or less), THEN you can think about doing something with the barrel tang.
Hey..... You are doing OK..... :wink: You just took off a lil before the horse arrived... :grin: Most stop & ask when they are about up to their chin in quicksand... :shake: you were just at the edge of it.
Now that you are headed in the correct direction, it will work out OK. Use the steps I sent you & you will be OK. When you get to a point you Don't Know for Sure, just ASK... before ya jump into it. :thumbsup:
Some of these things you can go back & change, but others you will be stuck with. I vote for being stuck with the least amount of errors as possible, thus why best to follow a plan, rather than just taking off wandering.
:thumbsup:
Keith Lisle
I vote for as little errors as possible as well. Guess I got excited to get started. I keep learning more about this build everyday. Thought I would post those pictures and that they might be helpful to the other first time builders who responded.
Guest
Don't start moving it back yet, you need to make sure the plug is seated properly to the breech, as Keith showed you. That plug looks to be about 5/8" and could easily be cut to 1/2". Being that long can affect the geometry of the rifle. But since this is your first build, I would make sure the plug fit is correct, and go from there with Keith's advice. That plug may be in and out a couple more times before you are done with the build.
Bill
Bill
Looking at those I should have put in a above view picture. But you get what Im working with. Anyway I havent touched it since I got the breach plug out. I'm trying to learn about inletting the lock right now and try and start some work on it thursday.
Keb
50 Cal.
I'm coming in late on this one. It looks like the vent comes out behind the face of the breech plug. If this is the case, you can V-notch the breech plug. Maybe I'm wrong but that's what it looks like to me.
If you read all the posts, you will find he has not inlet the lock as of yet, which is what he should have done First... Also it is a straight barrel & straight tang & he can move the barrel back where he wants it, thus obtaining proper vent liner position.
V notching the breechplug just builds in a problem. Yes, it will get the rifle shooting & is done frequently, but also has it's disadvantages. It is a fouling trap, a rust trap cause you can't clean it easily, it breaks the breechplug/barrel seat, and to me should be avoided if at all possible. Others see it differently & that is fine. But why have it if you can just move the barrel back a bit & eliminate these issues ?
Keith Lisle
Similar threads
- Replies
- 3
- Views
- 261
- Replies
- 17
- Views
- 2K
- Replies
- 583
- Views
- 34K


