• Friends, our 2nd Amendment rights are always under attack and the NRA has been a constant for decades in helping fight that fight.

    We have partnered with the NRA to offer you a discount on membership and Muzzleloading Forum gets a small percentage too of each membership, so you are supporting both the NRA and us.

    Use this link to sign up please; https://membership.nra.org/recruiters/join/XR045103

Another .36 cal Rifle from a Plank

Muzzleloading Forum

Help Support Muzzleloading Forum:

This site may earn a commission from merchant affiliate links, including eBay, Amazon, and others.
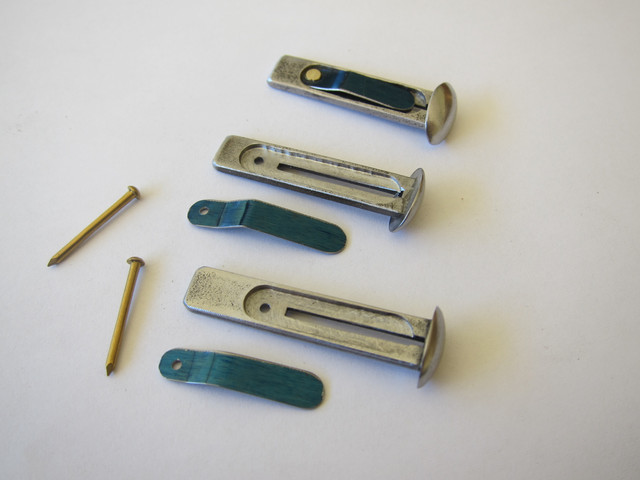
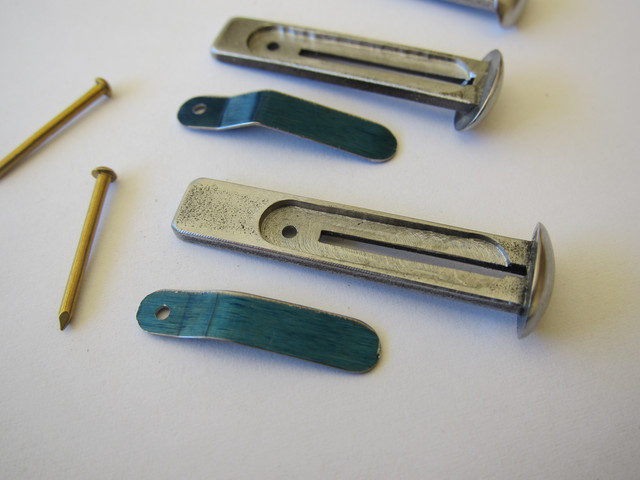
I completed the barrel keys. As I have done in the past, I milled a slot in the body of the keys and then riveted a very thin leaf spring in the slot. Eliminates the issue of fitting keys "just right" and then having things wear or having the change in humidity make the keys too loose or to tight.


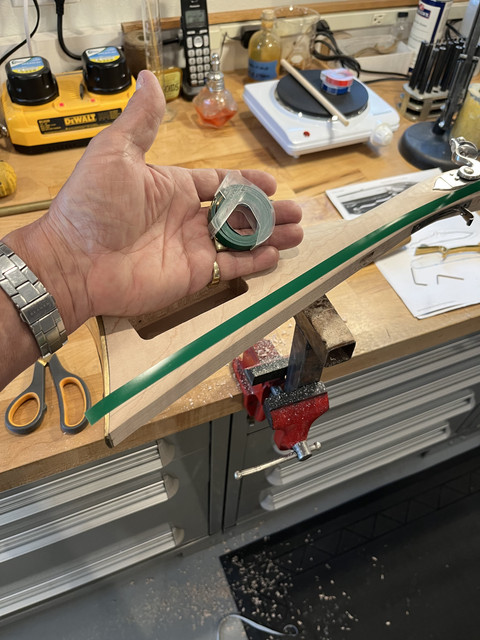
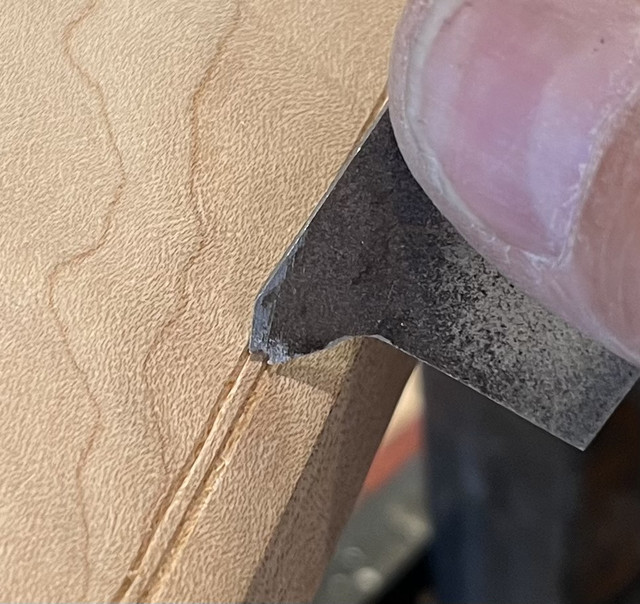
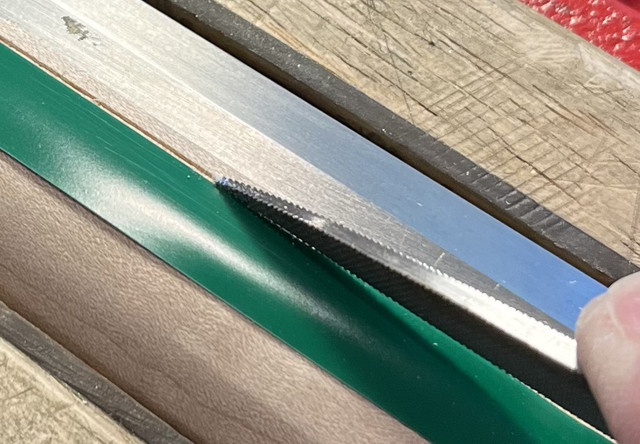
Still haven't decided where to go with engraving and carving on this rifle.....so, as usual, I'm just going to "wing it" and start in. The designs will have to grow and morph as they develop. First step was to put on the lower butt stock molding lines. I used a trick I learned here on ALR to lay them out this time. I used a strip of label maker tape to establish the first line and then just ran a small knife edge file along the tape for a few strokes......worked great....


After the initial groove was established, I used a tiny bead scraper I made to make the second line and shape the bead......


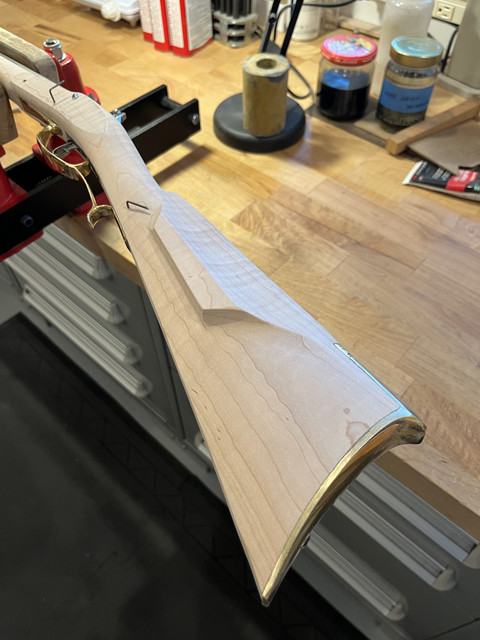
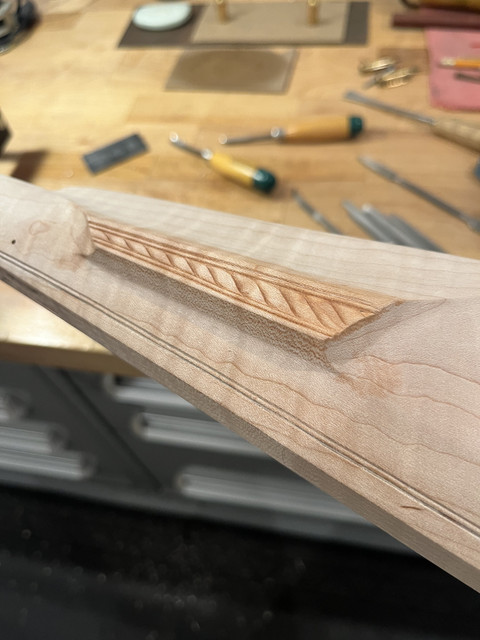
Then decided I would do something different with the cheek piece edge. I usually do some sort of concave / convex molding. This time I ran two beads (with the same scraper) and then did a rope like decoration on a convex surface between the beads.....don't know if I like it yet...?


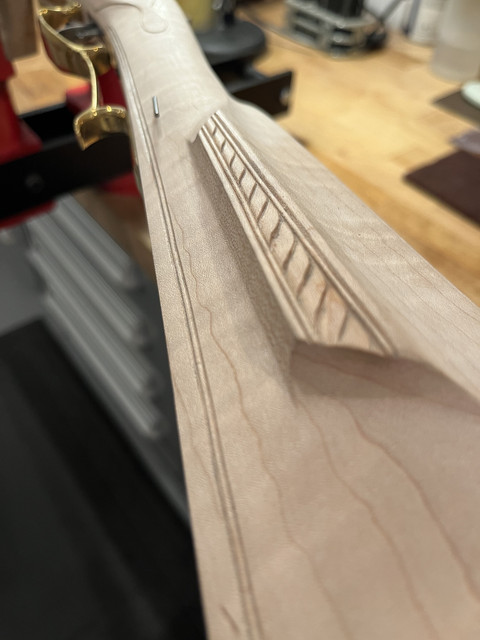
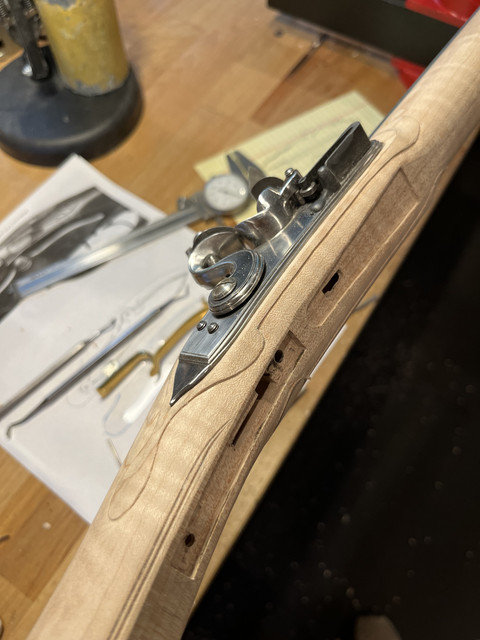
While I'm deciding, I went ahead with the lock panel molding start.......

 
One thing I forgot to take pictures of when I was shaping the butt area around the cheek piece.....for the first time I used this.....
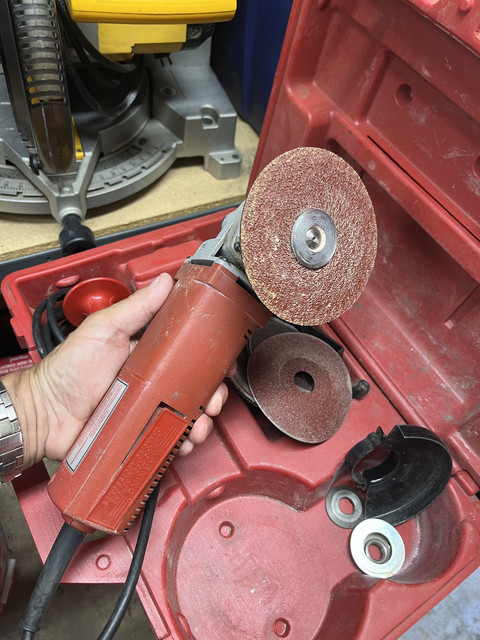


Like a computer, this angle grinder, with a 36 grit disk, will allow one to screw things up at the speed of light. However, I hate removing the wood on the cheek piece side in slow motion with chisels so I thought I would try this method. It worked great to rapidly remove a lot of unwanted wood and get me very close to a surface that did not take much additional wood removal with a small spoke shave and scrapers to get this.....besides, I am old enough where I can't afford to move too slowly. Eight bells might call me out before I get the next rifle done... :eek:


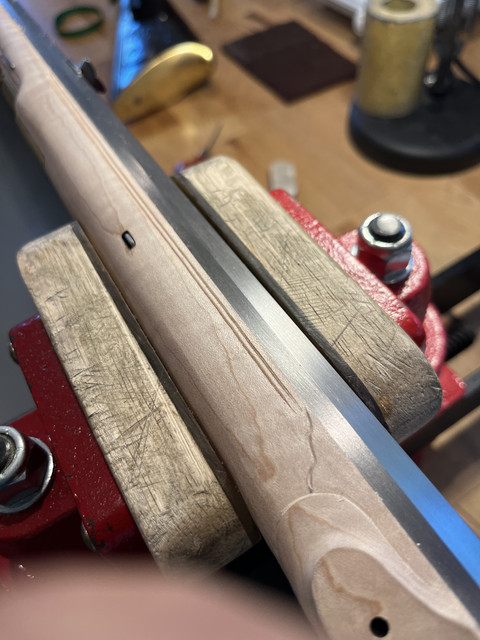
So....on with a little more peripheral carving while trying to decide on some major carving issues....Using the same technique as the molding on the lower edge of the butt, I ran a molding bead along the fore stock upper edge from the lock beaver tail to the rear ram rod pipe.


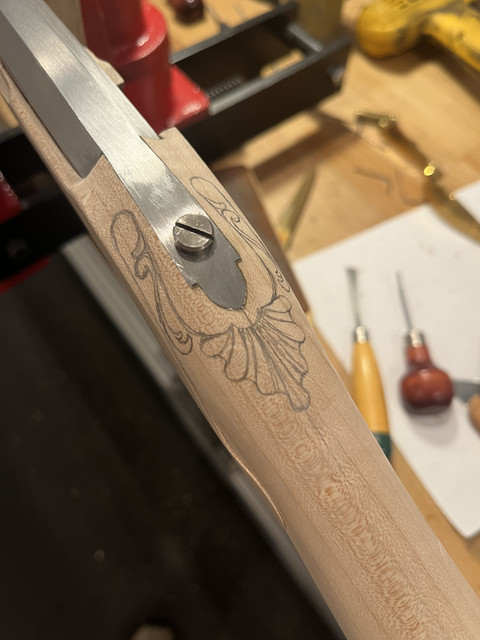
I also took a whack at a sketch of the carving around the barrel breach tang.....Haven't decided if i like it yet....


While I am deciding, I made up the hinge for the patch box. In other posts I have explained how and why I do this, b ut is has become my usual method for making a patch box hinge and is, to me, much simpler and less trouble than bending the knuckles out of the box plates themselves. First step is the take two pieces of 1/8" brass rod and drill them lengthwise with a 1/16" through hole, and then cut two pieces of 1/16" thick pieces of brass plate ~ 3/8" wide and 1 1/2" long.
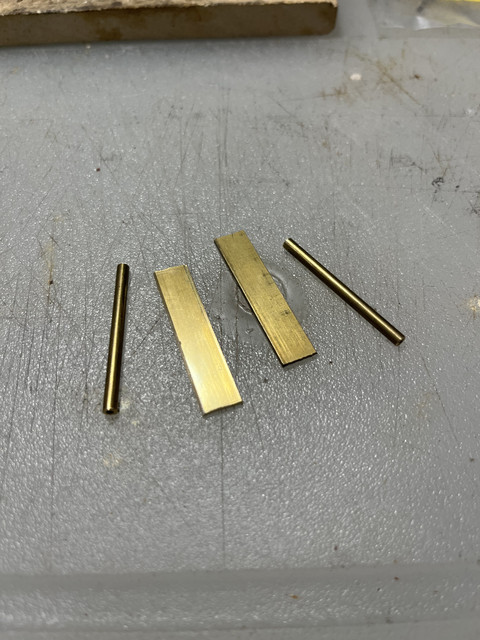
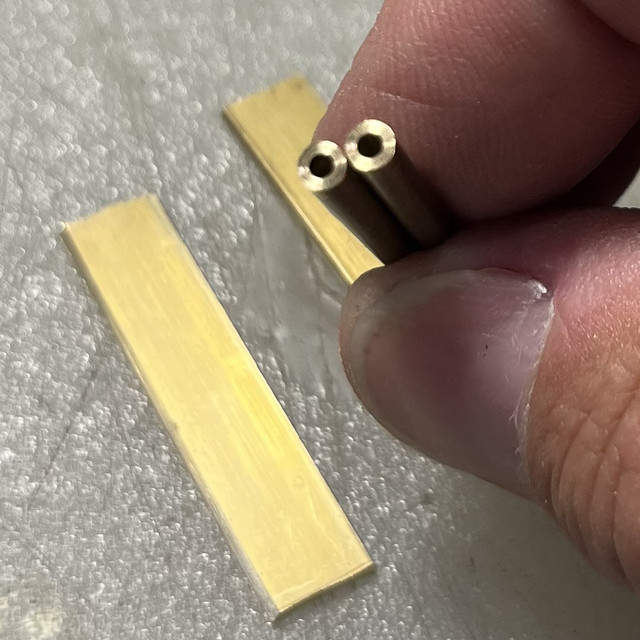


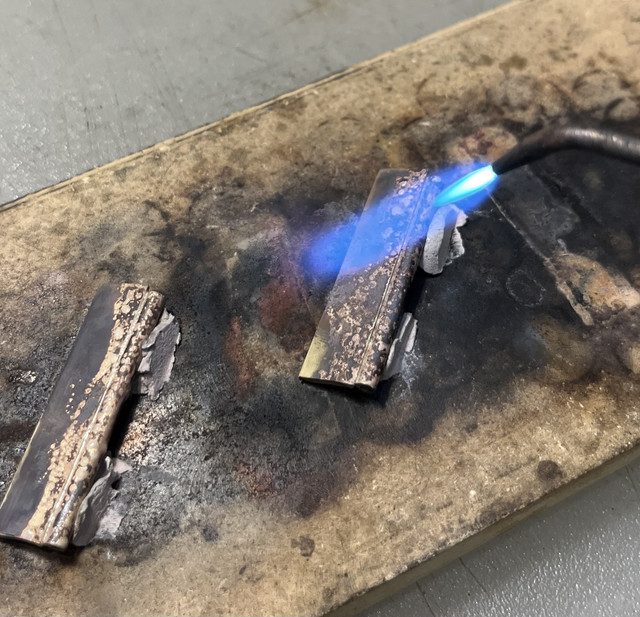
The two rods are then silver brazed to the edges of the plates....
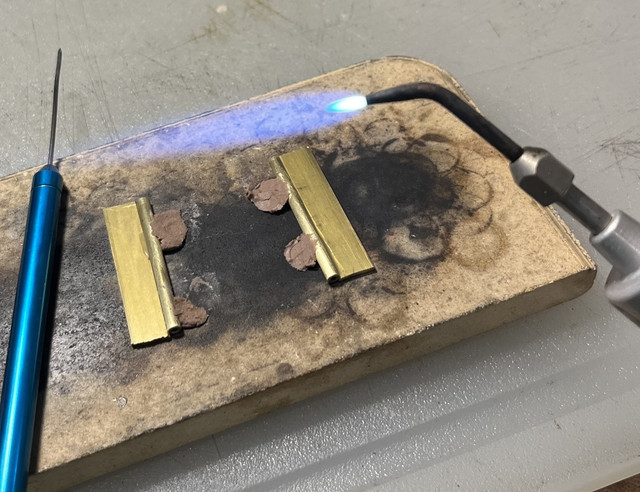


Acid pickled and cleaned up......
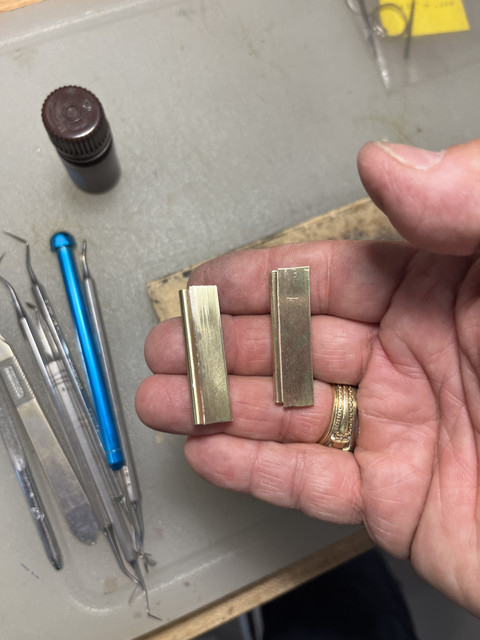


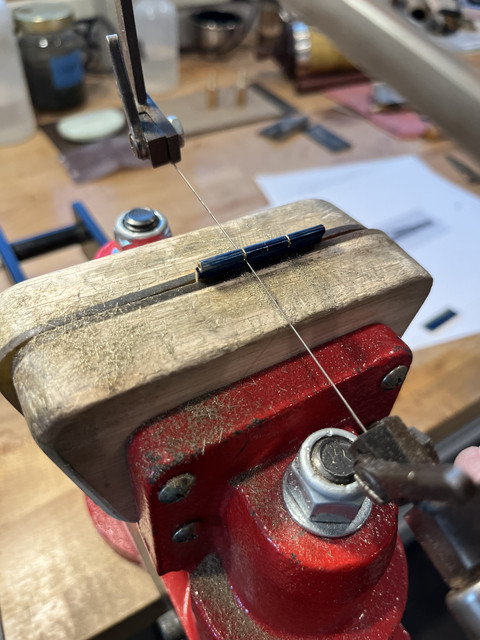
Cutting and filing the knuckles.......


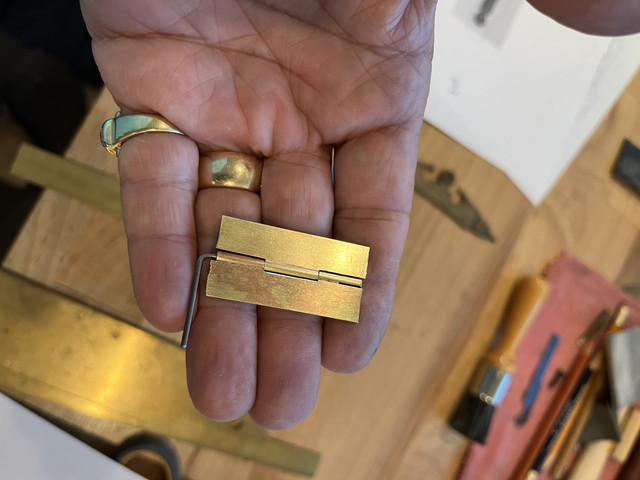
Finished hinge. I will show later how this hinge is prepared for and attached to the box parts in a historically correct manner.
 

Latest posts

Back
Top