aprayinbear
36 Cal.

Well, after years of looking at a pile of parts and wondering what to do with them, with your help I finally got the answers I needed to jump in and finish my CVA rebuild project.
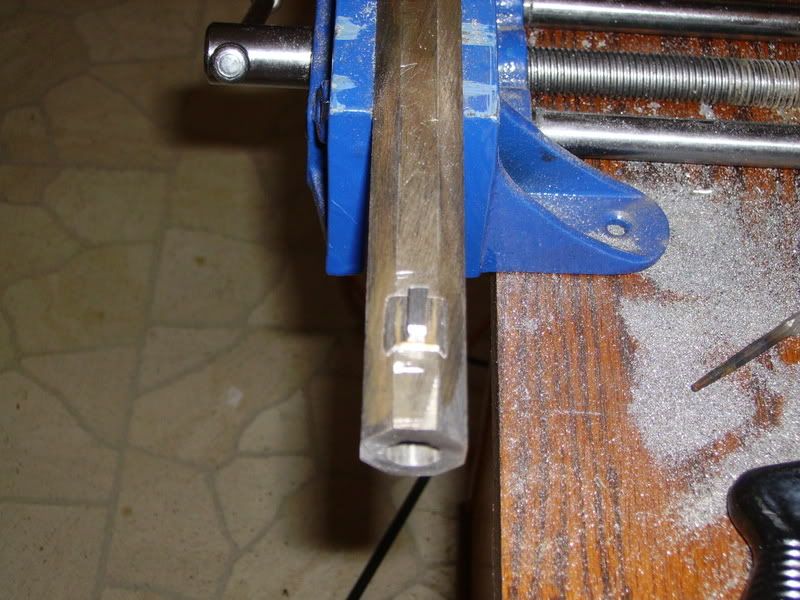
I've added some photos to encourage folks who like me aren't quite sure they can complete some of the more challenging operations. Before finishing this gun I had never, cut and crowned a barrel, installed a breechplug, made tennons, cut the dovetails needed to install them or the mortises for the tenon. As you can tell from the photos my work isn't perfect, but it's tight and fully functional.
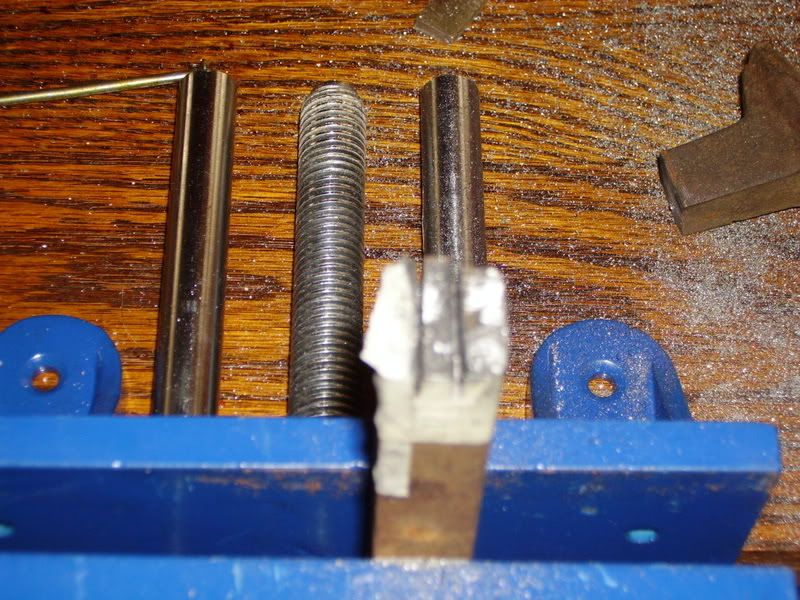
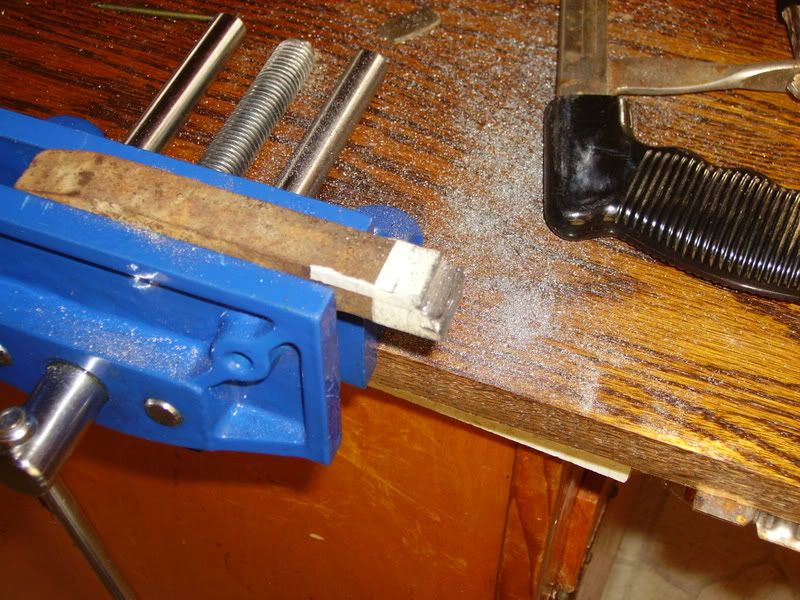
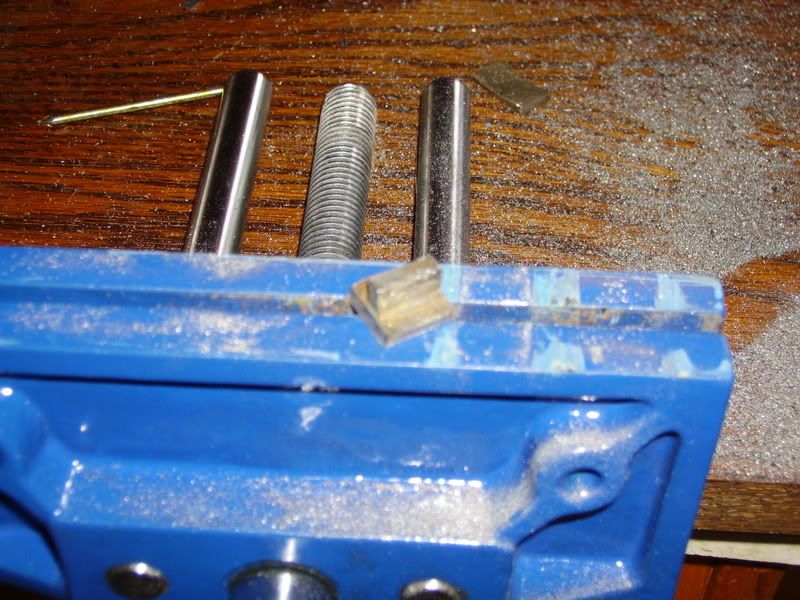
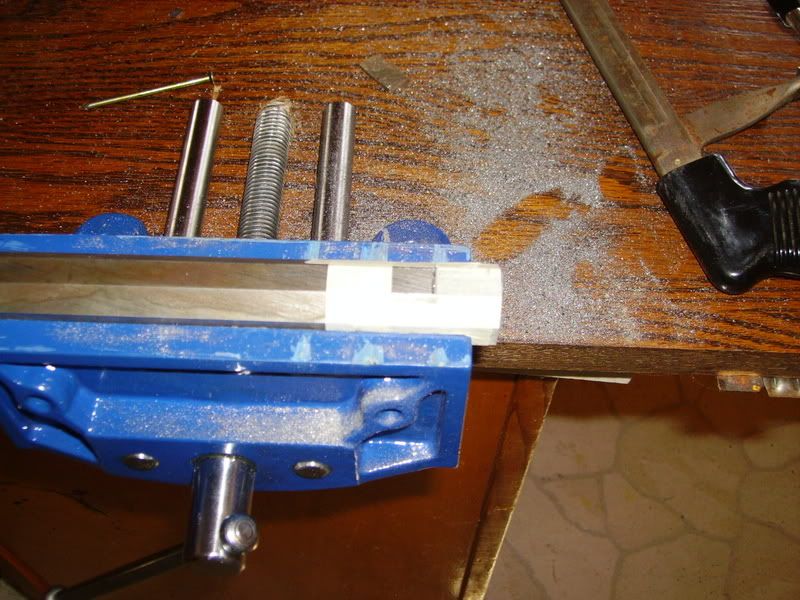
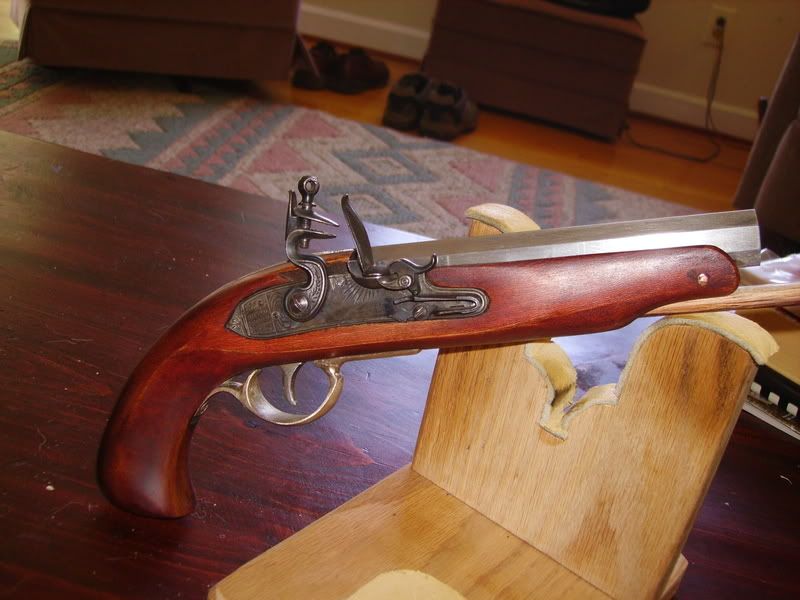
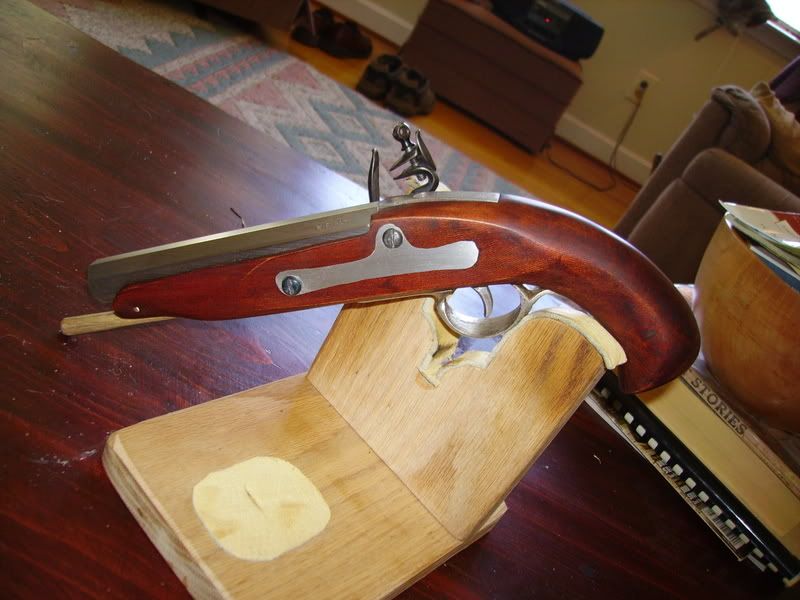
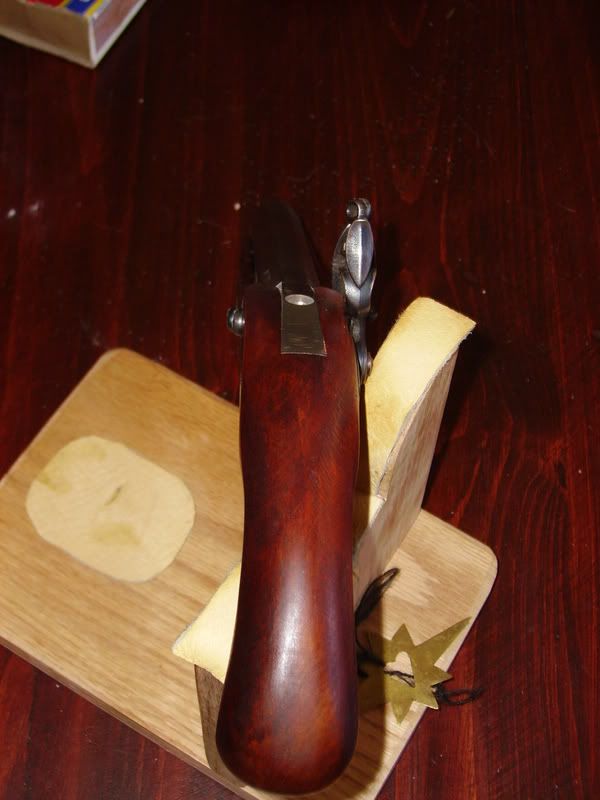
Photos show how I made a tenon from a RR spike and then cut the dovetail. The other photos are of the finished gun. I still need to find a slotted tang bolt and I'm debating installing sights (most of the shorter Kentucky pistols I've seen don't have sights.) I decided to leave the barrel bright and let it age naturally. I sanded most of the "case coloring" off the original lock, leaving an aged look. I was missing the side plate so I filled the old inlet with some fake pewter I had from years ago. Just heated it up and poured it in. Worked like a charm and looks a bit like German silver. I made a ramrod out of a tiny piece of hickory I had laying around to make a bow from.
I made a few mistakes along the way like missing the tenon when I first drilled for it (I filled the holes with round toothpicks which were then sanded and stained.) My metal sanding is far from perfect, but this is a plain gun and I imagine that a few file marks are probably historically correct. :rotf: I also mismeasured when I inlet the trigger guard. When I screwed one end down the other end drew in leaving a good size gap. I'll fix at another time.
Go easy on me.... I did this project by the seat of my pants. That said, I like it a lot! Doesn't have to be perfect to be fun! Enjoy the pics.
Thanks for All The Help :thumbsup:


