• Friends, our 2nd Amendment rights are always under attack and the NRA has been a constant for decades in helping fight that fight.

    We have partnered with the NRA to offer you a discount on membership and Muzzleloading Forum gets a small percentage too of each membership, so you are supporting both the NRA and us.

    Use this link to sign up please; https://membership.nra.org/recruiters/join/XR045103

Damp Rusting Cabinet Questions

Muzzleloading Forum

Help Support Muzzleloading Forum:

This site may earn a commission from merchant affiliate links, including eBay, Amazon, and others.
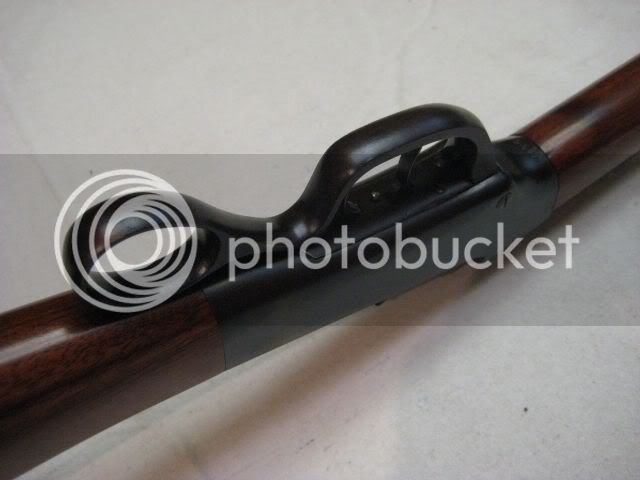
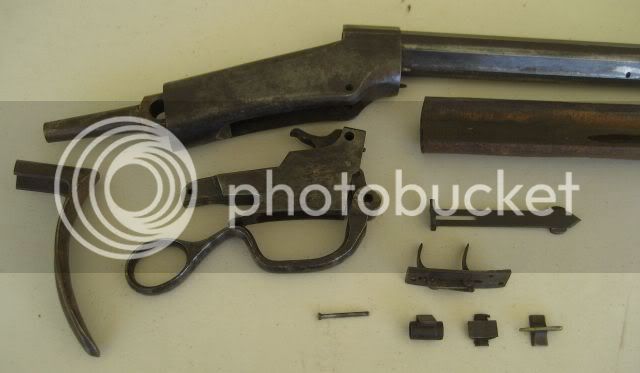
I recently had to refurbish a pile of parts that used to be a Pacific model Ballard rifle.  It was found in a California mountain meadow 40 years ago with no butt stock and many damaged internal parts.  It looked like this when I got it.

Ballard1.jpg


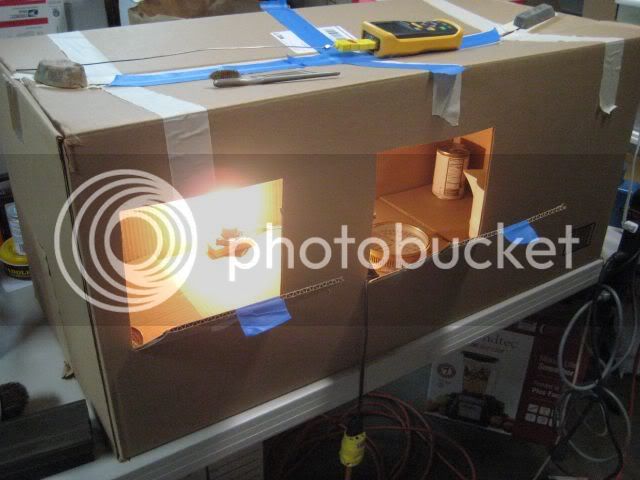
To get the rifle back in shooting condition, I first had the barrel relined by Wyoming Armory (from the original 40-90 to 38-55).  Then I repaired the internals and made new stock parts.  I wanted to refinish the metal work without overdoing it, so I decided that I would not do much more than clean the metal parts and brown them.  Since the humidity around Southern California is usually not very high, I wanted to use a damp box and considered building a wooden one.  However, storing it afterward would have been an issue.  So I made up the following disposable damp box from a discarded cardboard box.
DampBox1.jpg


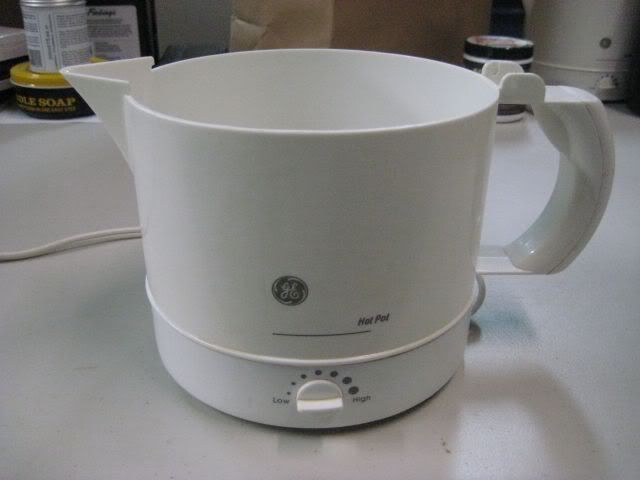
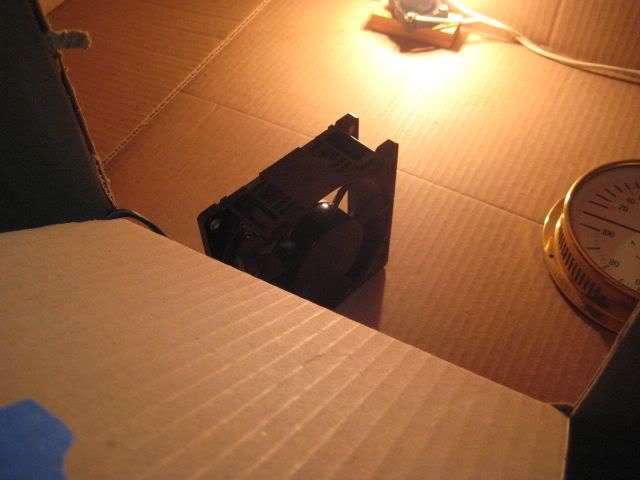
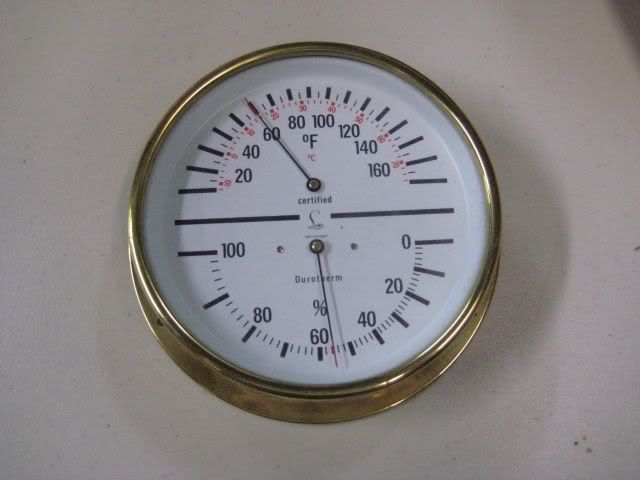
The box was big enough to brown the barrel and, of course, all the remaining smaller parts.  Inside the box I placed a GE Hot Pot to heat water, a surplus muffin fan to circulate the moist air, a light bulb for heat, and a hygrometer to keep track of both temperature and humidity.  The light bulb was also on a dimmer to control temperature a little better and keep the inside of the box from reaching the dew point where water would condense on the parts and ruin the finish.
DampBox2.jpg


DampBox5.jpg


DampBox3.jpg


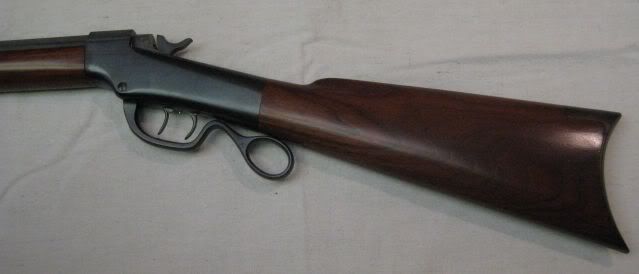
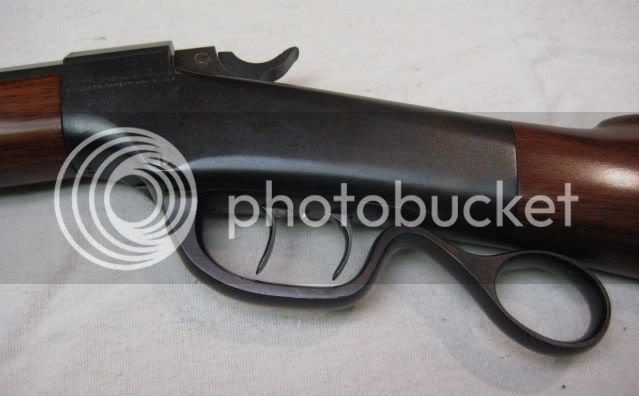
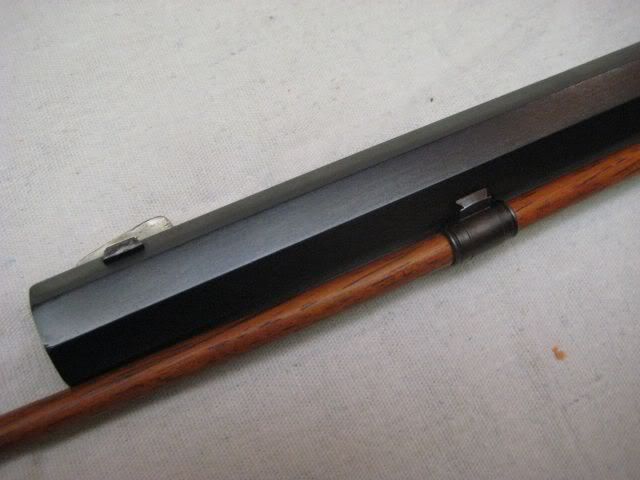
It took a day and a half to get the metal finished in the damp box.  Here are the results:

Ballard2.jpg


Ballard3.jpg


Ballard4.jpg


Ballard5.jpg


Ballard6.jpg


I threw the box away when I was finished and now I don't have to store it anywhere in a small shop.  I'll need a longer box for the next rifle that is in work.
 
What a great find. Beauty looking rifle in it's current condition.

I assume from the looks of it, you blued the gun after browning by dipping it in boiling water.

I am wondering if I will have to do mine over again, it is currently about to receive a seventh coat and looks to be a chocolate brown with the LMF reagent. This is my second attempt at browning a barrel.

It is starting to look much better, and I have used BC Degreaser on before browning and a few subsequent coats during browning and have only handled the barrel with vinyl gloves on any time I had to pick it up.

This has been a pain to try and get right even with the LMF reagent.
 
depending on the conditions you will might need to do 20 or more cycles. There seems to always be parts that are blotchy to start with, but usually evens out.

If after quite a few applications and it is clearly not evening out you might have to take that spot back to plain metal and start over, just in that spot. If you do, it wont take long to get the color to even out.

I it is not a hard process, just takes time and patience.

fleener
 
Although my "sweat box" is a cheapy and probably not built as well as yours, I agree that a couple of wet towels laid on the bottom and a light bulb for heat, really does an excellent job. Of course the "box" has to be fairly airtight to allow the moisture from the towels to do their job. I normally, for whatever reason do the browning in the winter time w/ it's attendant low humidity, but the "box" yields a bbl that's got a nice, fine matte finish and a plum brown color. Of course I use LMF and neutralize w/ ammonia.....Fred
 
Here is my progress so far.


I think I may have to start over again, but want opinions before I decide to do so. I feel posting my results, warts and all, will help other beginners to this process.

Scale seems to be almost microscopic between coats and not much is showing up during carding with coarse cloth.

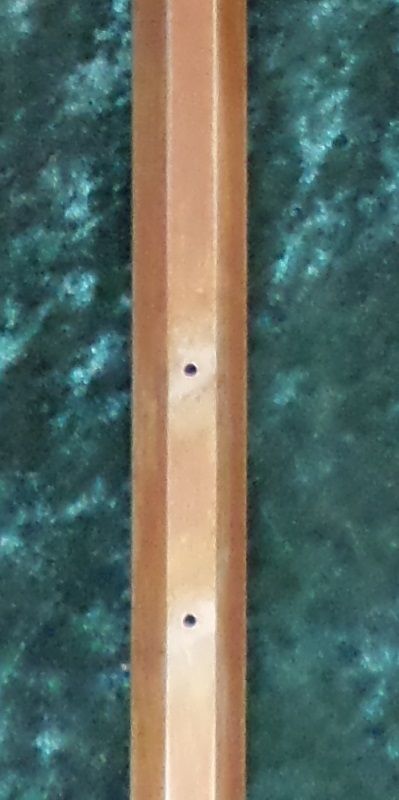
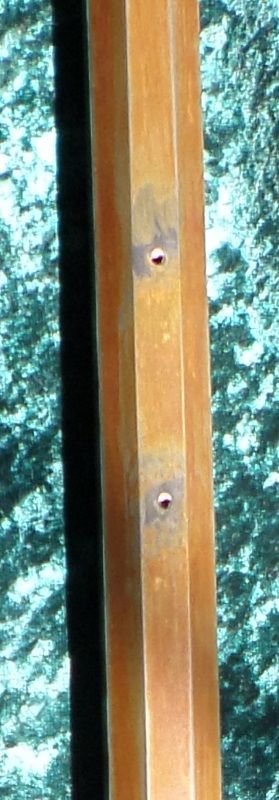
This is what the color of the barrel looks like in natural ambient light after coat number six. There were screws in those holes for the ramrod thimble covered with teflon tape, so it was very hard to get solution there.


Here is what the color of the barrel looks like under sunlight. All these picture are after carding the sixth coat.


Here is the current splotching issue.


I have tried to be careful by prep sanding with no more than 320 wet/dry sandpaper, only applying a very thin coat of LMF each time, handling only with gloves, using degreaser, and making sure if the barrel touches any thing I clean it before putting it back in the cabinet including the cloth it is on in these photos. I still might have to start over again, but don't really want to.
 
I would not worry, I think you are doing fine. I also would not cover up the screw holes.

give it some more time.

Fleener
 
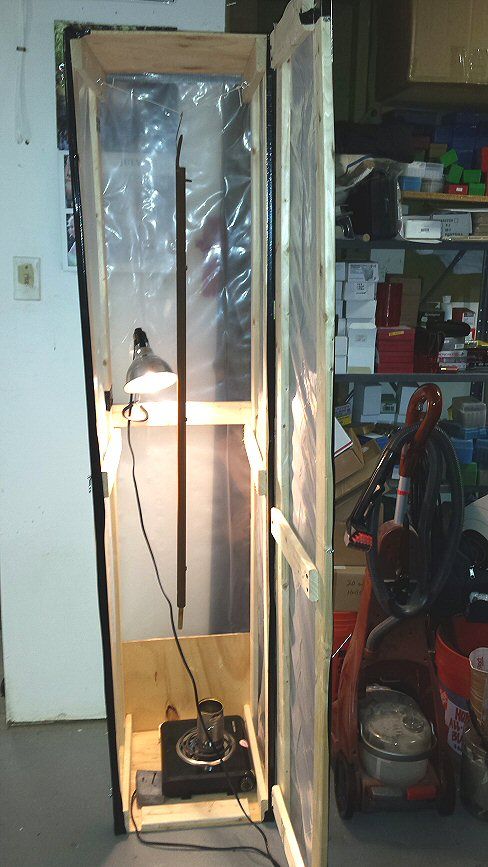
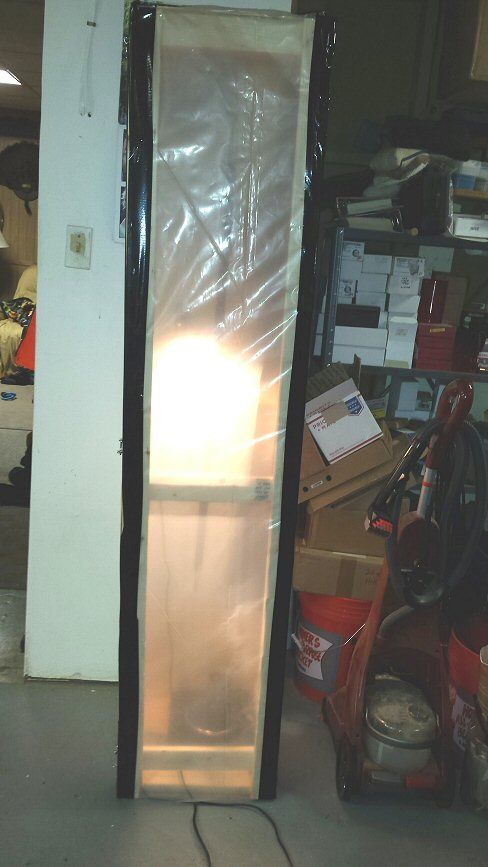
This is the one I made. Just some faring strips for a frame and heavy plastic sheeting. I sealed the ends of the plastic with duck tape. Had some 1/4 plywood I used for a base and top. Think the whole thing cost me 10 bucks. Well, not counting the hotplate that I put a can of water on and keep at a low setting. I use the shop light to maintain a more constant temp in the box. Works fine for me on the 2 builds I've done so far. Small parts I hang on wire hooks from the cord across the top with the barrel. To do screw heads I plug them into an old foam sanding block and just set it on the bottom. You can see it in the pic.


Cpl. Ashencheeks said:
Humidity never really gets beyond 10 to 15% unless thunderstorms are in season.

I think that is probably your trouble. I just checked my instruments and found that the humidity in my air conditioned den is 78%. :shocked2:

Try running the hot water in your shower until the room is steamy and then hang the barrel in there for a while. Otherwise, just keep at it until you get the color you want (you might want to wipe some water on the barrel for a preview of what it will look like)
 
Wow that is really humid. I am thinking you might be using a swamp cooler if your humidity is that high.

A good portion of California has desert like climate most of the year except for parts near the coast or up high in the mountains.

That is why I built the cabinet. The cabinet is holding anywhere from about 48 to 65 percent humidity with a 100 to 106 temperature at Fahrenheit.

It is in the cabinet on the 11th coat at the moment and it looked good at coat number 10. I am thinking I can possibly stop at coat number 12 by tonight.

It is a flat brown color and earlier coats have evened out to a degree to where the barrel looks much better in the sun.

It does not look completely perfect as some barrels I have seen browned online, but it seems to be an acceptable almost solid color.

The only areas that seem a little problematic are at the ignition drum but it is darkening after using a single corner layer of paper towel with reagent and just touching it in like a feather.

It looks like I might have this barrel ready in time for squirrel season after all.
 
My last build I was having problems getting an even finish. That was with carding every 4 hours and reapplying solution as directed. I ran out of time that weekend. Figured I'd hit it again after I got home from work Monday.

So I just rubbed the barrel down with a wet shop rag but did not put a new coat on and put it back in the cabinet without the heat. Left it in overnight figuring I'd hit again when I got home from work. Next morning I checked it and it all evened out nice. I rubbed it down again quick before I went to work. When I got home I put another coat on and did another cycle. Same thing, did not look even, so again I just rubbed it down with a wet shop rag and left it over night. Again, next morning it looked great. It put it back in the cabinet while I was at work and when I got home it was just as I wanted so I neutralized it and oiled it down. perfect.

Remember, the solution keeps working until it is neutralized, so you can skip applying a coat, it will just be a slower rusting.

My 1st barrel I did it worked just as instructions said. This one I had to modify my technique a bit and it worked out great.
 
Back
Top