True. I know in knifemaking, if you are just trying to edge quench say a patch knife or hunter using the torch method, you can do it with the old Home Depot propane torch, but if you get inot bigger blades, you have better think about using an oxy-acetylene welding rig. A 10 inch bowie blade makes for a nice big heat sink.
-
Friends, our 2nd Amendment rights are always under attack and the NRA has been a constant for decades in helping fight that fight.
We have partnered with the NRA to offer you a discount on membership and Muzzleloading Forum gets a small percentage too of each membership, so you are supporting both the NRA and us.
Use this link to sign up please; https://membership.nra.org/recruiters/join/XR045103
You are using an out of date browser. It may not display this or other websites correctly.
You should upgrade or use an alternative browser.
You should upgrade or use an alternative browser.
Finishes and photos
- Thread starter bstarkey
- Start date

Help Support Muzzleloading Forum:
This site may earn a commission from merchant affiliate
links, including eBay, Amazon, and others.
bioprof said:Here's a closeup of the barrel:

I'm not sure if I like it or not. What do you guys think?
I notice that I can see some of the file marks from when I drawfiled it.
Actually I like it. Do you have any photos of the lock or other pieces finished in the same manner?
Someone mentioned leaving the metal in the white, if so how do you prevent it from rusting?
Bob
aloyalistdawg
40 Cal.
- Joined
- Dec 28, 2006
- Messages
- 367
- Reaction score
- 0
:thumbsup: :thumbsup: :thumbsup: :thumbsup: :thumbsup: :thumbsup:
Awesome look yes please tell us more how did you do this I am doing my plains rifle now wow nice look
my warmest regards a Loyalist Dawg :hatsoff:
Awesome look yes please tell us more how did you do this I am doing my plains rifle now wow nice look
my warmest regards a Loyalist Dawg :hatsoff:
I first drawfiled the barrel with a mill file to remove the milling marks on this Green Mountain barrel. When it came time to finish the barrel, I wiped it down with denatured alcohol to degrease, then hung it up inside the doorway of my shop and applied LMF Barrel Brown and Degreaser by lightly wiping each flat with a piece of cleaning patch soaked with the browning solution. I then reapplied the browning solution a couple of times every three hours without carding during the first day. After the first day, I reapplied the browning solution once or twice a day. I let it rust up for three full days. In hindsight, I wished that I had let it go 4 or 5 days. You can check the progress of the pitting by sanding off a small area on the bottom flat. During this time, the humidity outside ranged from 55 to 95% and it was raining most of the second day.
I then stopped the rusting by covering it with baking soda and wetting it down to make a paste and rubbing it on the barrel. I then sanded off most of the surface rust with 150 grit sand paper, then lightly sanding with 220 and 300 grit sandpaper. The sanding part was a lot of work. I then applied two coats of cold blue and then rubbed it back to dark grey with 0000 steel wool.
Please note that these thin antique finishes don't protect the barrel from rust. If you don't want the antiquing process to continue, you have to keep the outer surfaces covered with oil or other protective lubricant.
BadHorse
45 Cal.
mfwing82 said:I just finished a gun treating metal with vinegar very unique look . All you need is vinegar ,sun and old tee shirts. As far as stock just boiled linseed and then tung oil. can tell you more about metal if interested
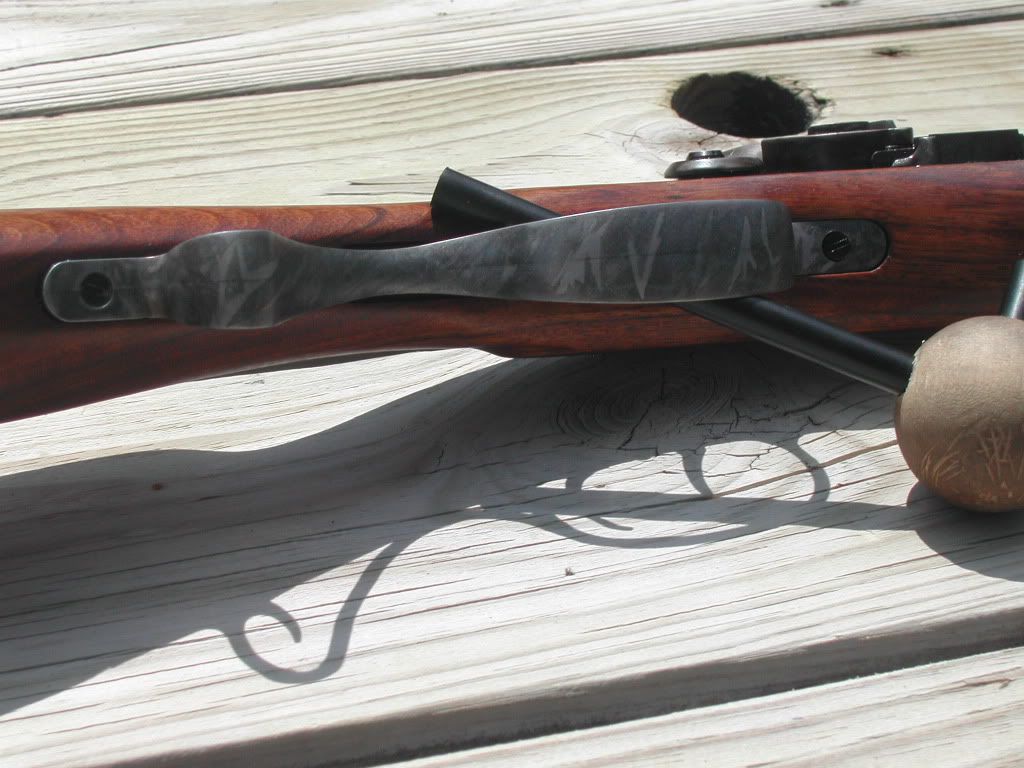
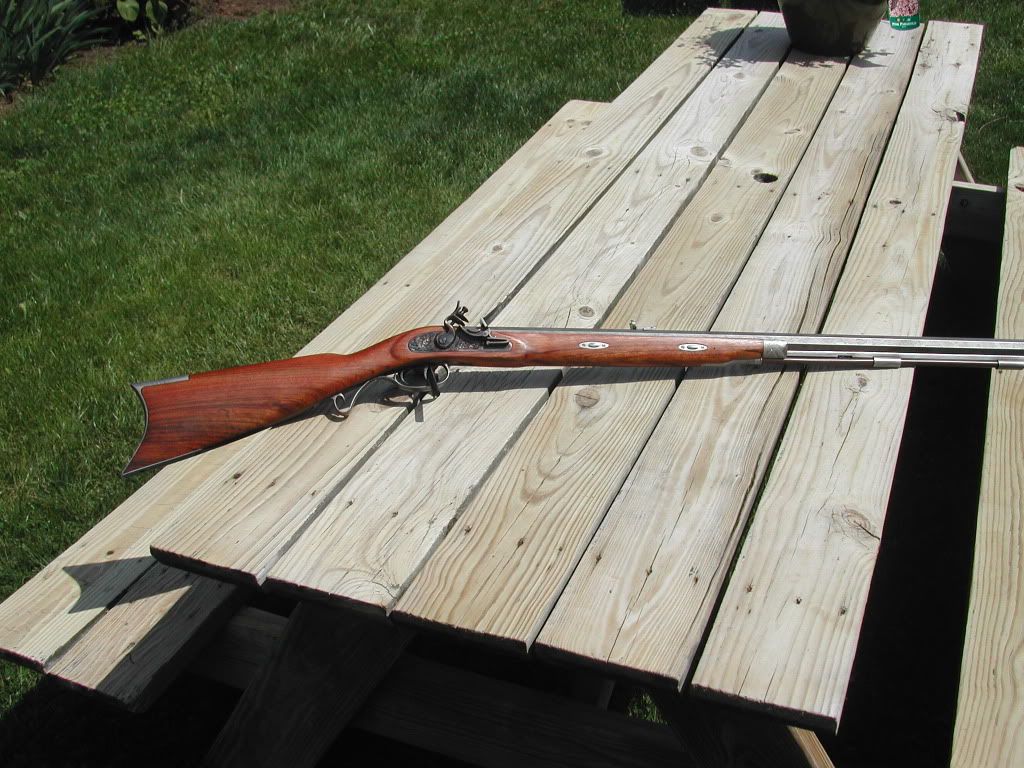
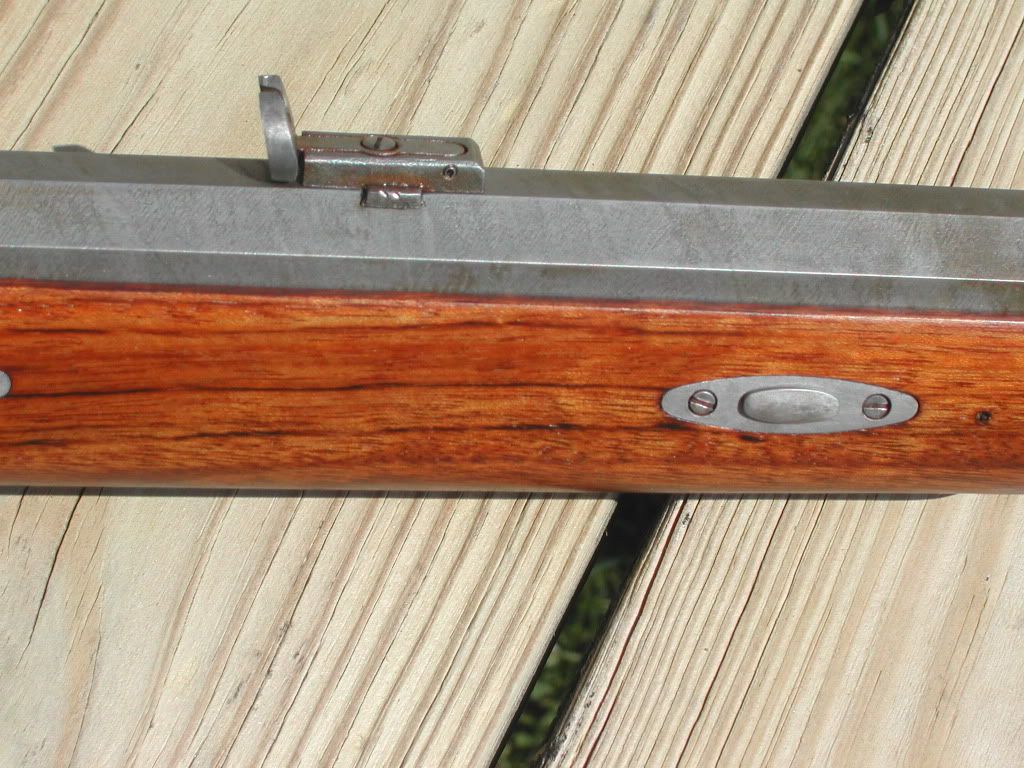
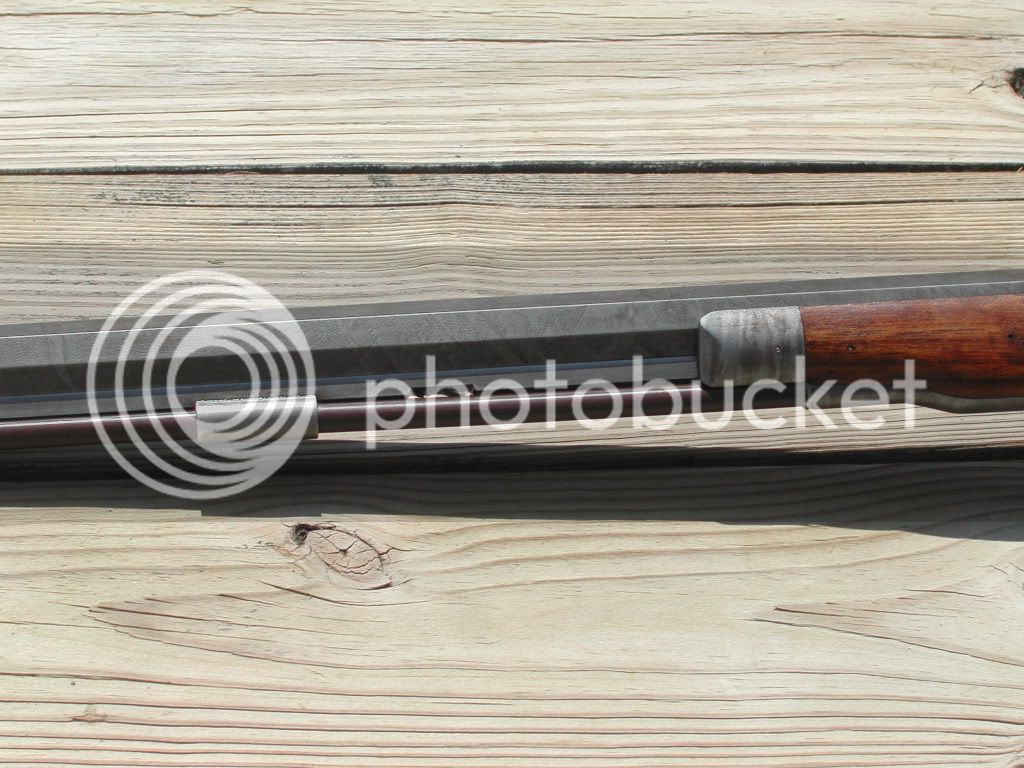
this is the finish i do on mine, its a tough finish and the contrast fromw wood to metal is bitchen! you can use either the viniger method or naval jelly both work!
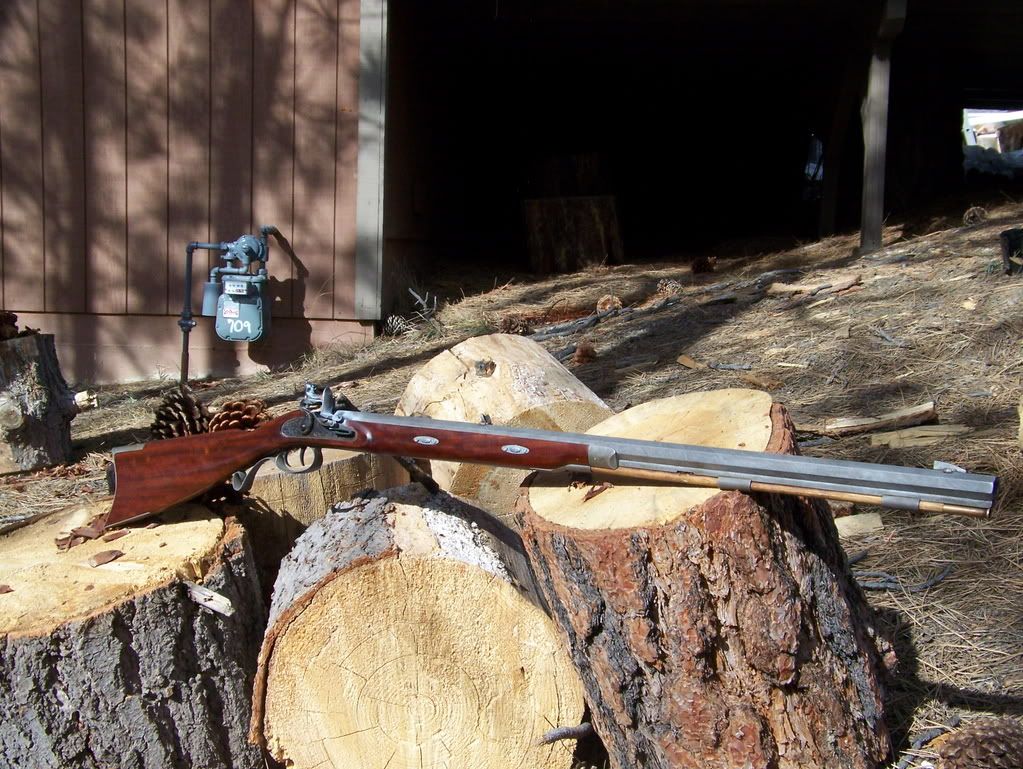
Karwelis, Was that GPR finish done with navel jelly ? If so my i ask how it was done ? I would like to thank all the others who have posted their thoughts on how to finish metal & wood. Every finish shown looks great. :thumbsup:
Similar threads
- Replies
- 2
- Views
- 246
- Replies
- 6
- Views
- 303
- Replies
- 21
- Views
- 1K
- Replies
- 0
- Views
- 451


