• Friends, our 2nd Amendment rights are always under attack and the NRA has been a constant for decades in helping fight that fight.

    We have partnered with the NRA to offer you a discount on membership and Muzzleloading Forum gets a small percentage too of each membership, so you are supporting both the NRA and us.

    Use this link to sign up please; https://membership.nra.org/recruiters/join/XR045103

Finishing a 3/4 Scale Rifle From Mid-build

Muzzleloading Forum

Help Support Muzzleloading Forum:

This site may earn a commission from merchant affiliate links, including eBay, Amazon, and others.
Joined
Mar 7, 2007
Messages
686
Reaction score
2,095
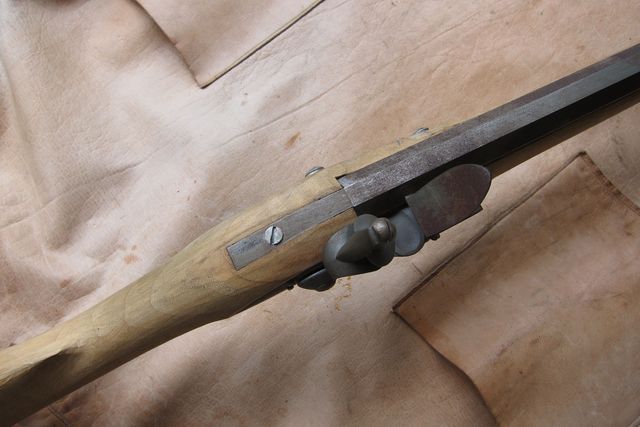
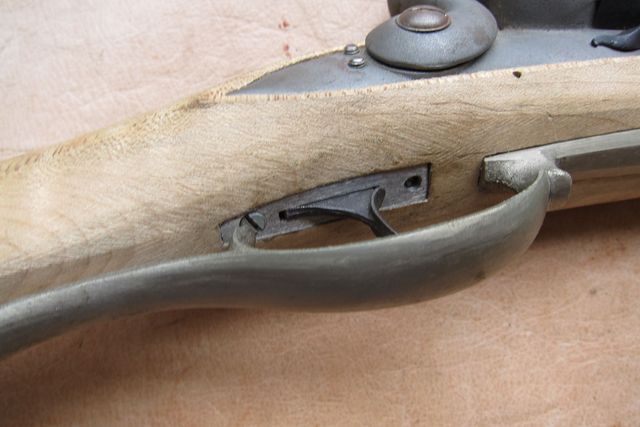
A few months ago, a fellow by the name of Richard Newman got in contact with me via the Contemporary Makers site asked me if I could finish a little rifle he had started quite some time ago for his daughters.  Time, business, and life had stopped progress and he was looking for someone to finish it for him.  We met in June and I took over the project but warned him that I was in the midst of a large propulsion testing contract and would not be able to dedicate full time to the project.  He told me the rifle had languished for several years, so any progress would be to the good.

Personally, I had also started a matched set of 1/2 scale rifles for my two daughters many, many years ago that I have never finished.  And, in the natural order of things, the girls had not waited on me and are now both grown women.   So, secondarily, I wanted to do this for Richard to make up for my own missed opportunity.

At any rate, I have been working on it a little at a time, and asked Richard if I could post the work here as it might be of interest to this community.  He said to go ahead, so here goes.

It is always a bit of an issue to take over someone else's project, as you are never quite sure what the original vision was.  Also, half way through a build, there are things that have been done that cannot be undone, without completely starting over, and must just be lived with.  Luckily, Richard had done a great job up to the point he had to stop and turned the work over to me.

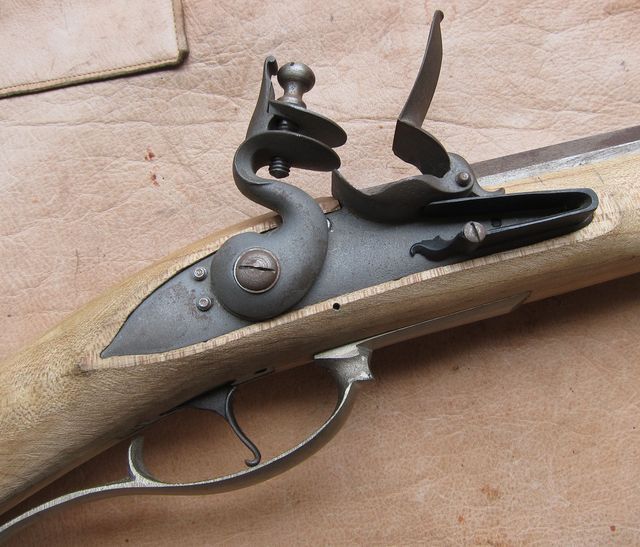
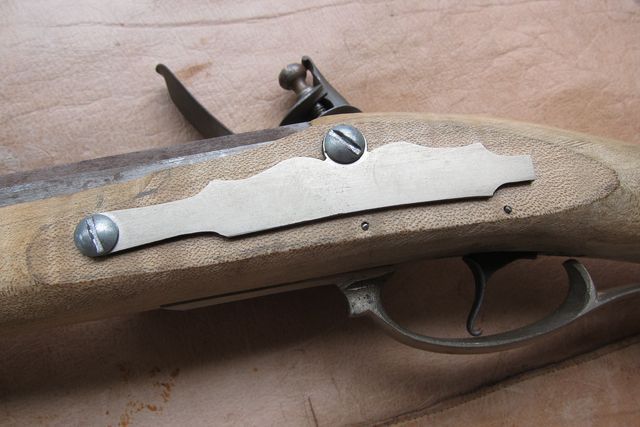
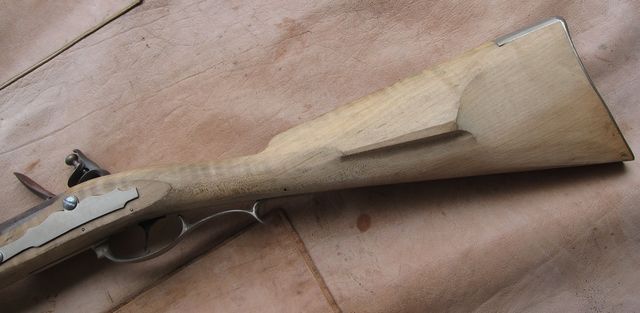
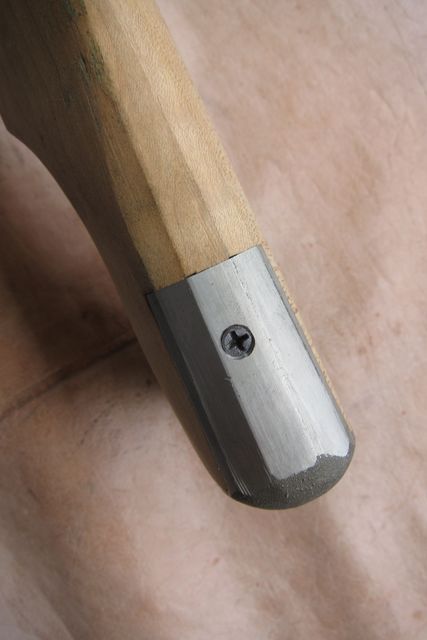
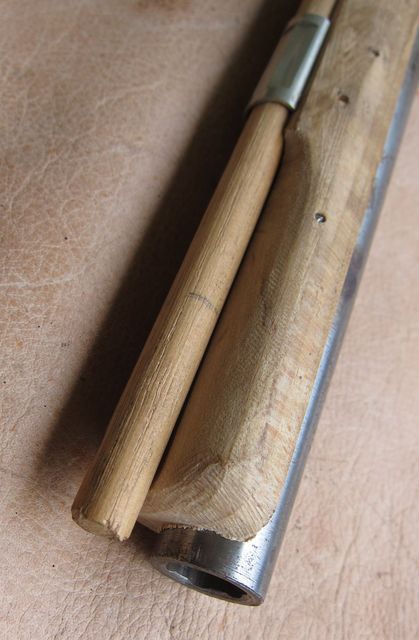
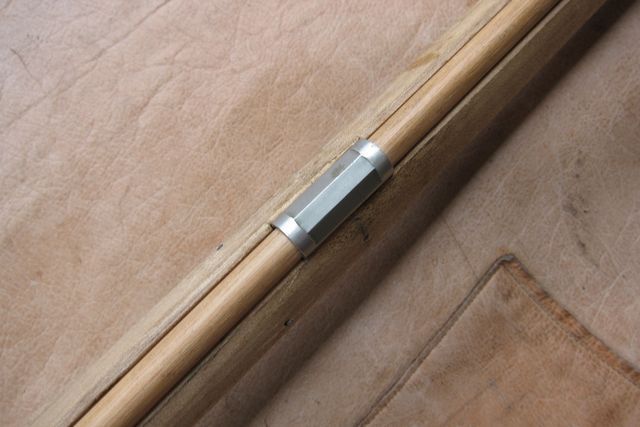
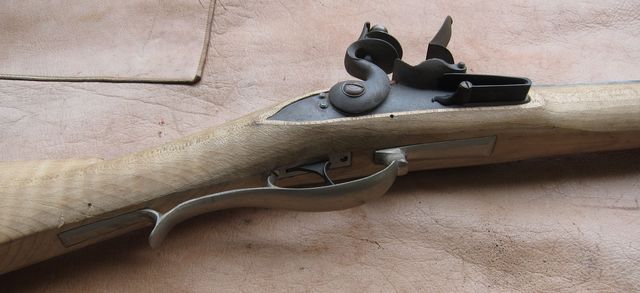
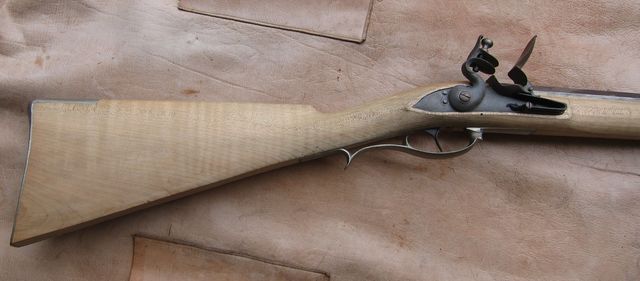
The rifle is 3/4 scale, suited for a child but easily handled by an adult.  I was immediately taken with the size and style.   It is a handy little rifle with an octagonal to round .45 caliber barrel.  The lock is a small Queen Ann (which I have used before and like very much).  The rest of the hardware is German silver, which I have never worked with before.  The following photos will show the rifle as Richard delivered it to me.

I will post some photos on the progress to date next time around....
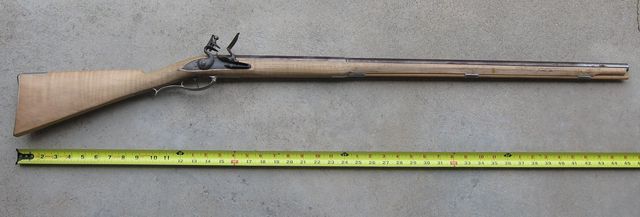
Small%20Rifle%201_zpsencq5xbz.jpg


Small%20Rifle%202_zpsopcehuhh.jpg


Small%20Rifle%209_zpss4crdrfx.jpg


Small%20Rifle%2014_zpsb465blva.jpg


Small%20Rifle%2013_zpsdceuxqag.jpg


Small%20Rifle%2012_zpsant1frhc.jpg


Small%20Rifle%2011_zpstweapauh.jpg


Small%20Rifle%2010_zpsgyfkaein.jpg


Small%20Rifle%208_zpsmmvvagav.jpg


Small%20Rifle%207_zpsaqbcxqyl.jpg


Small%20Rifle%206_zpsg3pvqiay.jpg


Small%20Rifle%205_zpskpznykuw.jpg


Small%20Rifle%204_zpsvuidu7gp.jpg


Small%20Rifle%203_zps5bb100px.jpg
 
Some work toward completion on this little rifle:

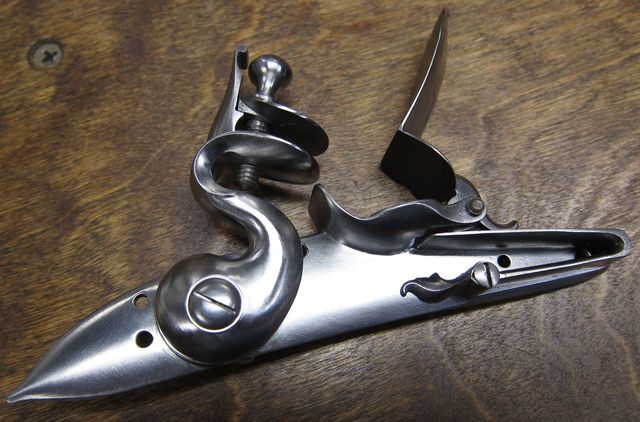
Lock polished:

Small%20Rifle%2023_zps7ndwozlu.jpg


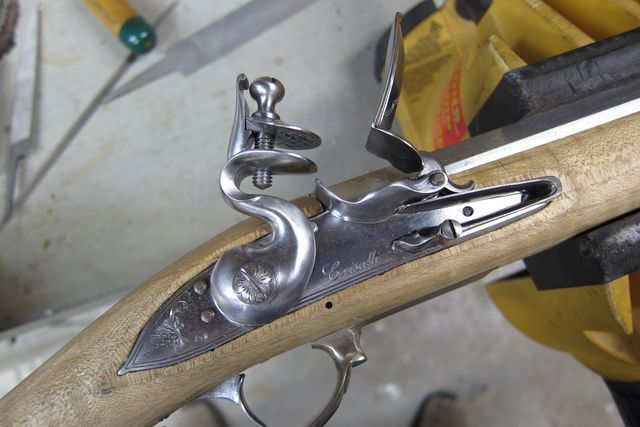
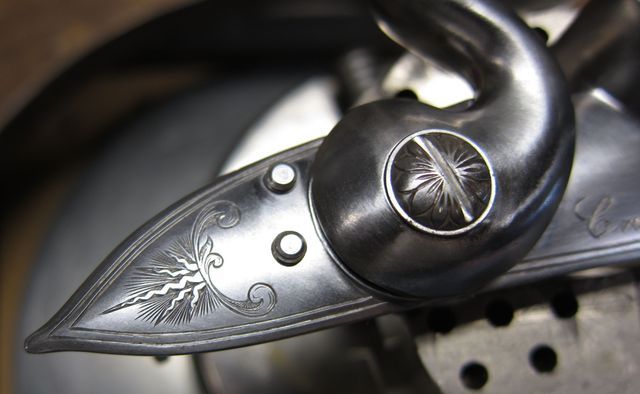
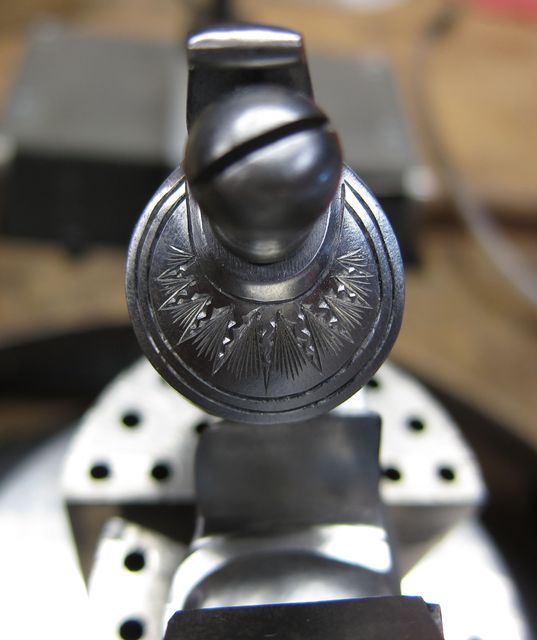
Lock engraved:

Small%20Rifle%2024_zpse285zysz.jpg


Small%20Rifle%2026_zpstrpux3an.jpg


Small%20Rifle%2027_zpsamv2v4cf.jpg


Small%20Rifle%2028_zps9qkhbxrb.jpg


Butt plate polished out:

Small%20Rifle%2025_zpsvvntoxie.jpg


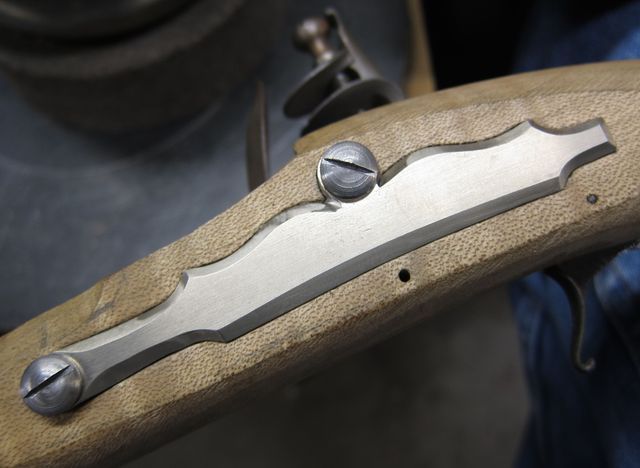
Side plate beveled and counter sunk along with making new lock bolts:

Small%20Rifle%2016_zpsjw00jsz5.jpg


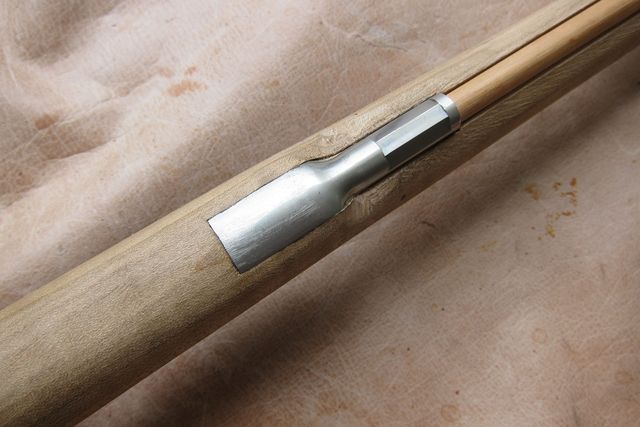
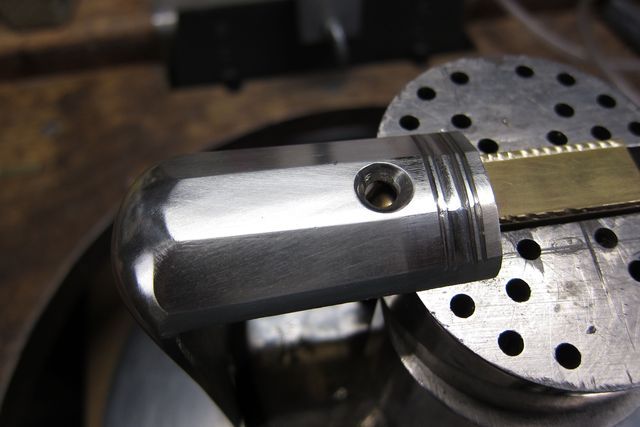
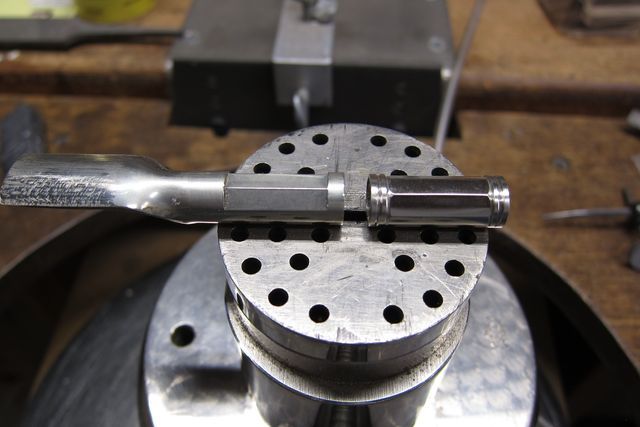
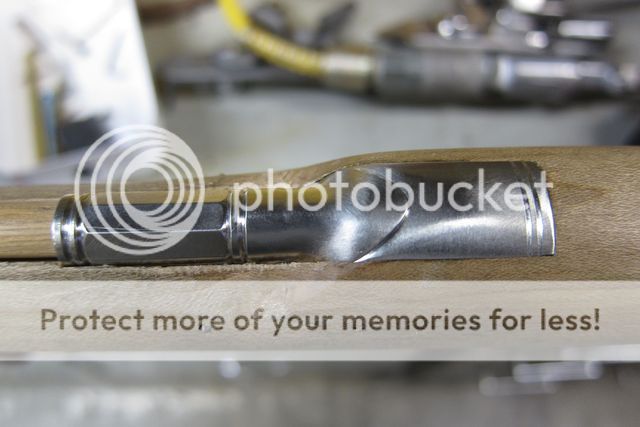
The ram rod pipes were a stock item and, although Richard did not want this little rifle to be overly decorated, I did modify the end rings on the pipes a little to make them more decorative.  The rear pipe on the left is as it came from the supplier.  The one on the right has the slight modification:

Small%20Rifle%2015_zpsfsjjifkn.jpg


Small%20Rifle%2018_zpsygnkxwql.jpg
 
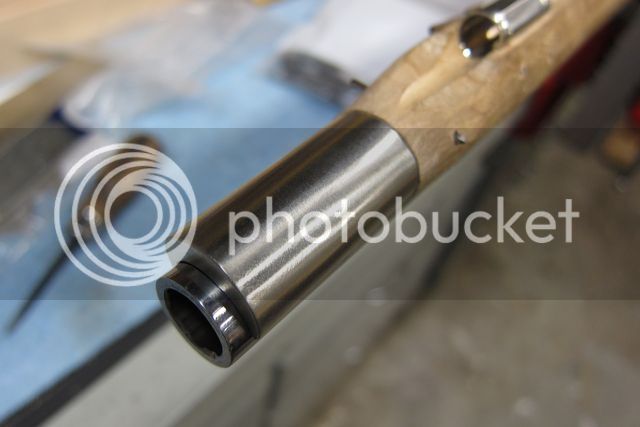
Here is the next increment of progress......muzzle cap..........I made this one out of a standard octagonal cap.........
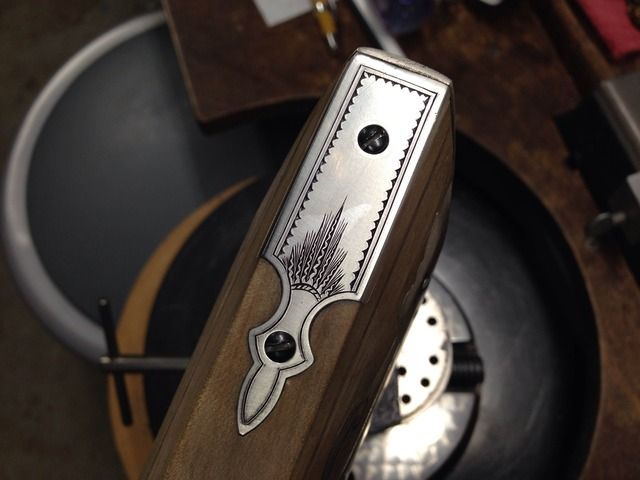
Small%20Rifle%2019_zpslgpkad1k.jpg


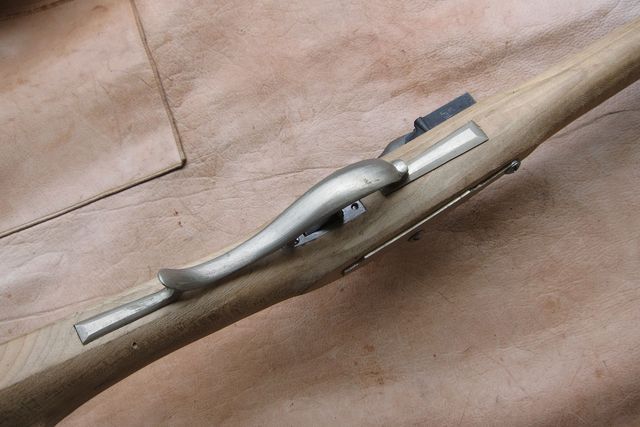
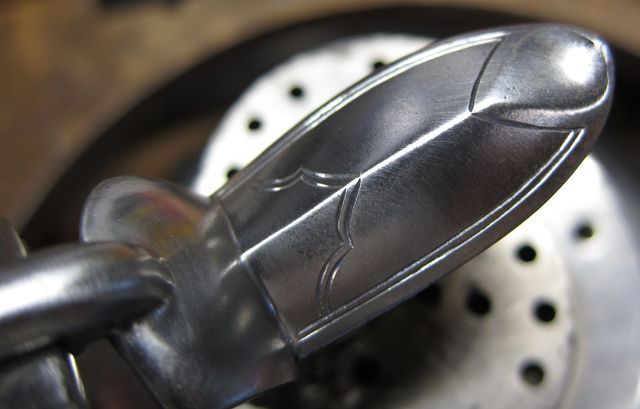
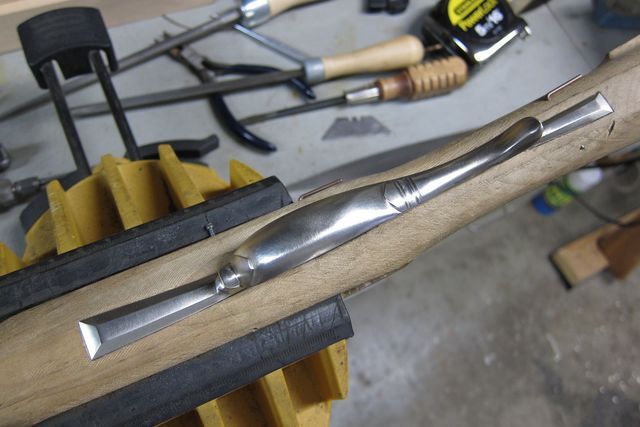
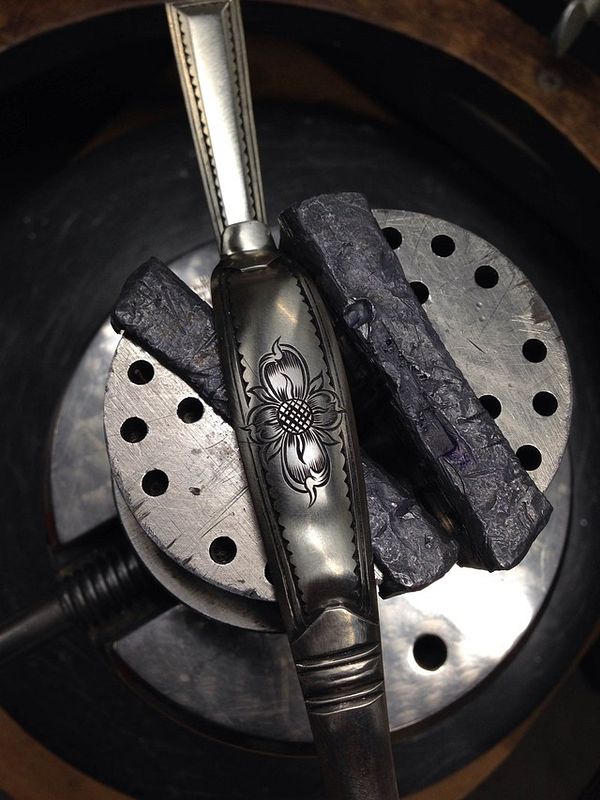
Trigger guard polished and some file work.....this, like the side plate, will get some subdued engraving..........
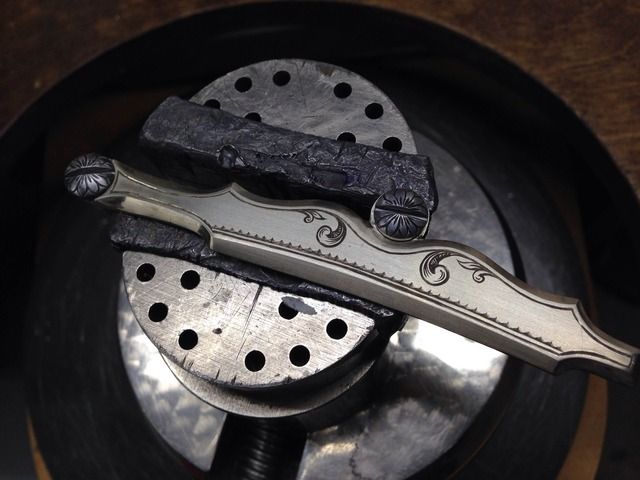
Small%20Rifle%2017_zpso1dwmepi.jpg


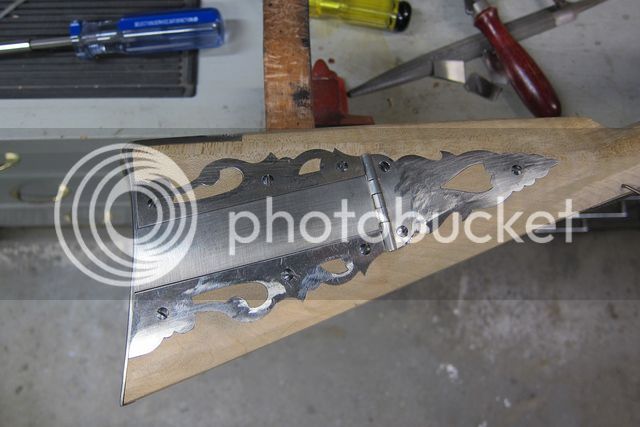
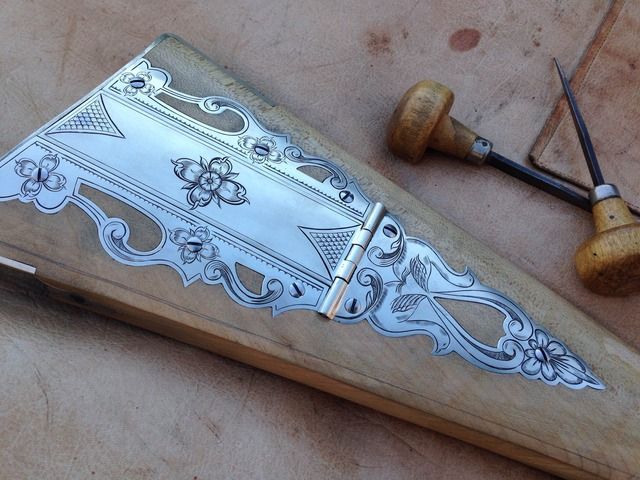
Patch box.....installed but not finished or (obviously) engraved.  This part will get the most extensive engraving on the rifle.......
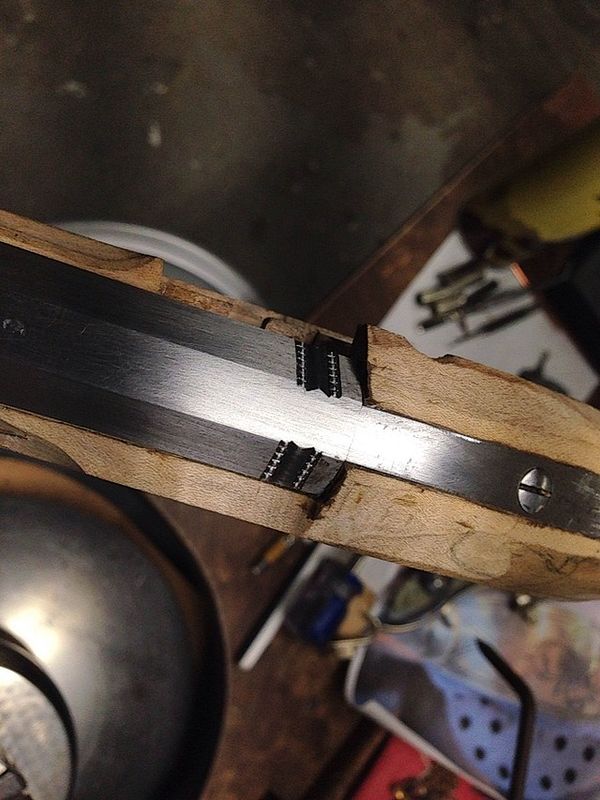
Small%20Rifle%2029_zpsvr1kf3lk.jpg


Some clean up work / polishing completed on the barrel.............
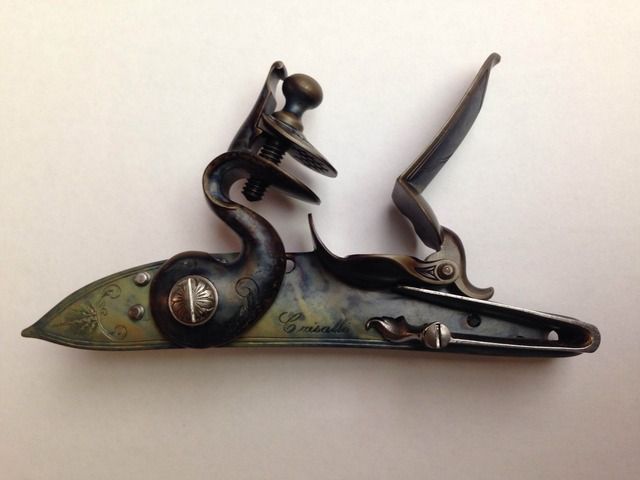
Small%20Rifle%2020_zps5ghfgery.jpg


Small%20Rifle%2022_zpsxr5s24wp.jpg


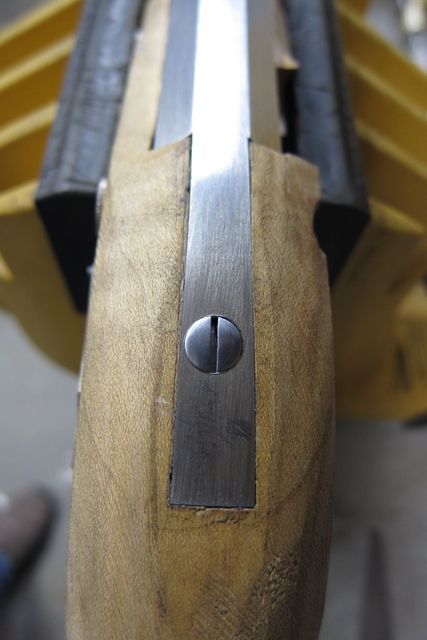
New tang screw made and installed..............

Small%20Rifle%2021_zpsfplh6rv2.jpg
 
OK.....started this re-work for a fellow back in October, but I told him it was going to take me a while.  Lots of other things keeping me busy over the last couple of months, but I just got back to working on this little rifle in the last few days.

The original barrel inlet (done by whoever) was not very tight over all and there were several significant gaps at various places along the barrel that were going to leave the wood razor thin in spots.  I was reluctant, but decided to bed the full length of the barrel with AcraGlass gel.  Whenever I have done this in the past, I have done it before the barrel lugs were installed.  This time, with the lugs in place and the pin holes drilled, I was concerned that I would permanently glue the barrel into the stock and make a hash out of the whole project.  Well, to make a long story short, the bedding came out fine and the stock is much stronger (and better fitting) now.  I usually bed the breach area on any gun I build, so this was not too far afield....but I was worried some.

With that step out of the way, I stared in on more engraving.  The owned didn't want too much...but not too little.  He had some opinions about the type of design elements he wanted, so I didn't really have a completely free hand here.....anyway, this is how it is coming thus far......

Trigger guard............

IMG_1308_zpsppjmywtf.jpg


Toe plate.........

IMG_1312_zpspopmmse9.jpg


Side plate and lock bolt heads.........

IMG_1310_zpsgpjokngv.jpg


Barrel breach decoration..........

IMG_1311_zps4ittcqna.jpg


Working on the patch box now.
 
Forgot to mention above, I have never worked with nickel silver before and all these mounts were brought to me with the rest of the parts.  Engraving the sheet stock (toe plate, patch box) is fairly easy and the material properties are uniform.  However, the cast parts (trigger guard, side plate) are horrible to engrave.  The material is not tough but is hard and soft in various places.  It is a colossal pain to try to maintaing a uniform depth of cut when the material goes from hard to soft and back again in a 1/4 inch !

Case hardened the lock...............

IMG_1215_zpszdjvtqkd.jpg


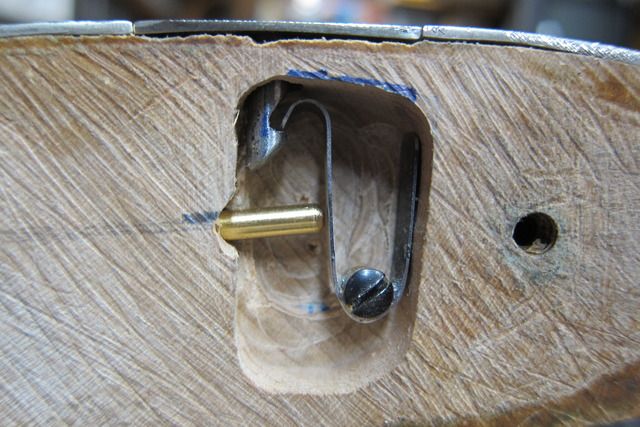
Patch box release mechanism made from small piece of spring steel with a brass tube silver brazed in place for the retaining screw.  I used a piece of a 16 penny nail riveted into a square hole in the box lid as the door catch............

IMG_3006_zpsqtczkali.jpg


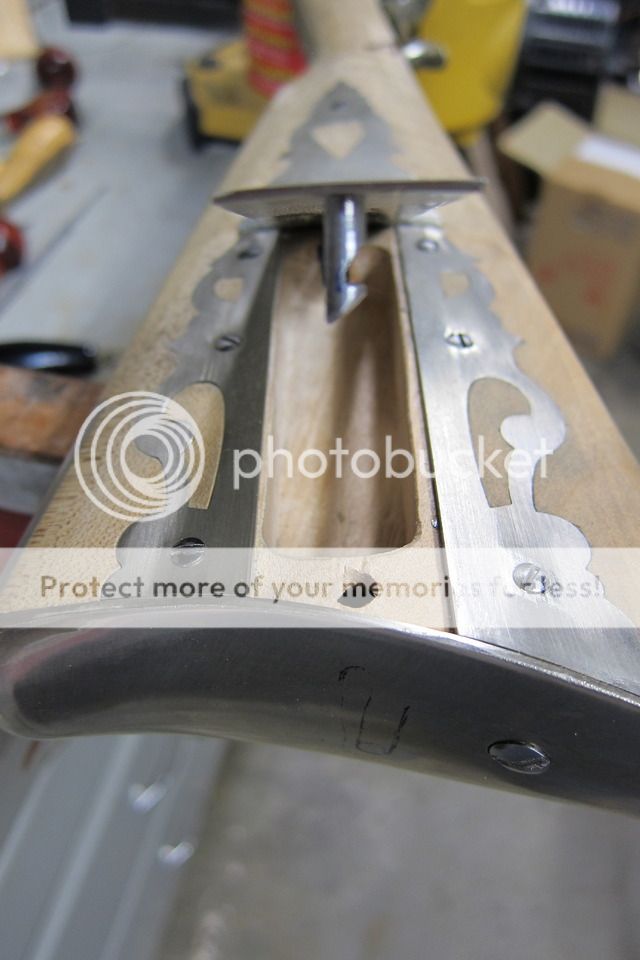
Box lid and catch.............

IMG_3007_zpsj1wgbnx4.jpg


I have half of the patch box engraving completed tonight.  Will finish tomorrow.
 
Not a big fan of German silver, but your engraving makes it look "exquisite". Quite a project and the owner should be well pleased w/ your artistic ability that's transformed his efforts into something beautiful.....Fred
 
Thank you all for the kind words. I was hesitant to take on this job as it is always difficult to complete someone else's vision. And I have never worked with German silver before and I also do not have much of a taste for it. However, the project is coming along and is pleasing to the owner, so on to the carving and wood finishing.

Thanks again for there kind comments.
 
How did you do the finnish on the Lock ? How long have you done engraving? I love the work,you are a true artist!
 
I can't wait, to see it finished.

There is art.....but this goes to the highest level. I can not even imagine that kind of talent.
 
Soooo........Now I have three projects in work simultaneously.  This is the third one I am working on and trying to get done.  And, I must say, working on this little rifle is a delight.  It is just the right size for a lady or a child but it fits me well and is so easy to handle.  

Anyway, a while back, I came across a link to a British fellow who had a woodworking tip on how to make a quick, inexpensive "beading tool".  I clicked on these two links:
https://www.youtube.com/watch?v=mZnh7VHz_T4
https://www.youtube.com/watch?v=ryOcRnkz92U

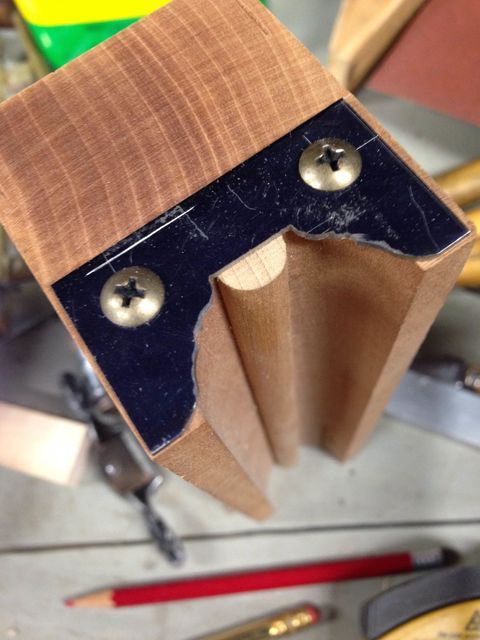
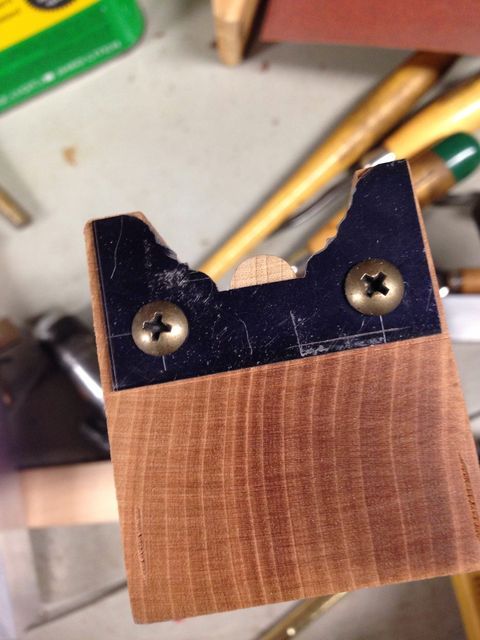
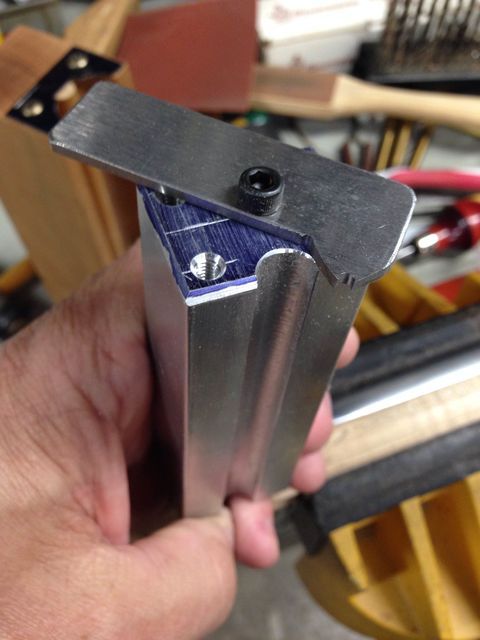
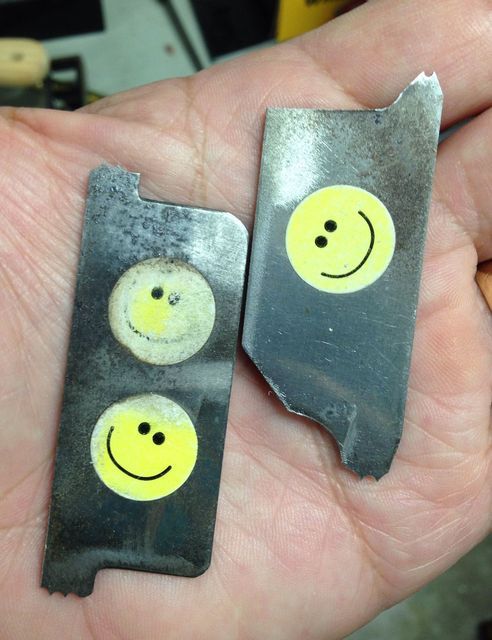
Now I have made and tried a great variety of tools to aid in getting nice straight beads / moldings along ram rod channels etc.  Some photos:

Scratch stock :

Small%20Rifle%2036_zpsfkkwl8hj.jpg


Home made molding plane:

Small%20Rifle%2033_zpskdawhcsw.jpg


Small%20Rifle%2032_zps7hg7vgl6.jpg


A beading scraper that rides a brass rod placed in the ram rod channel:

Small%20Rifle%2034_zpsyh95w45i.jpg


Individual form scrapers:

Small%20Rifle%2035_zpsmk0bdsvb.jpg


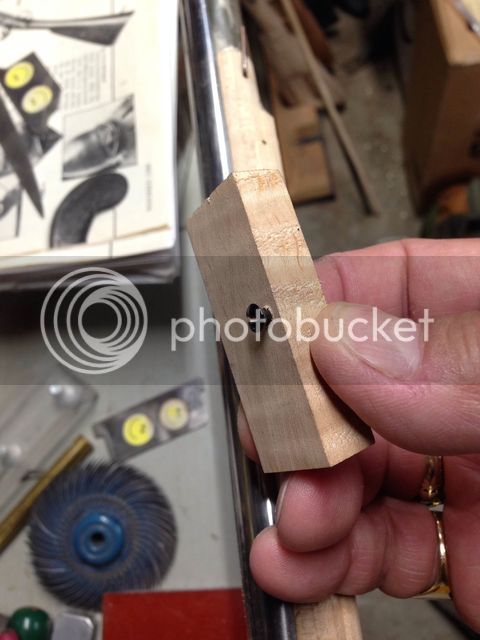
And I have used the method of drawing a nice straight pencil line, following that with a veiner, and then straightening with a file, etc.  They all work and all have their utility but all of them rely on getting the first line nice and straight.  So when I saw the above links I thought, wow, that might be an easy way to get that first straight groove in place easily.  So I made this very complicated tool:

Small%20Rifle%2031_zpsl2ckp6hx.jpg


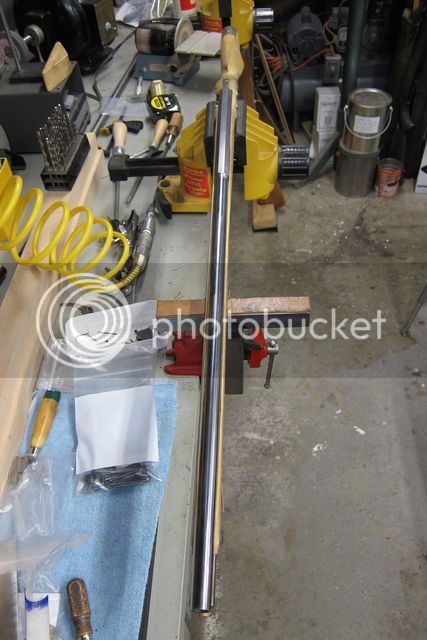
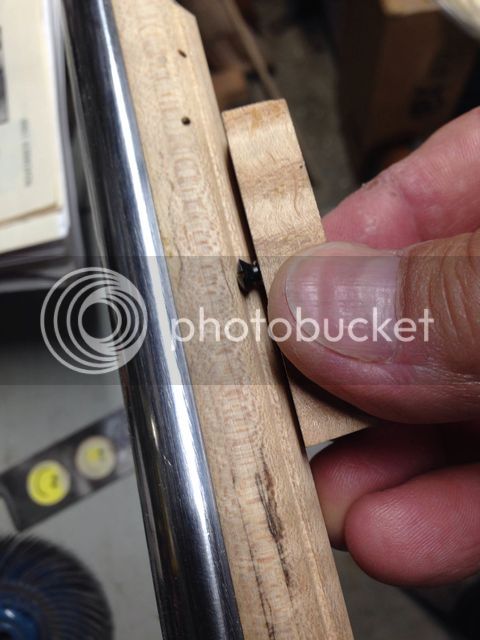
And then ran it up and down the ram rod channel lips on the little rifle.....like this.....

Small%20Rifle%2030_zpsv7dezepb.jpg


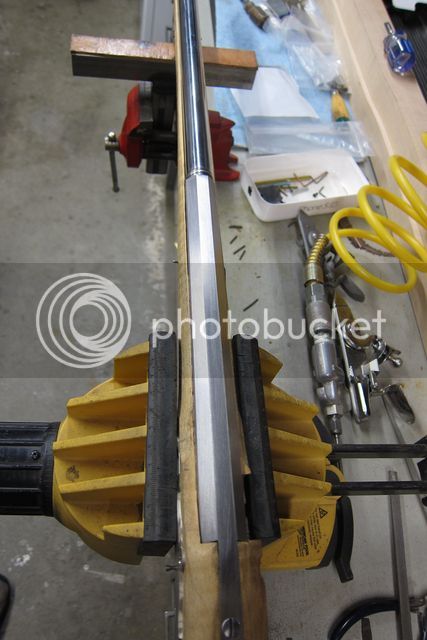
I used it first as a marking gage with just the smooth edge of the screw indenting a line in the maple.  Then I turned it so that the screw slot actually cut wood.  I have to tell you, that was the quickest, easiest, most sure fire way I have put a very straight groove in the forstock without fighting the grain or the natural wobble of the other tools / methods I tried.  Just thought I would report in on this while I re-start work on the little rifle.

Happy 4th !!!
 
Last edited by a moderator:

Latest posts

Back
Top