• Friends, our 2nd Amendment rights are always under attack and the NRA has been a constant for decades in helping fight that fight.

    We have partnered with the NRA to offer you a discount on membership and Muzzleloading Forum gets a small percentage too of each membership, so you are supporting both the NRA and us.

    Use this link to sign up please; https://membership.nra.org/recruiters/join/XR045103

J.P. Beck Rifle Build

Muzzleloading Forum

Help Support Muzzleloading Forum:

This site may earn a commission from merchant affiliate links, including eBay, Amazon, and others.
Hi Josh,
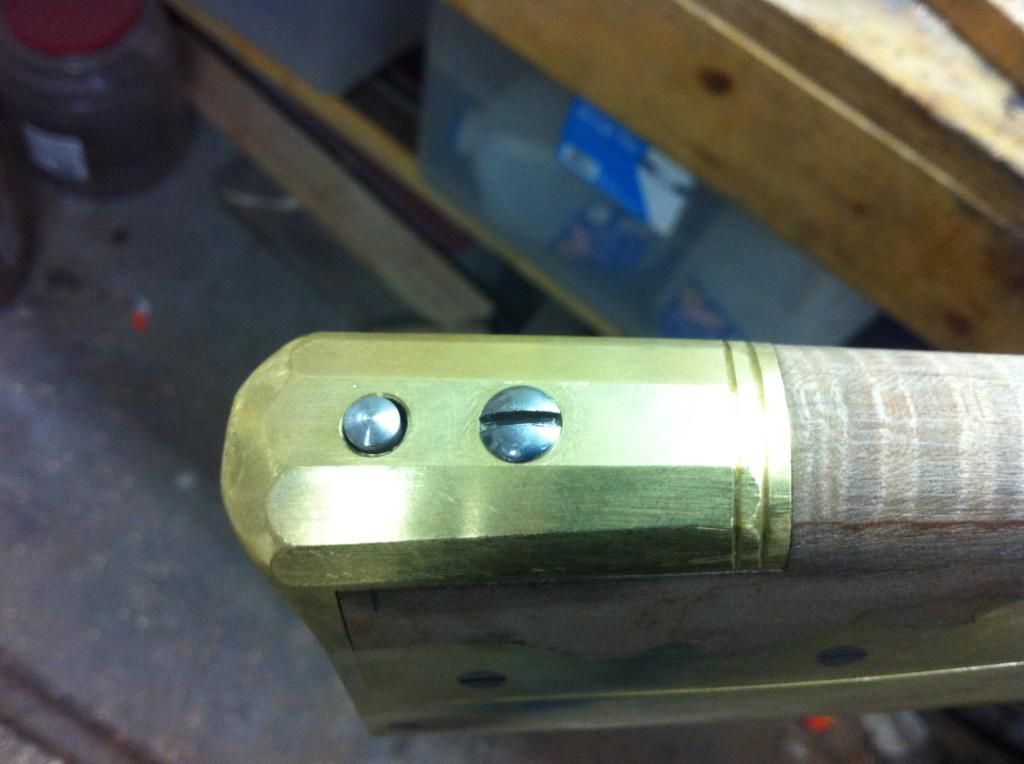
I think you have got it. Marc's suggestion about the side walls of the barrel inlet is a good one. I typically show 50-60% of the barrel flat above the wood. By doing that, you slim down the wood forestock making the rifle look thinner. Two relatively trivial details that you might want to know about Beck rifles but they are not very important. He usually anchored the muzzlecap with 2 rivets, one on each 45 degree flat in the barrel channel. He also usually attached his forward ramrod thimble with 2 pins.

Good luck,

dave
 
That's a good idea on slimming the fore stock down by showing more barrel. It might be just the angle of the pictures. I am about .015 .020 belowe center of the barrel now. I'll have to look at some reference pics and see if I can go down any more. I know some old builders only inlet the barrel 1/3 of the way down.
 
I been working hard on the rifle here lately!
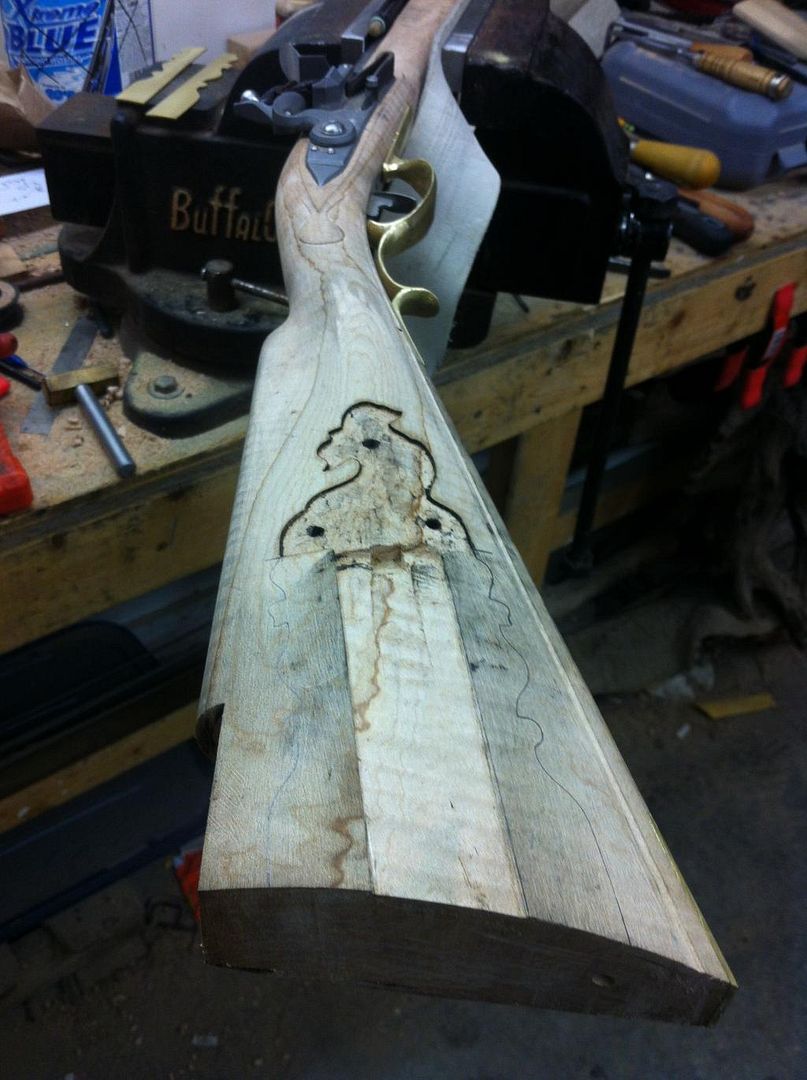
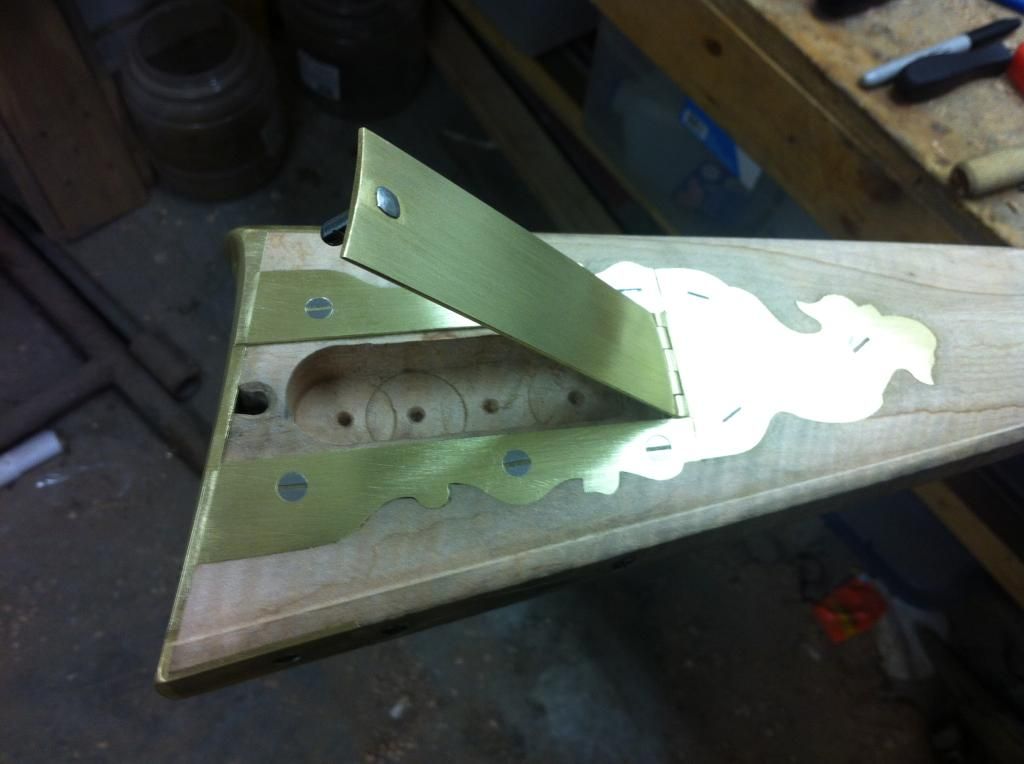
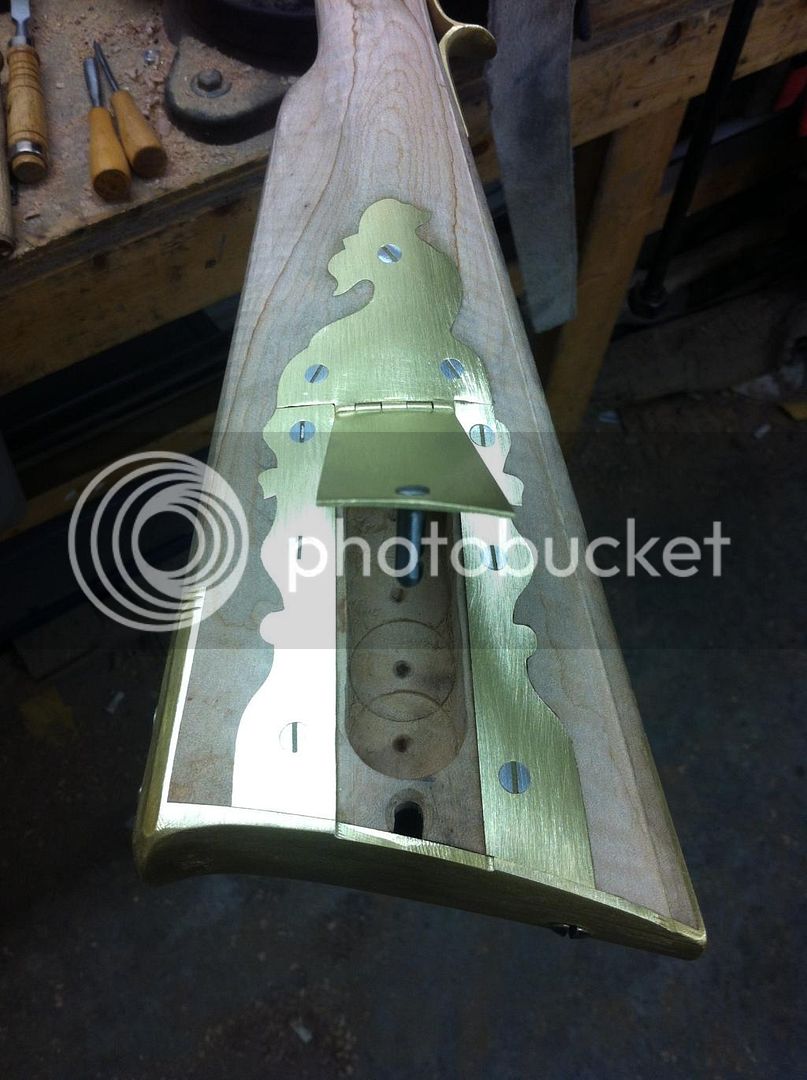
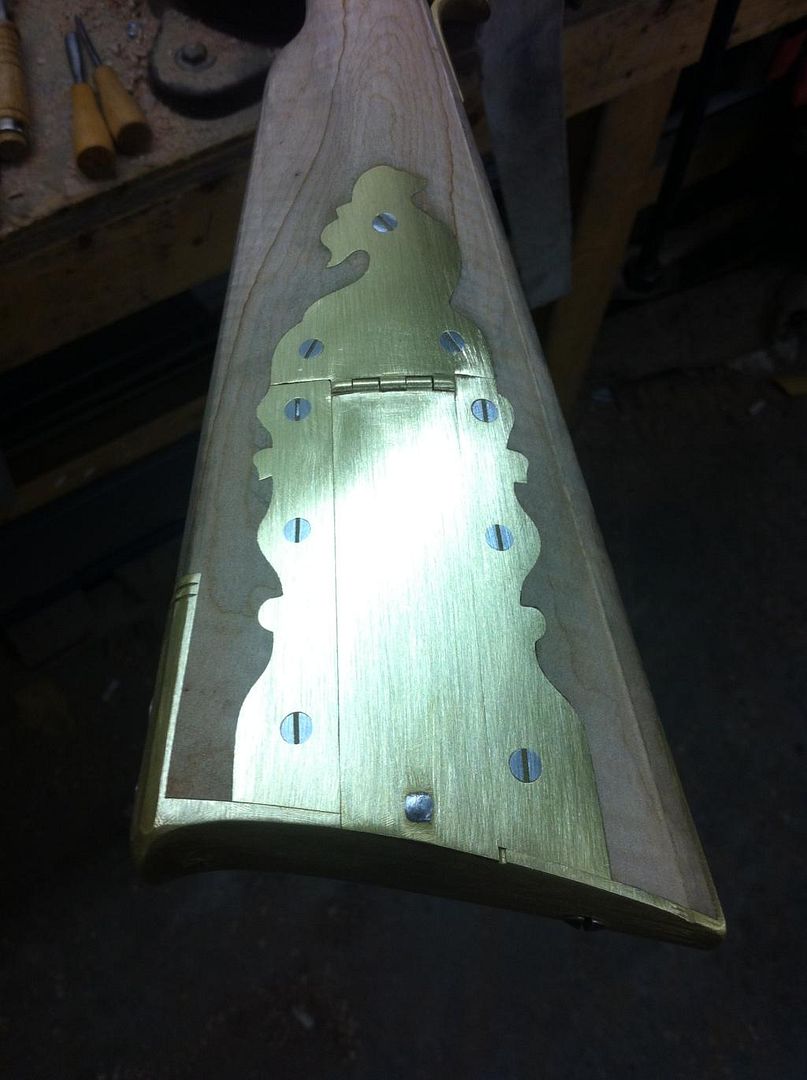
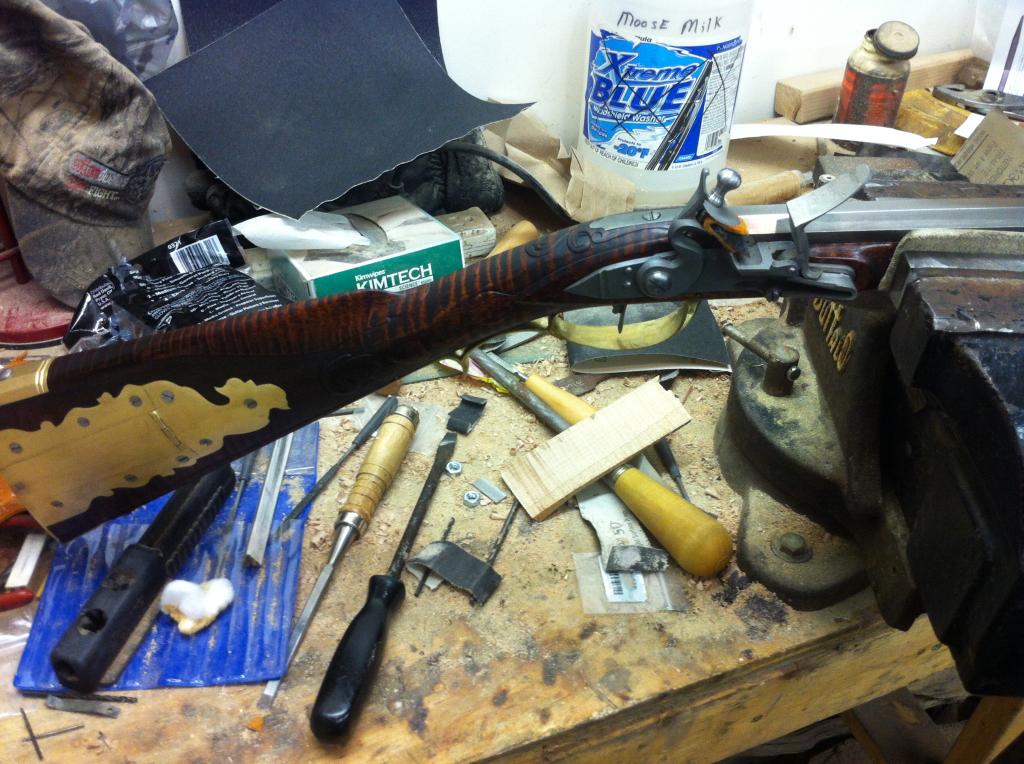
Installed a nice patchbox and release button. There are a few minor mistakes but that's the whole purpose of this rifle build. I learn from the mistakes.
The pushrod hole under the buttplate was drilled to low and miss aligned with the spring catch for the door pin. I fixed it by mixing wood shavings with tight bond wood glue and filled the hole in with this. After the glue dried I re-drilled the hole higher up on the spring catch to make the button easier to push.
Works great now.

I've ordered some engraving tools so I can try my hand at some engraving next :)
Here are some pics of the patchbox. I really like it and think it turned out great. Better then I expected.


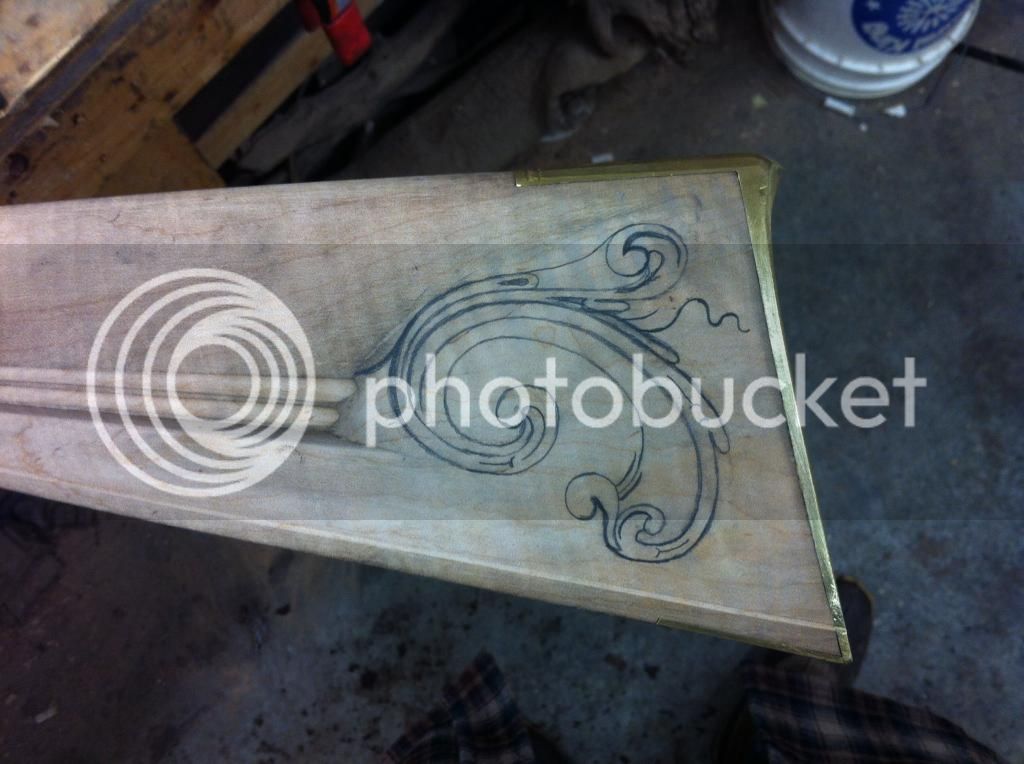
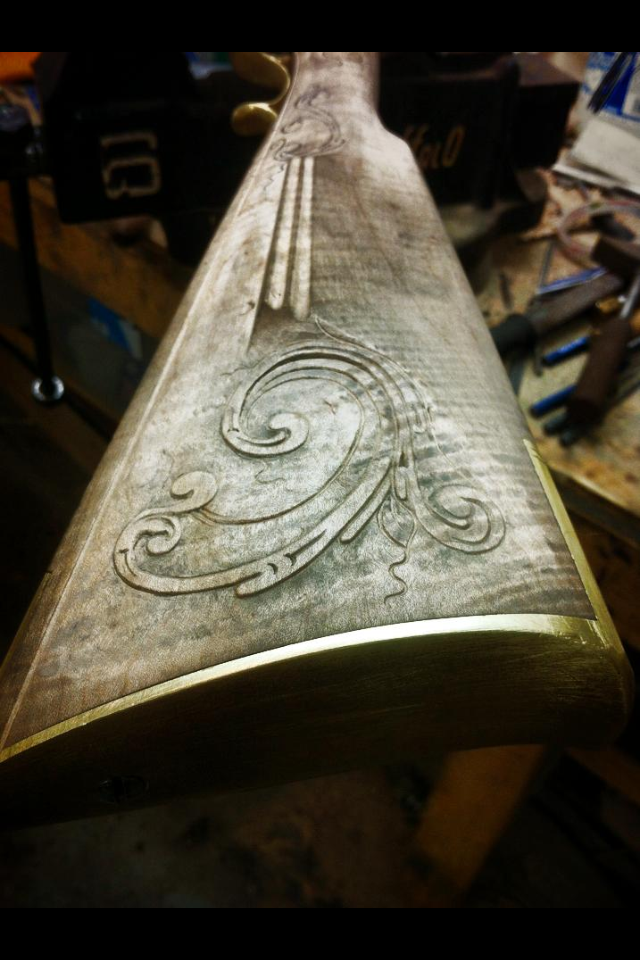
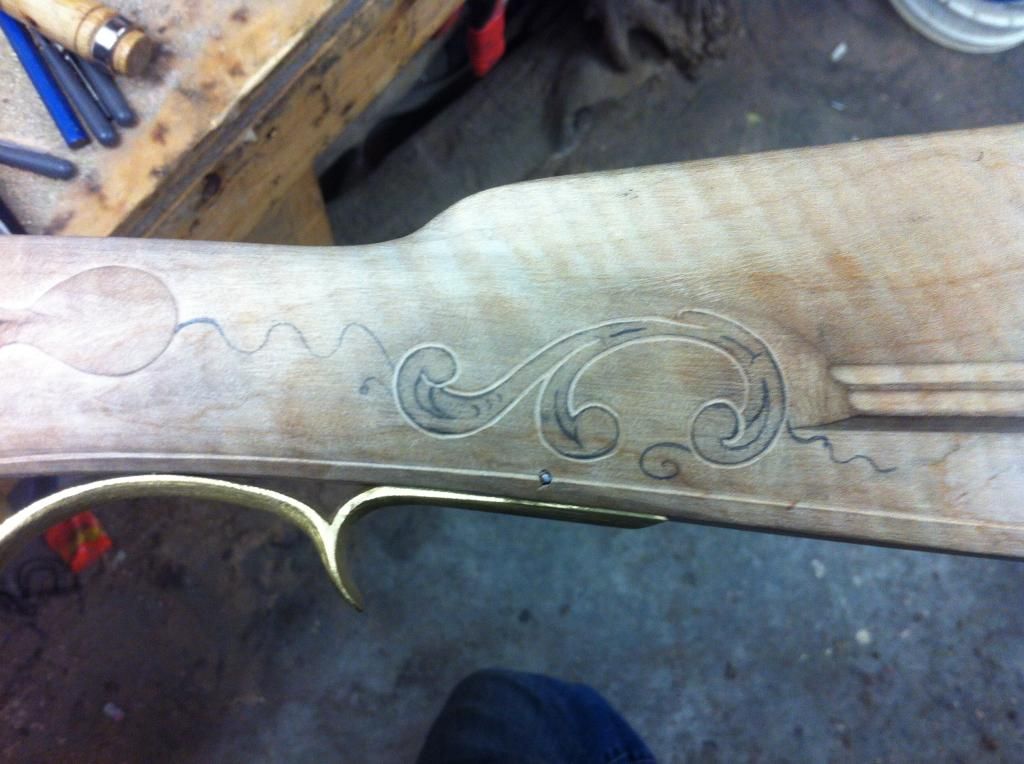
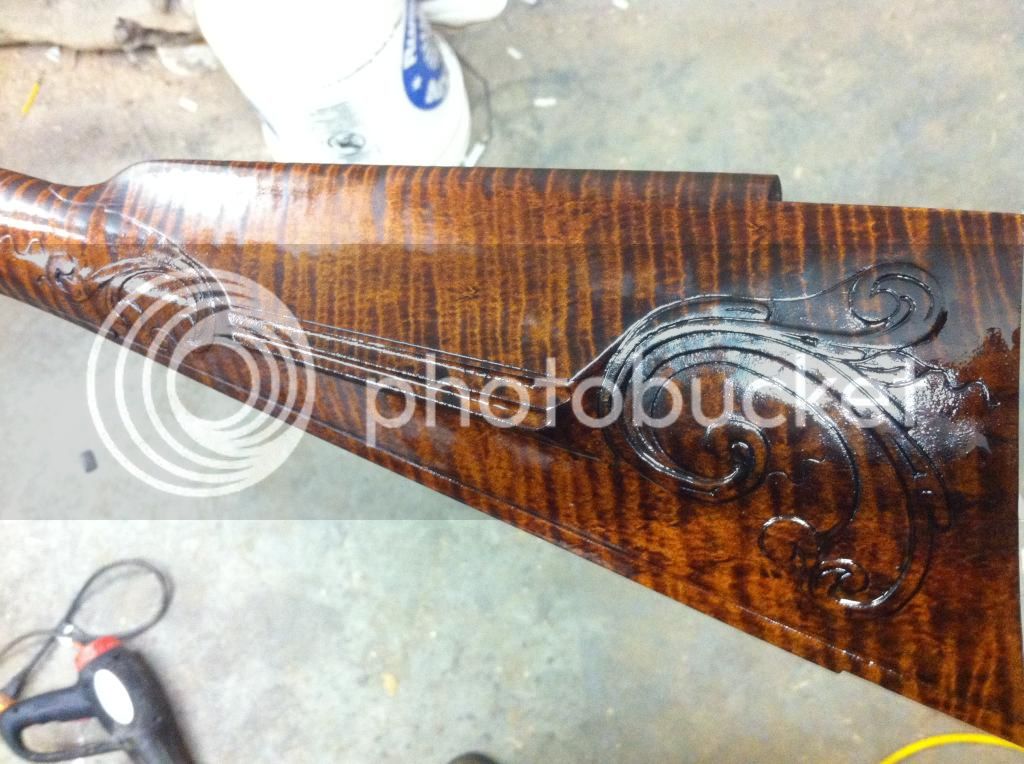
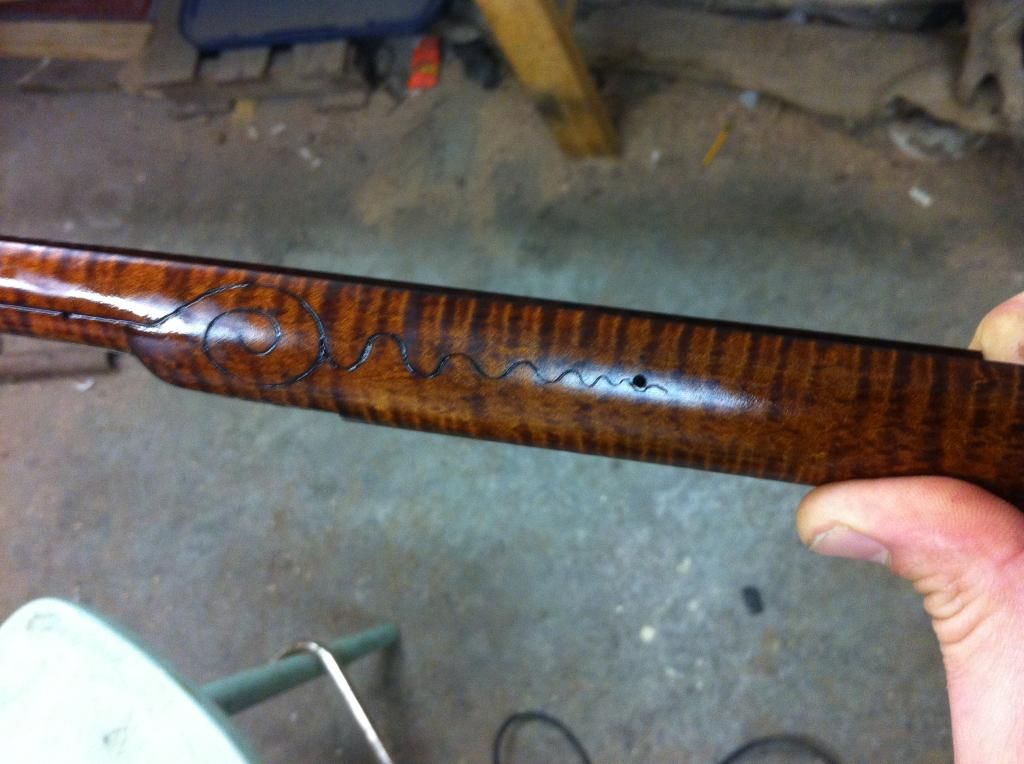
Also started doing some carving after a few days of studying rifles and practicing on scrap wood. I originally didn't plan on doing any carving at all because I was a bit intimidated by the thought of it lol.
I found that it is actually really fun and turned out way better then expected. I found out that stropping the chisels to razor sharp edges makes a huge difference.
Here are some pics of progress so far. Still need to back scrape.


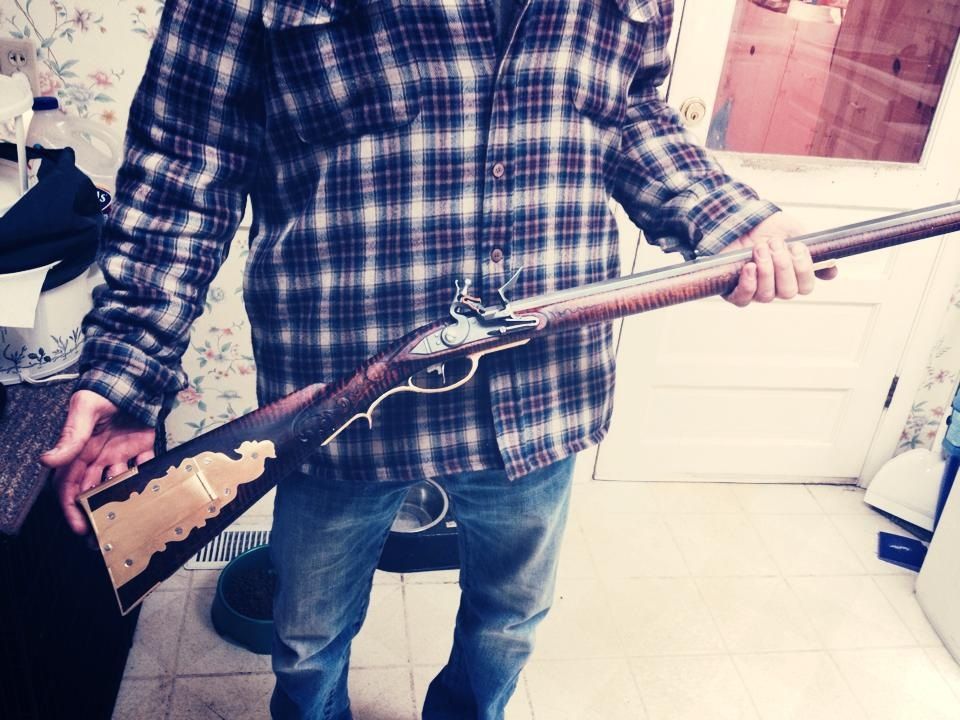
Thought I would take a brake from building rifles and post some pictures of the finished J.P. Beck rifle. I do still need to give it a few more coats of finish and engrave a few more parts. I stained the stock with 2 full coats of aqua fortis and rubbed it back real well with 0000 steel wool. I believe it turned out much better then I had expected. The wood is BEAUTIFUL!!!
The rifle holds very very well and is a dream to shoot.
Thank you all very much for the tips and help in building this.

Next rifle will be a Haines style .45


Back
Top