Kibler kit assembly and carving

Muzzleloading Forum

Help Support Muzzleloading Forum:

This site may earn a commission from merchant affiliate links, including eBay, Amazon, and others.
Hi Capnball,
No worries about decorating the rifle my friend. I've got the chops for this job.
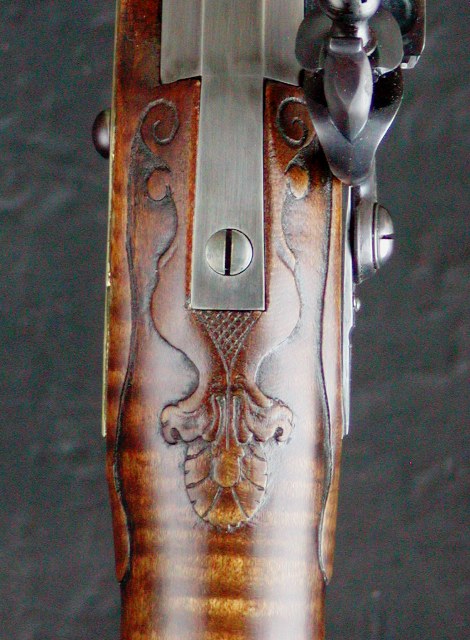
AKwpwwO.jpg

dgntHRT.jpg

MjhOD0I.jpg

ykoKW55.jpg

8uCwHKg.jpg

18pS7Et.jpg

Ni07lE1.jpg

jJtRGZ1.jpg

7aA4KsN.jpg

OTRfVTX.jpg


dave
Yeah . . .
I guess your work is
OK

Jim in La Luz
šŸ˜Ž
 
I am curious Dave about your thoughts on wether this rifle would be more correctly fitted with a metal patch box instead of the wooden lid?

I always have seen the wooden patch box as a way to suggest the rifle is from the pre 1770 time frame while the architecture is more appropriately later. I am not an expert at this at all...but I am trying to learn as fast as I can!
I'm facing that quandary right now. Ordered my Kibler without the wooden patchbox, and am trying to decide between emulating the F. Klette rifle or the John Sheetz (Staunton) rifle. I'm not sure if trying to emulate the Sheetz rifle would be "correct" for this rifle, and it would also require reshaping the stock for a different butt plate.

1624394767994.png
1624395273762.png
 
Hi Guys,
Wow, lot's of good questions.
Mike, so much depends on the style of the rifle. Lehigh Valley guns usually had the wrist wider than the height at the tail of the lock and then it transitions toward the comb to higher than wide. Some are circular and others are taller than wide. I would say most early guns were slightly taller than wide, so almost round and later, as butt stocks became thinner the wrist became considerably taller than wide. By the 19th century that was probably the norm.

Brazos, a metal or wooden box is fine for this gun. Metal boxes go back well before the Rev War, particularly in Reading and Lancaster. Generally, those patch boxes were simpler than the later "golden age" period and almost always had few or no piercings and many (not all by any means) were two piece. With respect to wooden patch box lids, they likely were more common on colonial-made rifles because the European traditions were still strong among the rifle smiths. But wooden lids get lost easily. The brass patch box lids are attached by the hinge and are not at risk of loss. There is a colonial or Rev War period rifle attributed to Adam Haymaker that has lines very similar to Kibler's kit and it has a very simple and attractive wooden patchbox lid.

Nameless Hunter, I believe you want a brass box that is not too long and does not extend too far into the wrist for the Kibler stock. Here is an early Dickert box that I think might look really good.
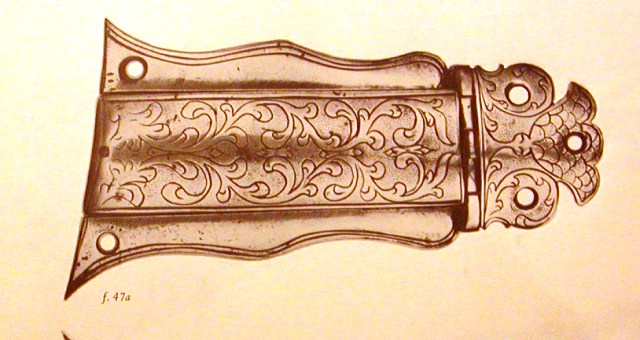
8d60KrK.jpg

Here is my version of it:
OeYddL5.jpg

Or even this Reading box:
EEEBO6U.jpg


Your Klette box might also work pretty well but I think the Sheetz design doesn't fit well.
dave
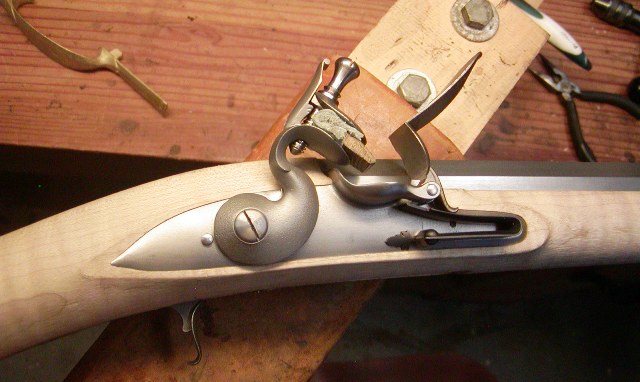
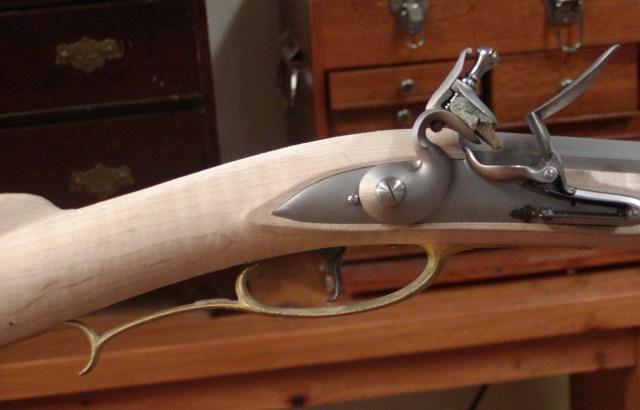
Thanks for you input Dave. I have to agree about the Sheetz design (I laid it on the stock and my immediate thought was it was too long).
Am now leaning towards the Klette (it looks and fits better on the stock).
 
Hi,
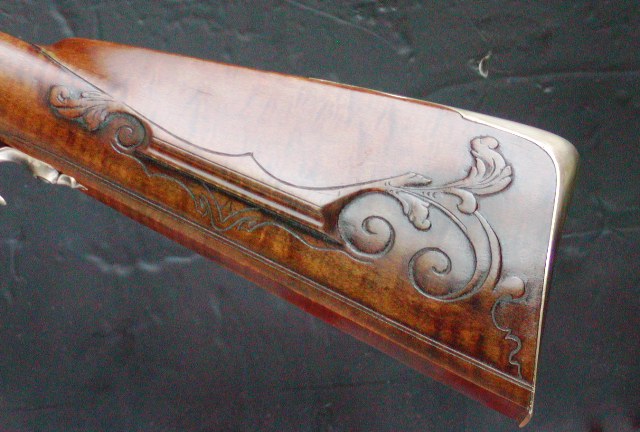
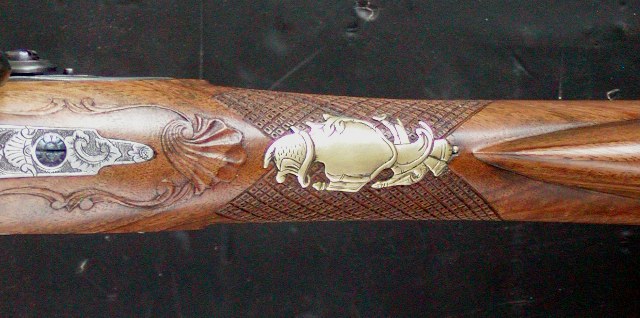
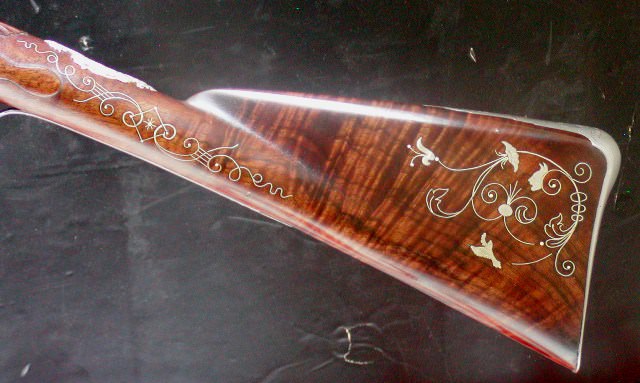
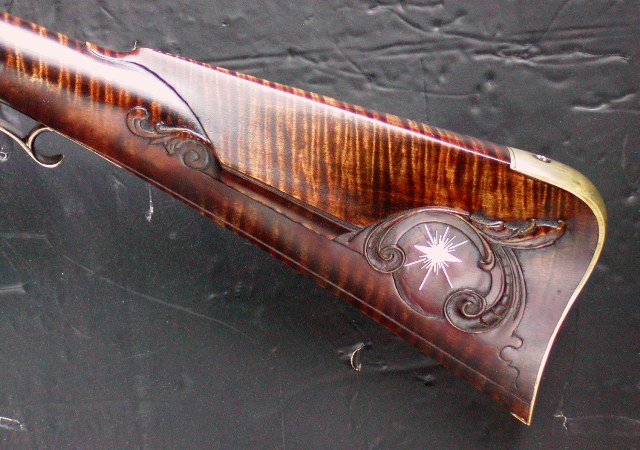
Thank you all for looking, your compliments, and as always I appreciate your encouragement. This is a fun project and that is what matters to me. I don't do this work to make a serious living (which is really hard to do) but because I am challenged and learn stuff. It keeps old age dementia at bay. I finished the assembly today although I slowed a bit as I tweaked the stock architecture a bit. Forward of the lock, the stock is as perfect in my eyes as one could ever make. I will do nothing there except cut in ramrod channel moldings and carving around the rear pipe tang. It is the lock and wrist area that my design eye diverges from Jim Kibler's. The stock is very "deep throated" on the bottom and thick at the top by the barrel tang. Now let me be clear, I get the architecture that Jim designed and admire it. It has a very solid, stand up, business like appearance. However, my taste is a little slimmer in the throat that I believe is more elegant and historically consistent. So I bent the barrel tang down just a little. I did that by simply holding the tang in a vise and using the barrel as a lever, bent the tang a little. No heat, not muss, no fuss. Simple.

Then I inlet the tang deeper in the stock to accommodate the bend and rasped and filed the stock on top of the wrist accordingly. However to get the profile right, I also had to take off from the bottom and there lay a problem. The trigger plate needed to be inlet deeper but the trigger pin hole is fixed. If the plate went deeper, the trigger would hang out higher above the plate, which would not work very well. So, I filled the pin hole in the trigger with weld and then redrilled it after modifying the stock. My goal was to reduce the throat of the stock a bit and to create a straighter line from the tang down to the comb. It is not straight but straighter than the original profile. I believe that enhances the profile a lot. I won't do more because carving around the tang will change things a bit so I have to anticipate the effect of the carving on the profile. Here is the rifle as it stands and I icluded a previous photo to show the changes I made.

Before:
JIL1HLD.jpg


After:
jrBDg5e.jpg

JW1fK2o.jpg


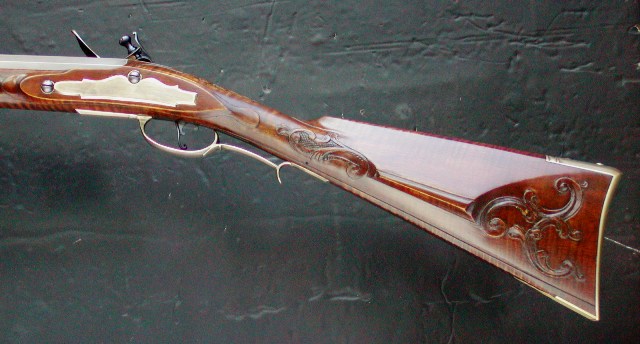
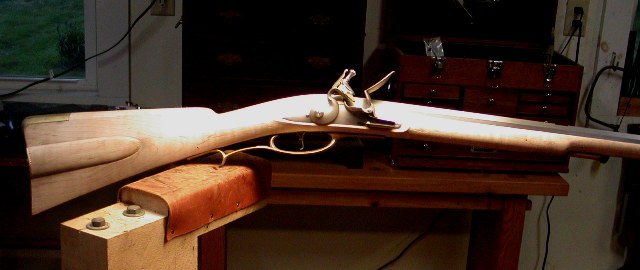
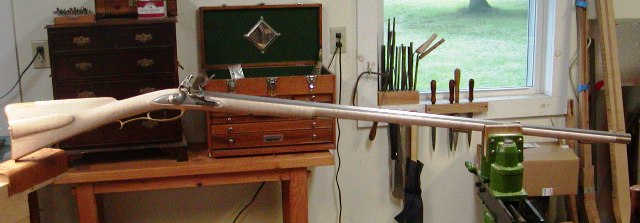
Here is the rest of the rifle as it stands.
u66aMaS.jpg

jvr1MtS.jpg

xiHuuBM.jpg

X8SeVgI.jpg

EgO74js.jpg


dave
 
Hi,
Thank you all for looking, your compliments, and as always I appreciate your encouragement. This is a fun project and that is what matters to me. I don't do this work to make a serious living (which is really hard to do) but because I am challenged and learn stuff. It keeps old age dementia at bay. I finished the assembly today although I slowed a bit as I tweaked the stock architecture a bit. Forward of the lock, the stock is as perfect in my eyes as one could ever make. I will do nothing there except cut in ramrod channel moldings and carving around the rear pipe tang. It is the lock and wrist area that my design eye diverges from Jim Kibler's. The stock is very "deep throated" on the bottom and thick at the top by the barrel tang. Now let me be clear, I get the architecture that Jim designed and admire it. It has a very solid, stand up, business like appearance. However, my taste is a little slimmer in the throat that I believe is more elegant and historically consistent. So I bent the barrel tang down just a little. I did that by simply holding the tang in a vise and using the barrel as a lever, bent the tang a little. No heat, not muss, no fuss. Simple.

Then I inlet the tang deeper in the stock to accommodate the bend and rasped and filed the stock on top of the wrist accordingly. However to get the profile right, I also had to take off from the bottom and there lay a problem. The trigger plate needed to be inlet deeper but the trigger pin hole is fixed. If the plate went deeper, the trigger would hang out higher above the plate, which would not work very well. So, I filled the pin hole in the trigger with weld and then redrilled it after modifying the stock. My goal was to reduce the throat of the stock a bit and to create a straighter line from the tang down to the comb. It is not straight but straighter than the original profile. I believe that enhances the profile a lot. I won't do more because carving around the tang will change things a bit so I have to anticipate the effect of the carving on the profile. Here is the rifle as it stands and I icluded a previous photo to show the changes I made.

Before:
JIL1HLD.jpg


After:
jrBDg5e.jpg

JW1fK2o.jpg


Here is the rest of the rifle as it stands.
u66aMaS.jpg

jvr1MtS.jpg

xiHuuBM.jpg

X8SeVgI.jpg

EgO74js.jpg


dave
Wow. That little bit of adjustment does make a big difference.
I don't have the most discerning eye, but I do see a big change in the "flow" of the rifles lines.
 
Hi,
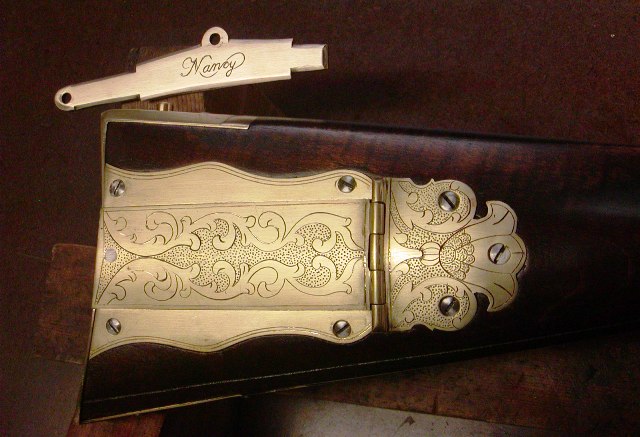
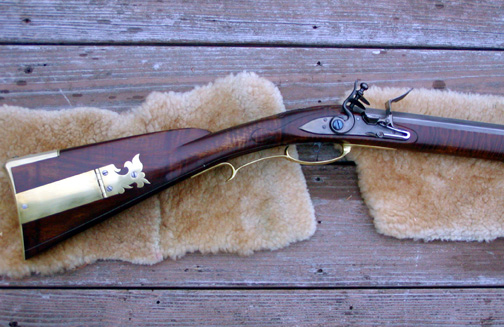
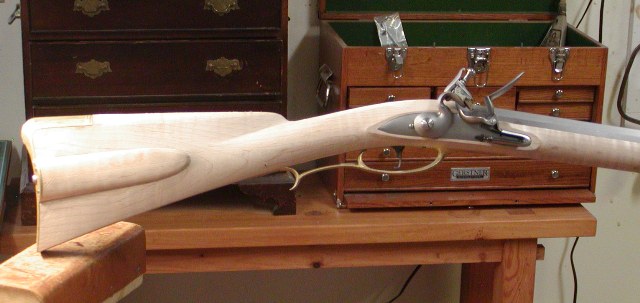
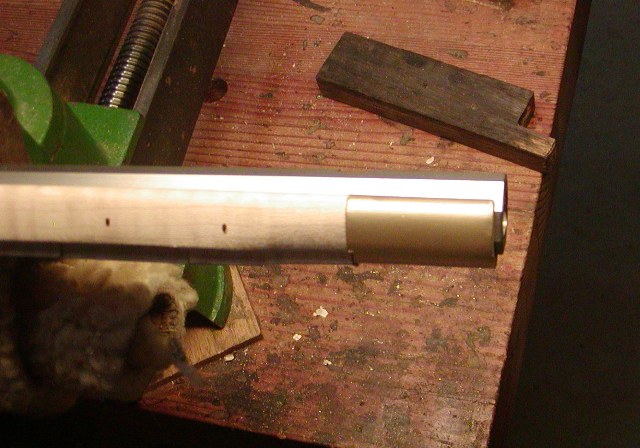
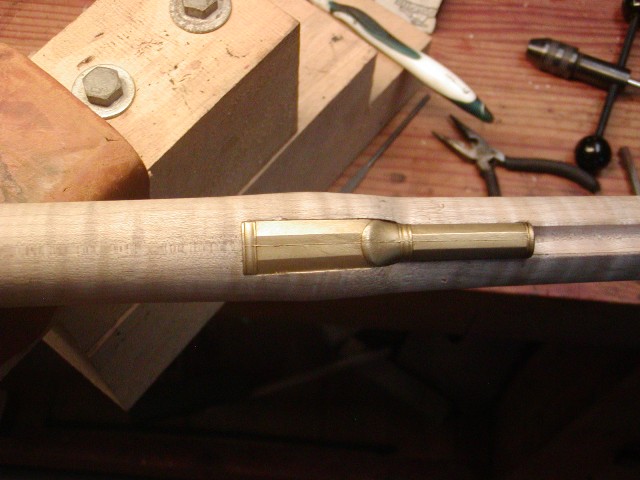
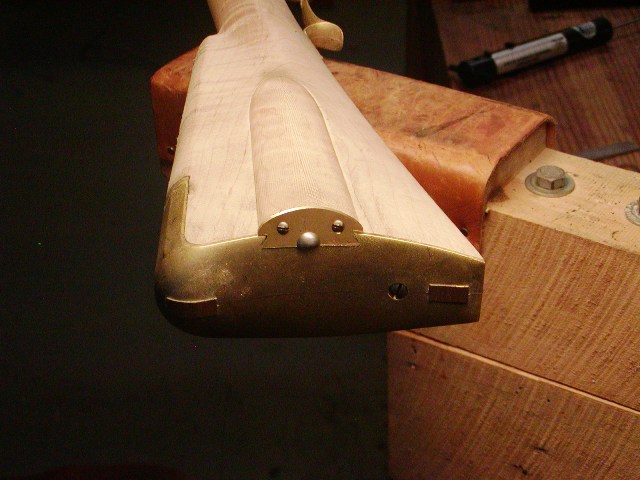
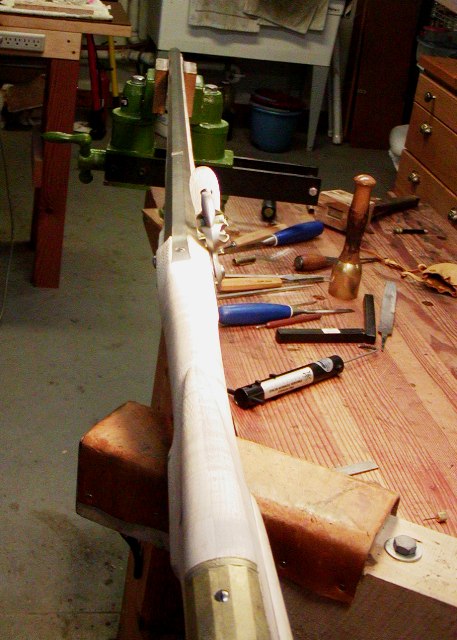
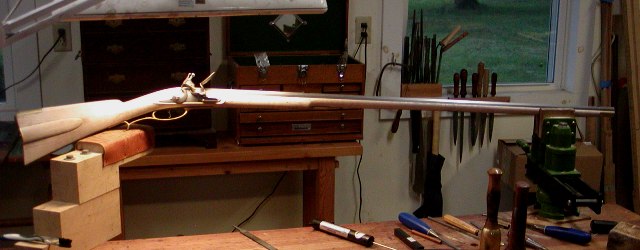
A forum member asked me if I would assemble and decorate a Kibler colonial rifle kit. I agreed to do it because, although I am familiar with the kits and examined them closely, I've never built one. So I decided to take on the project. The Kibler kit is phenomenal. Jim and Katherine anticipated every need and designed the kit so it could be built on a kitchen table by someone with very few tools and skills. You have to work really hard to ruin one of these kits. Anyway, so I got the kit late Saturday and opened the box Sunday morning. I then got to work on it at 7:30AM on Monday and almost finished the entire assembly by 5:00 PM. All that remains for assembly is pinning the nose cap, installing the sights, and fitting the ramrod. The time required included 2 walks of my dog Willow, a 45 minute phone conversation with the client, some play time with Willow, lunch, a short nap after lunch, and a grocery run. I don't think it took me more than 4.5 total hours of gun work to assemble the gun with the most time consuming task making and fitting the brass plate on the end of the patch box. I have not fitted the trigger guard and won't until all detailing of the stock architecture is done. However, it would only take me 15 minutes or so to fit it. Here is the rifle.
3cbN8lH.jpg

Q4rqT1U.jpg

JIL1HLD.jpg

GrZmkEH.jpg

uRz26Fj.jpg

ADzD47N.jpg

atYPpHV.jpg


So the next step is how do I turn this common and mass produced canvas into my own signature piece. I can only do so much because the architecture is fixed by Kibler. Let's see what happens.
dave
Wow Dave you work fast and your work is emaculate! I built a Kibler SMR so I know the inletting is pretty much done for you but it took me much longer to finish all the metal. How in the world did you get all the metal finished so fast? Do you use power tools to clean everything up?
 
Hi,
So I am working on the gun and thinking, "I am on vacation", only having to do what I want, like carving. Kibler & Co. took care of the grunt work. Then I get to the patch box lid and the brass end cap. The kit supplied a piece of sheet brass! What!! I have to make it? Are you kidding Mister Kibler cookie man? I was beginning to pretend I was a Millennial here, ya know! Now you expect me to actually make something? "Sheeesh!" as Jean Shepard used to say, :rolleyes:

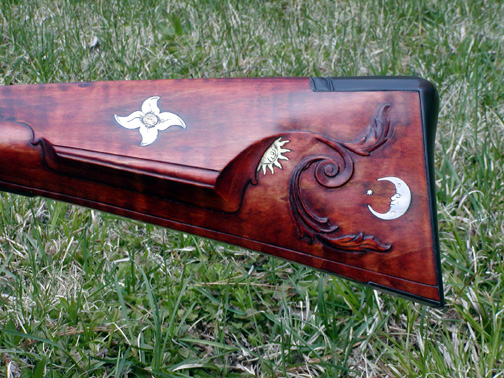
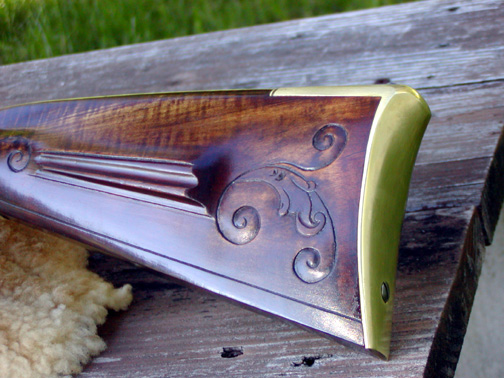
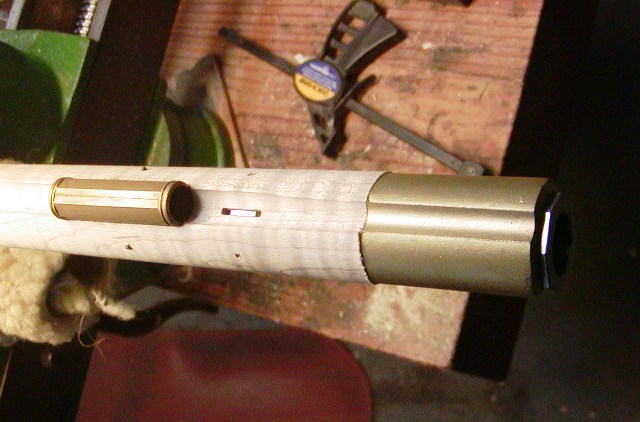
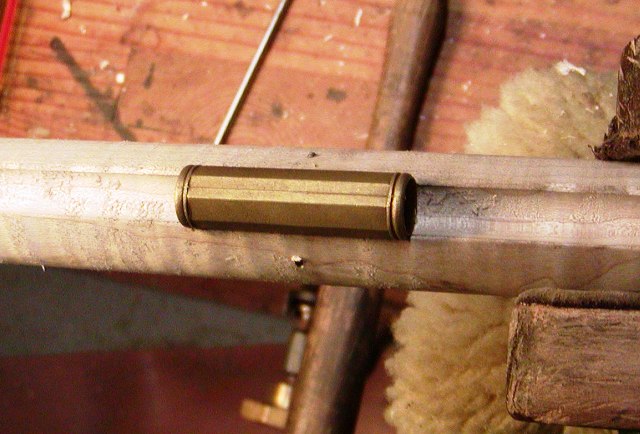
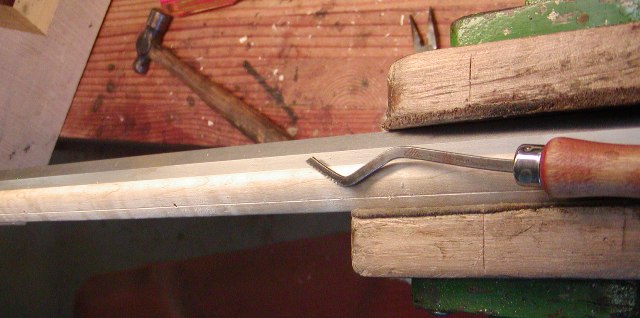
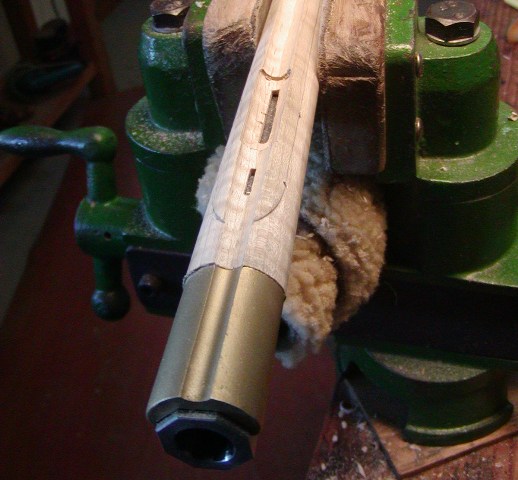
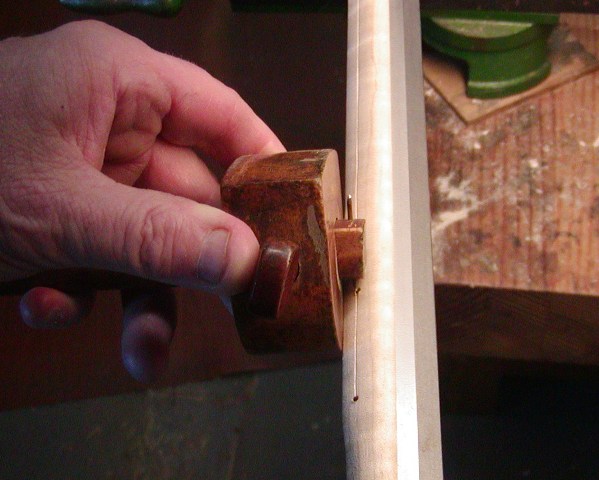
Well I stirred myself from my fiercely defended lethargy and got some work done today. I started adding details to the stock. The fore stock needs little finishing other than sanding so I cut the fore stock moldings along the ramrod channel. With Kibler's machined stock, this was easy! Some folks use jigs to do this but I am much more low tech. I use an old marking gauge that was my great, great, grandfather's and mark the distance from the edge of the ramrod channel to the thimble pin holes. I want the edge of the molding to be lined up with those holes. Then I use the gauge to incise a deep line marking the edge of the molding.
lPKNTfe.jpg

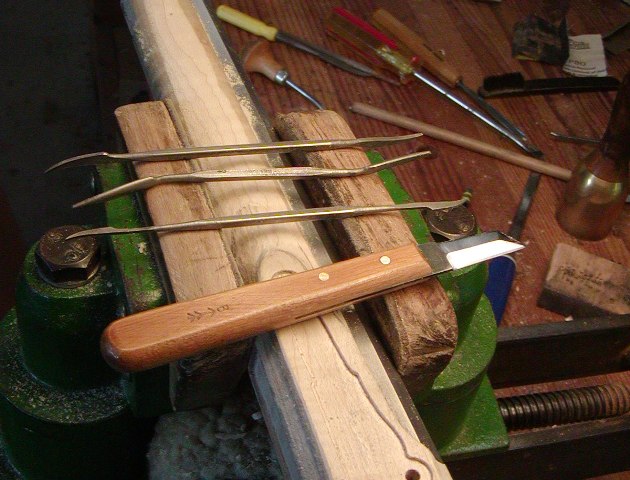
I cut that line using an English checkering tool with long axis.
MSbrhrZ.jpg

Then I deepen the cut with a 60 degree Gunline checkering tool.
M2UH5zT.jpg

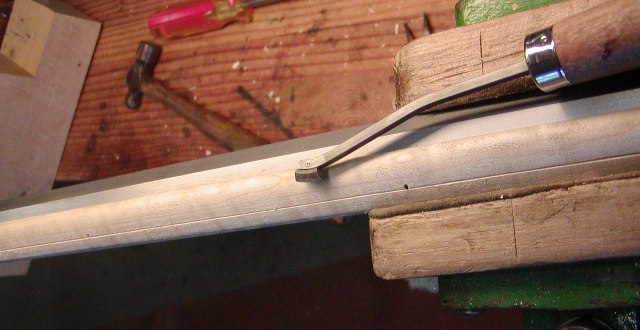
Next, I peel away the background to form a raised edge to the molding using a scary sharp dog leg chisel.
GP8IY5X.jpg

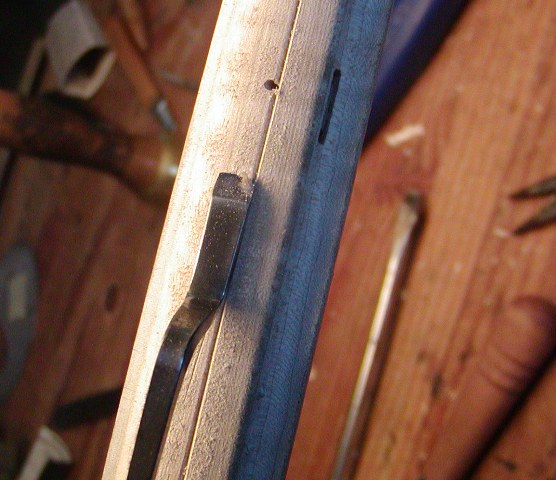
I clean up the edge and level the ground using a bottoming file.
WQKuJPA.jpg

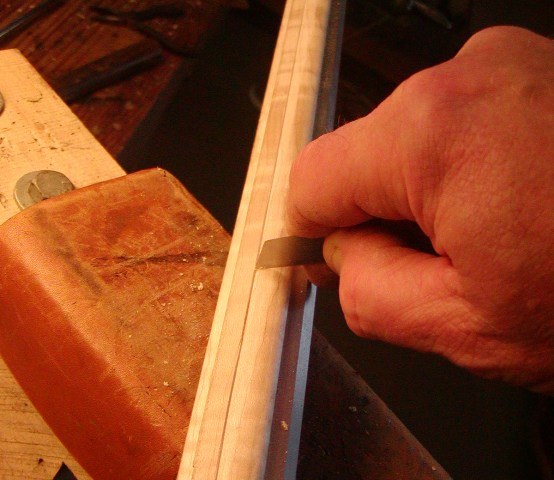
Then I scrape off the tool marks with a 3-edged chip carving knife.
i9wfEax.jpg

I used those tools to shape the terminus of the molding at the muzzle end.
0mBpGwW.jpg


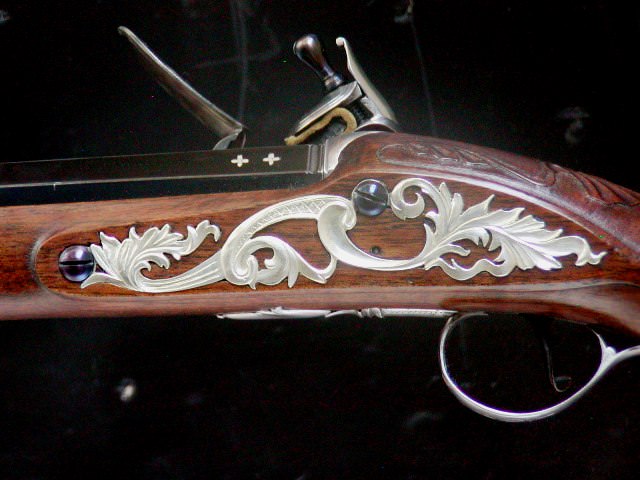
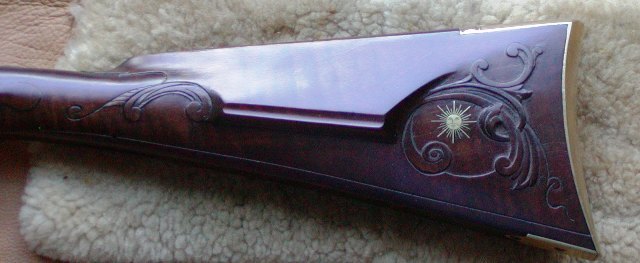
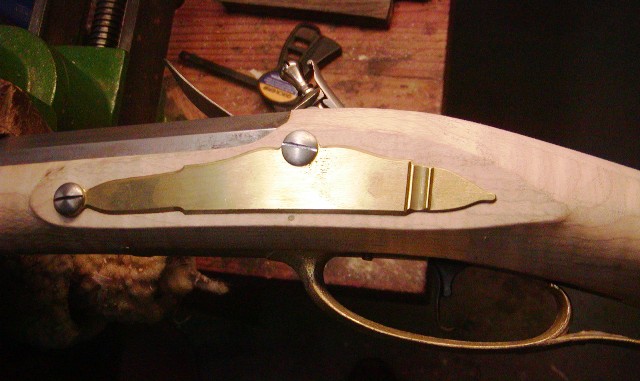
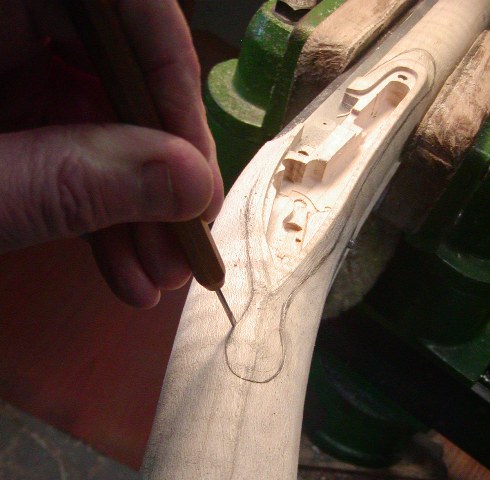
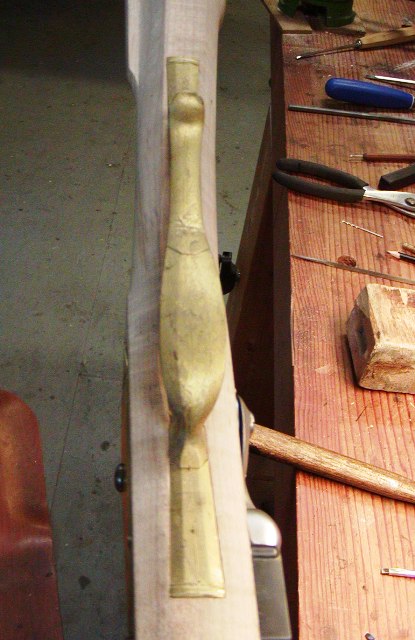
Next I cut the lock and side plate panel moldings. But first, I scraped and sanded the contours of the lock area to clean up the shape and machine marks. For those of you intending to make a gun from a rough stock, the level of shaping and smoothing exhibited by a Kibler kit is the point of shaping at which you should even consider starting to cut any moldings. I sketch the design on the stock. In this case I decided the "apron and beaver tail" should be long to match the long, narrow shape of the lock and side plate. I also made the tail and apron large because the wrist of the gun is large. I've seen some photos of Kibler Colonial rifle kits with thin, tiny beaver tails that are so obscure they remind me of "Where's Waldo" given the thick wrist of the Kibler rifle.

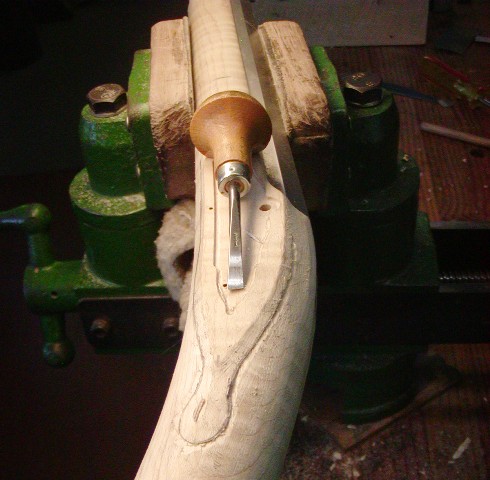
I draw the design, and then use my stabbing in chisel to outline it.
iDvqIX4.jpg

Then I back cut the edge with a small flat skew palm chisel.
tGkNADy.jpg

Now I want everyone to understand that my choice of tools is affected by my disability in my hands. I suffered severe frostbite several times during my mountain rescue days and have neurologic damage in my fingers. I rely on palm and micro chisels where others use full length tools just as well. My hands are extremely strong allowing me to use palm chisels effectively but they may not work on hard maple as well for others.
I clean up the cuts with a variety of tools including my chip carving knife and riffler files.
hkjJF7f.jpg

Here is where I am. I'll clean up the molding later as I finish the gun.
wWJUzph.jpg


dave
 
Thanks Jim! Sometimes I just wonder. Can I do this? Am I in over my head? Keeps me up at night. ;)

dave
I haven't been a member of this forum for very long. However, I have seen waaay too many pictures of rifles you've built to ever believe you could get anywhere near being "over your head".
 
It's amazing what some of you guys can do. I started a build from scratch a year ago and I'm still not very far. I have studied everything I can and just when I'm about to do something I find another question so I research. I hope to some day to be able to build with a 10th of the talent you guys have.
 
Hi Tanker,
That is why I post these threads to help folks learn those skills and knowledge. That is why I urge you to read every detail in my written descriptions. Go and search the site for the threads I've posted on building this and that, and read them carefully. Don't just skim the photos. In all of them I share tricks and tips I've learned over decades of muzzleloading gun building. There is a wealth of information in those posts and all you have to do is read them.

dave
 
Your ramrod channel molding looks wonderful!! I am so glad that you are taking the time to share photos of the process. It's so helpful to see how a master goes about his work

In building my own Kibler Colonial, I also felt the wrist was rather beefy at the top (not thinking to trim out the bottom though), and I did a simple tang carving that let me thin the wrist down without creating a big mogul. I am so excited to learn how you will work your magic in this area.
 

Attachments

  • Kibler 36.jpg
    Kibler 36.jpg
    235.8 KB
Back
Top