• Friends, our 2nd Amendment rights are always under attack and the NRA has been a constant for decades in helping fight that fight.

    We have partnered with the NRA to offer you a discount on membership and Muzzleloading Forum gets a small percentage too of each membership, so you are supporting both the NRA and us.

    Use this link to sign up please; https://membership.nra.org/recruiters/join/XR045103

Off & crawling on my first build

Muzzleloading Forum

Help Support Muzzleloading Forum:

This site may earn a commission from merchant affiliate links, including eBay, Amazon, and others.
thanks to all for some great guidance. I will use it wisely.
Schimmelsmith - I too think that first dovetail went too deep. That's the only one I've cut so far. I was tryin to fit a homemade lug - the geometry wasn't workin out to my satisfaction :shocked2: so I stopped and ordered some lugs from TOW - may end up staking one "deep" in that first hole, or putting a thin spacer under the lug ?

The remaining three dovetails will be cut a la Birddog6 to fit the factory dovetail bases.
 
I don't think you need a spacer under the under lug :grin:
Just slide it in. If it's loose. take a center punch and peen the edges of the dovetail until it's tight.
You can always solder it in if necessary.
I hope the under lugs you ordered from TOW were the thin based ones???
If not, I would file off a little materail off the base.
 
Don't shim the lug, just stake it & go on. Keep in mind it has little stress on it. You will bend a pin or break out the wood before that dovetail is going to come out. Just lightly stake it & go on to the others.
Only reason to have them snug anyway is to keep them from falling off the barrel each time you take it in & out of the stock when building. If they fall off the barrel, then you have to figure out which one was in what slot in what position to align with which hole, etc.

Don't fret over it, stake it lightly where it won't fall out & go on to the next one.

:thumbsup:
 
thanks fellas.
just got back from a week outta town, the lugs from TOW were waitin for me.
got the UL-DH-1 model.
set it on my barrel, next to my one cut dovetail, and it doesn't look right.
too long (along the long axis of barrel) and not wide enough (cross barrel axis) to cover the cut base of the dovetail.
apparently my idea of 'length' and 'width' was opposite that of TOW's.
I think I wanted the UL-TC-1 model.
rats. more ordering... and waiting....
 
I wouldn't worry about having them fit flush with the sides of the barrel flats.
That's what a file..or a dremal tool is for, if they are too long..If they are a little smaller then that's Ok.
Did you cut the dovetail too long??
Pics would be nice, that way we can see what is going on.
If you did.
Put the underlug in the dovetail cut and using a sharp center punch try driving the "V-CUT" in and down to set the underlug.
don't be shy, the metal should move.
Let us know...Pics
 
I meant "too wide"
I would go with the "UL-NW-1"
The milled ones take allot more abuse :cursing:
Also, since you have only cut 1 dove tail. Use the ones you bought for the next 2.. Just grind off some of the thickness and then start your cutting.
 
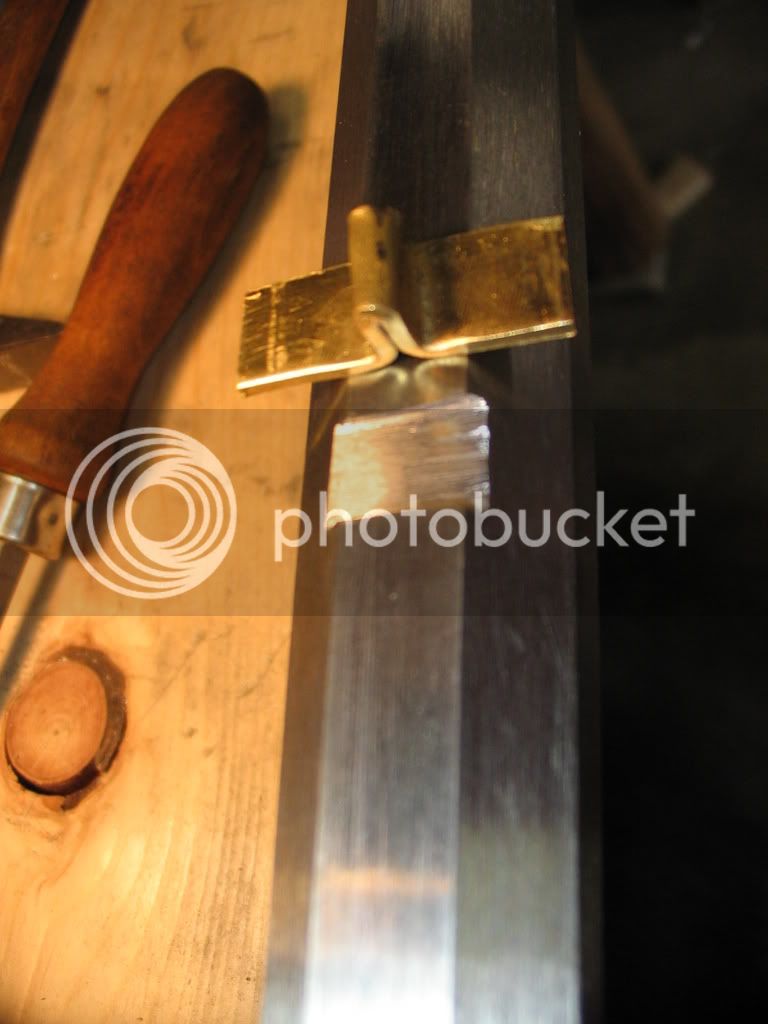
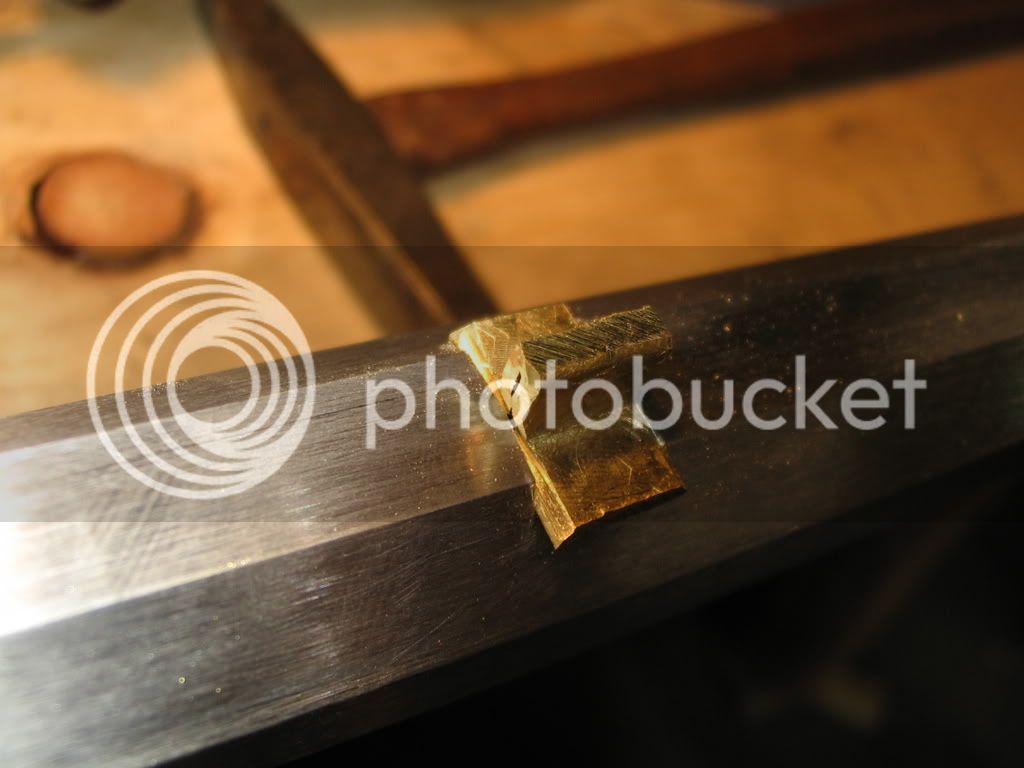
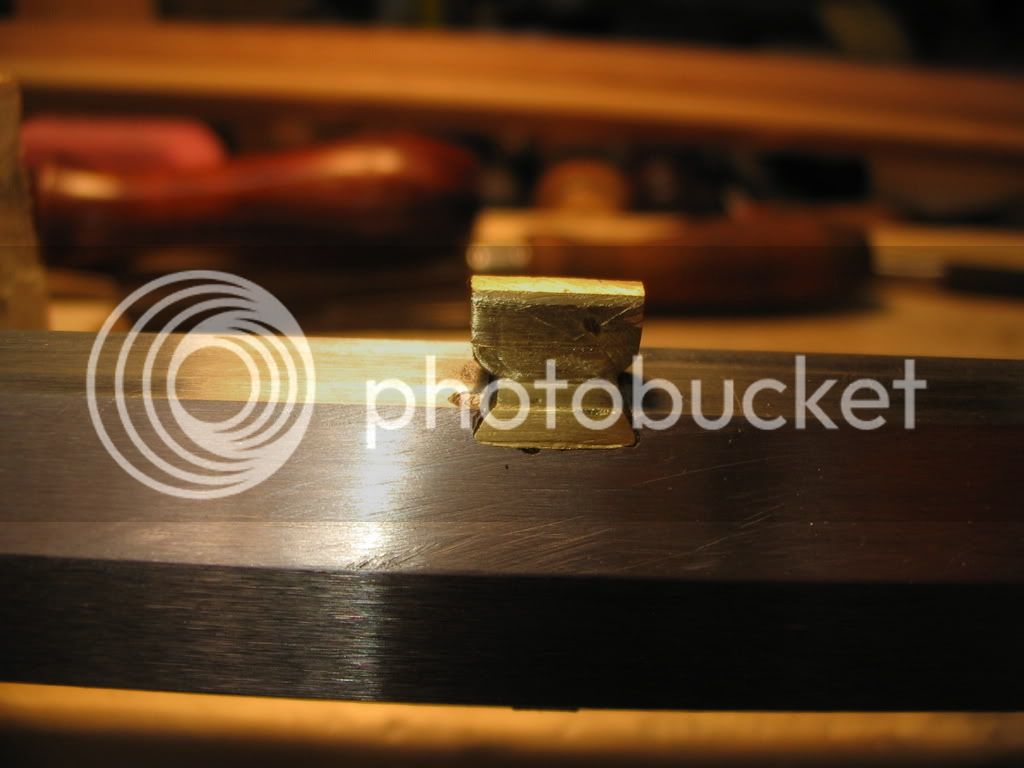
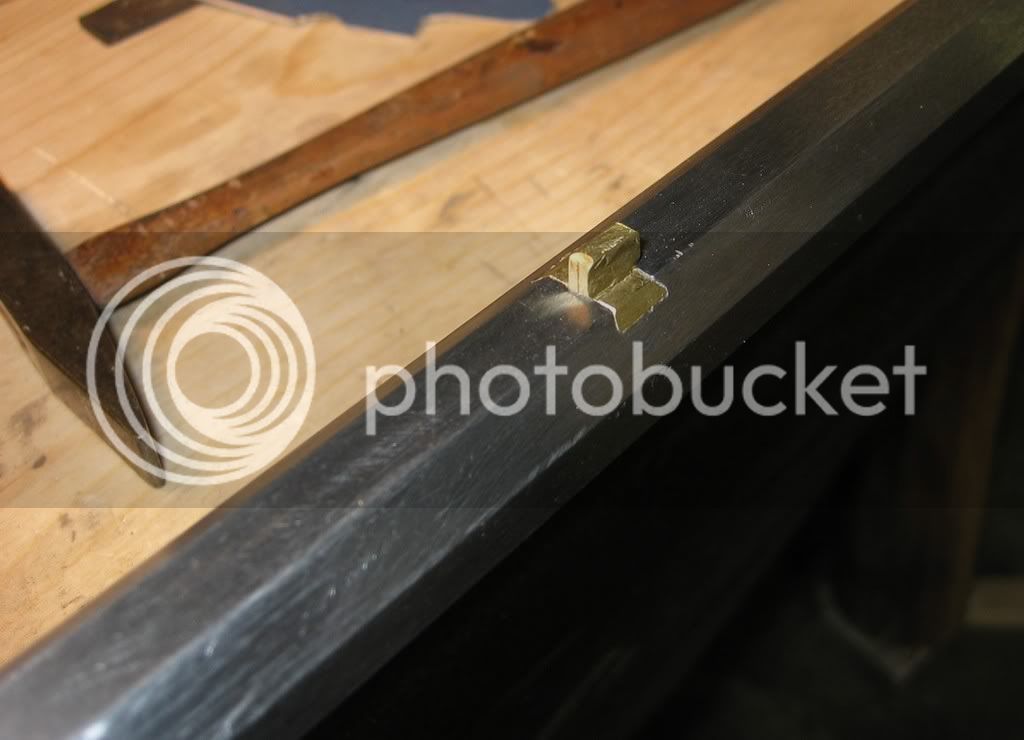
well, I didn't want to wait for for parts, and I had some 0.062 brass, so I went back to Mike B.'s tutorial and made my own lugs.
Glad I did - I think it worked great, and I of course feel better about making my own, rather than ordering factory :grin: .


Here's the pre-fit situation:
Lug1a.jpg


here's fitted and starting to file to flush with barrel:
Lug1d.jpg


here's one staked, prior to final dressing:
Lug20011.jpg


and here's one after final dressing:
Lug1.jpg


They all came out pretty good. I think.
Little nervous about their depth (height) - they're all a tad over 3/16" - you can only file the top off so far until you break the fold and separate the piece, and that, as they say, would suck :( .

By the last one, I got to where I was cutting the dovetail, making the lug, and fitting it in about an hour :thumbsup: . Nothing like a little experience. And advice from you folks. I REALLY like the advice about "8 full strokes with the hacksaw" for dovetail depth! I wouldn't have guessed it, but that methodolgy seems to work better than trying to hit a mark.

I'll inlet the lugs tonite. Drill and pin tomorrow.
 
You did GOOD :bow: :bow:
Cancel that order from TOW :thumbsup:
I don't know what to tell you about the depth of the under lug.
Seems to me you have a couple of choices.
1.You might cut through the web..not the first time that has ever been done.
2.File back the under lug. Like you said those folded under lugs can come apart.
I like to use the machined ones for that reason. even thought that are not PC.
GOOD JOB.
 
File it down and silver solder it together, those are really nice looking , I'm goingto have to make some.
 
Do you have a plan for drilling and pining?
What size pins are you going to use?
 
3/32" pins - got them from TOW.

I put 4 lugs on barrel instead of three - got that from Dixon's book.

plan for drilling involves holding mouth right, standing on one foot, and copius prayer - got that from Mike B.'s tutorial. :grin:

nahh, I actually liked the recently posted trick from Bioprof, involving a fence on the drill press and some witness lines on fence and barrel.
I think I can make that work.

Of course I'd like to not break through the web for lug mortices, but it could happen.
someone said to actually drill through on purpose with a tiny bit (into concealed RR hole) to get actual measurement on the web thickness, instead of guestimating, and then plug the hole.
I can see the web thickness on the muzzle end of the stock, but not sure that measurement is maintained all the way back to breech area. :hmm:
guess I don't know why it wouldn't be.
 
Meteor Man,

Those pins from Track are Too large... I've never understood why they recommend them. You'll note that Mike B. uses 1/16 piano wire. I find that a 1/16th drill will want to wander.

Go to ANY hobby store and buy a package of .078 piano wire. You'll get 4 or 5 30 inch lengths for about 3 dollars. Enough to last for dozens of rifles. Stop at the hardware and get a handful of 5/64 drill bits... just large enough that they won't wander. Now you're set for for a long time. Just the right size for barrel tenons, RR thimbles, TG tangs. Plus a 1/16 punch works great for removing them without buggering up the wood

Hope this helps, geoff
 
Don't use the 3/32 pins they are Too big.
I use the 1/16 welding wire myself,but shimmsmiths will work well also.
My way is simple.
I inlet the under lug. Then I clamp the barrel in place and scribe the barrel. That gives me the depth. Also mark the center of the lug on the barrel.
Take the barrel out of the clamp/vise...measure the distance from the scribe mark to the center of the lug. Measure twice... :hmm:
Mark the measurement on the stock..and using a center punch lightly indent the stock.
Put the stock and barrel in your drill press.. LEVEL IT BOTH WAYS..and drill.
You should be good. You want to feel some resistance as you hit the lug :thumbsup: I will take the gun out of the drill press and check the first one, just to see where I am in relationship to my measurements.
If I am centered or close.. then I drill the rest of them.
Let us know how you make out
 
OK.
took the advice above (and the wife says I'm not trainable) and bagged the TOW pins.
Went to three stores and couldn't find piano wire of any size - but I have a good bet lined up for tomorrow.

So today I made the lug mortises.
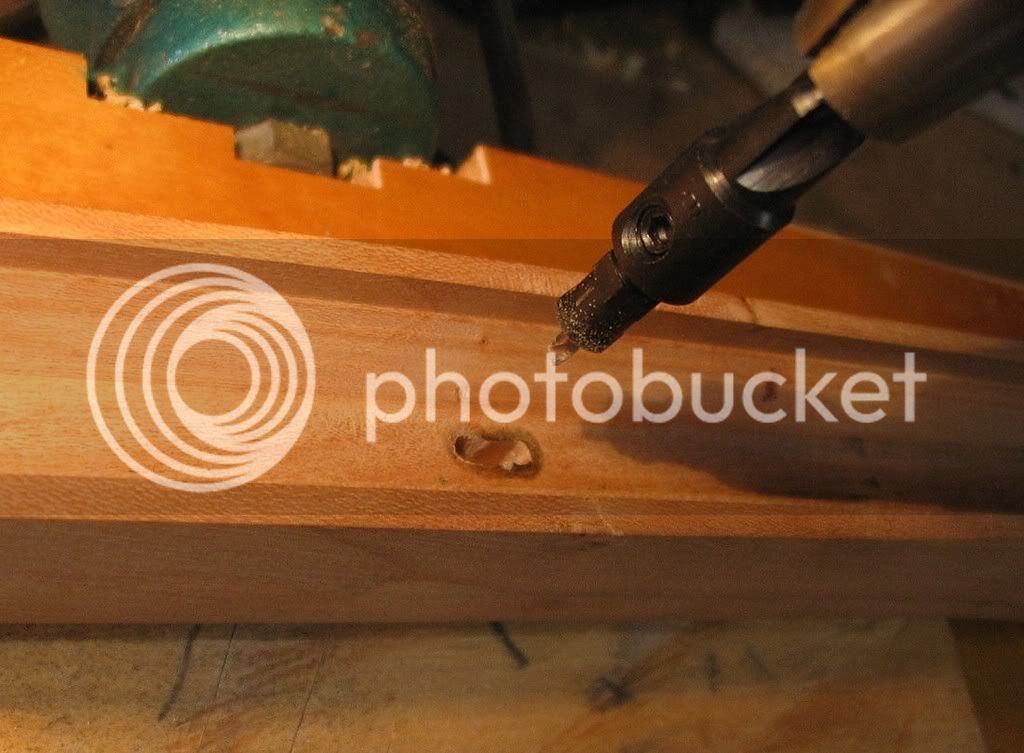
Following Mike B.'s tutorial, I made a depth stop for my drill by buying a countersink set ($3) and turning the countersink collar upside down so what was the top was now the blunt stop on bottom.
DrillingLugMortise.jpg


Went to go to my 18th-century high speed milling machine to clean up the holes, but remembered my neighbor borrowed it and hasn't returned it yet.
So I chopped around with a chisel.
Hole was too small to do much good so (... look away, Daniel Boone) I pulled out the Dremel tool and micro-burr bit :shake: :shake:.
Worked great, but I don't like to use it.

Decided to drill the pin holes with 1/16" bit.
I can always enlarge to 5/64", depending on final wire I find.

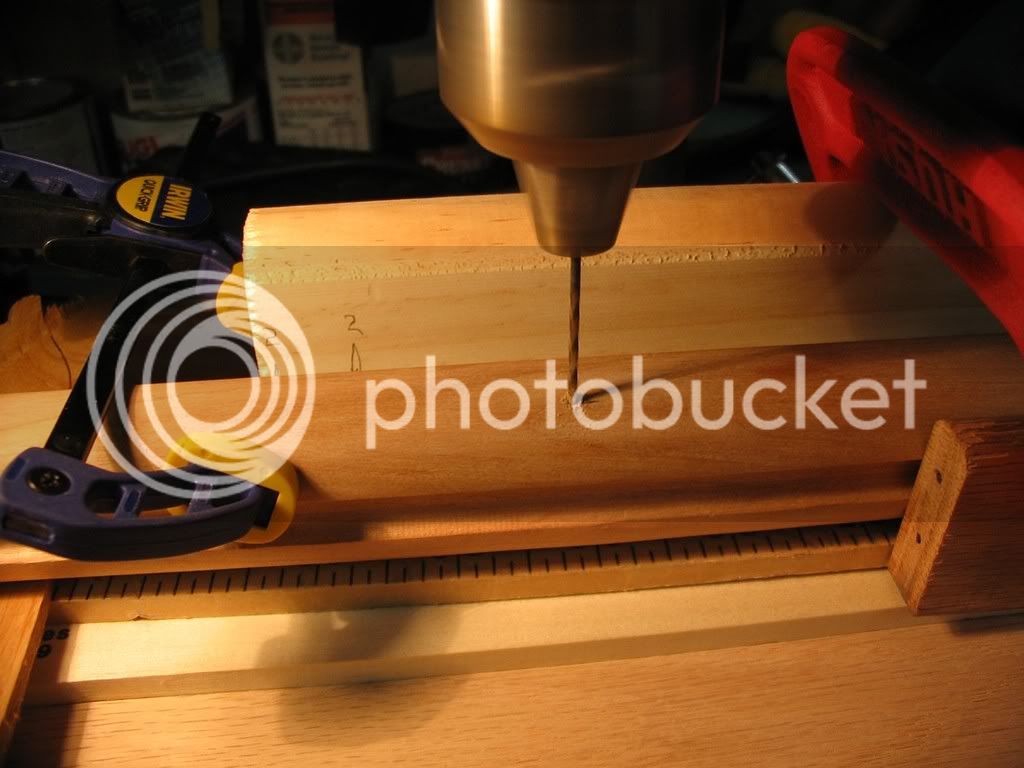
Rigged up the drilling set-up & fence, and measured marks as per Oldarmy's advice.
BioProf's barrel/fence witness lines and Oldarmy's marking system gave me the same answer, so I drilled away.
DrillingBarrelPinHole.jpg


Hit metal 4 outta 4 times. :)

However, as I 'm finding rather consistently in this job, the first effort at something is usually less satisfactory than later efforts.

left side is 1st drill - oops- high and tight. right side is 4th hole - better:
DrillingBarrelPinsBA.jpg


Now I'm supposed to slot those holes in the lateral direction, for allowance for stock movement?

Tomorrow is day off work, so I'm gonna find some wire, pin this thing, and start on lock inlet.
 
The only time to worry about the location of the underlug holes is when the miss the underlug.

Yes, now that the holes are in you should elongate them to allow the stock to expand and contract.

When your doing this remember that removing metal from the top side (barrel side) is OK but don't remove any material from the bottom side as that will allow the stock to move away from the barrel.
 
found some .062" piano wire and pinned the barrel - worked nice.
Later - much later - I'll be asking about finishing depth for pins.

Flopped stock and barrel in homemade vice and began the zen-voodoo ciphering of exact lock placement. As per research, my thoughts were to:
(1) put the pan center such that the aft threads of touchhole liner will just miss breechplug face.
(2) keep pan and bolster lines parallel with barrel lines
(3) put center of nose of lock plate in position where front lock bolt will go through wood.

Found this magic spot (I hope), marked the bolster, chopped it in, and ended up as such:
LockPlateBolsterInlet2.jpg


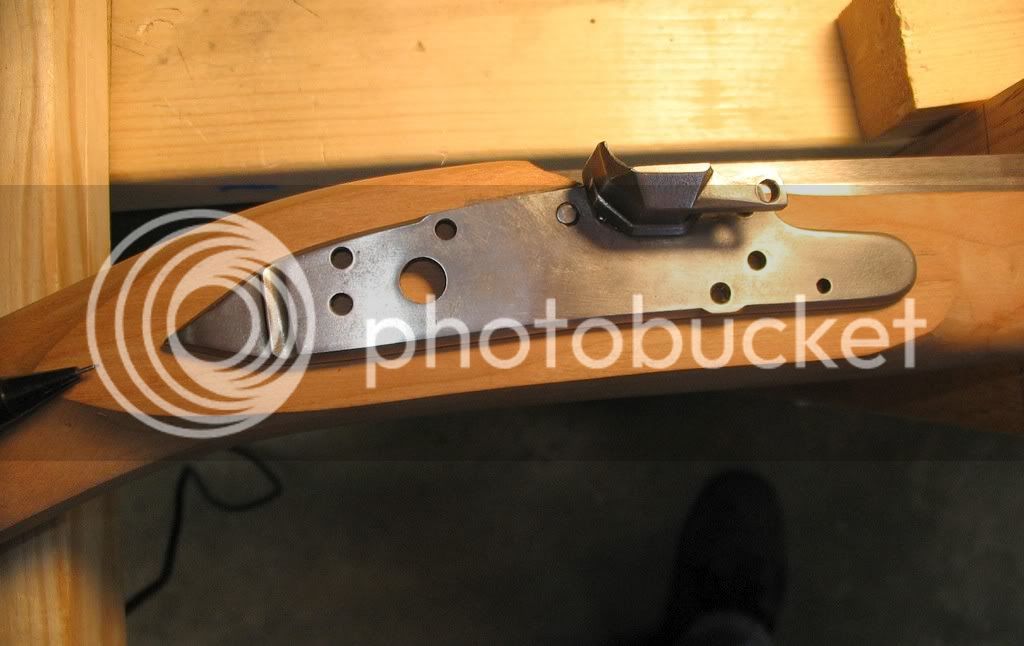
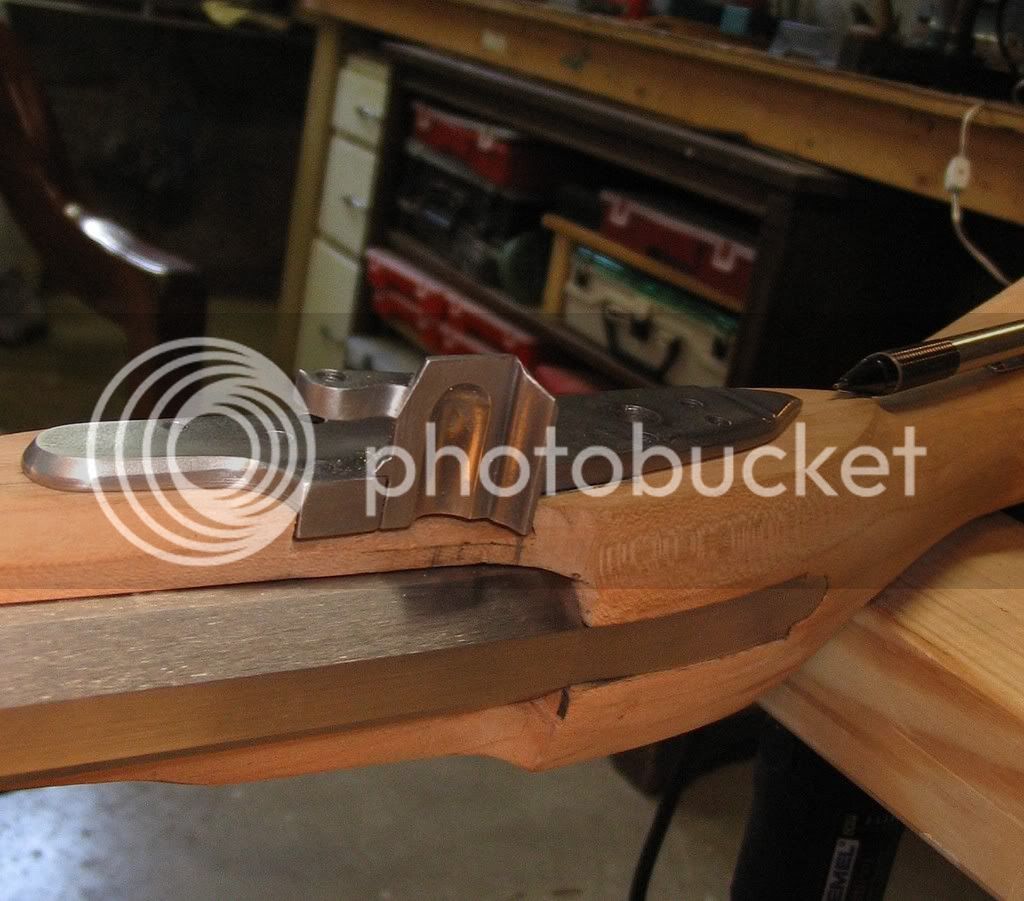
Plate in position sits like this:
LockPlateInletTrace.jpg


Got lock plate flush on wood, and still have a ways to go to get bolster to barrel.
That fore line on stock web is touchhole center,
next line back is breech plug face - the angle may not look it, but pan centers on TH center.
Longer line at rear is chop line to barrel:
LockPlateDepthOfInlet.jpg


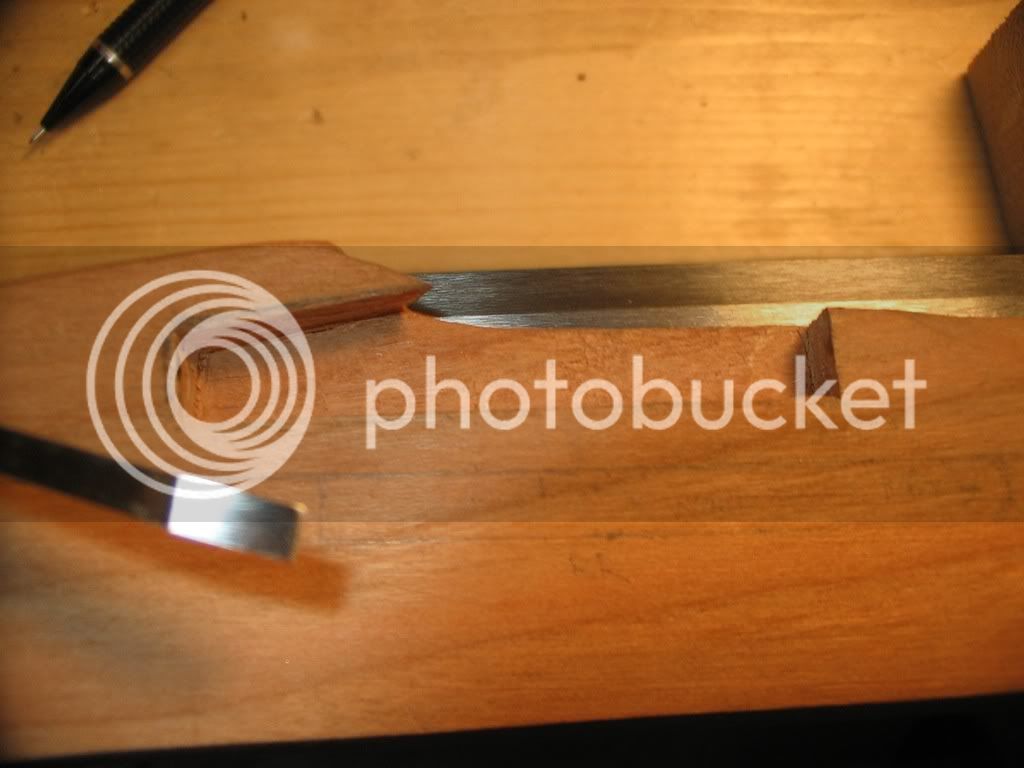
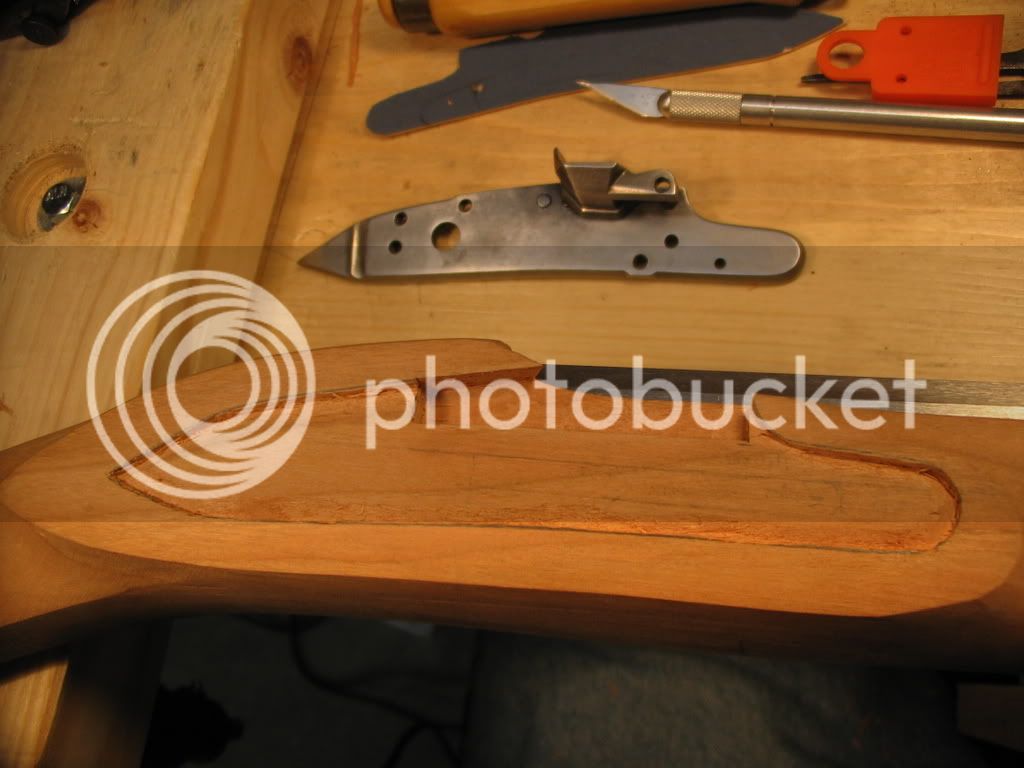
Filed draft on back edge of lockplate, traced, and began inlet with the much-discussed "chisel stab and back-cut" method:
LockPlateInlet2ndBackCut.jpg


Stopped here for a while to give my eyeballs a rest. :shocked2:

That bird's-head-shaped piece at top, behind bolster, REALLY wants to break away when taking wood out anywhere near it, and especially during the vertical chisel chop. Any tips on avoiding that would be received gratefully.
 
Things are looking good there Meteor.Keep up the good work. I have my lock inletted down to the bolster with not a pretty success. I have already told my self this is the learning curve and new wood later. I really like the look of your wood. As a novice the only advice I may offer is take your time. Looks good so far. Boon :thumbsup:
 
You have been doing an awesome job :bow:
Now is the time to drill your holes for the side plate/lock.
I know lots of people wait until the lock is in letted, but I find having those nice square surfaces really help to insure the bolts are drilled square and straight.
Also you can use the bolts to tighten down the lock as you inlet it, which help making sure it goes in square.
Go with a 10/32 in the back and a 8/32 in the front.JMHO
 
thanks fellas. Boonie - keep up the good work. show us some pics.
Oldarmy - attractive idea about drilling now.
If I got it right, I drill from lock side towards plate side, then put lock plate on and drill back to lock plate to mark it on inside for tap holes.
When locating the front bolt, I have to worry about the mainspring don't I?
How does one know exactly where to drill the front hole without the mainspring inlet showing the "staw away" zone ?

What kind of tolerance (for error) am I looking at? I could put the mainspring back on and blacken it and press it on the lock inlet, but it seems that location will be mostly "approximate". :confused:
 

Latest posts

Back
Top