• Friends, our 2nd Amendment rights are always under attack and the NRA has been a constant for decades in helping fight that fight.

    We have partnered with the NRA to offer you a discount on membership and Muzzleloading Forum gets a small percentage too of each membership, so you are supporting both the NRA and us.

    Use this link to sign up please; https://membership.nra.org/recruiters/join/XR045103

Starting my winter pistol build early

Muzzleloading Forum

Help Support Muzzleloading Forum:

This site may earn a commission from merchant affiliate links, including eBay, Amazon, and others.
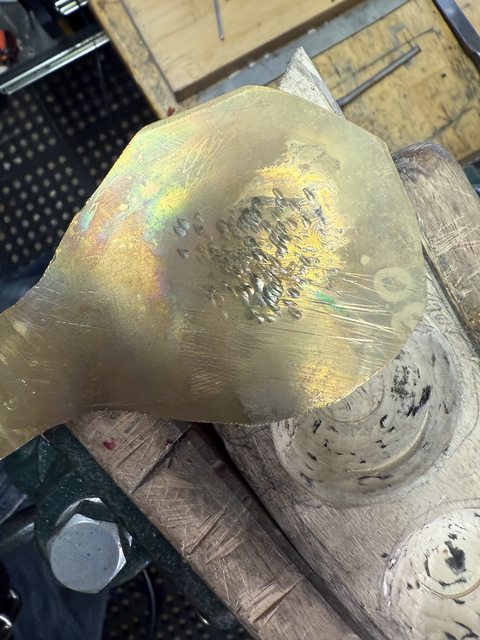
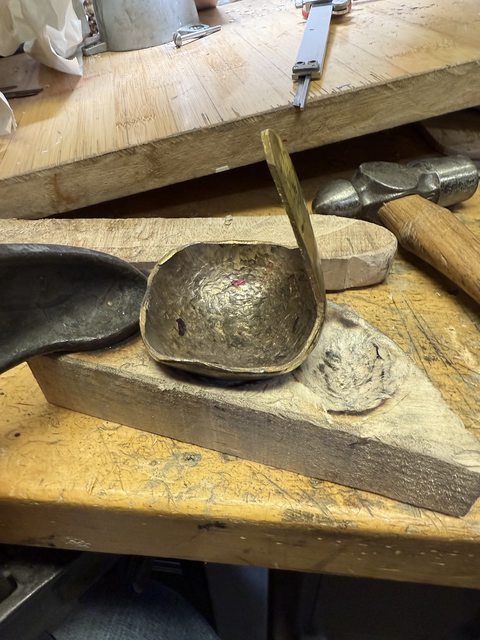
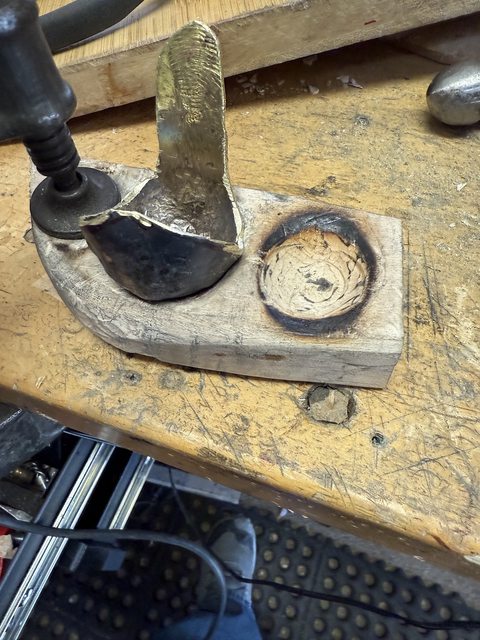
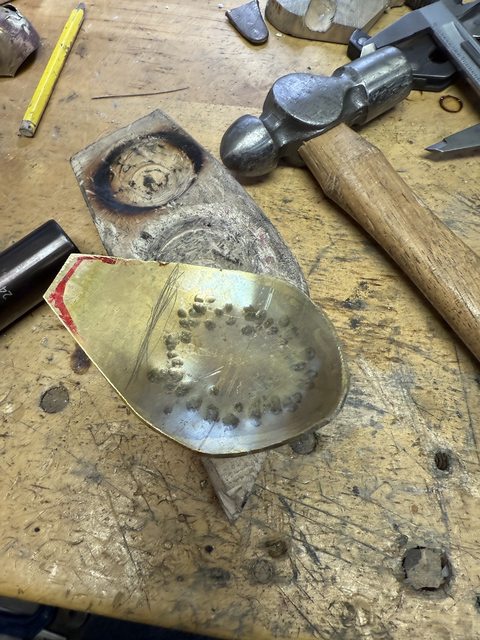
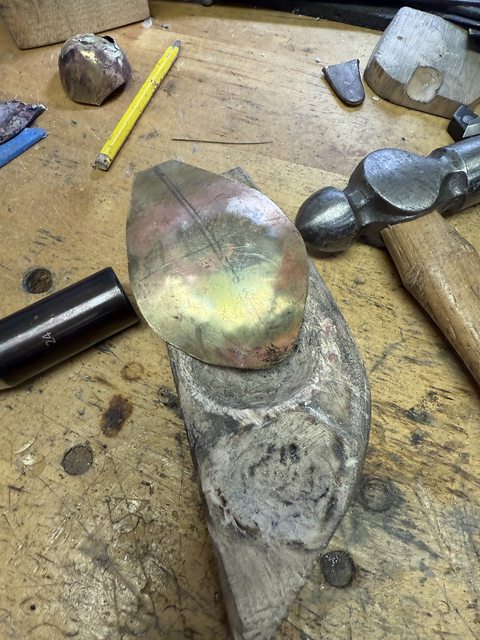
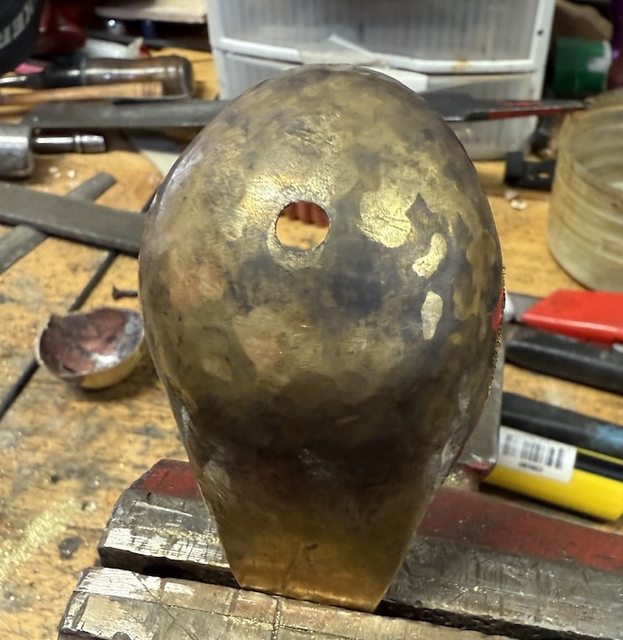
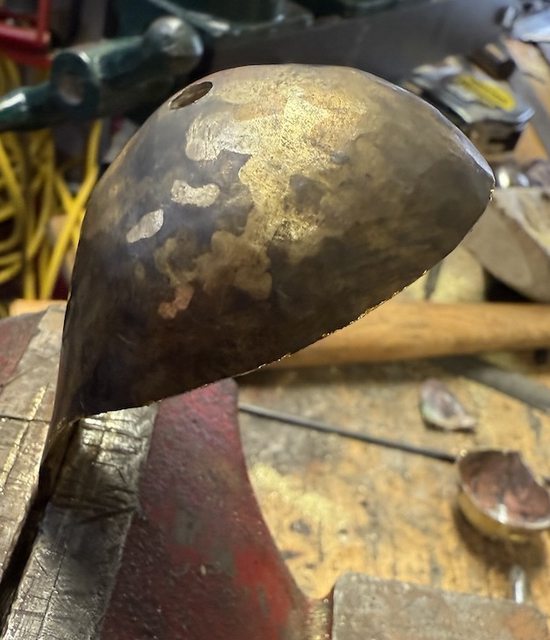
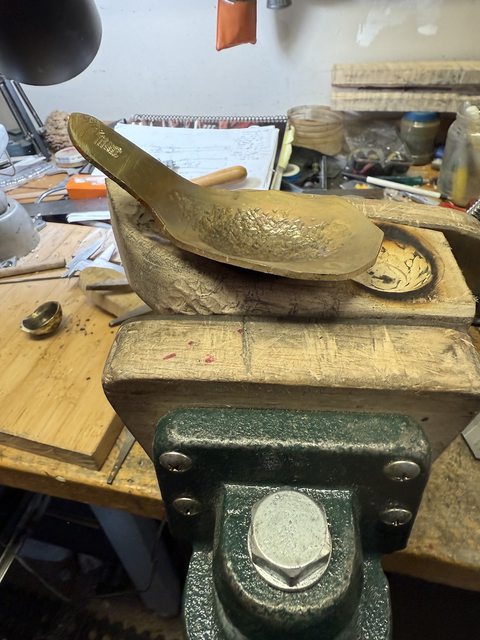
So, I'm using the broken cast piece to form "dies" out of maple scraps. I've cut the brass sheet (.80) and began to peen it. I will say, this is the first buttcap I've ever done. And I want it a bit deeper or "cup like" so that takes more pounding.

I have discovered that it's not a "fold up the metal" process.....but more of a "push out the shape" process. I'm using a thick brass punch as well as a ball peen hammer and that broken cast piece.

The most use is coming from the brass punch. It seems to push the metal where I'm asking it to go vs a ball peen hammer.

When I laid out the brass sheet for cutting I took the broken piece and "rolled it" from left to right, and front to back to obtain (what I thought) would be the right amount of sheet brass. Well, as the process goes on Im finding out that I'm pushing the brass to form the piece. As such, I'm cutting off more of the metal at the top. In other words, I started out with to much or to big of a brass piece. Right now I've cut off a good 1/4" from each side....yes....a bit more than a half-inch. But....better to have more and not need it, than not enough to finish it.

I'm not done....but closer than when I began this piece.
hX5Zs6ol.jpg
oVKX59bl.jpg


yURd0fnl.jpg
Y8GOUVvl.jpg
YoJkCEhl.jpg
BDgtbPtl.jpg
 
Well, sometimes things just don't go the way you think. Now, this was the first time I've ever peened a buttcap from sheet brass. So, there was a learning curve.

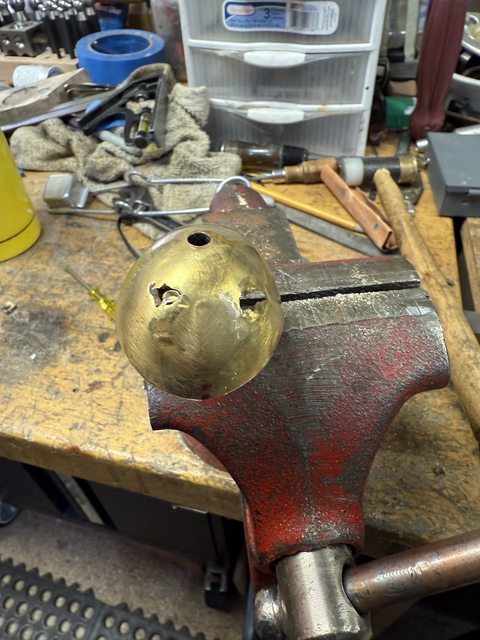
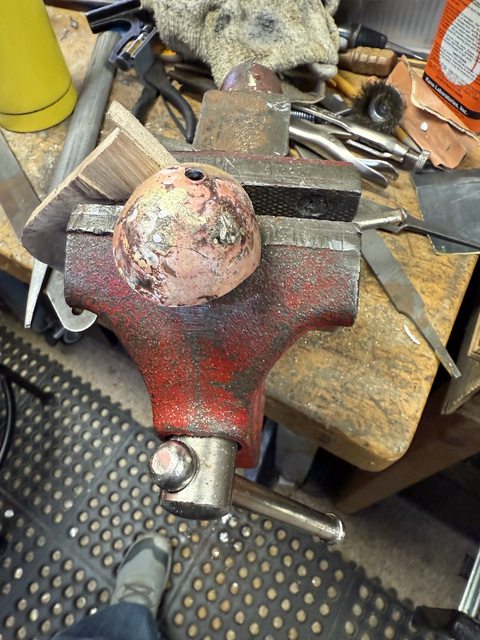
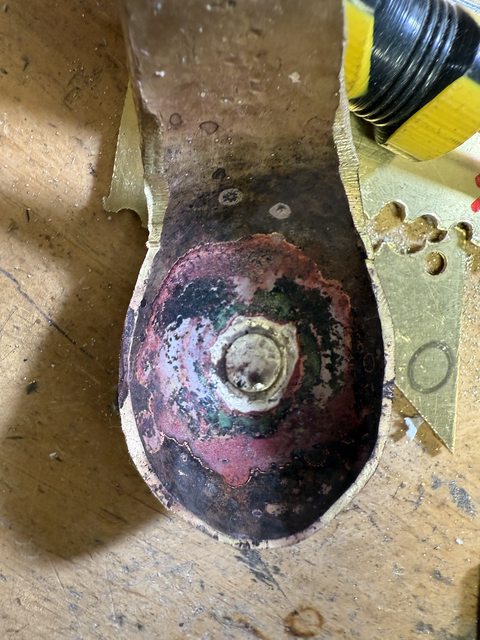
What I learned was I kept peening the bottom of the cup thinking I would draw in the circumference, or outer lip of the cup. That does some....but not as much as I needed. After far too many whacks I stopped to discover I had too much material to get the outside lip "smaller". So, I cut of the excess. (And my "rough" finish was as you see above.

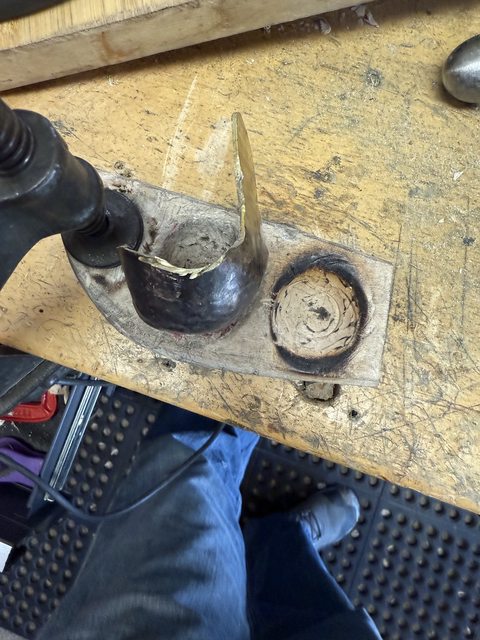
So, once I had it as above I began to cut the butt to inlet the buttcap. After some time I gave a heavy push on the buttcap and CRUNCH.....the cap buckled. The base was just too thin from over peening.
CajvNvDl.jpg


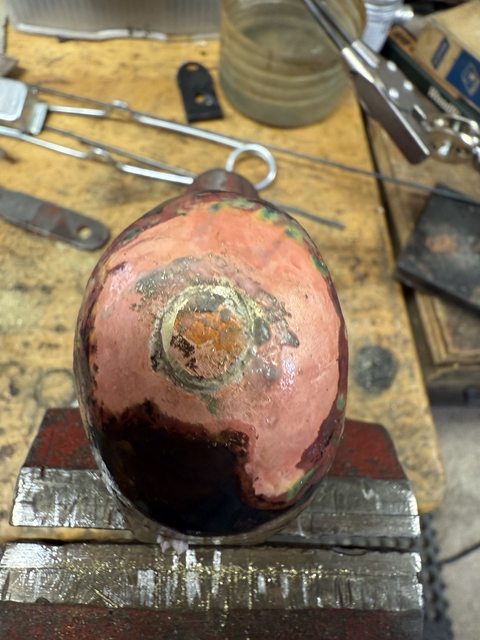
Now, before I even began the inlet I saw the bottom was thin, so I soldered a reinforcement piece inside. But after the CRUNCH I tried to solder another piece and I had to use a brass color silver solder. Well, the heat was just too much and I began compounding the problem as the pic below shows.

J8Winaul.jpg


So....after too many hours spent trying to fix what is unfixable, I scrapped this one and cut a piece of sheet brass for a new one. Lesson learned from screwup #1 so this second one should go much smoother!!

Since it's hunting season I'm spending little time on this pistol build....but that will change after November.....until flintlock season is over in January.
 
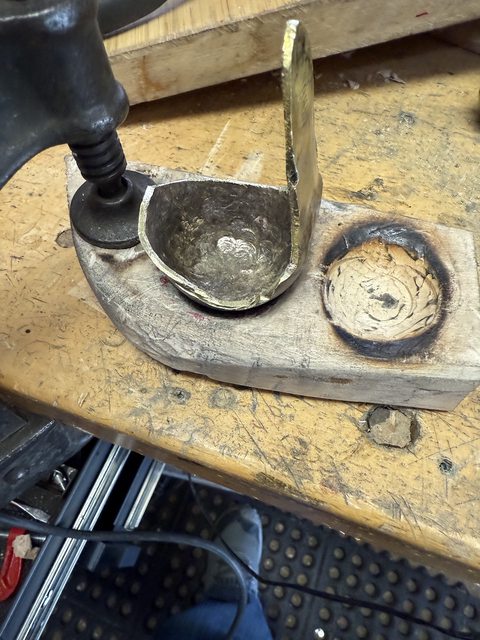
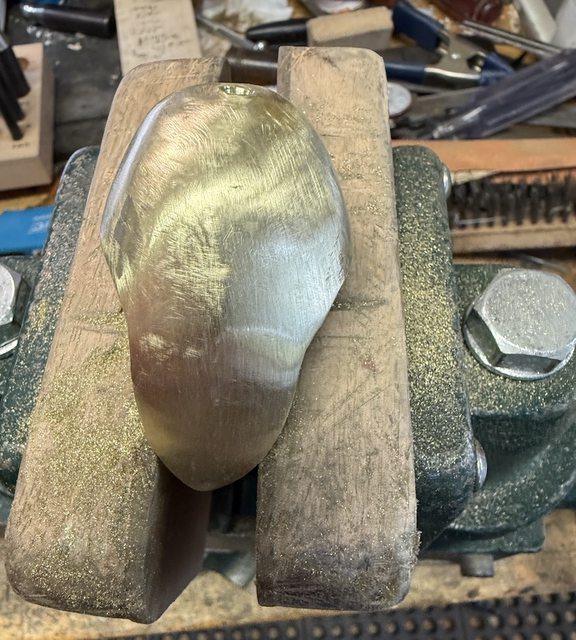
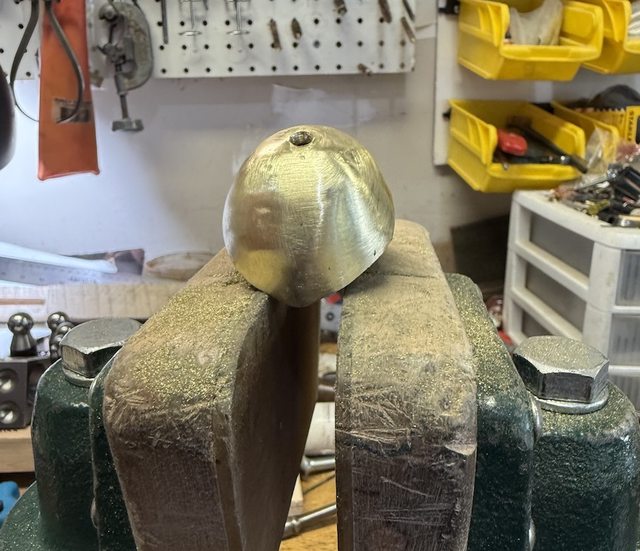
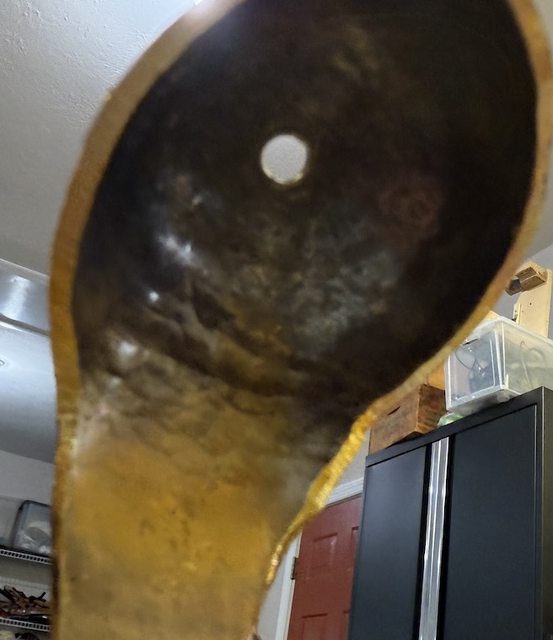
Moving along with Buttcap #2. This buttcap is rather deep...at least I think so. From the lip (not the tang) to the bottom of the bell it's .900. That's pushing a lot of metal around.

I've learned from the first. I now have bigger diameter Dapping punches and once the bottom reached .030 in thickness, I'm not touching it anymore. The original sheet brass started at .080. Right now the edges are at .090....as the lower metal gets pushed up.

I measure the depth and when I get it "taller" than I want by .100, I take a file to it and knock it down.

ZHbcYSLl.jpg
DZ8Glo1l.jpg
5u7dIDgl.jpg
Your perseverance will surely pay off 👍🏻
 
You might do better rounding out that buttcap with a large rounded wood punch than trying to peen it with a hammer.
 
Things I've learned about forming a buttcap from sheet brass:

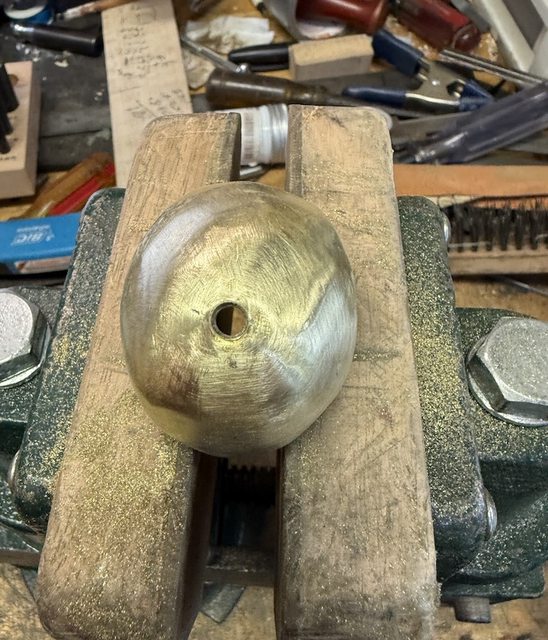
---Don't drill the bottom center hole too soon. I drilled the hole with a 3/32 bit (.09375) and after peening and stretching the hole "grew" to just over .400. Hence the necessity to brass solder in a piece. Fortunately, it worked great!

---Use decent tools. My map torch head was probably 15 years old and was giving me fits as it had a low flame. I bought a new one and it's night and day difference. I brass silver soldered that piece in, in record time!!

---Don't add extra metal when you do your initial layout. When you use a flexible ruler and "roll" it from left to right....don't add more metal. In fact, subtract some. The metal stretches as you work it. Adding a "little bit more" results in filing it, and more off.

---As for the dapping punches, something to keep in mind is the big one's are not always the best when moving metal. My wife is a retired art teacher and in college she did a lot of work with metal. She told me in order to get the sides to "shrink" use a smaller dapping punch. I stated that didn't make sense. She said, when you use a smaller diameter punch, the radius is smaller and bumps the metal to a sharper angle. I switched to a smaller dapping punch when I couldn't move the diameter closer. She was right.

---I found that placing the dapping punch in a vice and working the piece was easier than working the piece in a carved out piece of maple. The maple "die" is still a great idea as you have a gauge of where you're at and where you need to move the metal.

9nSw8sDl.jpg
uotb0s9l.jpg
 
Back
Top