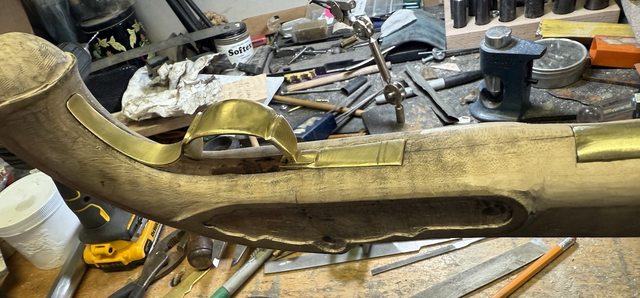
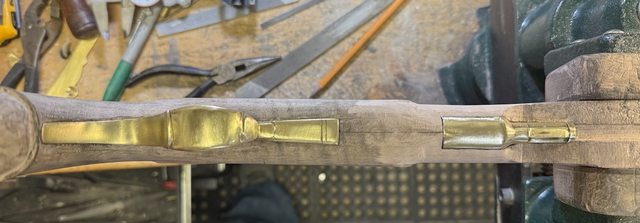
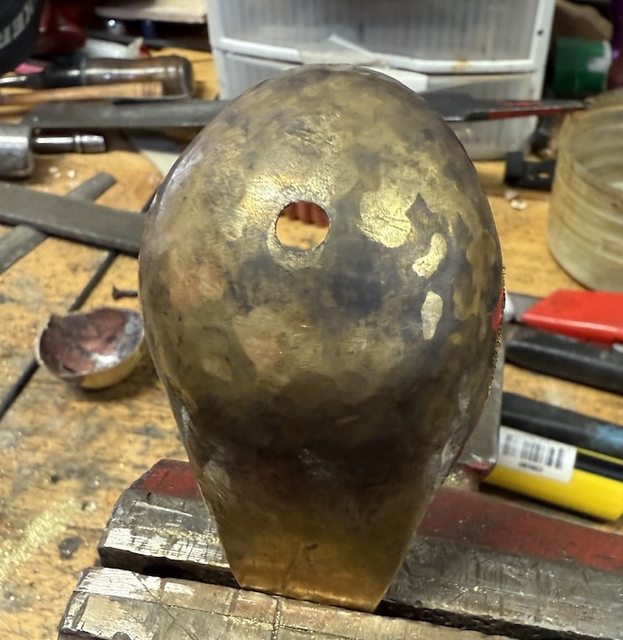
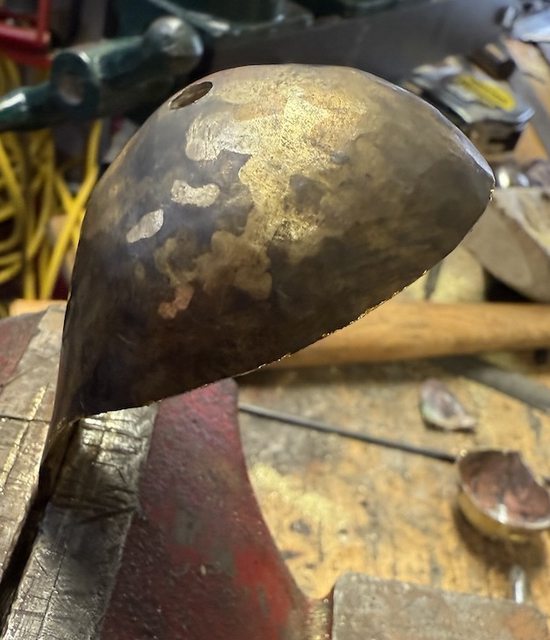
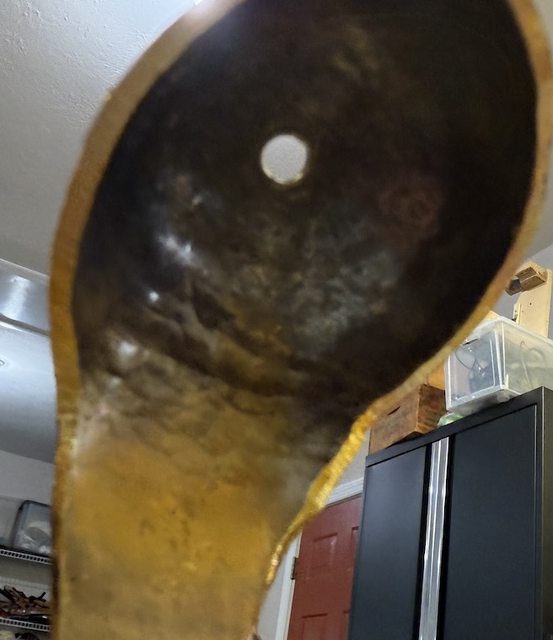
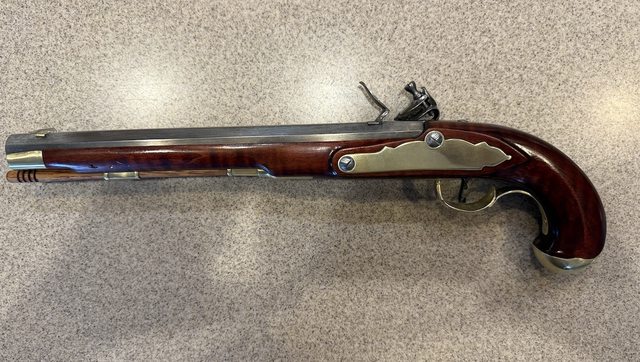
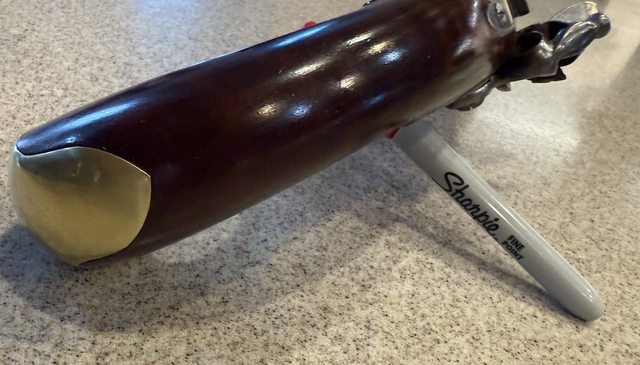
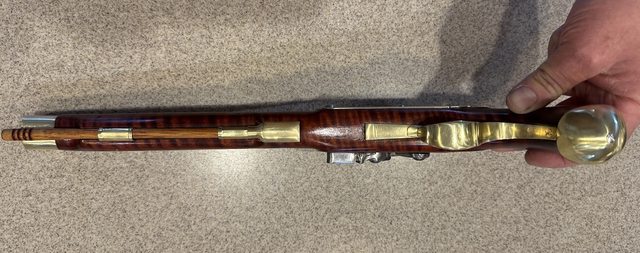
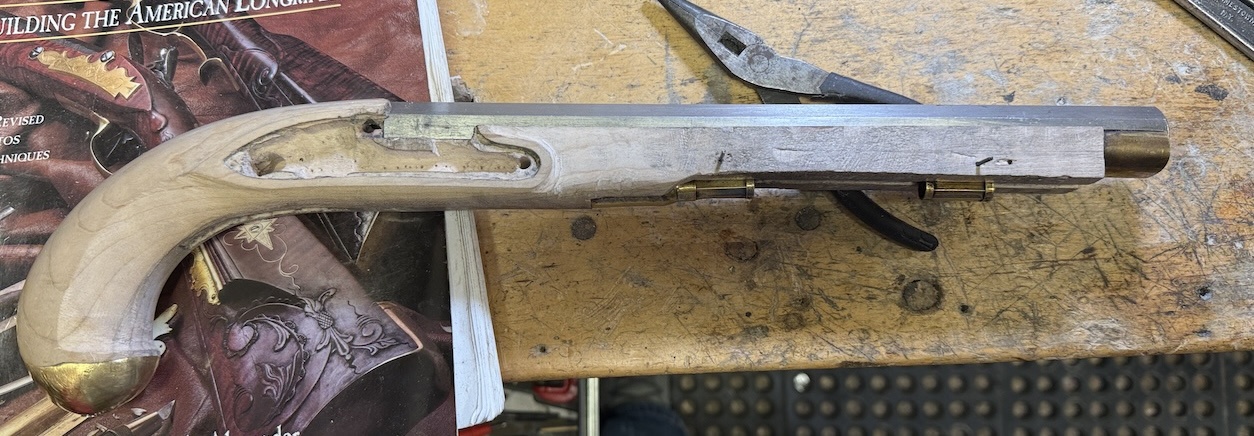
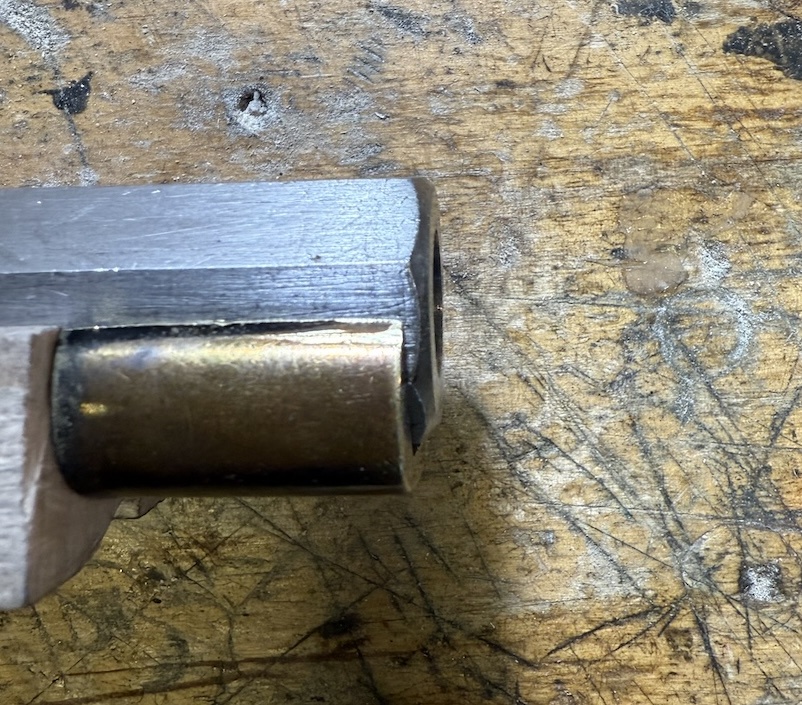
Got the RR pipes done and the brass muzzle cap fitted.
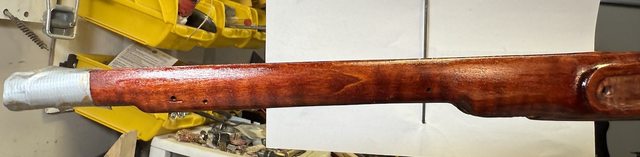
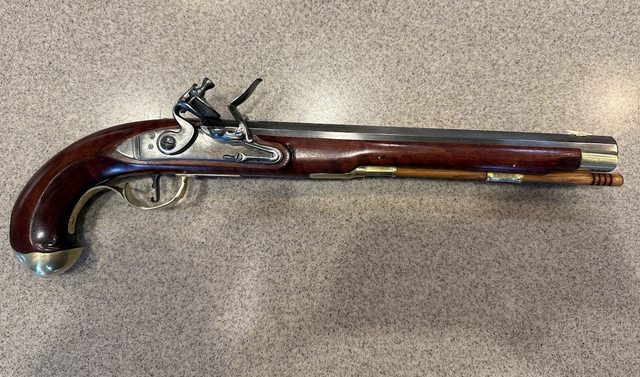
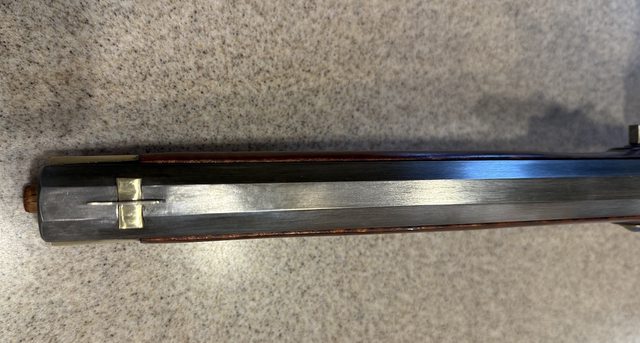
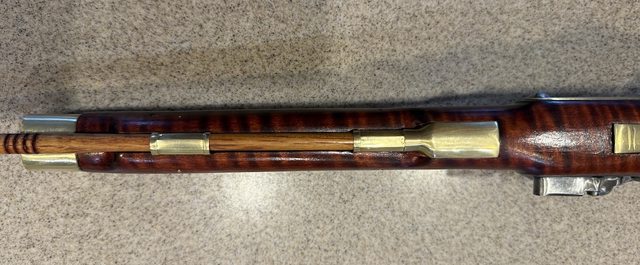
I keep looking at the muzzle and asking myself ....do I have enough of the barrel end exposed?
I keep looking at the muzzle and asking myself ....do I have enough of the barrel end exposed?