• Friends, our 2nd Amendment rights are always under attack and the NRA has been a constant for decades in helping fight that fight.

    We have partnered with the NRA to offer you a discount on membership and Muzzleloading Forum gets a small percentage too of each membership, so you are supporting both the NRA and us.

    Use this link to sign up please; https://membership.nra.org/recruiters/join/XR045103

Tip Curtis Lancaster Kit

Muzzleloading Forum

Help Support Muzzleloading Forum:

This site may earn a commission from merchant affiliate links, including eBay, Amazon, and others.
Oh, good advice! I'll have to remember to check my pliers the next time I do it that way. That method does work like a charm!

This morning I double checked my work and picked the barrel up with a set of pliers, so I'm taking it's on there.

Also, I did notice there is some slight discoloration where I applied heat (no, I did not keep the torch in the same place to warp anything), I guess a fine grit sand paper will take care of this?
 
Birddog6 said:
PS: A note of caution, as had this happen many years ago. Make sure the pliers ya smash the solder with are Clean.
I used old pliers one time & they had dirt & old grease trapped in the teeth, contaminated the solder & joint & the solder would not bond to the barrel. :doh: :slap:

thanks for the 'heads up:' it's just the sort of forehead slapper mistake I'd make...
 
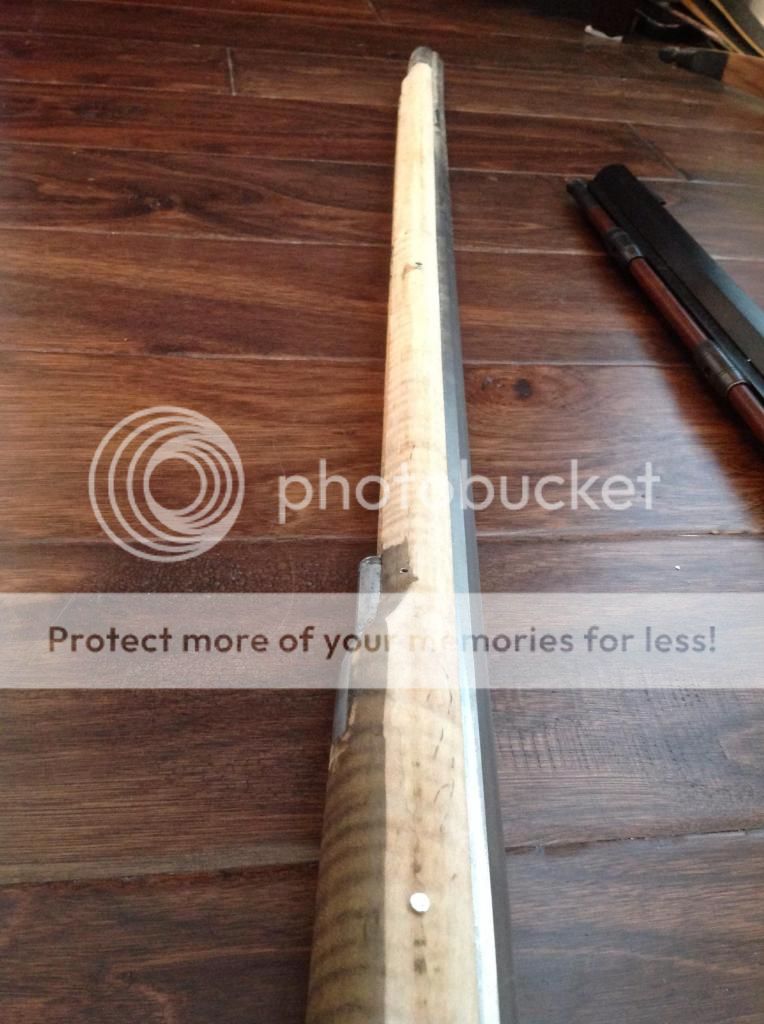
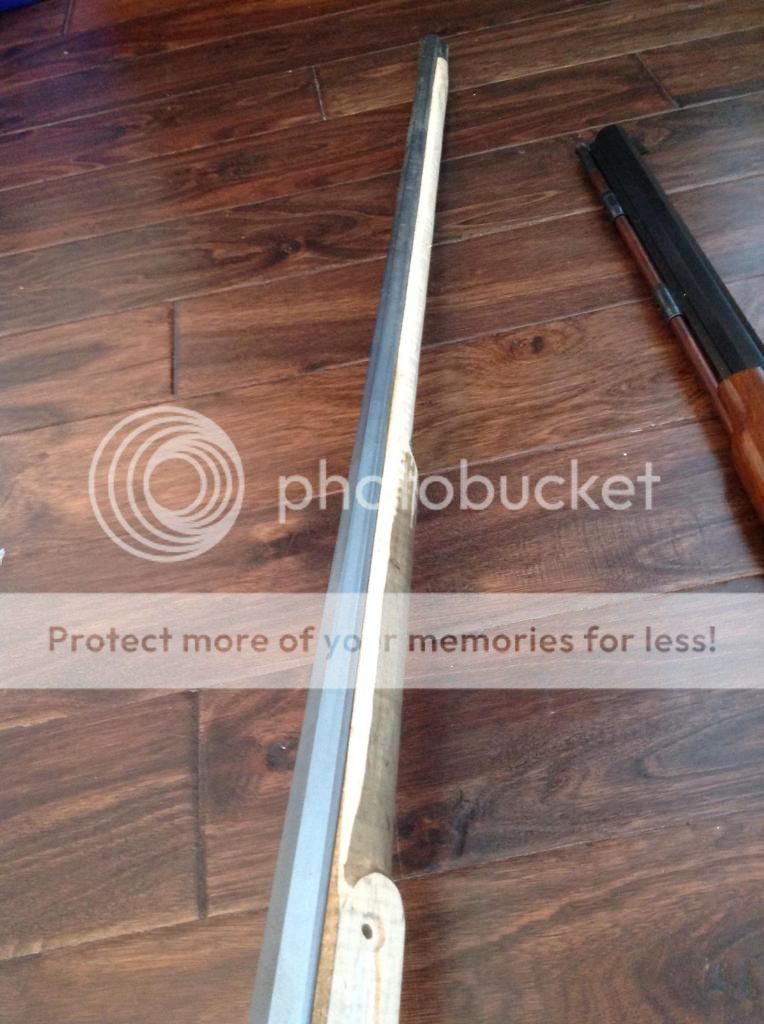
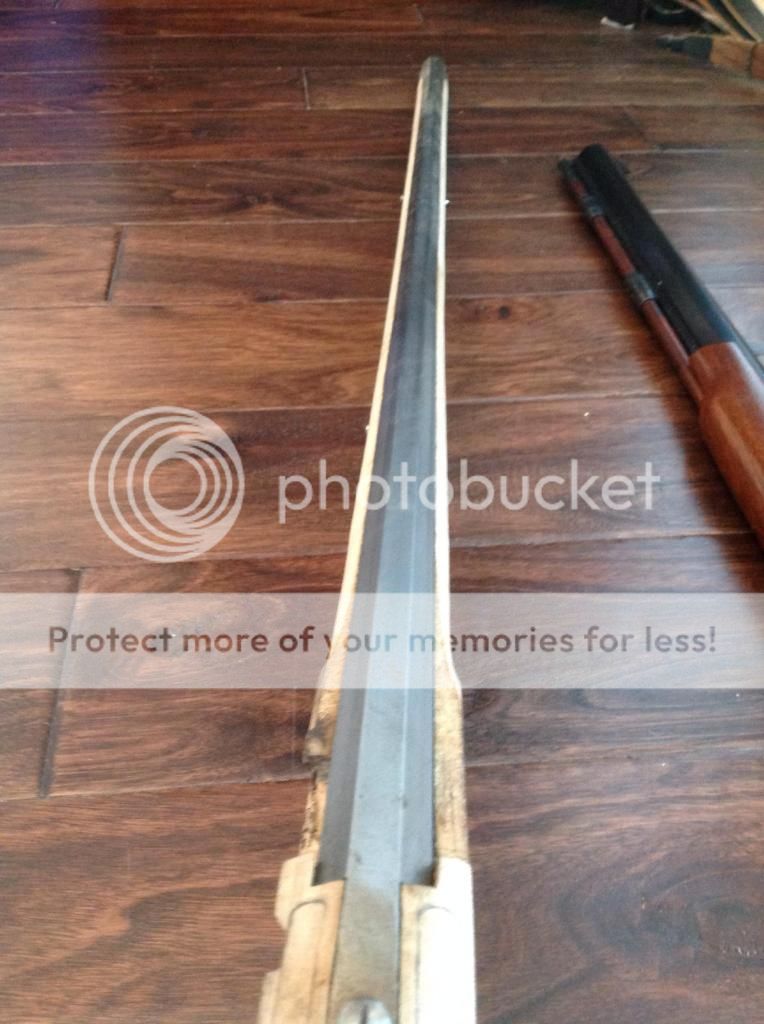
Just got done pinning the barrel with my $50 drill press from HF and centering jig. Worked like a charm!


yup...browning with LMF? it will do well, just claen the area good with steel wool to get any flux of.....

i HAVE been doing my drilling with a drill press....but it takes 2 people, and sometimes i cant seen both sides at once...therefore the drill jig from Dave Rase.....i can SEE everthing, and take it real sloooowwwww......

each to their own! :grin:
 
You need to elongate that hole on the underlug about 1/16" fore & aft of the hole ya drilled. This allows for expansion/contraction of wood & metal & eliminates any stress on the pins.

Keith Lisle
 
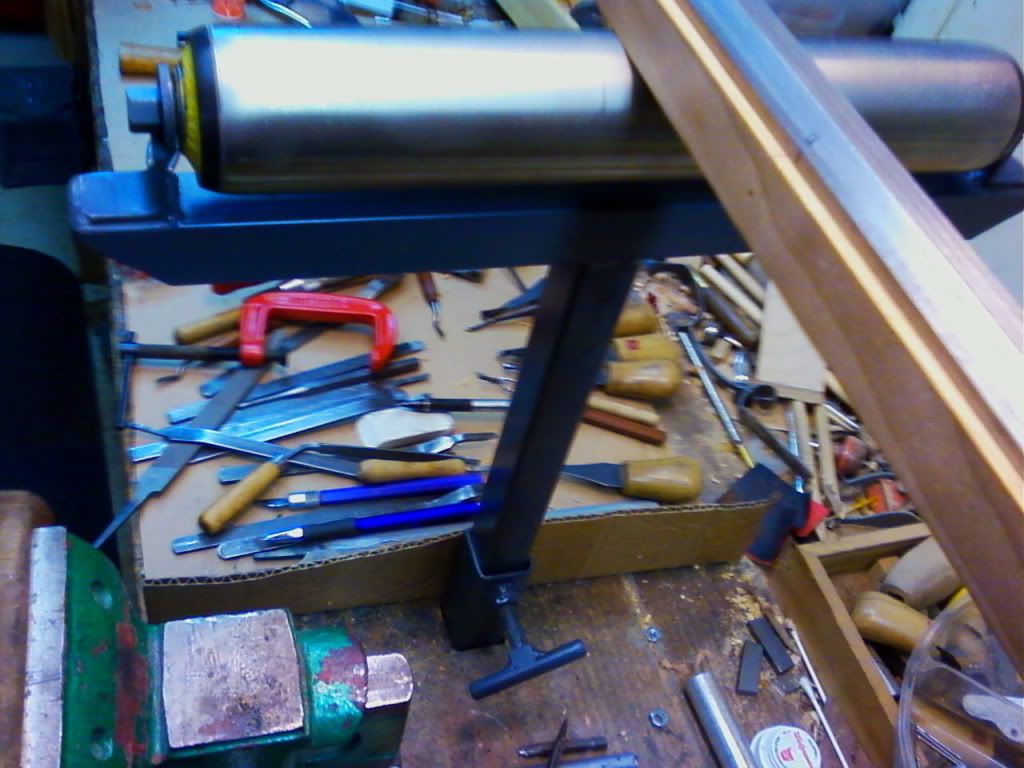
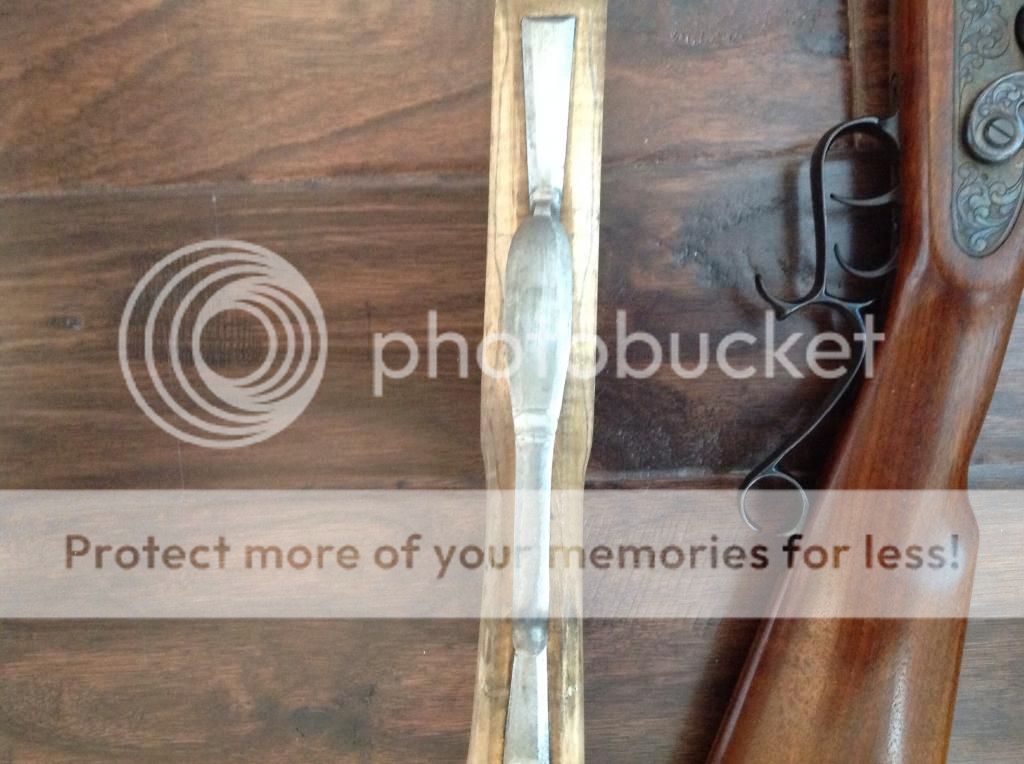
This is my other person. It is adjustable & removable. This is one of those $10. rollers from Harbor Freight & I tossed the stand it came with & made this frame go into a square hole in the bench.


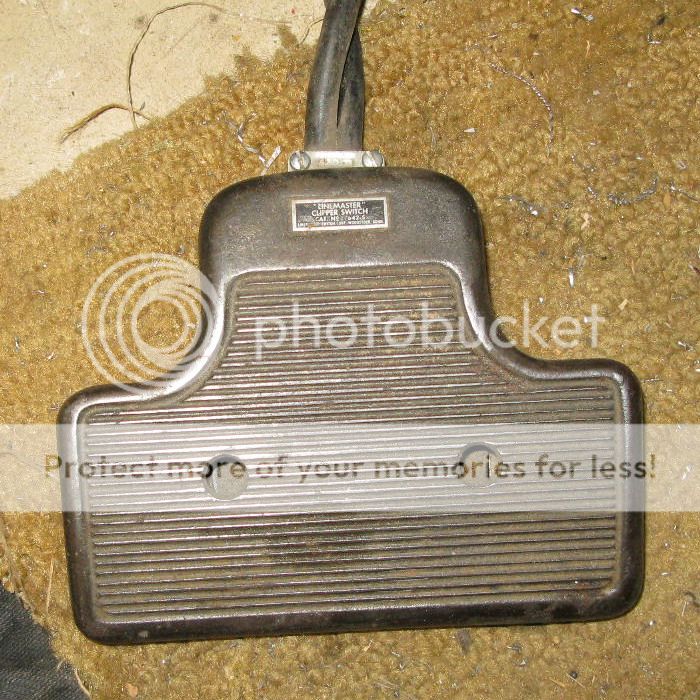
And a foot controlled switch for your drill press. I don't remember where I got this one. Have one on the big drill press as well. I think WoodCrafts sells a foot controlled switch. Use of this give you Both hands at the drill press.


Both of these will save you sooooooooo much aggravation... :thumbsup:

Keith Lisle
 
Next time thin the base of the underlug to about .035 -.040, you don't need all that base thickness. The thicker the base is the more underlug you have to inlet. The more underlug you inlet the more wood you remove, the more wood ya remove the weaker the stock at that area.

And I would take the top off that lug & leave about 1/16" of metal above the hole. I don't want my underlugs coming thru the RR groove.
Some build with all of the underlug blades showing in the RR groove, but I don't.
When I pull the RR on my rifles all I want to see is wood. Also one less place for moisture to get between barrel & wood.

Keith Lisle
 
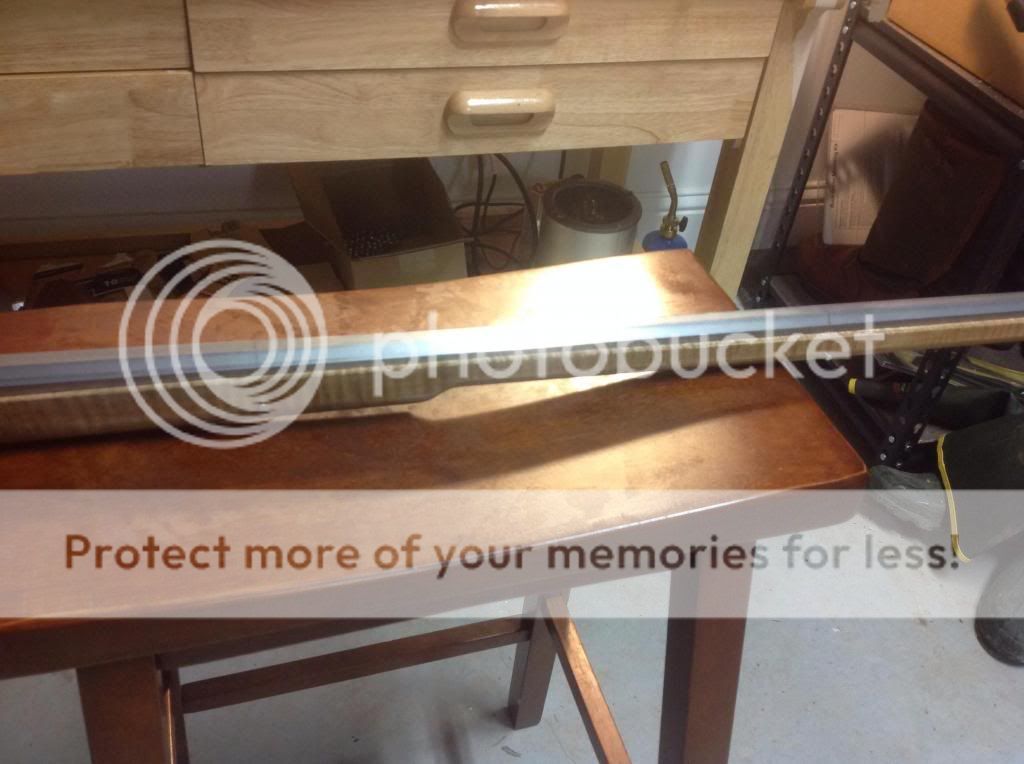
When you are soldering on barrel underlugs or sights, as times the item being soldered will try to move on you.... This keeps it right where ya want it. Works especially well on a round fowler barrel, as those suckers never want to stay in place.


Keith Lisle
 
Okay, thanks Keith! I'll elongate the holes on each today. I guess I was a bit over conservative on the tenon height having enough to drill into, but you're right, no need for all that metal. I got lucky by not having it poke through the rr channel. I'll improve that on the next build.
 
Drilled and tapped both lock bolts today. For the front lock bolt I drilled down into the ramrod channel, and used a bent clothes hanger to measure the depth. Then I marked where the web was, and drilled through with no problems! For the rear bolt I drilled some extra room in the tang breech area (not sure what it's called) so the it won't cause any stress. Now I need to inlet my side plate.

PS - I did clamp the tang down to ensure it was seated before drilling through the tang breech area, but my pics look as I didn't.


Next time, if ya can, get that front screw behind the frizzen spring...... it just looks better. Looks like yours may show. Just mark the outside edge of the frizzen with a sharpie & then you can see where to put the front screw.

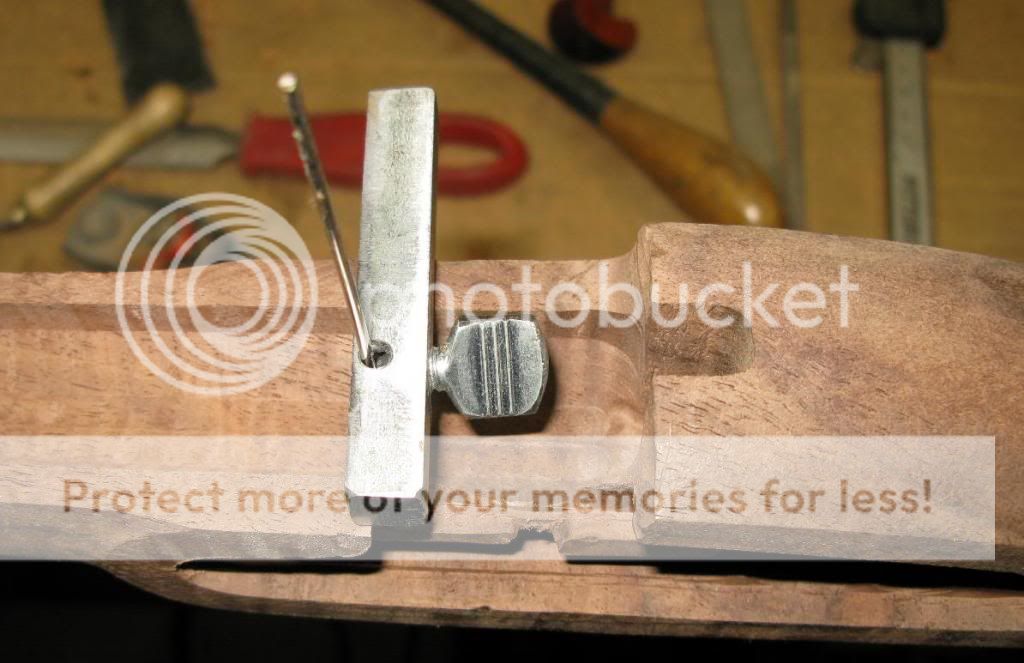
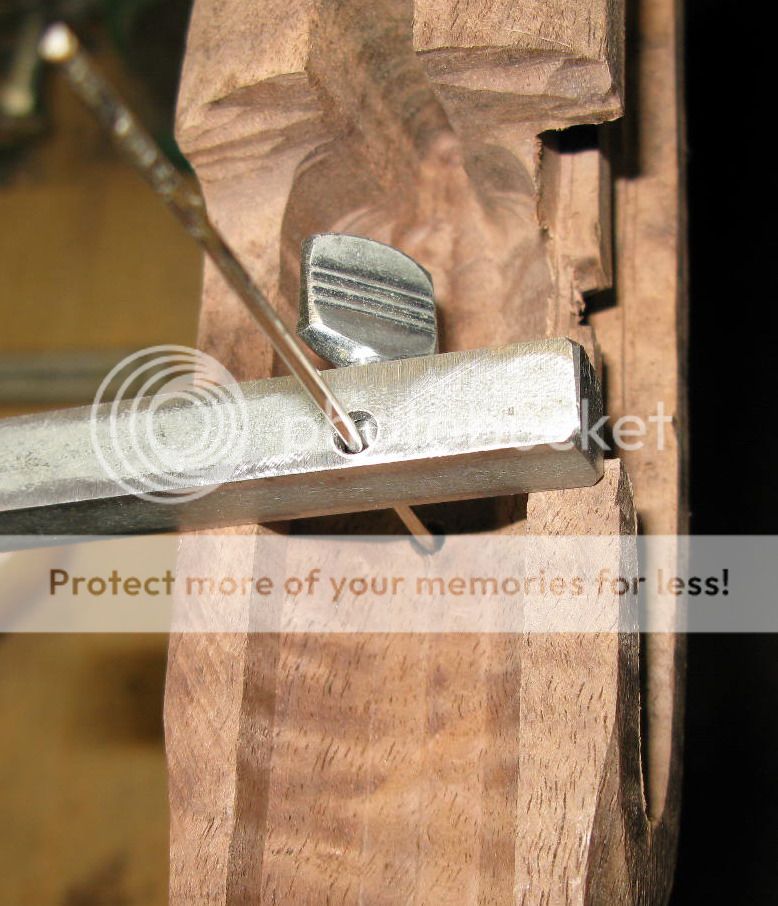
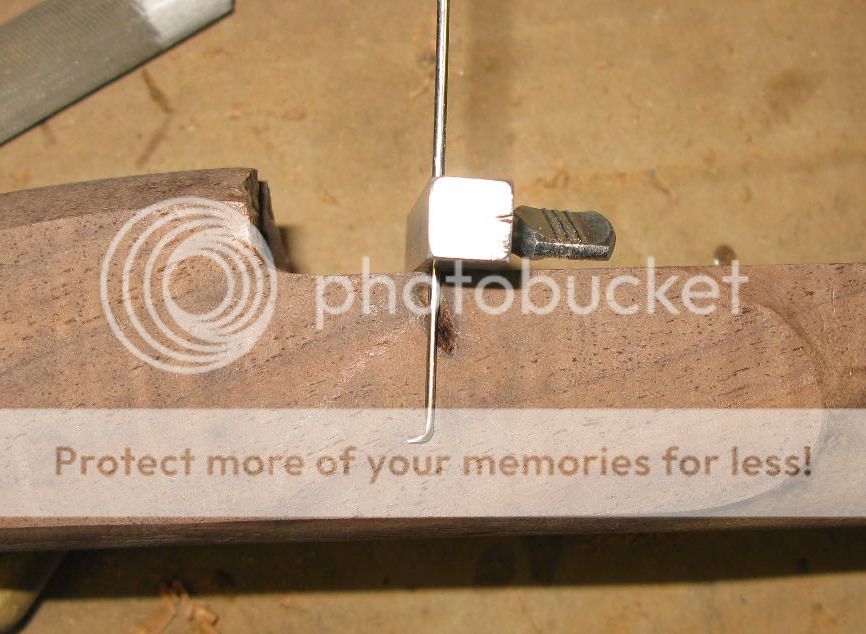
You can make a lil depth gauge with a hook on it to find you RR hole height & then mark it on the outside of the sideplate panel too & bottom of hole, then lay the sideplate over the panel & see how it all lines up.


I think I did get that front bolt a little too far forward now that you mention it. I'll put the spring on tonight and see where we are with it.

That is a perfect little jig for finding the rr channel. I ended up taking a clothes hanger and bending a hook to find the depth. I like that piece of metal you use to ensure it's level - I'll have to rig me up something like that!

As always, very grateful to have your feedback, Keith.
 
Maybe on the edge & it won't show. IMPORTANT the front lock screw is a perfect length. If it is too long it will push the frizzen spring out.

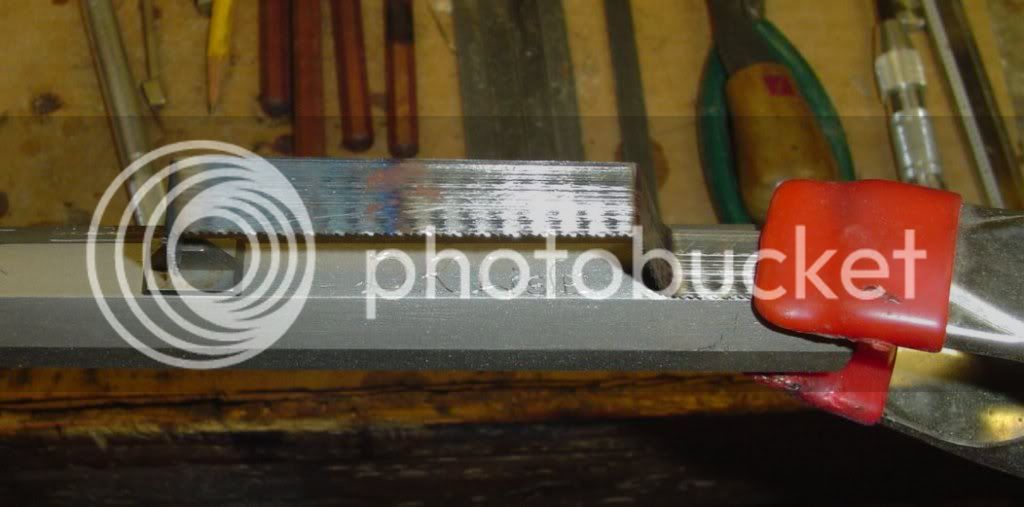
Depth gauge is just a piece of Key Stock & can get it at about any hardware. Make it long enough to go across both sides so you stay level & get a accurate measurement, then when you go to the side it still is across Both flats. Thumbscrew. I used a larger hole than necessary as I can change wire size for dif things & dif sized hooks & etc. Piece of SS wire so it stays stiff & don't rust. End of it heated, bent & filed flat so you can get a good mark on each side.

Keith Lisle
 
But i thought the underlugs going all the way into the RR channel lets any rain water out the bottom!!!???
:rotf: :rotf: :rotf:
:stir:
 
Oh No no no........ :shake: :nono: You drill a hole from the barrel inlet down into the RR hole, so when it is full of water, you just pull the ramrod & let the water drain out ! :rotf: :bull:

Keith Lisle
 
Just checked my front lock bolt and we are good to go! It's hidden behind the frizzed spring. After looking at it again, that front lock bolt distance seems to be pretty well dictated by the side plate :hmm:

Well, from here I'll be inletting the lock innards, side plate and trigger. So far, pinning the barrel and securing the lock has been my favorite part of the build. Maybe because it goes so quickly and feels like a lot of progress is being made.
 
Hey who's the bone head that inletted the lock on the wrong side. :rotf: J/K its getting there slowly
 
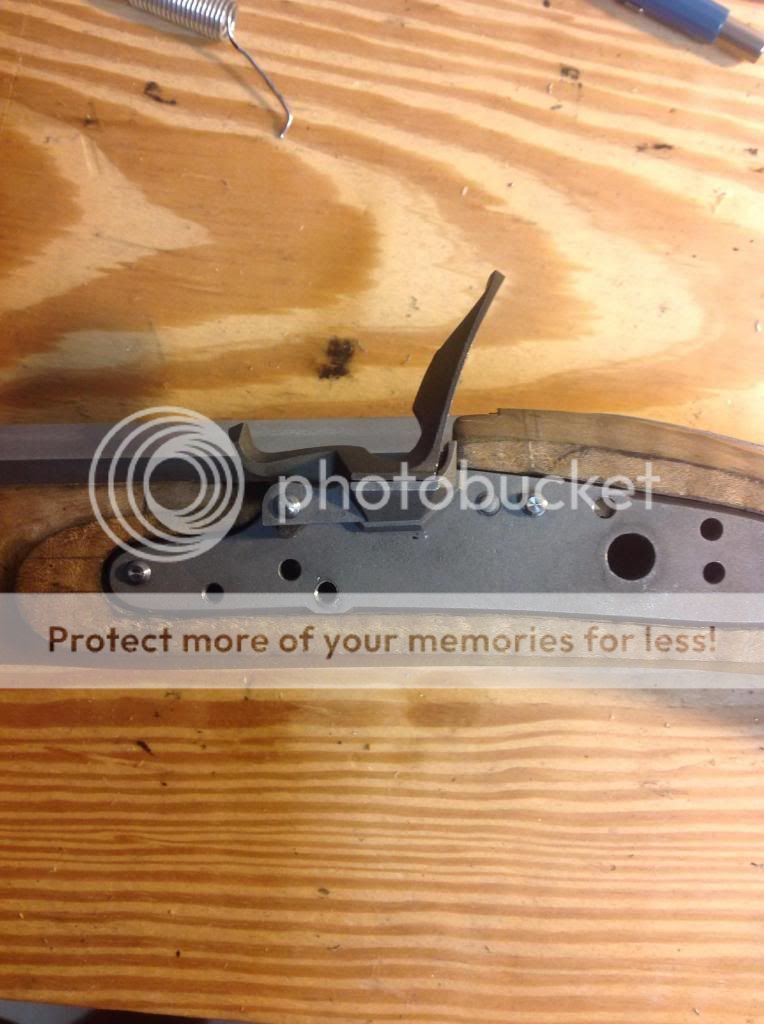
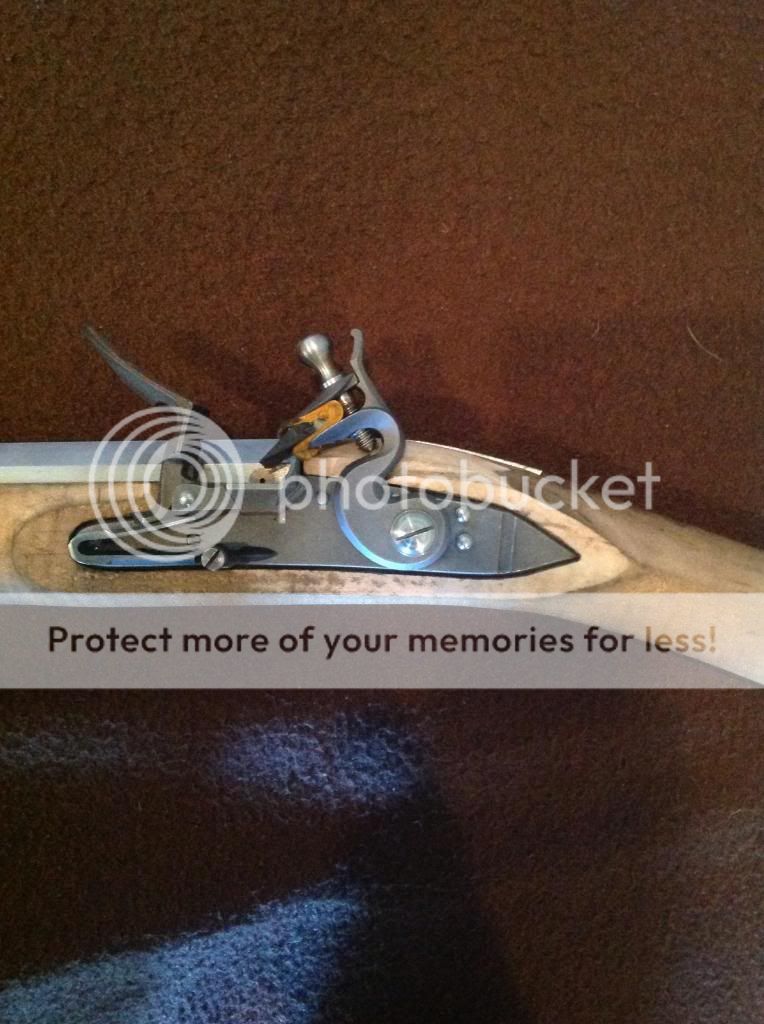
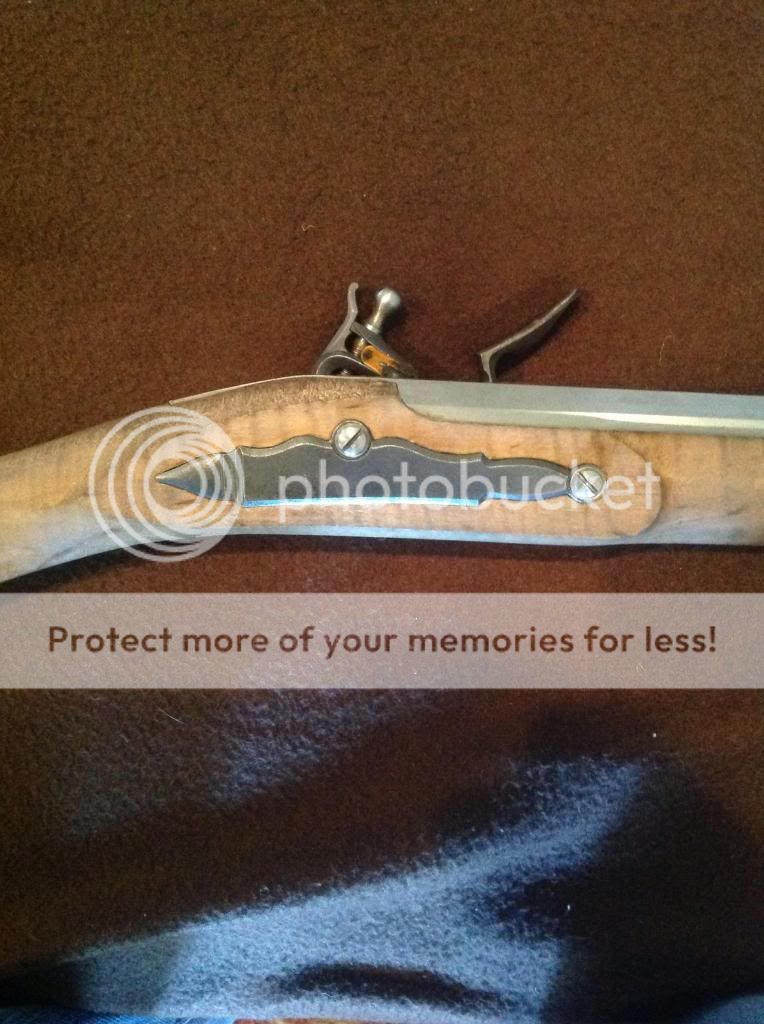
Things have been pretty busy lately but here are a couple updates on the build. I now have the lock fully inletted, and functions with the aid of a screwdriver tripping the sear. There is obviously a lot of shaping left to do on the lock/tang area as there is a good bit of wood to come off still. I just got it shaped enough to allow the hammer to move freely. I've been looking at a lot of pictures on how to shape this area. I also have the side plate inletted. Here's a couple pics.


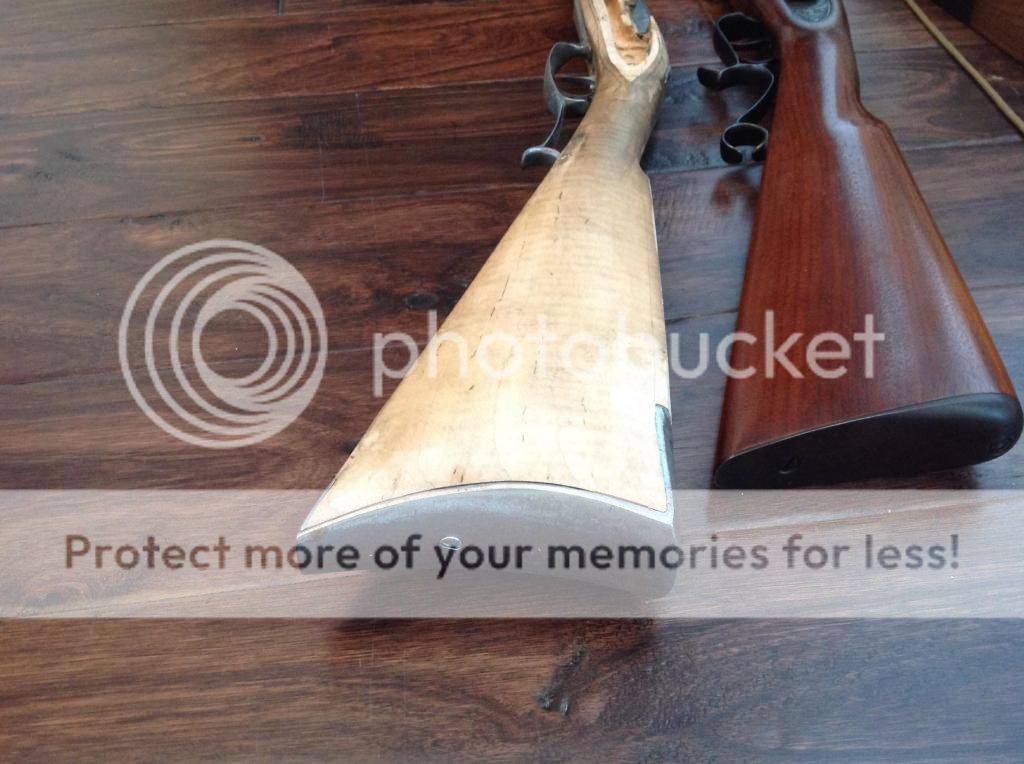
It's been awhile since I've posted any updates...things have been pretty busy. Anyway, since my last post I've installed the butt plate, toe plate, trigger guard, ramrod pipes, muzzle cap, and vise started to shape the upper forearm...but still tons to do. Here are some pics:


As it said a lot more to do, mostly refining things. There are things I'm still not 100% happy with. Anyway, hope you guys have a Happy Father's Day!
 
Last edited by a moderator:

Latest posts

Back
Top