• Friends, our 2nd Amendment rights are always under attack and the NRA has been a constant for decades in helping fight that fight.

    We have partnered with the NRA to offer you a discount on membership and Muzzleloading Forum gets a small percentage too of each membership, so you are supporting both the NRA and us.

    Use this link to sign up please; https://membership.nra.org/recruiters/join/XR045103

Turning a Pedersoli Bess into a Dublin Castle Short Land Musket

Muzzleloading Forum

Help Support Muzzleloading Forum:

This site may earn a commission from merchant affiliate links, including eBay, Amazon, and others.
Thanks Dave for posting this, this is very helpful. I‘m working on a Bess kit now. I’ve been looking at some origional breech tangs and they appear to be much thinner than the breech plug that came with my barrel which is .265 thick, would you recommended thinning it out from the bottom up ? This way it maintains an even plane with the top of the breech ? I’m relying on Goldstein’s book. My prior Bess kit the 1742 Track Bess tang inlet was a bit of a challenge because it was so thick, .289 thick.
 
Hi Bob,
The ordnance systems, both Irish and English, were set up as a collection of private contractors who supplied the parts, which were then assembled by the "setter uppers" in the Dublin and Tower arsenals. They stored the components sometimes for years until there were orders (warrants) to make batches of muskets. Hence, the dates engraved on locks (before 1764 when they stopped that practice) usually do not indicate when the musket was made. The men doing the stocking work were highly skilled and I recall Kit Ravenshear telling me a team of stockers could turn a rough blank into a stock ready for finish in 10 hours. They used jigs, templates, special tools, and years of skill to make them.

dave
 
Hi Guys,
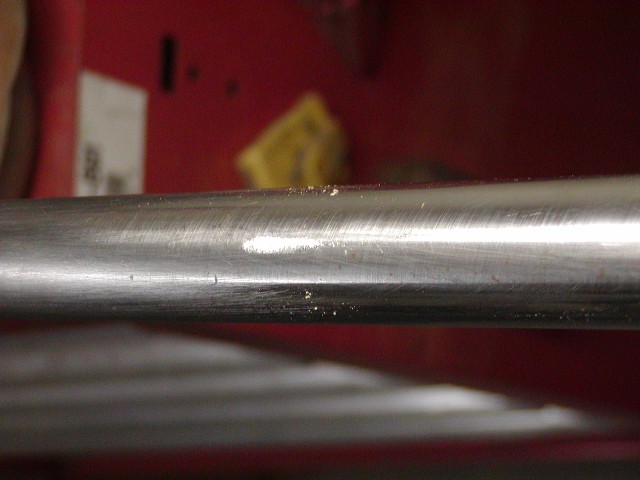
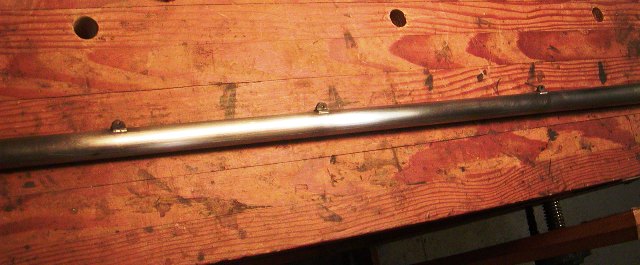
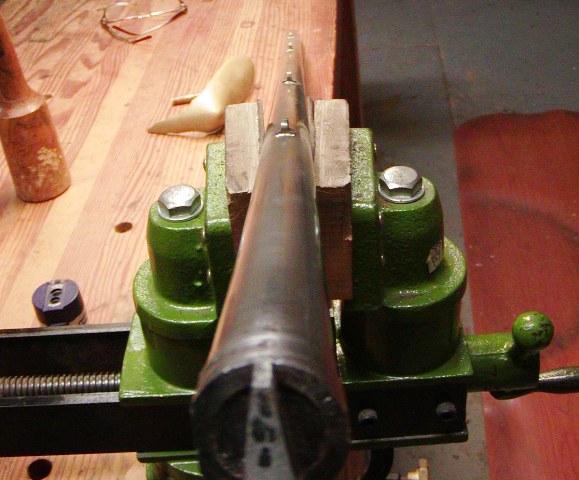
This won't be a real exciting post but folks often ask how to locate and attach lugs to the bottom of round barrels. I thought I would show how I do it as well as get into more deep details about Brown Besses. Centering lugs on a round barrel is not hard. On the Bess barrel, the flat bottom of the breech plug allows me to hold the bottom of the barrel flat down on a flat surface. The bottom flat of the octagon section of an octagon/round barrel provides the same service. Then I insert a flat file under the barrel where a lug will go and draw the file toward me. It marks the high point, which is the center.
DKPS7IF.jpg

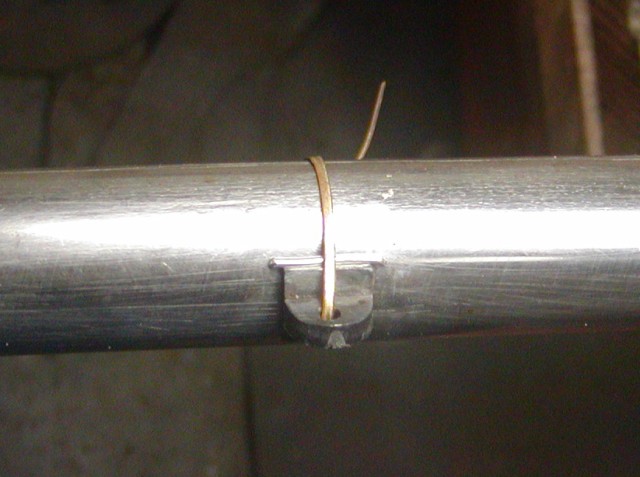
On original Besses, a shallow flat was filed into the barrel and the lug with flat base was brazed on that flat. My lugs from the Pedersoli Bess have convex bases designed to be simply soldered in place, so that is what I did. I clean the location with acetone, coat it and the bottom of the lug with flux, and then wire it in place. I insert a small piece of wire solder on one side and then tilt the barrel over so gravity helps the solder flow. In this case I am using Stay Bright solder and flux.
FDySS7b.jpg

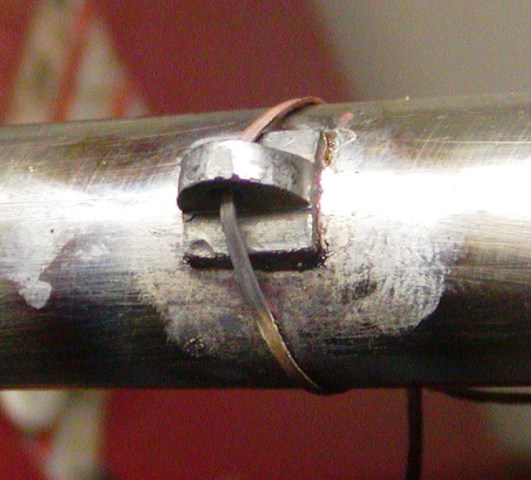
Then I heat from below the lug with a MAPP gas torch to draw the solder under the lug and toward the heat. When I see solder squeezing out all edges, I know the joint is complete.
dRFFlYf.jpg

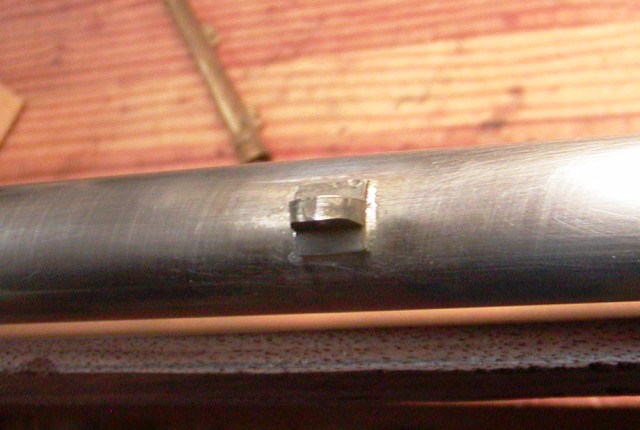
I let it cool, snip the wire, and then wash the spot with some soap and hot water to stop any rusting caused by the flux. I then clean up the barrel and lug and move on.
tivV7mx.jpg


The 42" barrels on short land pattern Brown Besses are held in place by a tang bolt and 3 pinned barrel lugs. In addition, there is a fourth lug for the forward swivel screw and it is positioned so that the swivel lays down on top of a ramrod pipe so the sling never interferes with inserting the ramrod. Pedersoli completely screwed this up. Their spacing of the lugs is way off and they attach a 4th lug but it is not anywhere near where the swivel is located, which is mounted with no supporting lug. Really dumb! On a typical and properly set up short land pattern Bess, the centers of the 3 barrel lugs are 10 1/8", 18 3/8", and 36 1/4" from the breech; respectively. The swivel lug is 28 7/8" from the breech. Here is what that looks like.
84lIY0w.jpg

QPzySA1.jpg

The pins are 3/32" diameter or larger and the swivel screw is sturdy. That way the barrel doesn't separate from the stock when the bayonet is struck home in a body putting stress on the barrel and stock.

dave
 
Last edited:
Your method sounds like you put more thought into it. i laid the barrel on a cement floor with a board at the tang. The top of tang down . Already having location front to rear marked i fluxed, tinned and “eyeballed “ level relative to the tang. Heating barrel with lug held in place with a pair of pliers till solder cooled.
 
Hi Bob,
Great question. I'll show you when I get there:) The short answer is accurate marking and using a bigger drill for a bigger pin. Remember, the lug holes should be a little ovoid horizontally so they can accommodate movement of the stock. That gives me a little horizontal leeway. But they need to hold the barrel in tight because when a triangular bayonet hits bone, it can be hard to remove and pulling it out could separate stock from barrel. I don't build Besses as play things for reenactors but rather to do the job for which they were intended.
dave
 
Last edited:
More great information.
Question; the lugs are already drilled for the pins. When it comes time to attach the barrel, how do you locate and drill the holes in the stock to line-up with the pre- drilled lug holes?
Thanks.
You don’t. Locate holes in stock where you want/need them, as long as you get a good hole in the lug your good. Or just get new ones without holes. You could also fill the holes in the old ones
 
Hi Bob,
Great question. I'll show you when I get there:) The short answer is accurate marking and using a bigger drill for a bigger pin. Remember, the lug holes should be a little ovoid horizontally so they can accommodate movement of the stock. That gives me a little horizontal leeway. But they need to hold the barrel in tight because when a triangular bayonet hits bone, it can be hard to remove and pulling it out could separate stock from barrel. I don't build Besses as play things for reenactors but rather to do the job for which they were intended.
dave

Ahhh, I thought I may have ‘jumped the gun’ there but Curious minds at work lol.
This is like those old tv shows where we were eagerly awaiting the next exciting episode 😁
 
Hi,
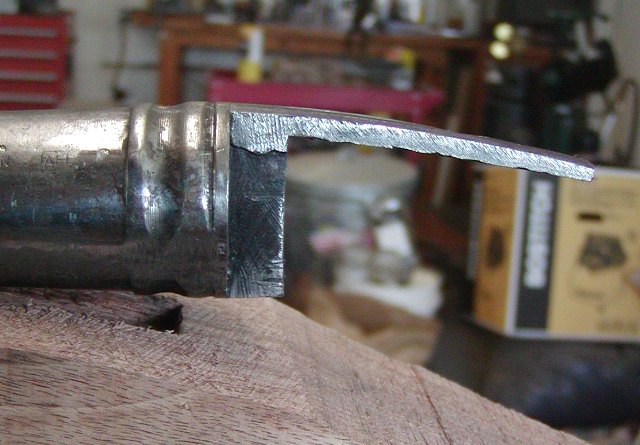
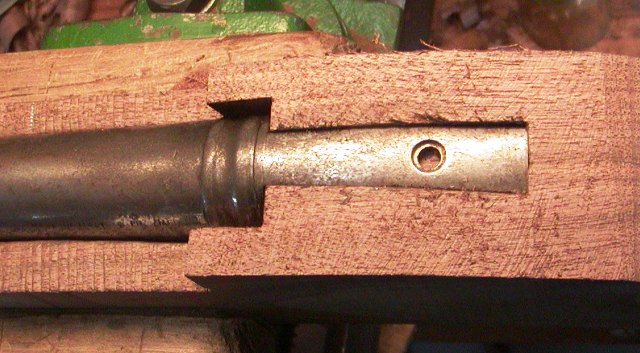
I finished inletting the barrel tang. One thing that is important is to get rid of any radius connection between the tang and bolster. It makes inletting a nightmare. and you won't find it on original Besses.
77AXoud.jpg

plt8M4Q.jpg

8jaR2KJ.jpg


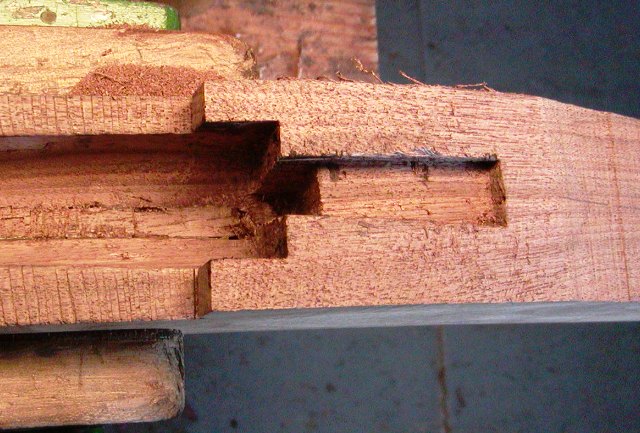
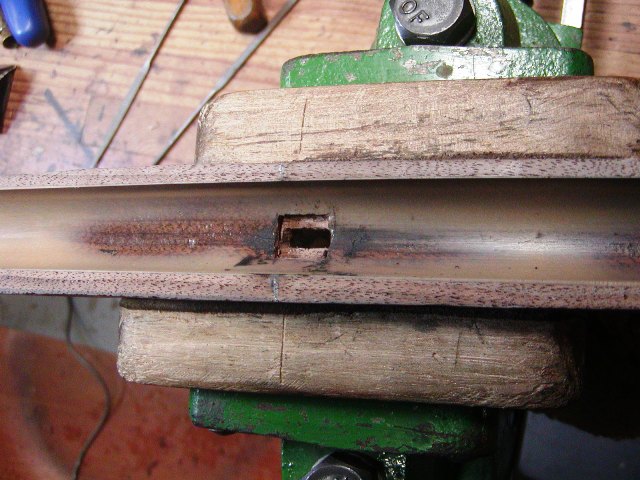
The tapered bolster is a challenge to inlet but not that hard. Notice the patch of wood in the barrel channel. It was not uncommon for the ramrod hole to break into the barrel channel at the breech because the breech flared a lot and if you designed the stock to be as slim as the originals, that was a possibility. Any way, I cut out a slot in the barrel channel to make sure I had enough clearance for the forward lock bolt, and I do. I glued in a patch and will cover it with the thin AcraGlas coat I paint in the barrel channel. I do that not to fill gaps but to strengthen the barrel channel walls. Reenactor guns like this one fight battles repeatedly over a much longer time period than the Rev War soldiers and the glassed barrel channel protects their investment. If I was making the gun for a museum (which I do) that would not be required..

dave

Hi Dave, when inletting an area do you use a pencil or marking knife ?
 
Hi,
I mostly use a sharp pencil because tracing the object to be inlet with a knife often creates mortises that are too tight. Then you have to scrape the edges to fit the part particularly after stain or finish is applied. That task can be very risky and chips are not easily fixed. However, when using good maple and English walnut, I often trace the part with a knife, which speeds up the inletting process because I have little fear the dense wood will chip or splinter if I have to later scrape the inlet edges a little. However, I generally don't do that with cherry or American black walnut because the wood is prone to chipping and splintering. I really dislike black walnut for that reason and avoid using it when I can. Unfortunately, I have to use it for this stock for cost and supply reasons. I traced the lock plate on this gun with a knife because the edges of the plate are very thin with no draft such that the traced line accurately establishes the edges of the mortice and the plate fits down nicely without any scraping. On thicker lock plates that have more draft filed on the edges (as they should) a knife traced line often results a mortise smaller than the object and needing edges scraped to fit. On those locks, tracing with a pencil will usually suffice and need less fitting because the pencil line thickness accounts for the draft. Filing draft on the edges of thicker lock plates enables a nice close fit in the wood but it mainly reduces the risk that the edge will chip out wood when the part is installed and then removed.

dave

Thanks Dave !
 
Hi,
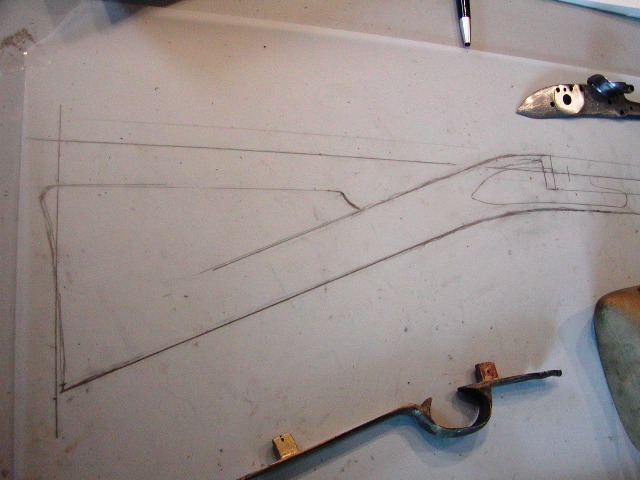
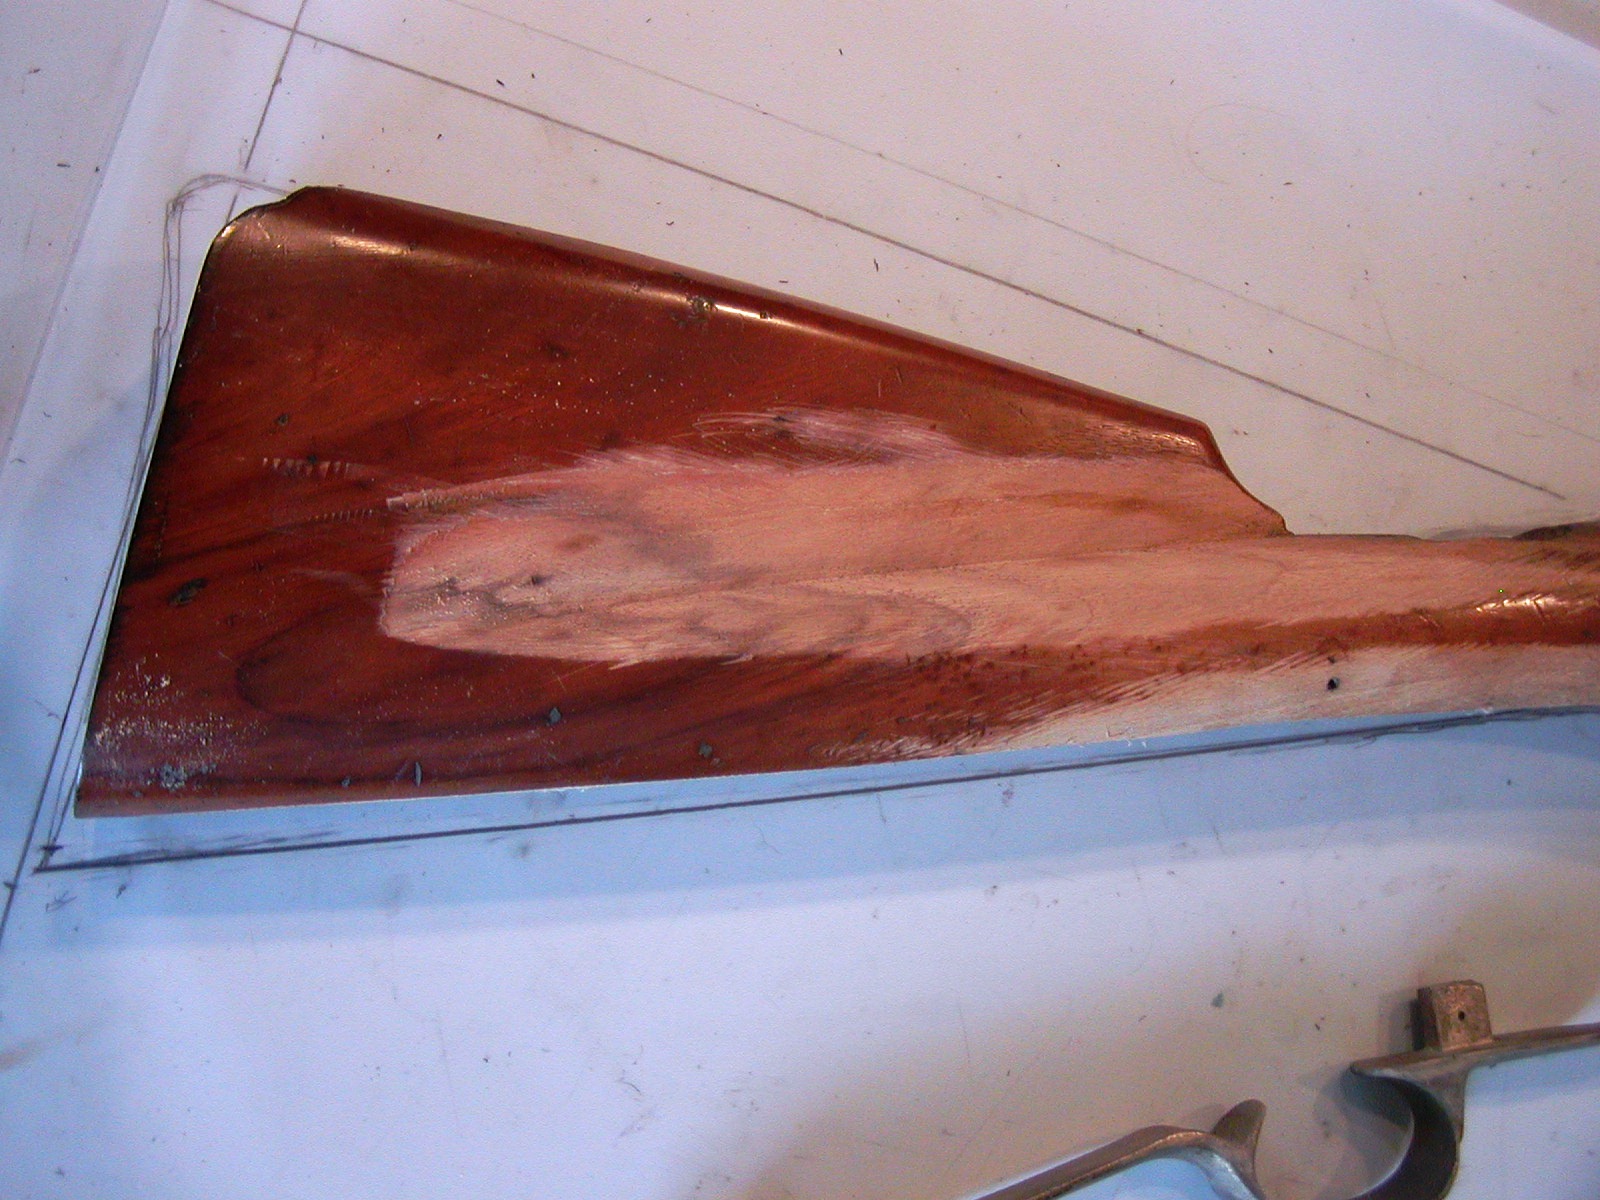
Thanks for all your comments and support. The project will be more fun now making a proper stock. I began my drawings and have the profile done sufficient for band sawing out the blank.
olxZ1Kj.jpg

You can see the difference it will make from the old stock.
cdSqYjV.jpg


I dug into more of my references and notes for any further details on the Irish muskets. I think I have a good plan, which includes swapping out the Pedersoli trigger guard for one from an old Miroku Bess. I annealed the guard and then hammered out the odd crushed flattened, shape of the Miroku so it looks correct. It is much heavier brass, which is closer to the heavy, clumsier brass used on the Irish guns. As I was digging into the details I noticed many stock dimensions associated with Liege made Bess copies are similar to the Pedersoli Bess. In particular the butt plate dimensions and shape are spot on. Moreover, those muskets were of notoriously poor quality such that surviving examples often have replaced locks, frizzens, and flint cocks. I have a feeling that the prototype Bess sent to Pedersoli by Val Forgett and Turner Kirkland back in the early 1960s was a Liege gun with a replaced lock that happened to be marked "Grice 1762". Perhaps it was salvaged from an old long land musket or marine and militia musket. Back then there wasn't nearly the detailed scholarship on Besses that we have today so they may not have known any better. British ordnance got rid of the Liege contract guns as soon as they could but some may have been issued to loyalist units in America.

dave

This is great Dave ! I’ve never actually seen how a stock pattern is cut. So the stock is traced on paper and you modify it to the original specifications, I’ve never actually compared a pedersoli to short land pattern stock. I have compared it to a 1755 stock, and kit ravensheers long land print, the size and shape is very different.
 
This marine pattern musket is for sale at the Rock Island Auction, from George Moller’s collection.

At first glance I thought it looked like a pedersoli until I zoomed in.

The butt appears to be smaller than your typical second model.
 

Attachments

  • 9770F66A-F603-43E2-B4EB-042B679B56B4.png
    9770F66A-F603-43E2-B4EB-042B679B56B4.png
    342.7 KB
Hi,
I mostly use a sharp pencil because tracing the object to be inlet with a knife often creates mortises that are too tight. Then you have to scrape the edges to fit the part particularly after stain or finish is applied. That task can be very risky and chips are not easily fixed. However, when using good maple and English walnut, I often trace the part with a knife, which speeds up the inletting process because I have little fear the dense wood will chip or splinter if I have to later scrape the inlet edges a little. However, I generally don't do that with cherry or American black walnut because the wood is prone to chipping and splintering. I really dislike black walnut for that reason and avoid using it when I can. Unfortunately, I have to use it for this stock for cost and supply reasons. I traced the lock plate on this gun with a knife because the edges of the plate are very thin with no draft such that the traced line accurately establishes the edges of the mortice and the plate fits down nicely without any scraping. On thicker lock plates that have more draft filed on the edges (as they should) a knife traced line often results a mortise smaller than the object and needing edges scraped to fit. On those locks, tracing with a pencil will usually suffice and need less fitting because the pencil line thickness accounts for the draft. Filing draft on the edges of thicker lock plates enables a nice close fit in the wood but it mainly reduces the risk that the edge will chip out wood when the part is installed and then removed.

dave

Hi Dave,

Not sure if you have the following pics?

1638468831081.png


1638468891033.png


1638468950313.png


1638469021899.png


Gus
 
Hi Nick and Gus,
Thank you for those photos! More to add to my collection. Nick, I don't think the butt is smaller on the Marine musket. I intend to build one of those soon. Gus, that Irish musket is great and shows some subtle features. Look at the side plate. It has a unattractive blobby profile at the tail that differs from the Tower muskets. I may have to make a new side plate for this musket rather than use the old Pedersoli one to get the features right. I already annealed the Pedersoli rear thimble and peened the snot out of the tang to widen it to match the originals. I will likely rivet a rod retaining spring to the rear thimble as per the originals. The Miroku trigger guard is going to work really well because it has a lot of excess brass and I can make it look like the heavy brass mounts found on Dublin Castle muskets.

dave

Dave do you make your own rammer springs / spoons?
 
Hi Guys,
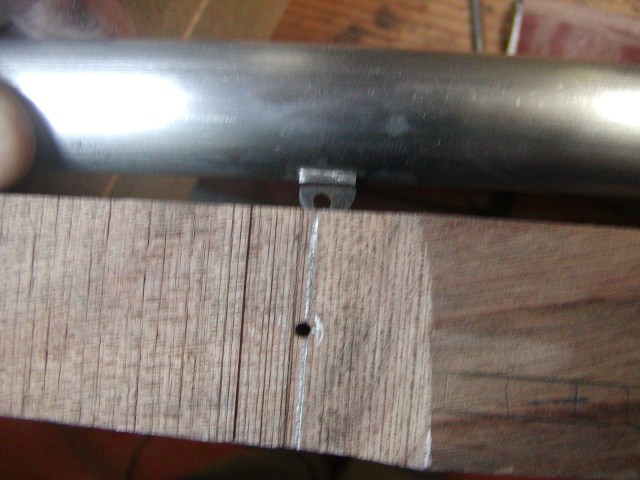
I inletted the barrel lugs and drilled for the pins. As promised, I show how I did it. I used the lugs that came with the Pedersoli barrel and of course they all had holes already drilled. So how do you deal with that? Not hard but just requires accurate measuring and a little skill. The first tip is not to leave a lot of excess wood on the stock. I always urge folks to trim off excess wood early before installing components and drilling pin holes. Having written that, I want to add that I understand the reluctance of inexperienced makers to remove wood too quickly. I have a lot of experience and know what should be trimmed and what should be left but new builders are just learning that. I get it. I was once a new maker too so I suggest you work slowly but really think about your process and how to make it better so you can learn from your experience. Trimming off excess wood along the fore stock means I have less thickness to drill through and less potential for drill deviation in lining up the existing holes in the lugs. So the first step is thinning the fore stock and then squaring the sides with the top of the barrel channel and ramrod channel. I band saw off the excess and then use a plane to true the sides. I inlet the lugs into the stock. I like it done nicely and precisely as were the originals and not just a bunch of hogged out depressions and slots.
KSu4JmX.jpg

Then using the barrel with lugs attached as a guide, I locate the centers of the lug holes on the stock.
xa9nYno.jpg

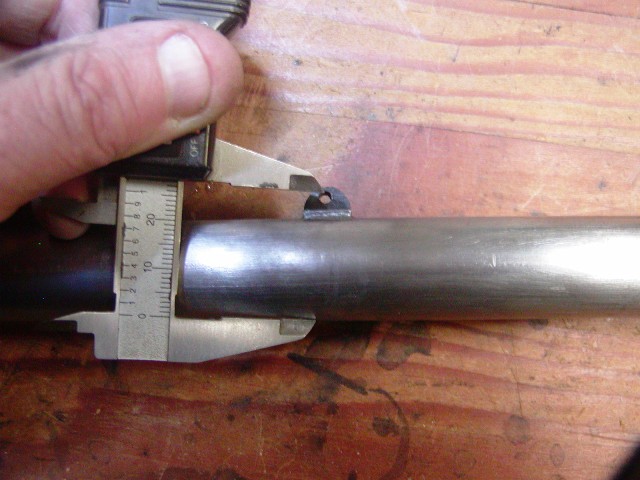
I draw a perpendicular line down the side of the stock marking its location with a square. I measure the distance from the top of the barrel to the center of the hole using calipers.
AaMhCMl.jpg

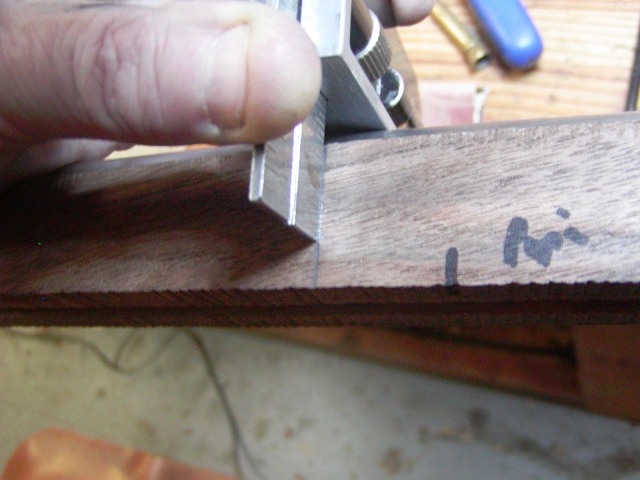
Then I use a square to measure that depth on the stock. This is where it is important the sides are square with the top of the barrel channel.
wWLnJBx.jpg

I punch holes on both sides of the stock with an awl to mark the position for my drill.
xa9nYno.jpg

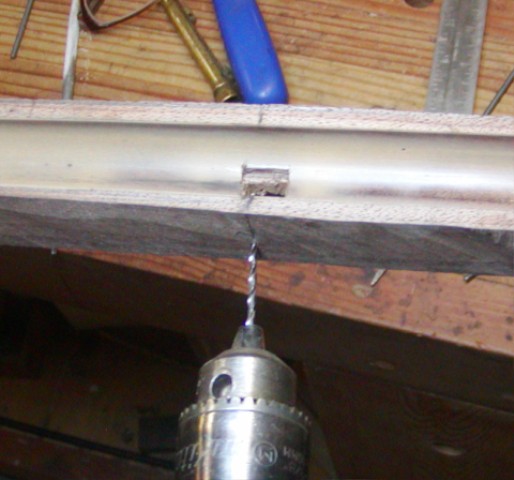
I use an undersized drill, shortened in the chuck so it flexes very little, to drill from both sides into the center of the stock and no further.
X7MeDf8.jpg

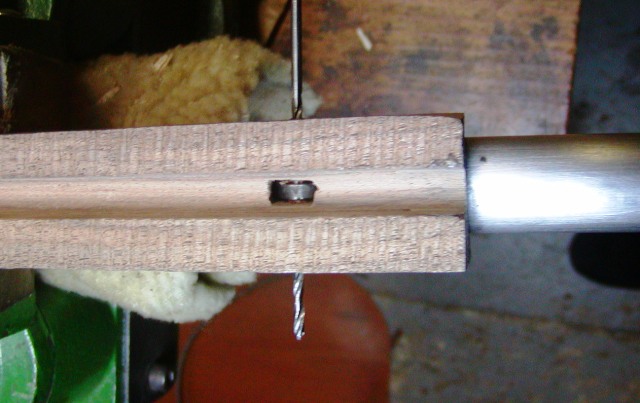
Next I place the barrel in the stock and redrill the holes with the same drill to make sure they line up with the existing hole in the lug. Once assured they line up. I drill the hole again with a full sized drill for the barrel pins.
CqjBdCl.jpg

The result is a perfectly lined up pin hole.
YKxGN0P.jpg

The lug for the forward sling swivel requires a hole to pass a 6-32 screw so I finish the drilling with a #25 drill.
fHYknF3.jpg

I'll replace the Pedersoli swivels with correct ones either from commercial castings or I may forge my own. They are actually easy to make.
Job done!

dave
 
Do that’s ho it’s done! Drilling straight and hitting the mark was always a process that scared me to death. I was happy to get a drill jig that makes the process much more foolproof for me!
Because the sides are still flat, could you drill the pin holes on a press or is the stock too unwieldy to do that way?
 
Hi Bob,
You could easily use a drill press and also a drilling point often used to line up the hole on either side. However, drilling the holes closest to the muzzle is always awkward using a drill press because holding the stock steady is a problem (so much weight on the other end). I just drill freehand because, well, it works for me. I used the drill press in the past but don't anymore.

dave
 
Gus, that Irish musket is great and shows some subtle features. Look at the side plate. It has a unattractive blobby profile at the tail that differs from the Tower muskets. I may have to make a new side plate for this musket rather than use the old Pedersoli one to get the features right.

dave

I thought that might have been a "blobby" side plate, but wasn't sure because sometimes my repaired eyeballs play tricks with me on pics.

What I did notice was that rather deep curved upward dip in the stock behind the rear of the tang. Wasn't sure if that was done to cover a chipped out area of the stock or was done deliberately during inletting.

I was tickled pink to find those pics of just what you were working on! Glad to see you enjoy and can use them.

Gus
 

Latest posts

Back
Top