• Friends, our 2nd Amendment rights are always under attack and the NRA has been a constant for decades in helping fight that fight.

    We have partnered with the NRA to offer you a discount on membership and Muzzleloading Forum gets a small percentage too of each membership, so you are supporting both the NRA and us.

    Use this link to sign up please; https://membership.nra.org/recruiters/join/XR045103

#3 Hawken Full Stock

Muzzleloading Forum

Help Support Muzzleloading Forum:

This site may earn a commission from merchant affiliate links, including eBay, Amazon, and others.
Hi,
Since your rifle will use barrel keys rather than pins, I would avoid using staples. Install dovetailed lugs and make the loops wide, 3/16-1/4 inch would be good. That provides a wider surface than staples for the key to slide across and gives a firmer and better fit relying less on the inlet in the wood for support. I've used staples before and they are easy as long as you drill correctly, but they are very inferior when using barrel keys. Since I almost always use keys nowadays, I don't bother with staples anymore.

dave
 
So I get both sides of the coin with dovetails staples and traditional leg staples. Is one better then the other. Is it just a personal preference. I'm not worried about the install on either to much any more, but between comments and PMs there seems to be a split on these. Thanks for the responses.
 
Hi Sean,
My comment has nothing to do with the way staples are mounted versus dovetails. Both methods work fine when done properly, thin walled or thick walled barrels not withstanding. My comment concerns the thickness of the loop. Staples by default are thin and as a result the smooth but firm function of the barrel key depends mostly on the slot inletted in the wood. Lugs that are thick (or wide across the flat) offer more metal surface on which the key slides. This provides better opportunity to fit the key such that it holds firmly in the stock but moves smoothly when inserted or removed. This is one of the secrets to the superbly fitted barrel keys usually found on well-made British guns of that era. The Brits mounted their lugs usually in two ways. One way was a traditional dovetail. The other was partly similar to staples sold today except the lug had a dovetailed base that ran along the lug. A trench parallel with the bore was cut in the barrel, the dovetail of the lug inserted and then the barrel metal around base of the lug was peened over to capture it, like the staples sold today. The common denominator however, was that the lug was 3/16" - 1/4 inches wide across rather than the thin lugs on staples sold today (by TOW and others). Finally, dovetails for lugs do not need to be deeper than say the thickness of thin flat needle file. They can be very shallow and work fine.

dave
 
Anything that can go wrong will go wrong. I taped the front lock bolt with no issues. Smooth a silk. Went to the bolster and taped it. ran it all the way through and was backing it out and snap. Below the surface of the metal so there is nothing to get a hold of. I tried freezing it with Freon and shattering it and that only snapped a tiny little piece off. I flattened a hardened, pointed, punch. This thing is going to get a ball peen in a few. Anyone have a good suggestion for getting an 8-32 tap out without destroying the lock plate.
 
Hi Sean,
This has happened to me as well. Heat the tap with a propane torch until it is glowing red and let it air cool to anneal it. Then drill it out with a smaller drill. Your lockplate is probably not hardened or heat treated so you won't damage any temper in the lock plate during the heating.

dave
 
For those that have watched Turpin's Video #II. Is that pretty much they way to install the Keys. Im ready to go for it. Just laying out the pipes and keys now.
 
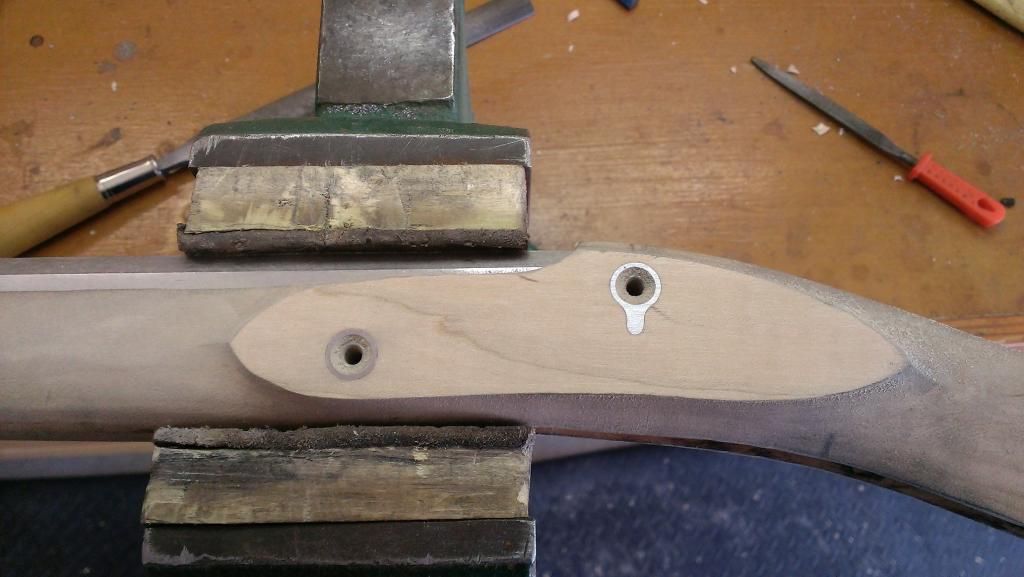
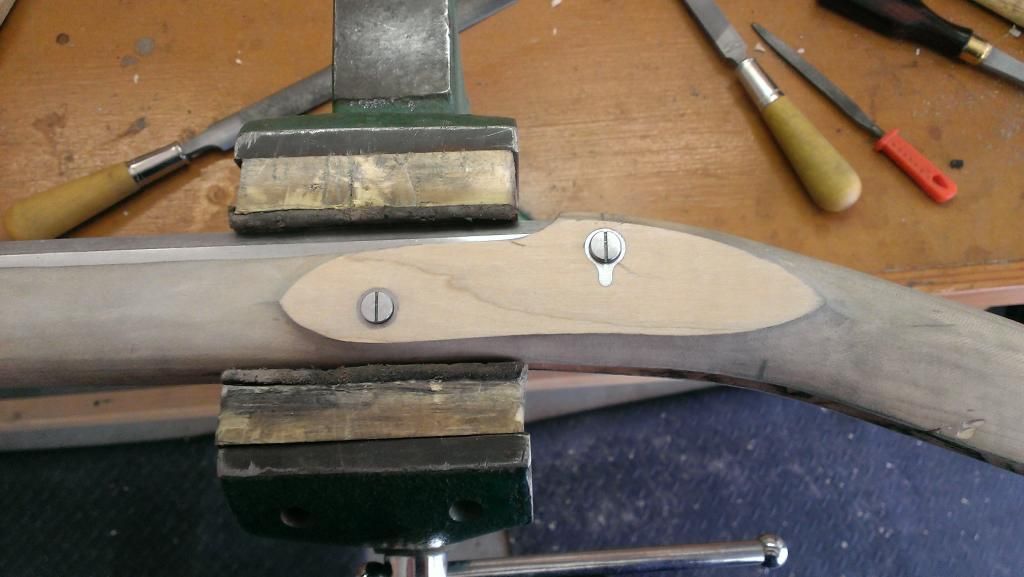
I really like your upper lock plate screw.....but I don't see or "vision" what your doing with the lower one. I think you need to help me out with that one.

Dave
 
He is building this as a conversion with thoughts of going (back) to flint at some point so opted for one of L&R's locks that can swap out with the flint version.

Easier to put the second lock bolt in now before all is finished, even if it may tend to look a little out of place on the caplock.
 
What Graham said.

Question, Not having done a L&R Double set. I insert the triggers unset and the set trigger blade trips the cock as its to tall. If I insert it set, it goes in fine and the front trigger functions fine with no slop. Do I just file the rear trigger blade or do you have to do them together. The rear stands so much higher than the front on release. Seems like the thing to do but wanted to ask first. Thanks Sean.
 
Hey Sean, I did reply to your note, but didn't mention - back the screw out (between the triggers) as well before you go at it in case it's wound in too far
 
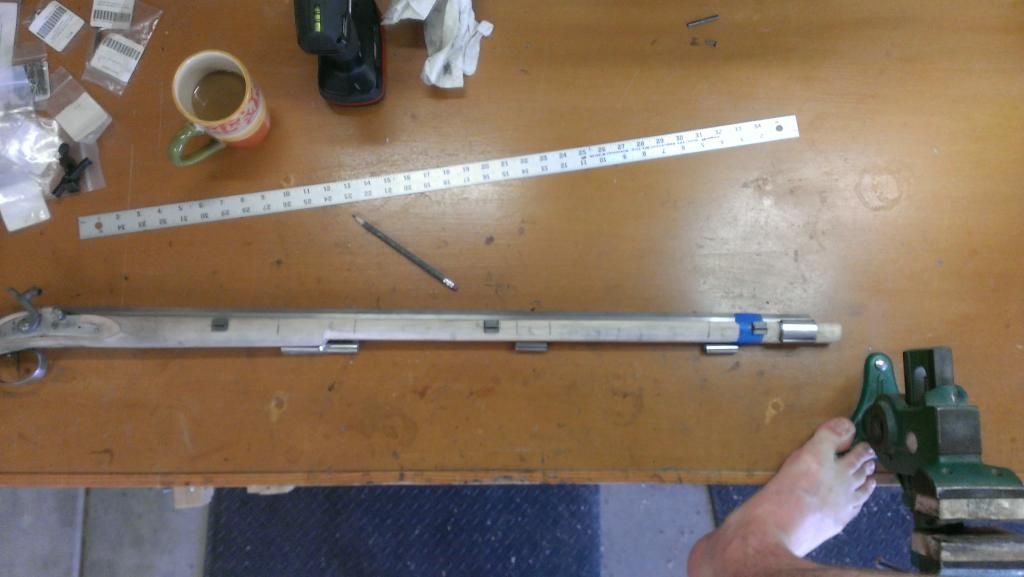
Standing on your workbench to get the perfect shot. :bow: I've been watching your build and boy do you move fast on it and looking good.
if you ever decide to put a sling on it you might want to move the lug just above the second thimble.
:thumbsup: on the build.
 
I actually got a kitchen pass, from the wife, to spend some quality time with it. She says Im not bugging her if Im out in the shop and she can get more done. Im not complaining. My schedule gives me 3 days off one week and 4 the next, and so on.
 
That vise looks to be one from woodcraft, how do you like it? If I'm not mistaken it's around $60-70, right?
 
Stuart. Yes its the Wood River Vise from Crafters. I really like it. I put 1x2 in it and glued on some heavy tooling leather to protect the wood. Im getting ready to close in the shop and AC it so I can work in the summer hear in Arizona's 115 degree heat. Ill be building a work bench behind me so I can just turn around and do tasked things there. Its going to have a table top anvil and a Garrett Wade Dual Axis vise.

Garrett Wade's Vise
 
Back
Top