Blacksmiths, lets see yer stuff!

Muzzleloading Forum

Help Support Muzzleloading Forum:

This site may earn a commission from merchant affiliate links, including eBay, Amazon, and others.
I'm going to make some thick fancy backplates and collar them to the plate thru some punched rectangular holes and then probably bolt the plates to the door.
I think the "mechanical thing" your talking about is my chain I made from S hooks. Its 30 feet right now but need 60 feet.I use it when demonstrating to keep flatlanders away from the forge, like a barricade of sorts.Each link is 3" long.
Doh! Pitchy see below for the "mechanical device" !
 
:rotf: Right on Roy! Actually its for moving around briquettes or cooking wood. 2 claws are fixed and 2 are moveable by the trigger at the handle end. I have used it to fetch beer though! :haha:
 
Stumbling Wolf, you are a talented guy!

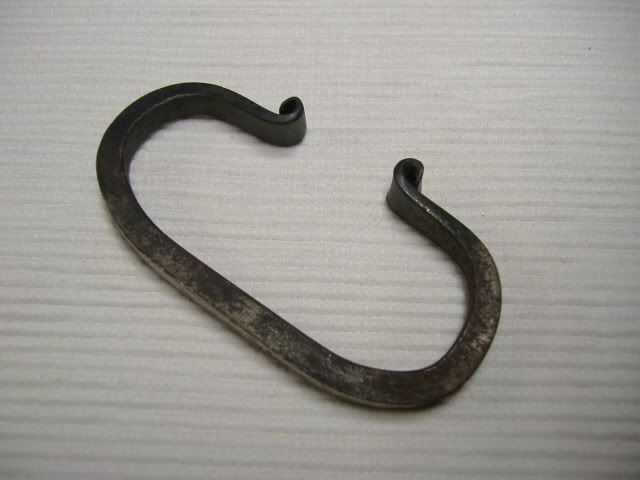
Here's my striker I made that I had to harden twice to get it to throw a good spark. :)
Picture003.jpg
[/img]
 
Nice striker. It always looks easy, but doing those tapers evenly can be a pain. And then doing your bends to keep the overall striker symetrical is tricky. I have several original Roman era strikers that show smiths back then also had those problems - uneven tapers and non-symetrical bending.

Fun stuff.

Mikey - that grumpy ol' German blacksmith out in the Hinterlands

p.s. The last batch of strikers I made included 2 Colonial ones, 2 Russian Ulu style, 2 English double curl, 2 Civil War or GL Fur Trade, 2 Spanish Colonial U's, and 2 Hessian strikers. I tend to make 2 of any one specific style at a time. I hammer on one while the other is heating back up. And it helps me keep things straight in my mind - what steps to do next on each.
 
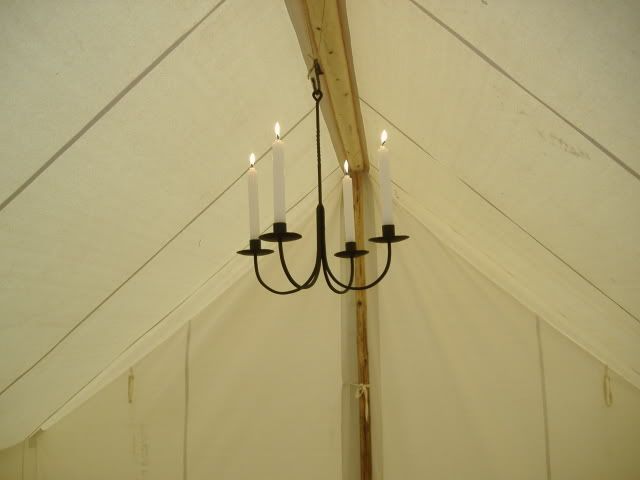
I am not much of a smith, but here's a couple of things I made. The main stem of the candelabra have a twisted section in it, about midway. The striker is pretty simple. By the way, the candles are not as close to the canvas as they appear to be.
pennyknife481_640x480.jpg

pennyknife528_640x480.jpg
 
Do you have to get into the stocks when your bad? It's nice to have an anvil handy as well. :shake: :cursing:
 
Bob the stocks are for when flatlanders leave their yardapes hanging around my shop like I'm some kind of babysitter! :shake:
The anvil is my 300lb' er- too big to get it into the shop right now, I have two 100 lb'ers in there now. Thats why the add on... :grin:
 
I'm not much of a smith, certainly not as good as everyone who has posted photos, but i do like to make knives and assorted accessories.


Here are a coupla things I made a few years ago.

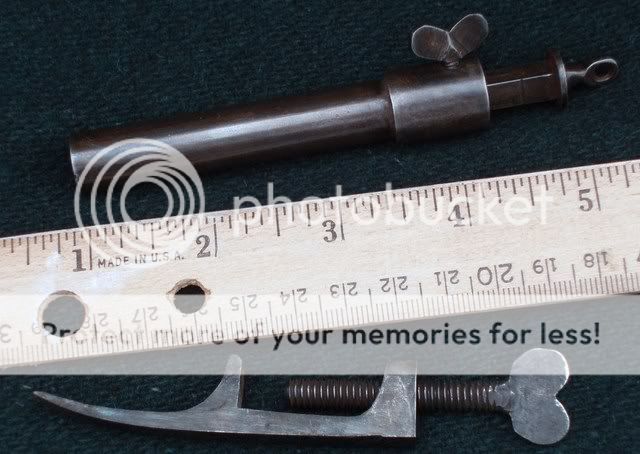
An adjustable powder measure and an F&I period spring cramp.
P1010086a.jpg


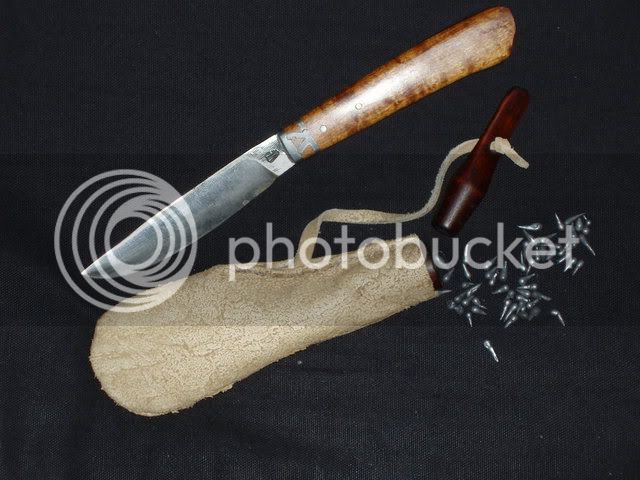
knife forged from a file with a bag of drip shot
P1010062.jpg


I think this 3 1/2 inch knife was made of roughly 300 layers of W1 and 203E, made by a friend and I. The small, 40 gr adjustable powder measure is made with brazed joint on the body of the measure.
P1010088a.jpg
[/img]
 
NIIIIIIIIICE!!!!!!!! :thumbsup: That measure would look real good on my shootin' bag! And the spring clamp would look real good IN it! :haha:
 
Thanks stumblinwolf, I'm glad you like them.

Forgot about doing these buttpieces, from an old lawn mower blade, last week.

The top buttpiece body and return have been rough fitted, but haven't had time finish fit, pin, and braze the two parts together.

These are the first buttpieces I have tried, so they are a little rough, but I think they will work.

Forging marks are visible on the inside of the returns.

I thought these would be a nice addition to the thread, since they are more blacksmithy than the parts in my last posts.

P1010281.jpg
[/img]

P1010285.jpg
[/img]
 
What patience? I take out my frustration on hot steel instead of the wife, kids, dog, and the neighbors...and their dogs. :wink:

The buttpieces were forged in about a half hour. It took more time to remove twists and warps than it did to forge them. I was really surprised at how easy they were to forge. Just gotta get 'em plenty hot enough to form the bends. A good swedge block helps too.

I need to scrounge thinner material to forge the next ones. Thinner material is more historically correct and may be easier to work...but maybe not.

I have a coupla mansprings in the works for the Ped bess. This is my first attempt at forging mainsprings. They are a little harder to form correctly, but I think they are coming along nicely.

Trigger guards are next. Don't know how that will work out.

My goal is to forge all of the mounts for an iron mounted SW VA rifle, circa 1805. The buttpiece is the first of those parts.

God bless,
J.D.
 
JD looks like you did a great job hope to see pics of your trigger guard when you get done. Its a project I may try at some point
 
Back
Top