- Joined
- Nov 26, 2005
- Messages
- 5,225
- Reaction score
- 10,888
Hi,
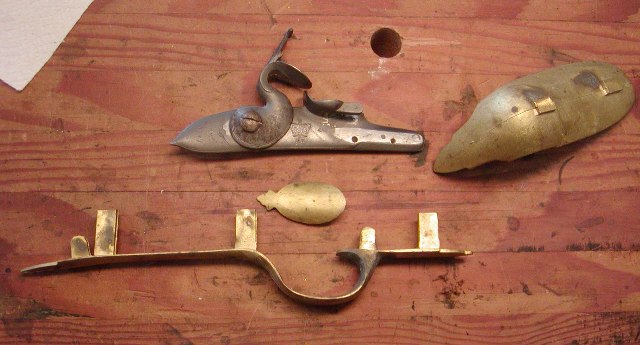
I always have several projects up and running at the same time. While I am working out my plan for a project during the evenings, I am working on a different project in my shop during the day. I guess that makes me a full time gun maker? I am building this project on spec and will sell it either on line or at Dixons. I would like it to go to someone who can use and appreciate the historical details I incorporate rather than someone who just wants a smoothbore to plink with. I am building a British pattern 1760 light infantry fusil from a parts set by The Rifle Shoppe. I bought the parts set (I hesitate to call it a kit for reasons you will soon appreciate) from a third party who had it for a long time but could never get to it and felt a little intimidated by it. The parts set includes an English walnut precarved stock. I am going to be blunt, I do not like precarves at all especially when you are trying to recreate historical details. I also have to build the lock, which is fine. I thought maybe some of you might like to see the process so tighten down your lug nuts and away we go.
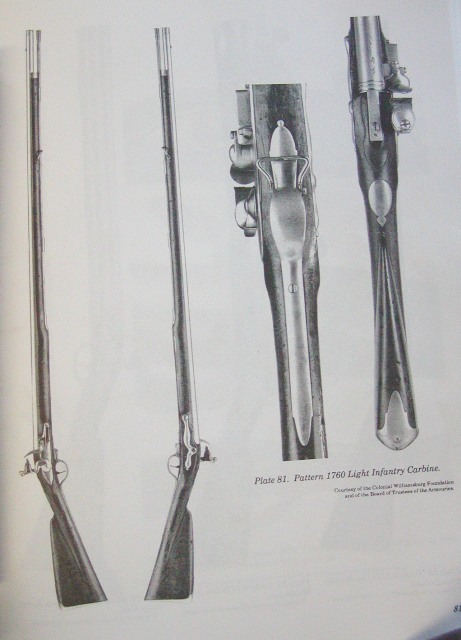
The British pattern 1760 light infantry fusil was a direct result of war in America. George Augustus Howe, his brother William, Henry Bouquet, and Thomas Gage all understood, based on their experience during the French and Indian War, that the British Army needed lightly encumbered, mobile troops, light infantry, to act as scouts and flankers during campaigns in the forests of North America. They wanted those troops armed with a light and handy carbine. Eventually, British ordnance responded by developing the pattern 1760 light infantry fusil, which was based on an earlier design by Lord Louden in 1745. Unfortunately, production of the gun came too late for the French and Indian War. It may have been issued to some troops fighting on the continent of Europe during the waning days of the 7-Years War and some others might have been issued to soldiers in America during Pontiac's uprising but the majority of guns were placed in storage and not issued. Then in 1771, William Howe reconstituted the light infantry companies that were disbanded after the French and Indian War. Those "Light Bobs" were issued the pattern 1760 fusil. Light companies sent to America just before and during the early hostilities of the Rev War were issued the fusils. They were prominent among the Light Bobs during Lexington and Concord, Breed's Hill, Long Island, New York, Trenton, Princeton, Brandywine, White Marsh, and Paoli. If the "shot heard round the world" came from a British gun, it might have been a light infantry fusil. The light troops of the 52nd regiment facing John Stark and Thomas Knowlton at the rail fence during Breed's Hill carried the pattern 1760. By 1778, most were used up owing to their light construction and light infantry were issued with standard short land pattern muskets. The key traits of the light infantry fusil are carbine bore (65-66 caliber), 42" barrel, slimmed stock, simplified butt plate, trigger guard, and ramrod pipes, wooden ramrod, muzzle band rather than cap, unique thumb plate, and carbine lock. The gun weighs 7-8 pounds compared with the standard 11 lbs of the long land musket. It feels and handles more like a fowler than musket. The downside it that it is much more fragile than a standard musket and was easily ruined during service.
So here we go. The TRS parts are good quality but there are shrinkage issues probably from the casting process. The precarved stock should be Ok but it has the precision of a 5-year old kid with a router.


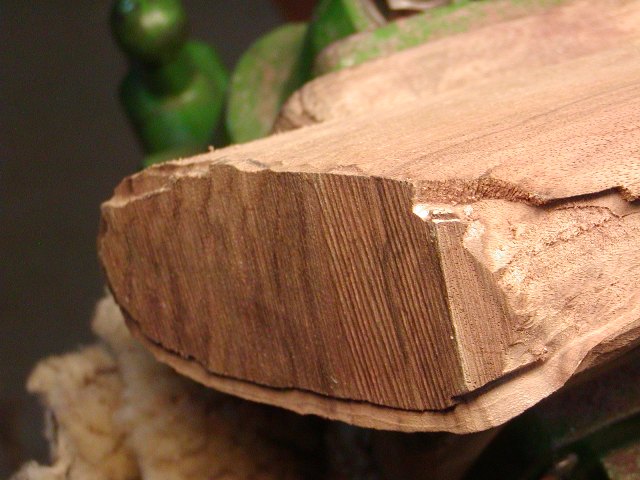
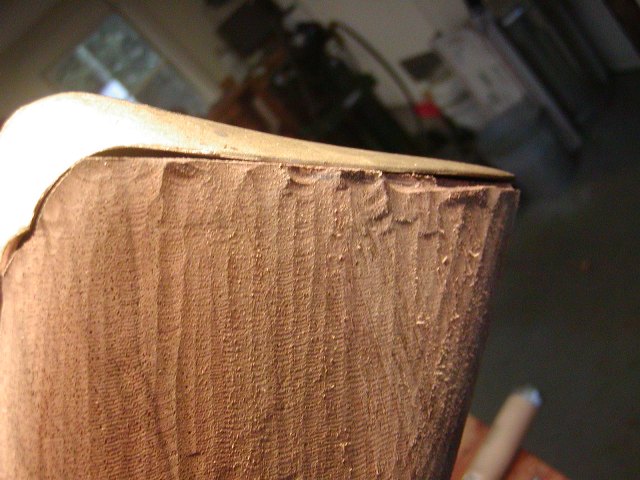
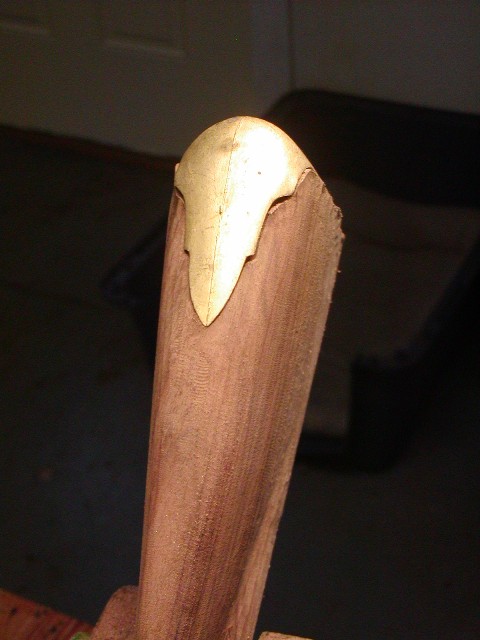
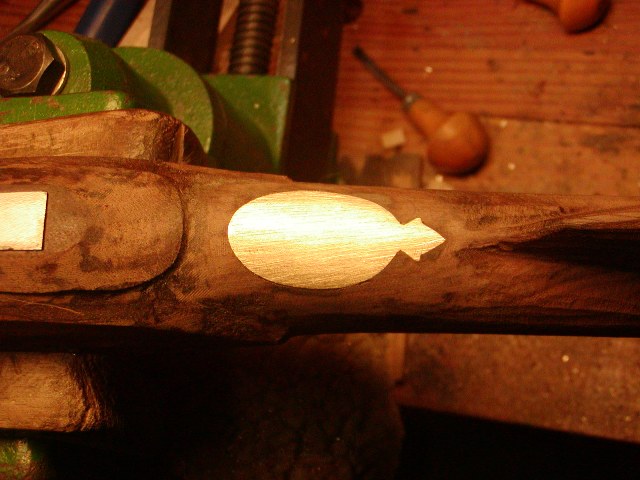
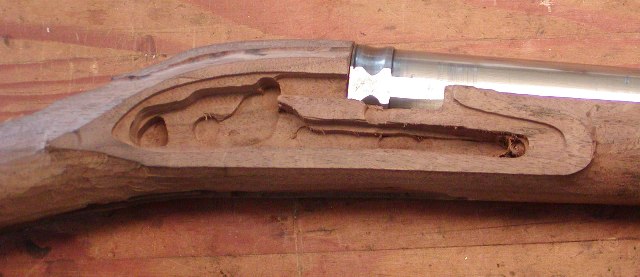
The machine cut mortices will be fine but thankfully they are well undersized. This is no Kibler kit. The routing around the butt plate is a mess and I believe I can squeak the butt plate on without losing too much LOP owing to the crude routing.
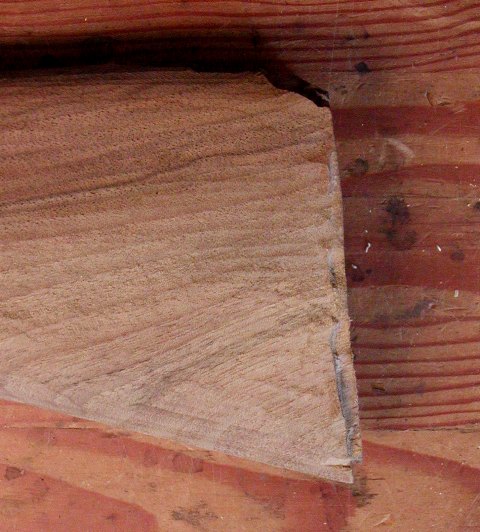
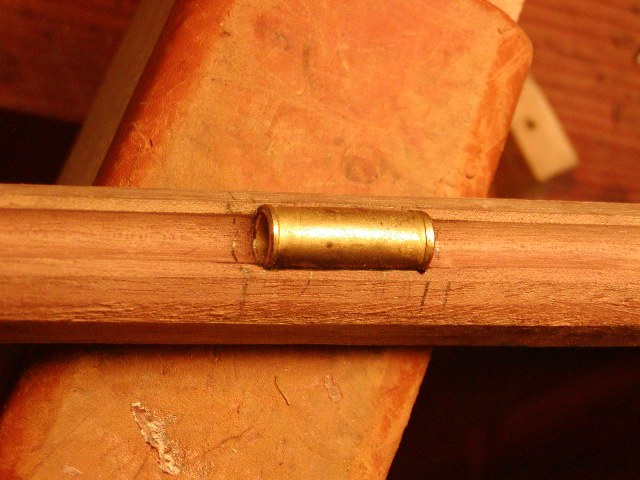
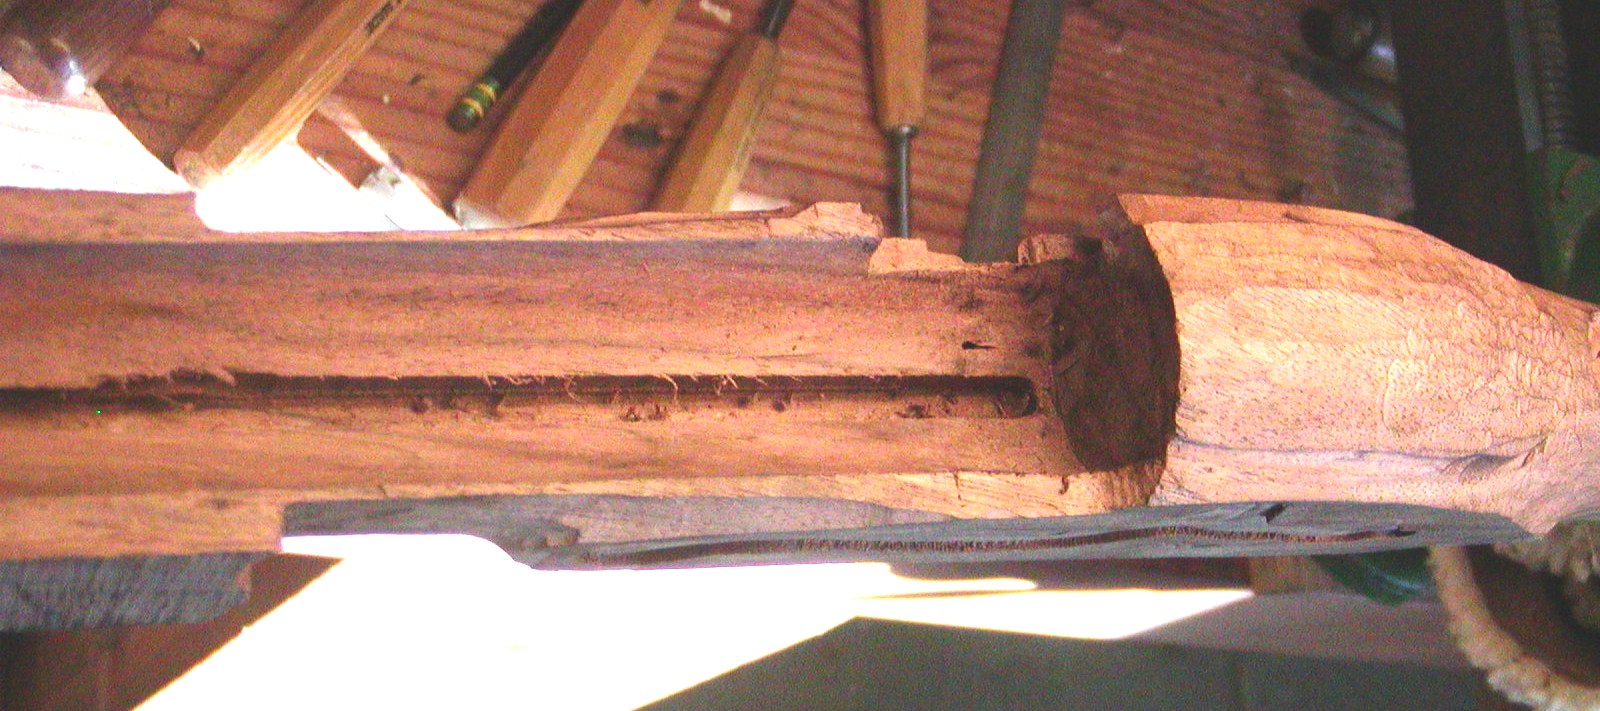
The ramrod channel and hole are too small for the 5/16" wooden rod. It looks like they were routed for a steel rod, which is not correct. They did not drill the ramrod hole, rather it is routed in from the bottom of the ramrod channel.
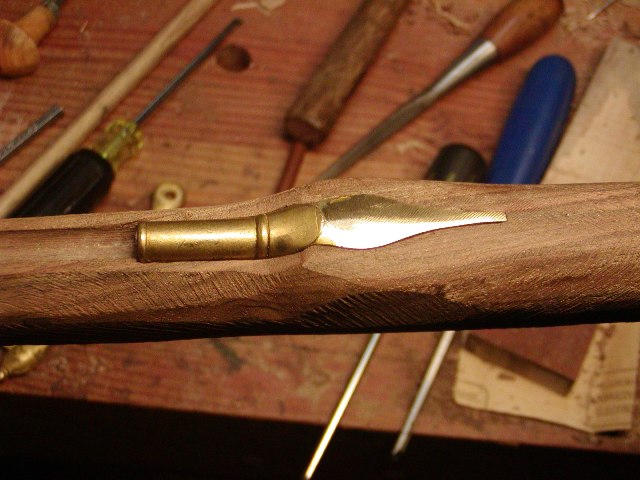
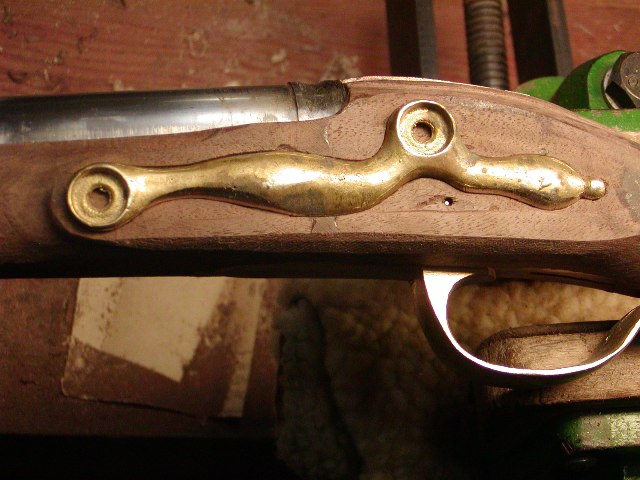
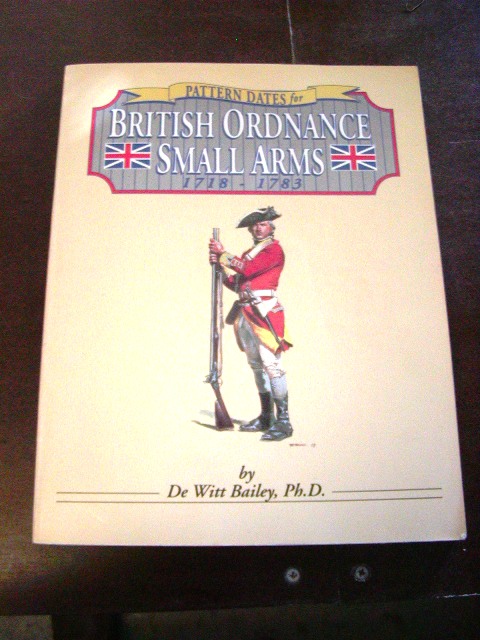
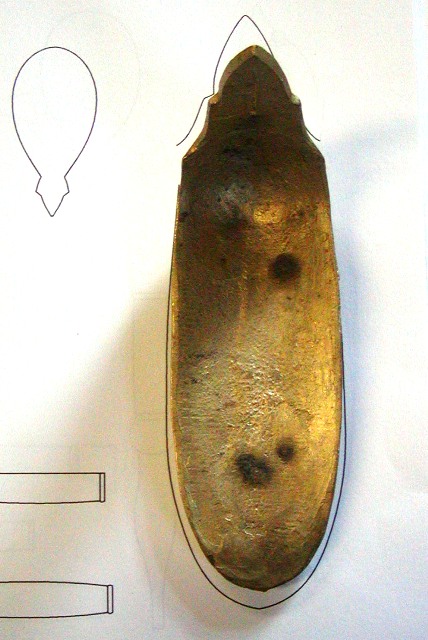
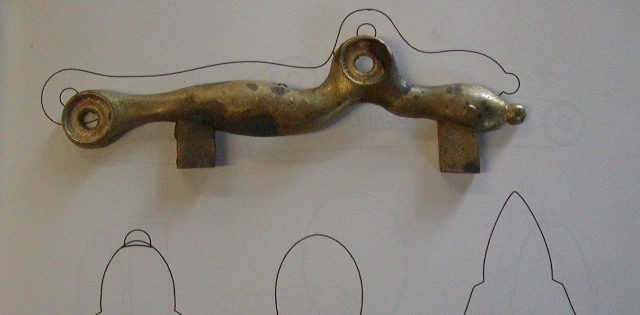
The brass parts show casting shrinkage compared to original dimensions. They are all a little too small and unfortunately, the machine inlets prevent changing that. I'll just have to suck it up and do the best I can but this experience again reinforces my belief that rough stock blanks are better, particularly if you want to reproduce historical details. I base many of my historical details on Bailey's book on British patterns. You can see on the pages showing outlines of original hardware how different the reproduced hardware is.
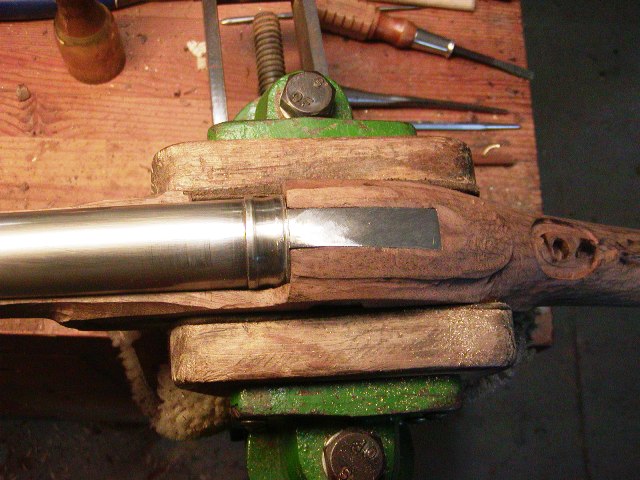
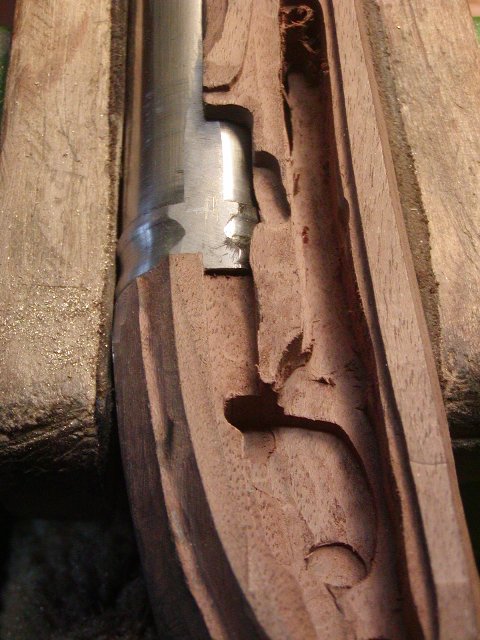
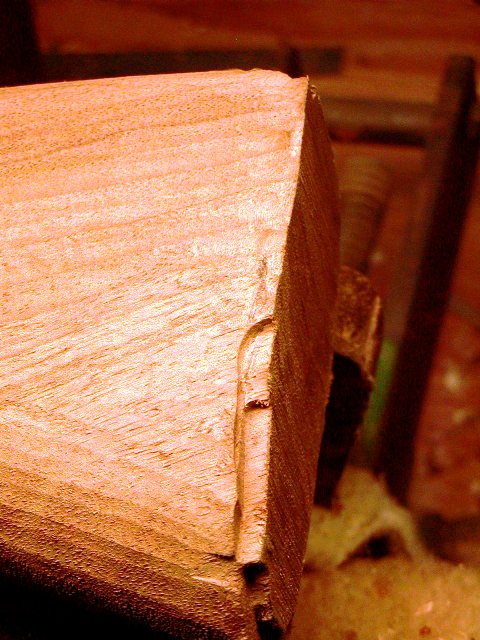
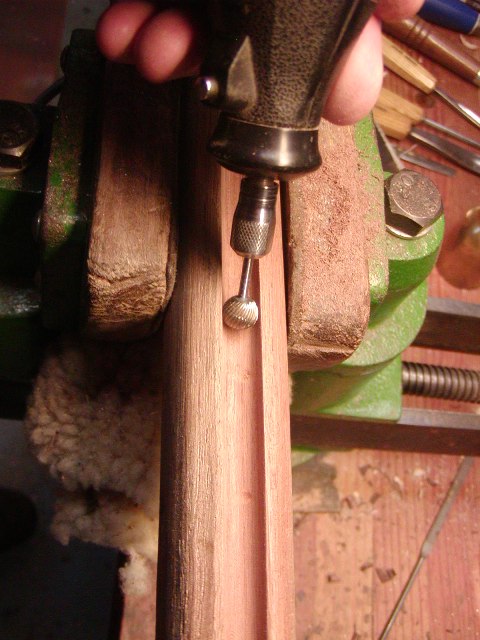
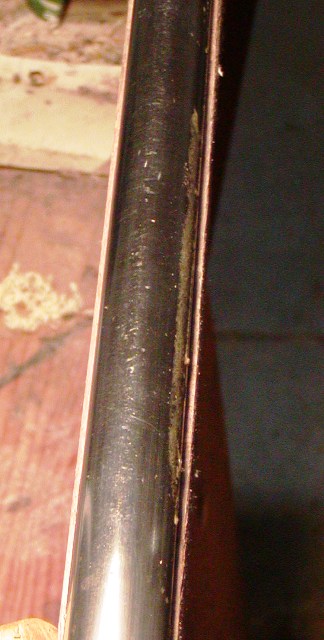
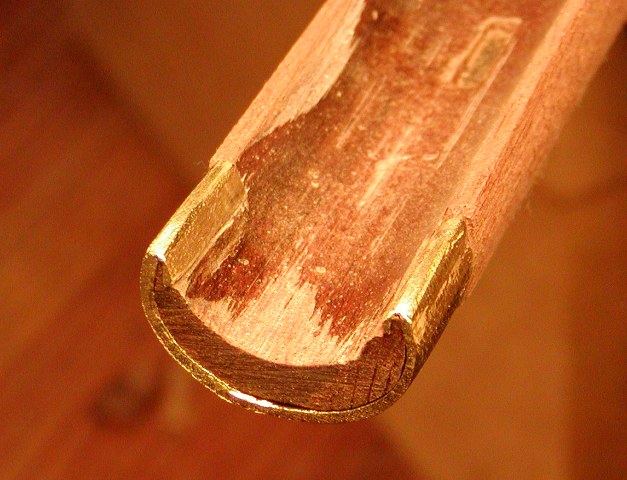
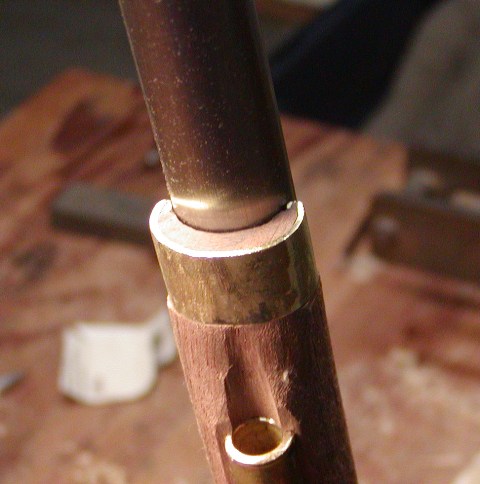
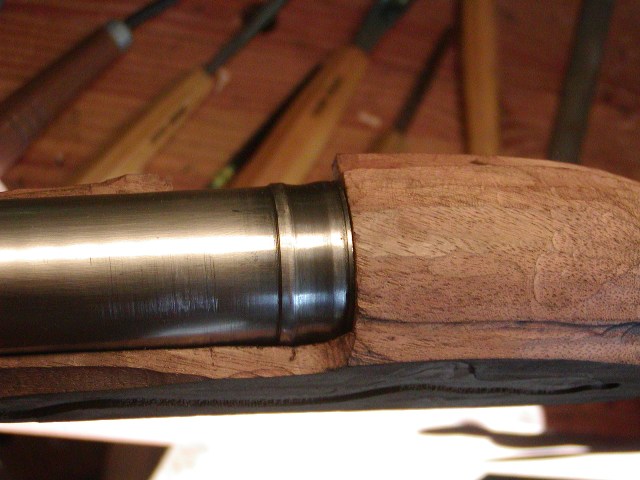
The first job was to get the barrel inletted fully. The machine inlet is only partial and the whole length of the channel needs to be worked to get the barrel in. The muzzle of the stock had to be cut off at the correct length, then the breech inlet deeper and square to the stock. Round scrapers and my Gunline round barrel float do the job nicely.
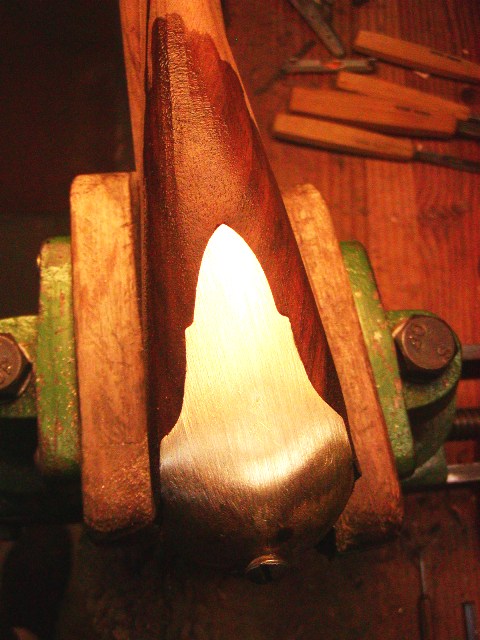
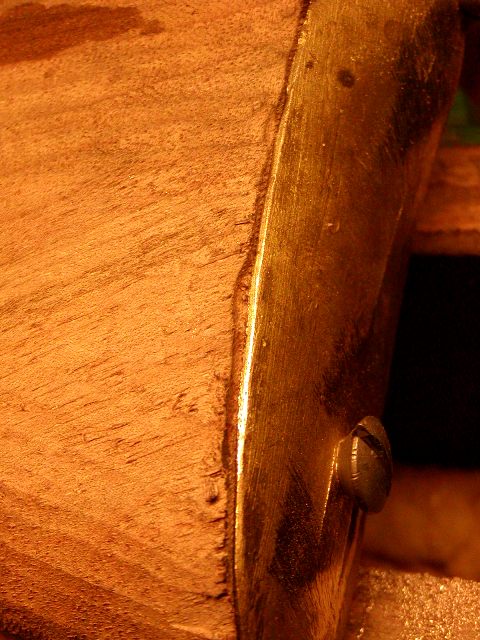
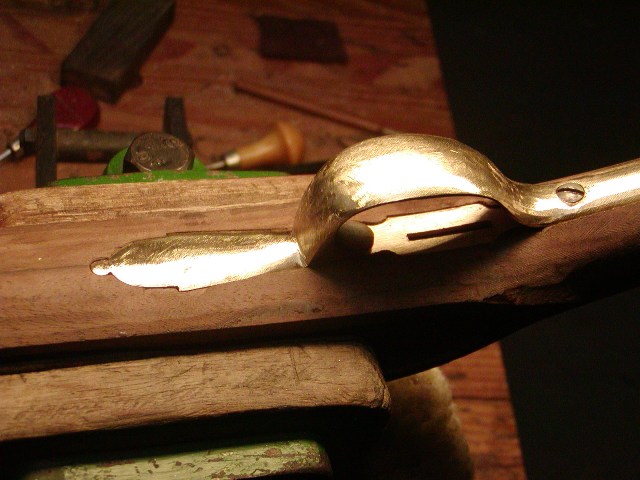
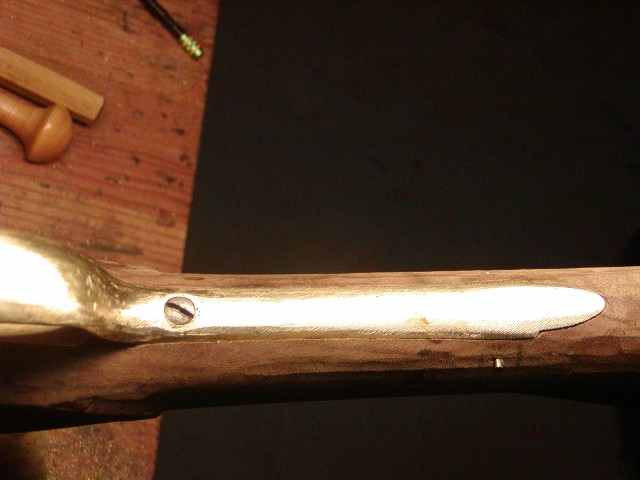
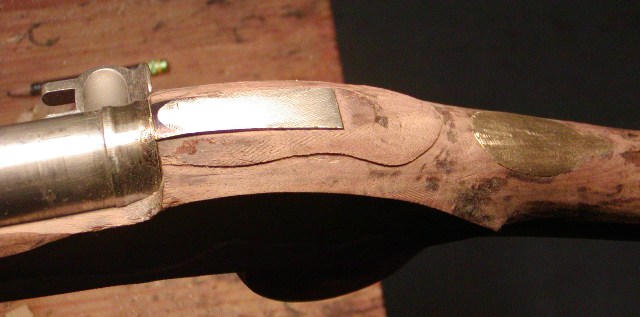
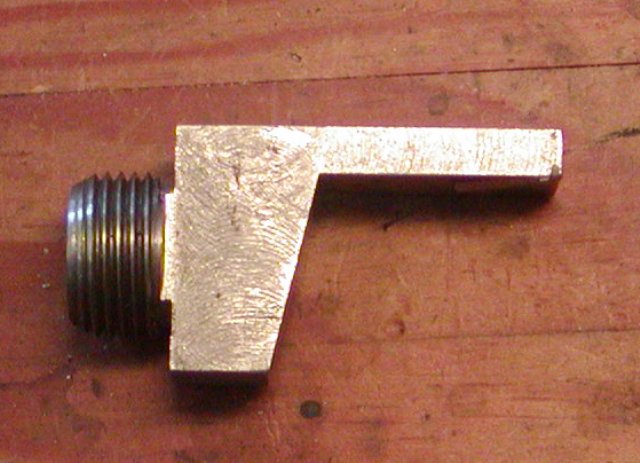
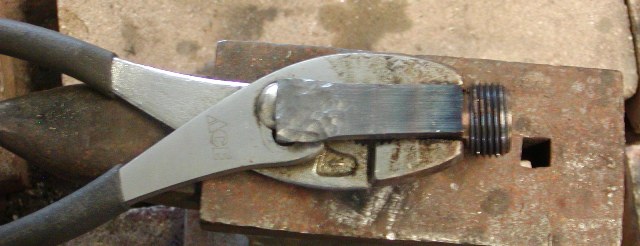
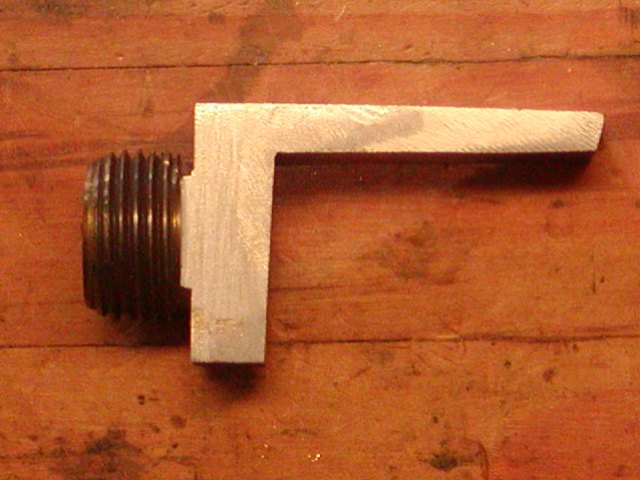
Next up is the breech plug. The barrel is beautiful and well finished but the breech plug tang is too short and too wide. The tang needs to be lengthened about 1/8". That does not sound like much but it will make a huge difference in where the tang bolt goes and its position relative to the end of the tang. Also the bolster on the tang is too massive and the angled back is a inletting nightmare. So I cut away much of the bolster and squared up the back to make inletting much easier. I heated the end of the tang red hot and peened it to lengthen it. After filing, it cleaned up nicely and had the proper dimensions.
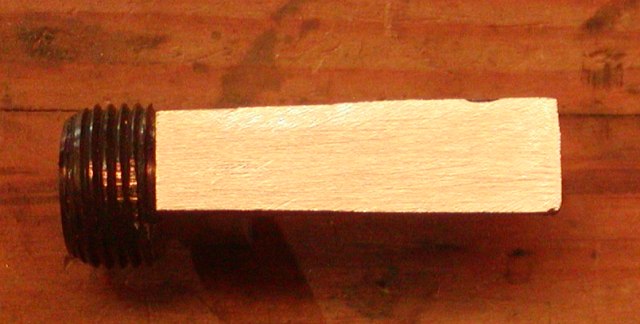
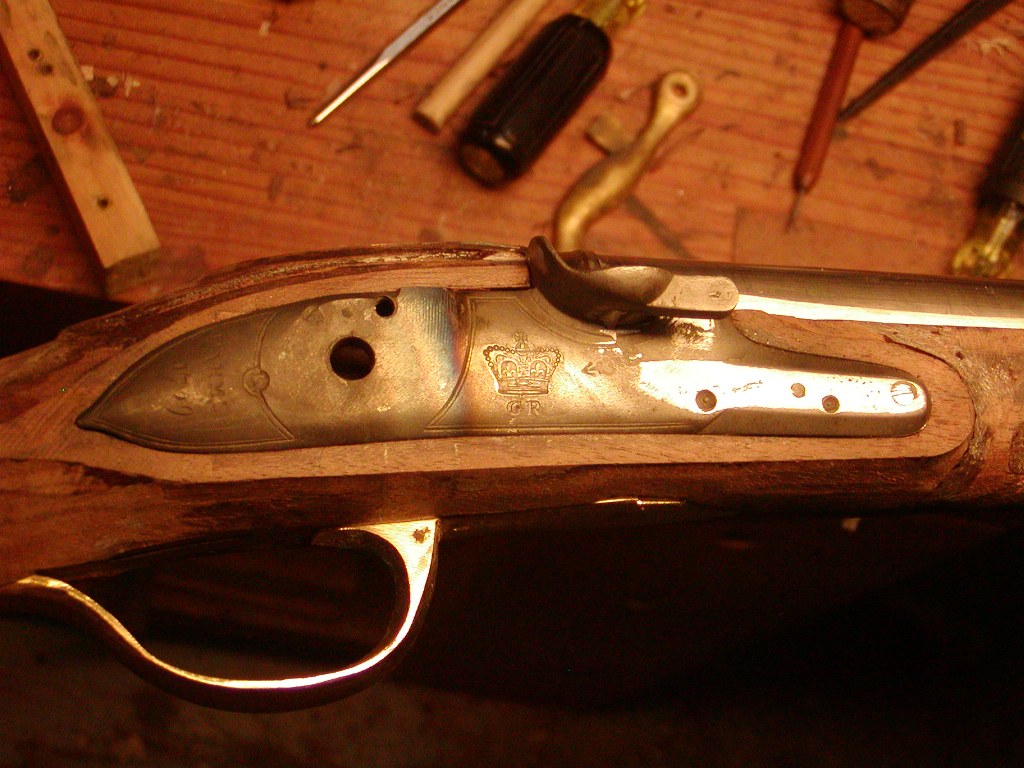
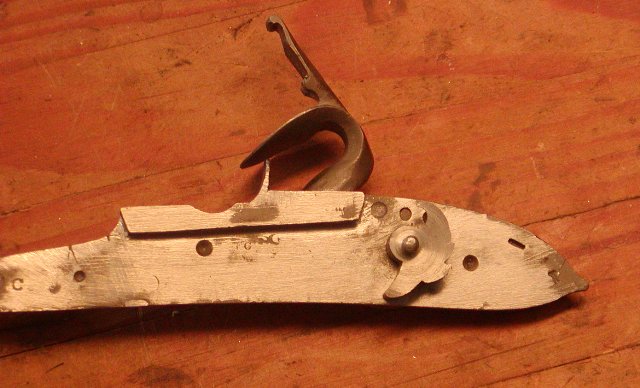
The lock has to be built. I cleaned up and installed the tumbler. I turned the tumbler on my wood lathe with the bridle side spindle held by the chuck. Fortunately, the tumbler post for the flint **** was concentric because it spun true with no wobble. Therefore, I could clean easily clean up the bridle spindle, tumbler post, and faces of the tumbler with fine files and oiled stones. The witness holes on TRS lock plates are not necessarily accurate. You really have to check things out. The mark for the tumbler hole in the plate was not centered on the tumbler hole that was filled with clay prior to casting. I drilled out the hole at the mark with an very undersized drill. Using round files, I filed the hole concentric with the original hole but undersized. Then I drilled it out such that the tumbler could be fit if I hammered it home. Instead, I coated the tumbler post with oil and aluminum oxide powder, and lapped it into the hole until it turned freely but with no slop. Next, I need to add some length to the tail of the lock plate which is too short and not shaped properly. I intend to lose the engraved "Farmer 1757" which I am not sure is correct. No matter, I will engrave the right stuff.
That is where I am on this project. More later.
dave
I always have several projects up and running at the same time. While I am working out my plan for a project during the evenings, I am working on a different project in my shop during the day. I guess that makes me a full time gun maker? I am building this project on spec and will sell it either on line or at Dixons. I would like it to go to someone who can use and appreciate the historical details I incorporate rather than someone who just wants a smoothbore to plink with. I am building a British pattern 1760 light infantry fusil from a parts set by The Rifle Shoppe. I bought the parts set (I hesitate to call it a kit for reasons you will soon appreciate) from a third party who had it for a long time but could never get to it and felt a little intimidated by it. The parts set includes an English walnut precarved stock. I am going to be blunt, I do not like precarves at all especially when you are trying to recreate historical details. I also have to build the lock, which is fine. I thought maybe some of you might like to see the process so tighten down your lug nuts and away we go.

The British pattern 1760 light infantry fusil was a direct result of war in America. George Augustus Howe, his brother William, Henry Bouquet, and Thomas Gage all understood, based on their experience during the French and Indian War, that the British Army needed lightly encumbered, mobile troops, light infantry, to act as scouts and flankers during campaigns in the forests of North America. They wanted those troops armed with a light and handy carbine. Eventually, British ordnance responded by developing the pattern 1760 light infantry fusil, which was based on an earlier design by Lord Louden in 1745. Unfortunately, production of the gun came too late for the French and Indian War. It may have been issued to some troops fighting on the continent of Europe during the waning days of the 7-Years War and some others might have been issued to soldiers in America during Pontiac's uprising but the majority of guns were placed in storage and not issued. Then in 1771, William Howe reconstituted the light infantry companies that were disbanded after the French and Indian War. Those "Light Bobs" were issued the pattern 1760 fusil. Light companies sent to America just before and during the early hostilities of the Rev War were issued the fusils. They were prominent among the Light Bobs during Lexington and Concord, Breed's Hill, Long Island, New York, Trenton, Princeton, Brandywine, White Marsh, and Paoli. If the "shot heard round the world" came from a British gun, it might have been a light infantry fusil. The light troops of the 52nd regiment facing John Stark and Thomas Knowlton at the rail fence during Breed's Hill carried the pattern 1760. By 1778, most were used up owing to their light construction and light infantry were issued with standard short land pattern muskets. The key traits of the light infantry fusil are carbine bore (65-66 caliber), 42" barrel, slimmed stock, simplified butt plate, trigger guard, and ramrod pipes, wooden ramrod, muzzle band rather than cap, unique thumb plate, and carbine lock. The gun weighs 7-8 pounds compared with the standard 11 lbs of the long land musket. It feels and handles more like a fowler than musket. The downside it that it is much more fragile than a standard musket and was easily ruined during service.
So here we go. The TRS parts are good quality but there are shrinkage issues probably from the casting process. The precarved stock should be Ok but it has the precision of a 5-year old kid with a router.


The machine cut mortices will be fine but thankfully they are well undersized. This is no Kibler kit. The routing around the butt plate is a mess and I believe I can squeak the butt plate on without losing too much LOP owing to the crude routing.


The ramrod channel and hole are too small for the 5/16" wooden rod. It looks like they were routed for a steel rod, which is not correct. They did not drill the ramrod hole, rather it is routed in from the bottom of the ramrod channel.

The brass parts show casting shrinkage compared to original dimensions. They are all a little too small and unfortunately, the machine inlets prevent changing that. I'll just have to suck it up and do the best I can but this experience again reinforces my belief that rough stock blanks are better, particularly if you want to reproduce historical details. I base many of my historical details on Bailey's book on British patterns. You can see on the pages showing outlines of original hardware how different the reproduced hardware is.


The first job was to get the barrel inletted fully. The machine inlet is only partial and the whole length of the channel needs to be worked to get the barrel in. The muzzle of the stock had to be cut off at the correct length, then the breech inlet deeper and square to the stock. Round scrapers and my Gunline round barrel float do the job nicely.

Next up is the breech plug. The barrel is beautiful and well finished but the breech plug tang is too short and too wide. The tang needs to be lengthened about 1/8". That does not sound like much but it will make a huge difference in where the tang bolt goes and its position relative to the end of the tang. Also the bolster on the tang is too massive and the angled back is a inletting nightmare. So I cut away much of the bolster and squared up the back to make inletting much easier. I heated the end of the tang red hot and peened it to lengthen it. After filing, it cleaned up nicely and had the proper dimensions.


The lock has to be built. I cleaned up and installed the tumbler. I turned the tumbler on my wood lathe with the bridle side spindle held by the chuck. Fortunately, the tumbler post for the flint **** was concentric because it spun true with no wobble. Therefore, I could clean easily clean up the bridle spindle, tumbler post, and faces of the tumbler with fine files and oiled stones. The witness holes on TRS lock plates are not necessarily accurate. You really have to check things out. The mark for the tumbler hole in the plate was not centered on the tumbler hole that was filled with clay prior to casting. I drilled out the hole at the mark with an very undersized drill. Using round files, I filed the hole concentric with the original hole but undersized. Then I drilled it out such that the tumbler could be fit if I hammered it home. Instead, I coated the tumbler post with oil and aluminum oxide powder, and lapped it into the hole until it turned freely but with no slop. Next, I need to add some length to the tail of the lock plate which is too short and not shaped properly. I intend to lose the engraved "Farmer 1757" which I am not sure is correct. No matter, I will engrave the right stuff.

That is where I am on this project. More later.
dave


