TX FlynHog
Try this. I hope it helps? I'm sorry for the length, but it won't let me attach the Word file other than this way? It came from a guy I know.
God bless:
Two Feathers
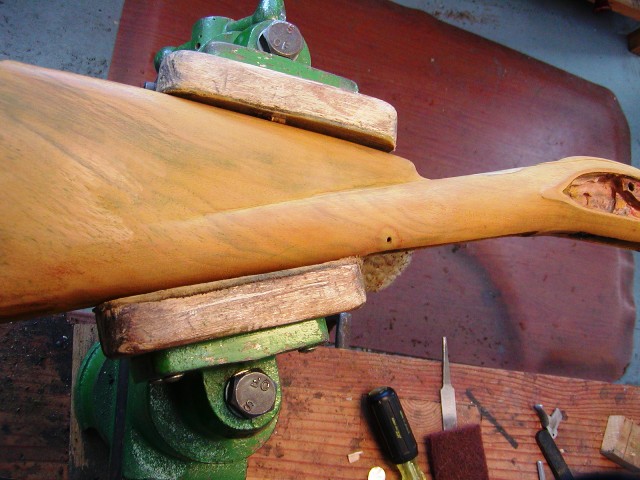
Once all the wood work was finished, I used a damp wash cloth with water and wiped the stock down to raise the grain, let it dry and once dry, I used 150 grit sand paper on my rifle and card board sheet to knock the whiskers down. Wetting the stock raises the grain and allows any scratches to float up and be knocked down with a final sanding. This process may have to be repeated multiple times to achieve perfection.
NOTE: Any time you wet a gun stock, be sure to install the lock and patch box afterward to prevent the wood from closing in and causing fit issues. Let the stock dry with the lock and patch box installed! It will save you lots of headaches in the long run.
If you don't have a work place that's set up for wood working, you can use a low profile box like I did to keep all the wood dust/shavings from being scattered on the floor. Its also a good way to keep from losing parts while you are assembling the kit and fitting the metal.
I do HIGHLY suggest that you mark your wedge key plates with the direction they go and what side they go on. Sometimes if you get them mixed up and install them on the wrong side or upside down, the wedge key will not properly fit through them as they may be filed on a certain side, more than the other. Lightly grease the screws before reinstalling as brass is soft and can easily break due to the snug fit
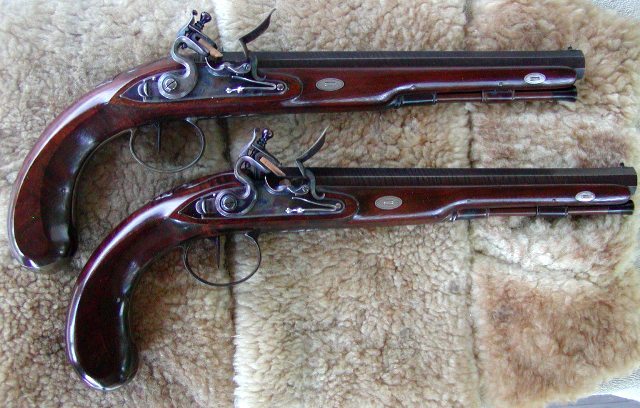
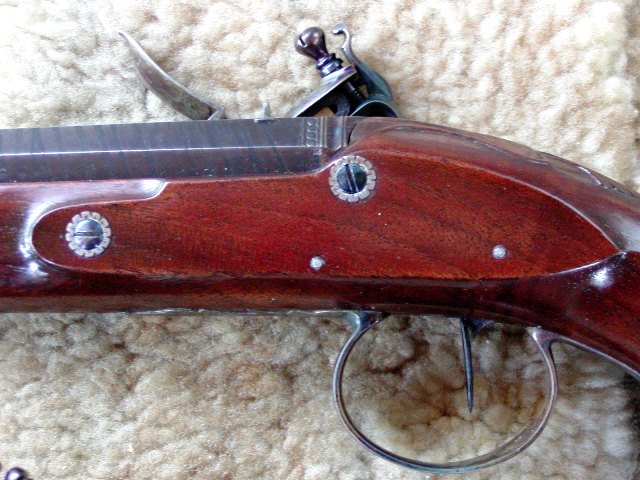
Staining the stock! Now this is always the part I love! I got a Birchwood Casey refinishing fit, along with a bottle of their Rusty Walnut stain. I finally decided that I wanted a nice DARK stock this time around, along with a chocolate brown lock and barrel to just really bring out the romance of the wood and steel. The downside to a dark finish of course is that it can hide wood figure.
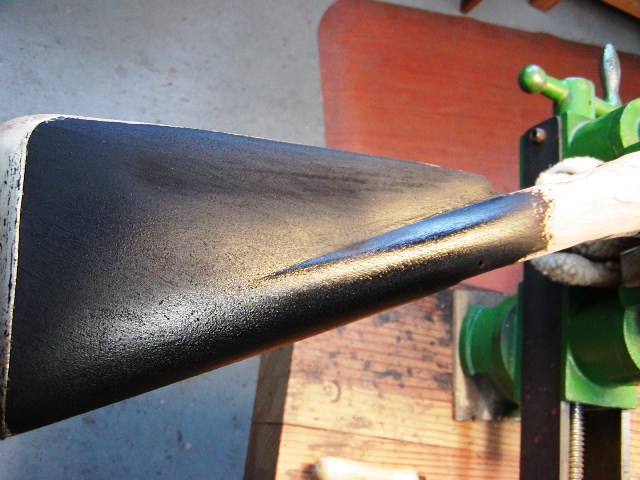
You'll see in the pictures below of the stain being applied in stages and how the color transforms.
Once I had the color where I thought it was just right, I used 0000 steel wool ( included with the refinishing kit) and lightly buffed the stock to smooth it out and remove heavy deposits of stain. Doing this helps removed just enough stain that it lets the wood grain underneath pop out and show itself a little bit.
In total, 6 coats of Walnut and 2 coats of Rusty Walnut were used to achieve the desired color that I wanted. The Rusty Walnut added that beautiful touch of red, but not over powering red when the sunlight hits the stock.
4 coats walnut
After a total of 6 coats walnut - 2 coats of rusty walnut. Stock was allowed to dry over night before being lightly buffed with 0000 steel wool. The next series of pictures will follow!
After buffing the stock with steel wool, I tested a small area of the stock with Boiled Linseed Oil to check for correct color stain. It was perfect! I took a section of cheese cloth and soaked it in BLO, and wiped the stock down so it could suck up the oil and allow the real finish of Truoil to build up faster. Once the BLO sits on the stock for around 20 minutes, I'll wipe it off and allow it to set up for a day or two before applying thin coats of truoil. Thick coats of truoil ends up making your stock look like plastic. Avoid heavy coats!
Once the BLO had dried for 2 days, I wiped the stock down with a lint free cloth and applied 6 drops of Tro-Oil on the rear section of the stock and gently rubbed in. Keep the Tru-oil light, otherwise you will get to much build up,sags,runs in the finish! The finish must be applied thinly and allowed time to soak in.
Once I have ONE coat of Tru-oil on the stock, I allow it to dry for a full 24 hours. You may read online of some folks asking why their stock feels tacky. That's due to them applying to much finish at one time or multiple coats in a short period, now allowing for proper dry time between coats. Yes, 24 hours is a long time to wait, but guess what? It flat out works and allows the finish time to soak in and set up. By coat
#3, I was already filling the grain and the wood was taking in a glossy shine. Plus, No tacky feeling
Once I had 4 coats applied, I used 0000 steel wool and gently buffed the gloss finish back to a dull finish. This helps cut the finish back and then fills the grain as you apply the next 2 coats and so on. Normally I will apply 3 coats of tru-oil, giving each coat time to set up before applying the next, and then buff it back. Doing this removes all the tiny little rough looking holes in the finish ( grain ) so you eventually build up enough finish for a smooth glass like overall finish.
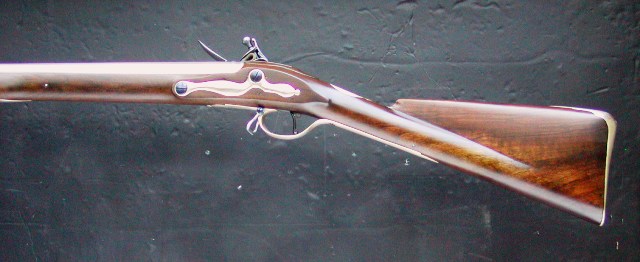
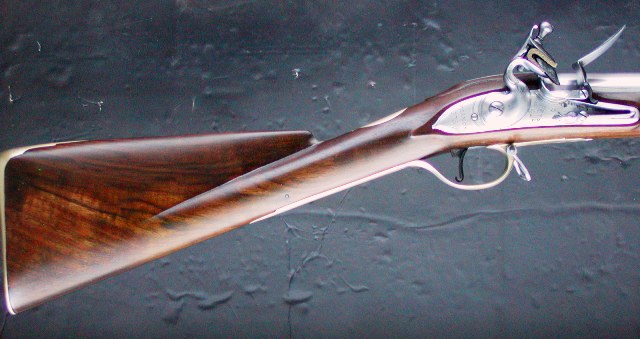
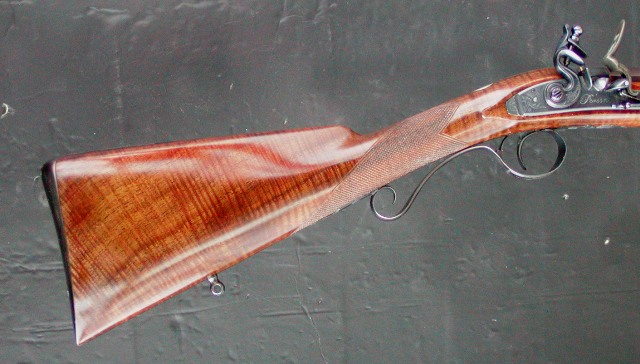
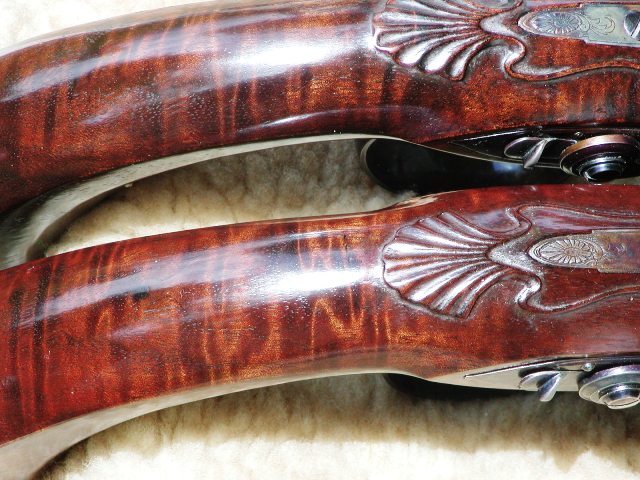
Take your time! The finish is the heart and soul of this project, it's the first thing people look at when they ask to see your rifle to admire it or in some cases, scrunch up their nose once they see a shoddy looking stock finish. One thing I love about beechwood is the gorgeous "Gold Nugget" figure its always has in the stock. This stuff just pops out like crazy with a dark finish, especially when the sunlight hits the stock.
Remember, those classic patina muzzleloaders we see from the 1700-1800s looked NEW at one time and over use, took on that patina due to hard use in the field. Let your muzzleloader take on that patina naturally over the next 10-20 years of use. Don't do a sloppy job and use the excuse of "Ahhhh! they all looked like this in the old day!" because they did not all look like that in the old'n day!
One other tip I can offer while applying the finish is that when it sets up, do yourself a favor and place the lock back into the stock, as well as the patch box! Any drips into the lock area or patch box can easily build up over time, causing fit issues. Replacing these parts will help cut any finish out rather than let it build up until you really have a problem!
It's also a great idea to install these parts while you buff the stock with steel wool. Keep the edges sharp and clean without digging through the finish, into the stan/wood, leaving light marks. All you need is the weight of your 2 or 3 fingers while you polish the finish with the steel wool.
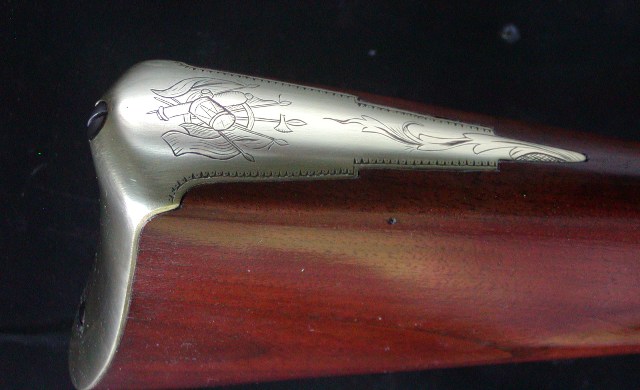
Note the brass! I lightly buffed the brass with 120 grit sand paper ( Sand in ONE direction ) and then used
Birchwood Casey Brass Black on a cotton ball and wiped/rubbed the product in until I got the desired color. I normally go for a pitch black color because by the time I wash the part afterward, dry it and then wax the part, some of it rubs off and leaves a beautiful antique patina look.
This really is a fun product to use! It does a wonderful job of safely antiquing brass and a whole lot easier than letting it age naturally.


