My Apprentice and Her English Fowler

Muzzleloading Forum

Help Support Muzzleloading Forum:

This site may earn a commission from merchant affiliate links, including eBay, Amazon, and others.
Hi,
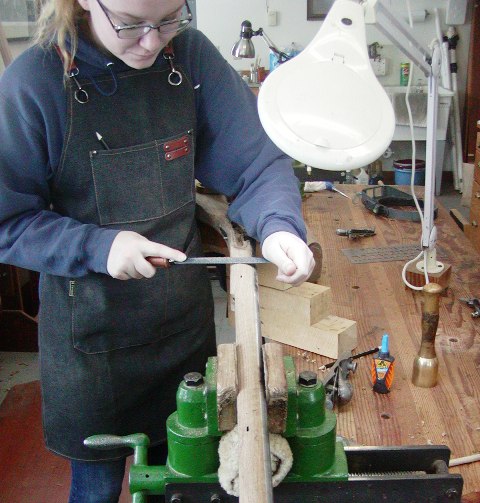
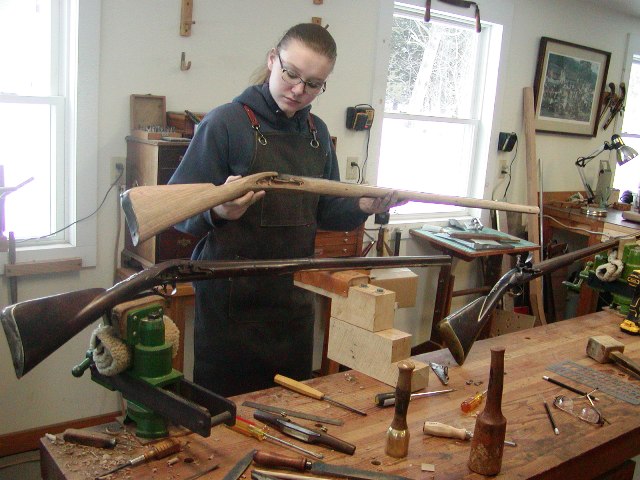
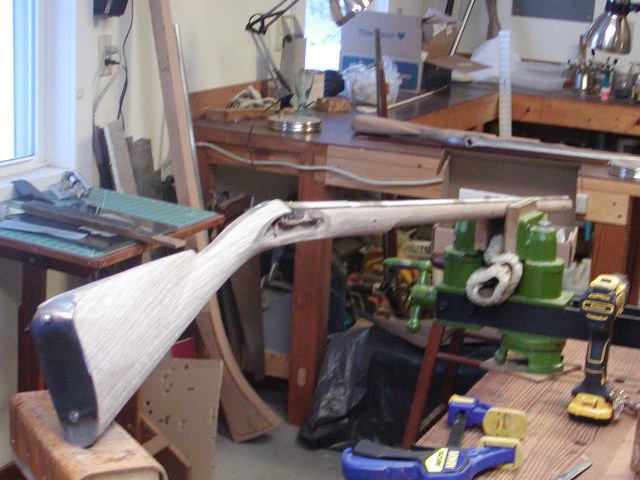
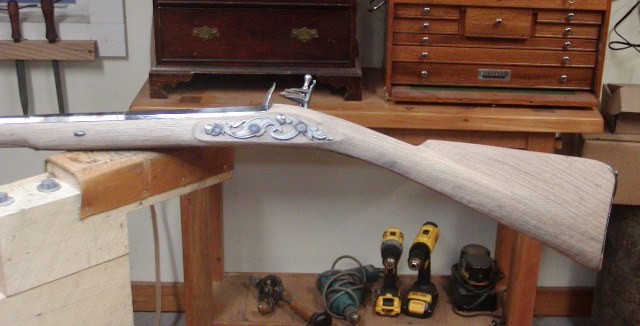
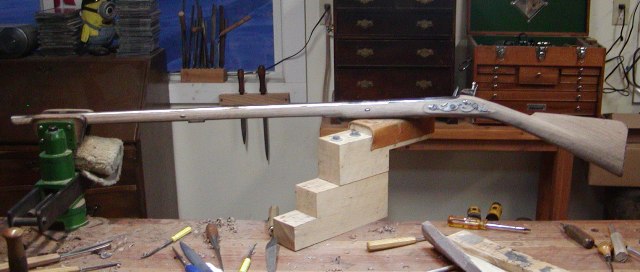
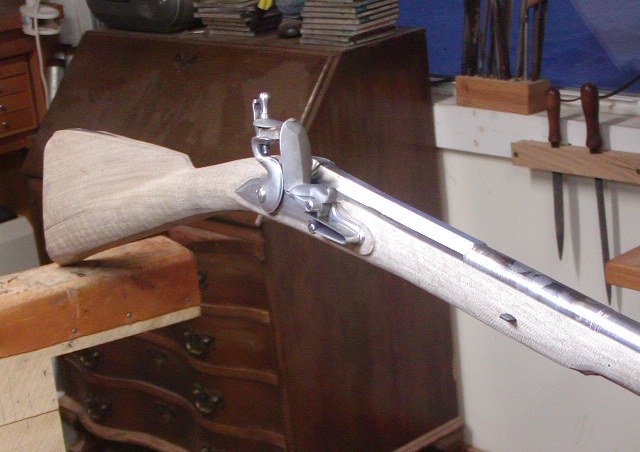
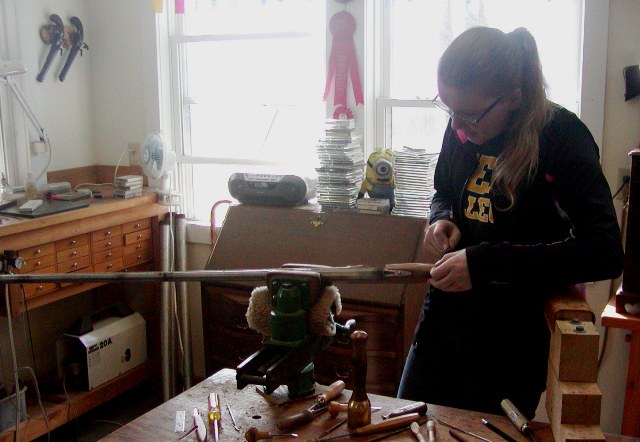
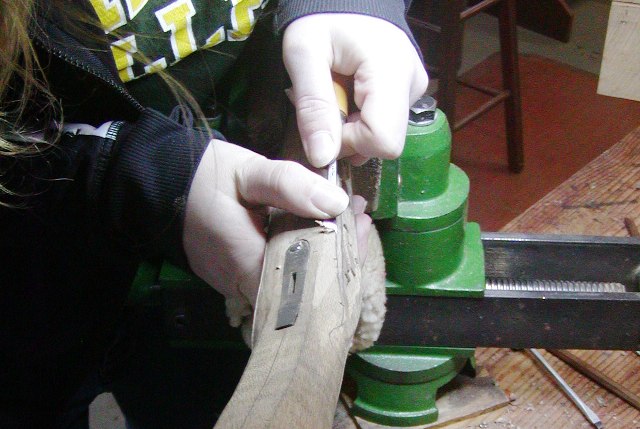
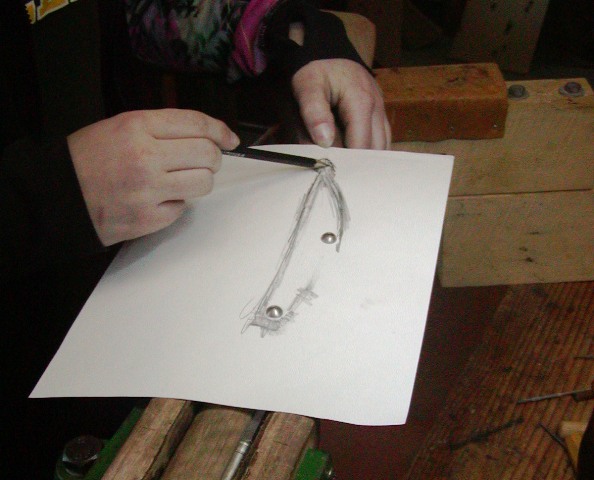
Thank you all for looking and the nice comments about Maria. She is pretty special. We spent most of today preparing her tools and then packing them to ship to Ian Pratt. She should have a good set up for the rifle workshop and a nice nucleus of tools to build on in the future. We did manage to get going on slimming down the fore stock on her fowler. I've described this before but I draw two guidelines on the stock. On this gun one is 1/4" below the top edge of the barrel channel and the other is 5/16" above the edge of the ramrod channel. Using a block plane, Maria cuts even flats using those guidelines such that the fore stock looks a little like the side of an octagon barrel.
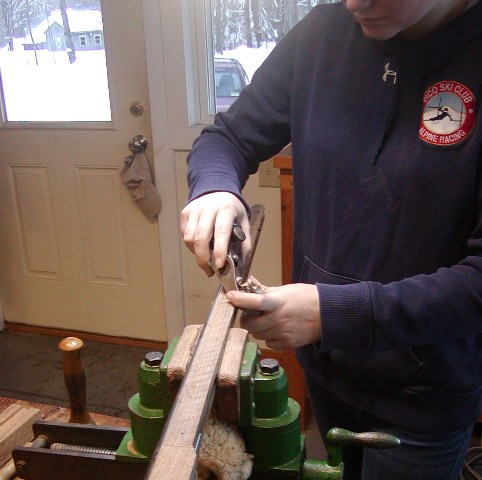
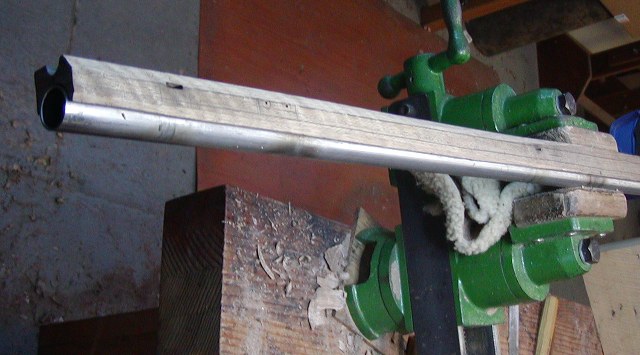


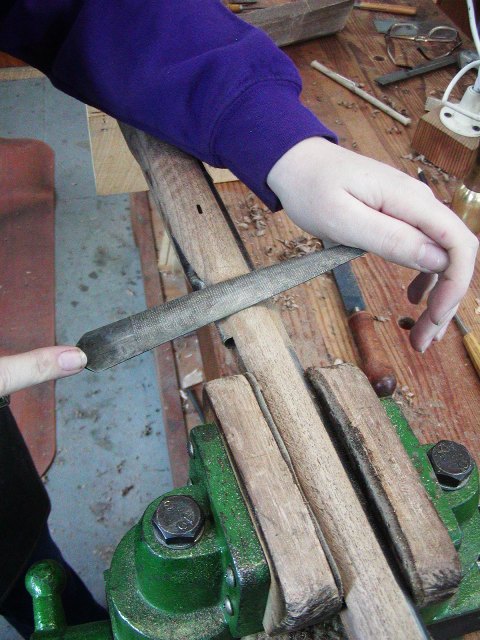
She planes to about 1/16" from the barrel on the top facet and leaves about 3/32" for the top of the ramrod channel. Next she rounds the flats using a pattern maker's rasp. In about 20 minutes she has one side down almost to final profile.
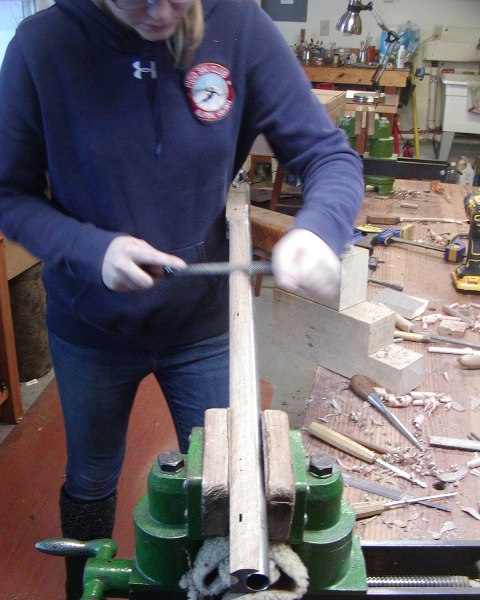
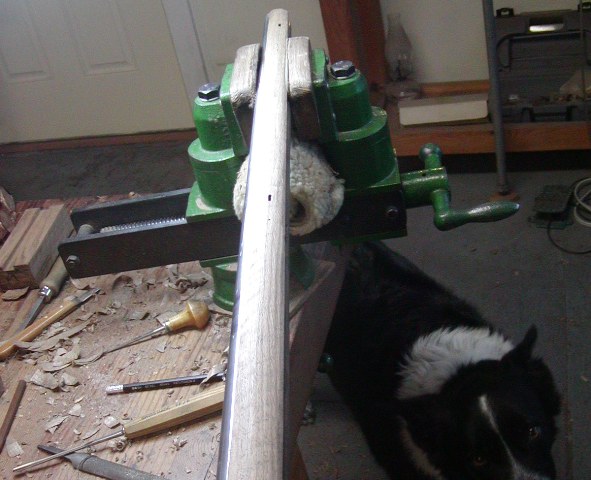


Willow came in to inspect the work. She is a tough critic. Eventually, more wood will come off. As Allen Martin says, we will take off wood until scared, and then take off a little more.

dave
 
Hi,
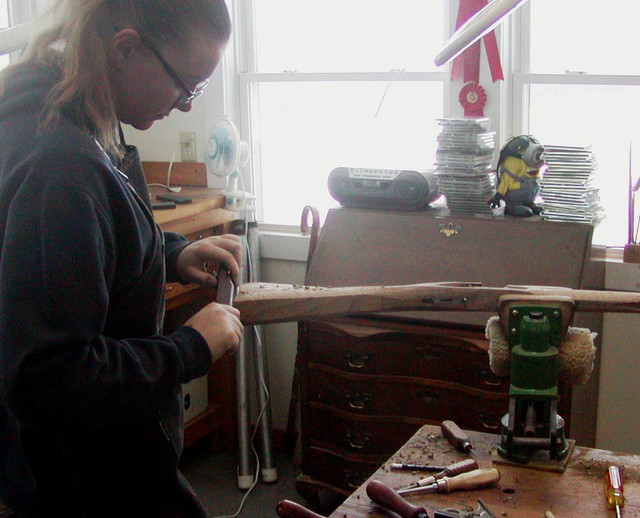
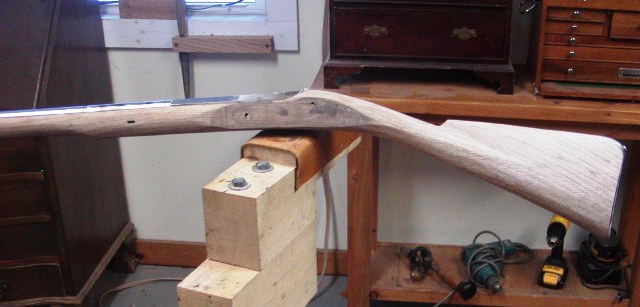
Thank you all for encouraging this project. The further along this goes the better the experience becomes. Big long day today. Maria really pared down the stock. The first step was finishing shaping the other side of the fore stock.


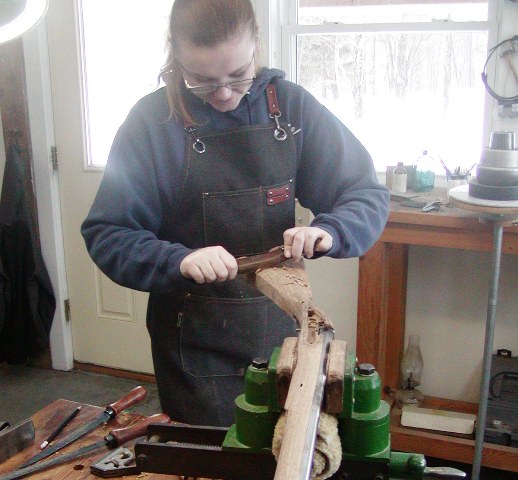
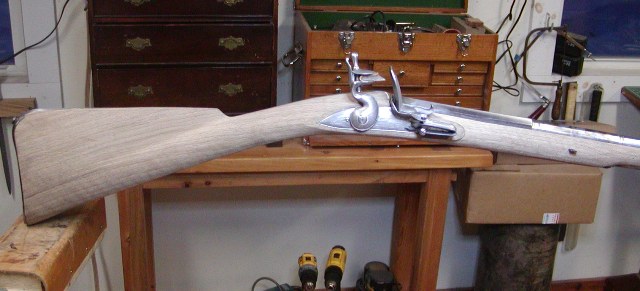
Then she shaped the stock between the lock and rear ramrod pipe. That was 100% pattern maker's rasp work. Next she refined the butt stock.


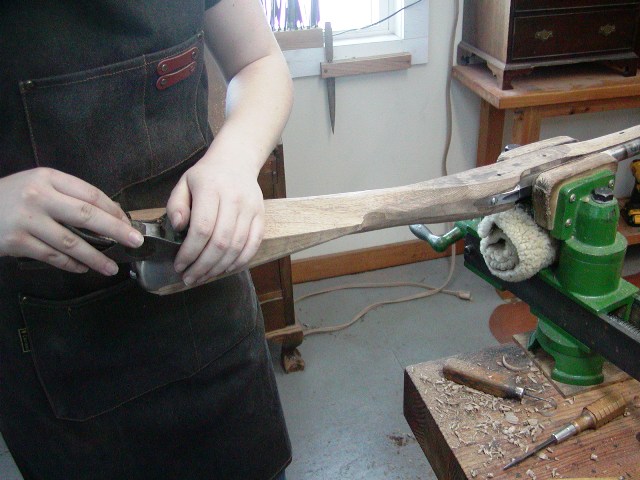
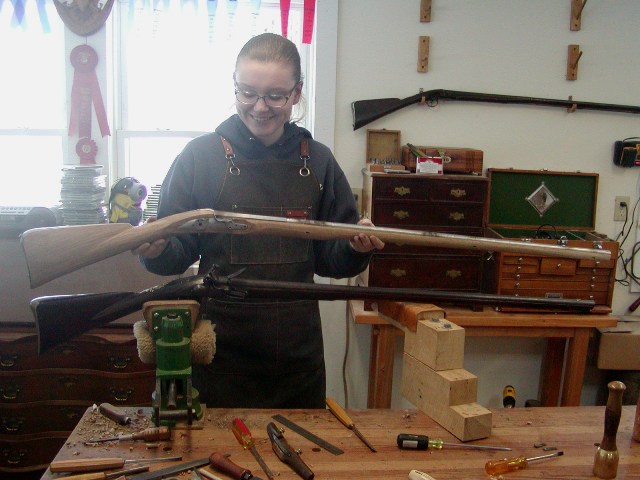
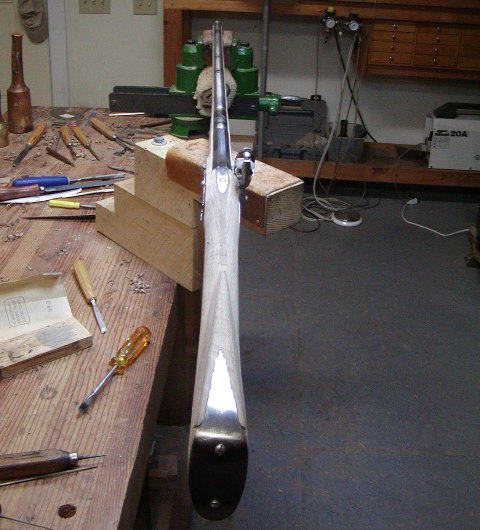
She used an old spoke shave that was my great great grand father's and probably made in the 1860s. It was the perfect tool to shape the bottom of the butt stock. Then she used an old Stanley block plane that was made during the Depression years to shave away wood from the sides of the comb. The butt stock is quite flat on either side of the comb based on the original guns we are using for models.


It is a invaluable to have several fine original English fowlers from the 1760s on the bench while building this one.


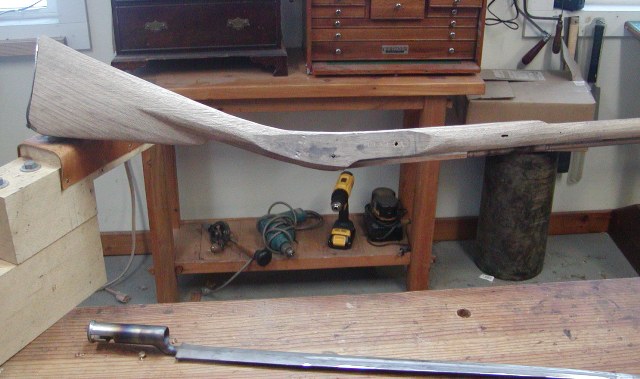
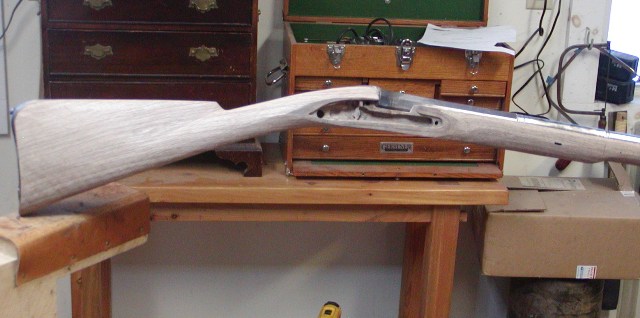
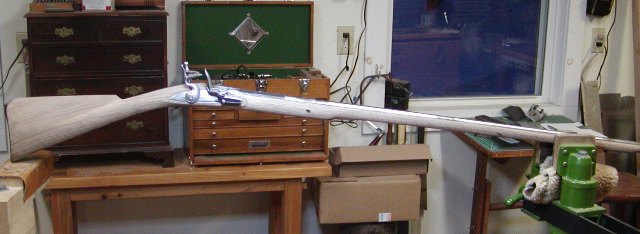
Maria took off a lot of wood and began final shaping the lock and wrist. With my help and the original guns as guides, she made a good start getting the basic profile right. It will be refined as we go. A lot of wood needed to come off the throat of the stock and in that process, Maria almost wiped out the mortise for the trigger plate. That is OK. The plate can be inlet deeper but it it the reason we did not pin the trigger. We knew the throat would be thinned somewhat. Inletting triggers, trigger plates, and trigger guards, and pinning them in place too early is foolish. Let the stock evolve as you want and place the parts in it rather than let the parts dictate what the stock looks like.


The stock is still evolving and will be refined more as we go. The angle of the baluster wrist still needs work but the fowler is coming out of its shell. It will be elegant and fits Maria well.


dave
 
Can't wait to show Maria's article to a couple folks that want to learn to build a rifle , that are having trouble simply learning to use basic tools.
 
You mention some work was pattern makers rasp work. Why those and not others?

I'm impressed by your teaching technique.
Hi,
They simply are the best for that kind of work. There are other rasps but the random pattern of stitched teeth clogs less, cuts faster, and leaves a smoother surface behind. I use several. I used to use Nicholson #49 and #50 pattern makers rasps until they were no longer made in the USA. Their quality declined after that. Now I use French hand stitched rasps. I have a large medium cut Auriel, which is great for smoothing large flat and curved surfaces. I have 3 8" Liogier half round sapphire rasps in different cuts and then my secret weapon, the 12" Liogier sapphire gunsmith's rasp. That too is invaluable for shaping butt stocks and combs. The long length allows you to rasp from the butt plate end without rapping your knuckles on the edge of the stock. Finally, my StewMac Dragon rasp in fine cut is fantastic. It has a very pointed spear shape in very shallow half round that gets into tight corners but can also smooth large flat and curved surfaces. It leaves a very smooth finish afterward reading for scraping ort sanding.

dave
 
Dave

I looked up the gunsmith rasp. It's something I can use. What grain size do you recommend? I have a lot of files and rasp and use them for lots of shaping tasks. I see that I need to add to the collection.

A special post by you specifically dealing with files and rasp might be useful for many. I know I would appreciate it.

Dave
 
Dave

I looked up the gunsmith rasp. It's something I can use. What grain size do you recommend? I have a lot of files and rasp and use them for lots of shaping tasks. I see that I need to add to the collection.

A special post by you specifically dealing with files and rasp might be useful for many. I know I would appreciate it.

Dave
Thank you KV very much. I will do what you requested and provide the sources for the tools.

dave
 
Hi Folks,
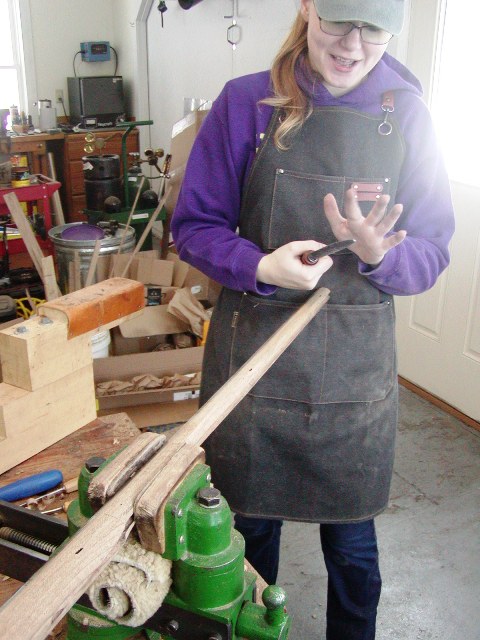
More done today. We really pared back the stock closer to final form. Ouch, I got a splinter!


Maria's dreams of becoming a hand model have been quashed by this project :D. Rasping away wood.


I showed her how to shape the subtle "schnable" at the muzzle end of the stock. It will eventually be thinner and more subtle when we are done. Many guys shape this way too extreme. It is subtle.


Next, roughing out the lock and side plate panels. Using a 1/4" gouge to cut the tight radius cove around the front of the panel but a much shallower sweep to cut the shallow cove angling down from the barrel channel, which she then smooths with round scrapers.


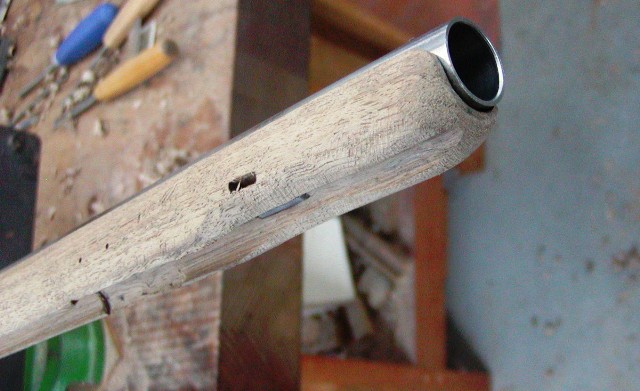
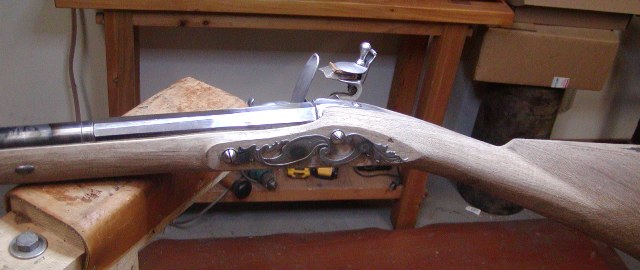
We also shaped the breech area of the stock giving it an elegant design typical of well made fowlers from the time period. Here is where we are. Note how thin the wood is on the sides of the barrel channel. It will get thinner yet. Look at the extra length of the barrel keys. They were flush with the wood when we started today.


The flats around the lock will become vanishingly small when we are done. We just leave them for now. Next up, we figure out the trigger guard and shape the bottom of the lock area.

dave
 
Hi,
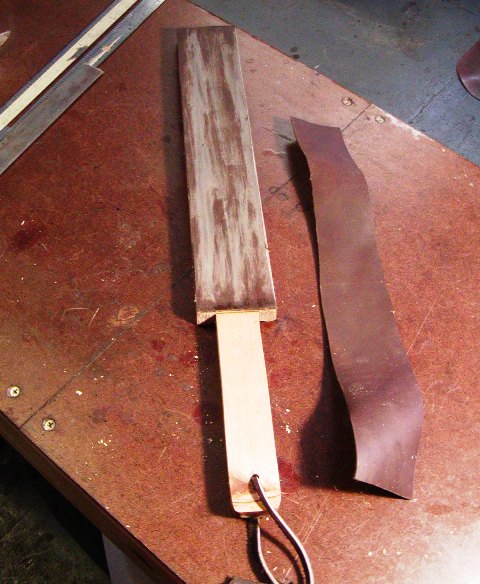
Well our last session before Maria heads to Ohio for the rifle workshop with Ian Pratt and Ken Gahagan. She needed a leather strop, so we made some. I had a perfect sized piece of old-growth Sitka spruce from Alaska. This is wood in which within the 2" width of the piece there are 73 growth rings. Anyway, my strop made for me by my dad 40 years ago is pretty beat up and needs the leather replaced, which I will do. However, I decided to make one for myself too. I have good heavy leather and away we went. We cut the chunk in half thickness wise and shaped the strops with the band saw, rasps, and belt sander. Then we placed double sided carpet tape on the top, cut the leather to fit, and applied it to the tape, burnishing it down with a steel ruler. We coated the wood with Sutherland-Welles tung oil wiping varnish, let dry, and then charged the leather with green rouge polishing compound. The nice thing about using the carpet tape is you can remove the leather when cut and worn and replace it easily.


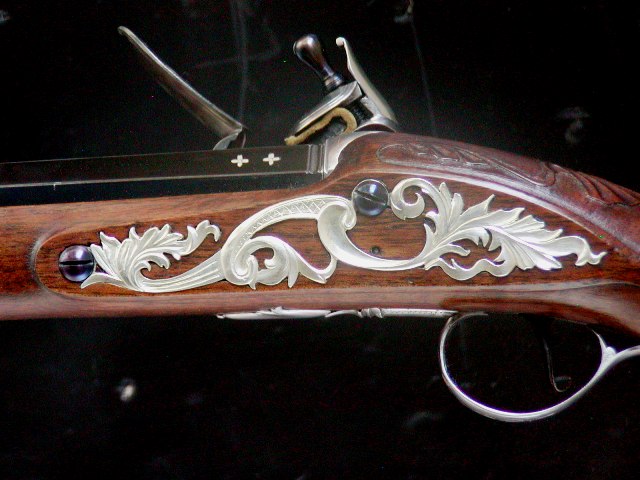
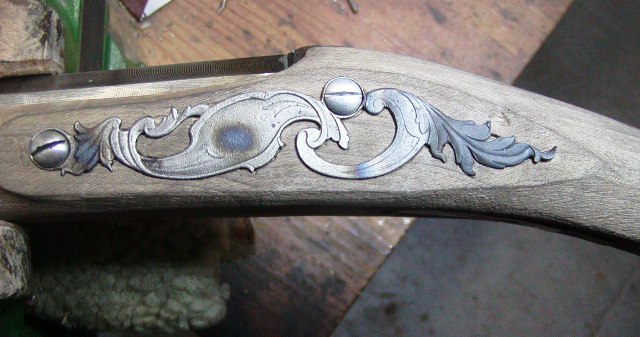
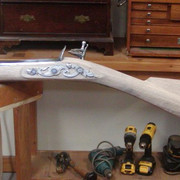
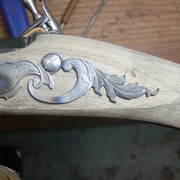
We are at the point where the side plate needs to be inlet. Maria really likes the silver side plate I made for my personal fowler shown below.


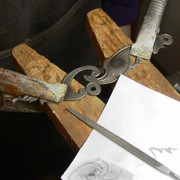
But here is the rub. Her gun is supposed to represent one exported from England and owned by a NE colonist with the means to purchase such a modest gun. They were not particularly expensive and many were acquired but they would not be mounted in silver and the decoration would be much more modest. So we discussed designing the appropriate decoration and casting it in brass. However, Maria really wanted iron or steel mounts rather than brass. So that presented us some tradeoffs. We could explore her decorative ideas more fully with non ferrous metals but if she insisted on iron or steel, our options were much more limited. She wanted steel mounts so I went with that and used her decision to create a series of teachable moments. The trigger guard will be a post itself so I won't go there right now. The side plate needs to be inlet now and Maria and I had to resolve the issue. She could not have a sculpted plate like on my fowler because that would be really difficult and time consuming made in steel. Moreover, it is not appropriate for the modest gun she is making. So we opted for the side plate offered by Chambers for their English fowler and English rifle kits. Unfortunately, it is not a perfect fit. So we made some changes. The tail of the side plate dropped too low.


We changed that by cutting into the side plate with a jeweler's saw. Then heated the plate at the juncture red hot and bent the rear up at the cut with pliers. That did the job. We also added some details to the side plate to make it look a bit more sophisticated. Then Maria, filed the edges and made it ready for inletting.


When she comes back from Ohio, we will inlet the plate.

dave
 
Hi Folks,
Kind of a long hiatus as Maria attended the Canter's Cave rifle making workshop with Ken Gahagan and Ian Pratt. She had a great time there and really appreciated the instruction by Ken and Ian. Maria fully recognizes the opportunity she was given and came home a much better gun maker. She just cannot stop smiling thinking about Ken's Formula 1 driving of a Walmart motorized shopping cart or Ian's bonzai riding of the wheeled carts in the shop. It was an experience she will never forget.

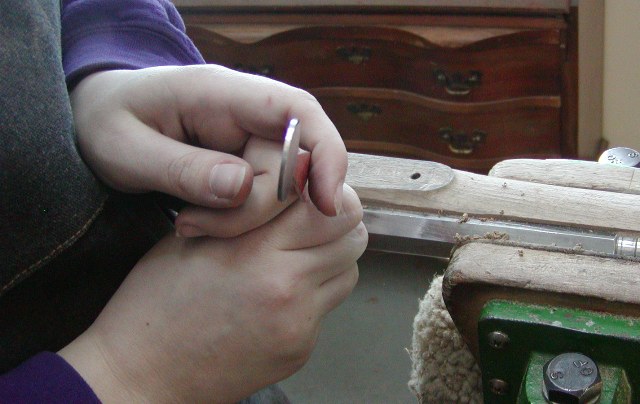
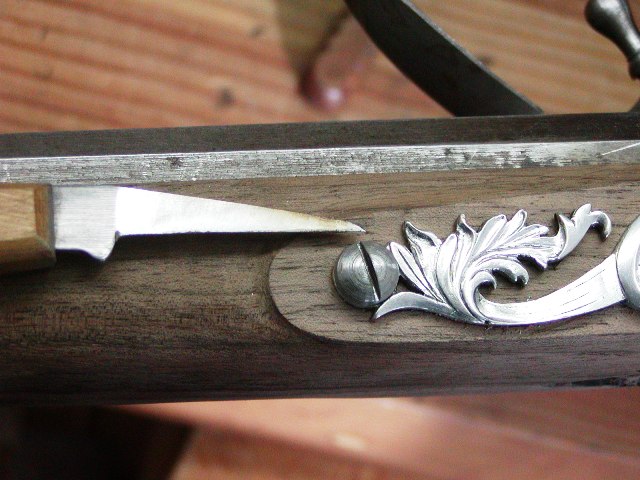
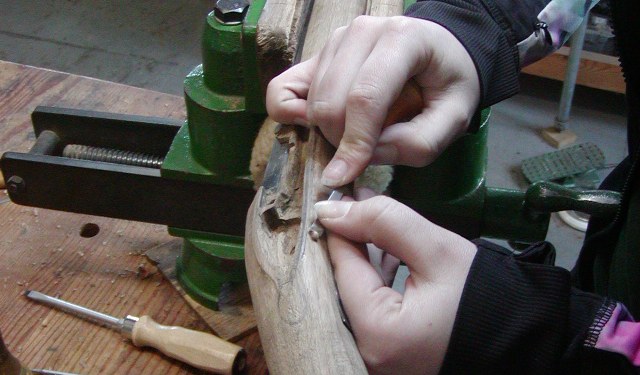
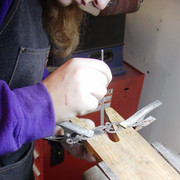
Back in my shop, it was time to inlet her fowler side plate. Maria had previously refined the plate and filed draft on the edges. Now it was time to cut the mortise. First, she scribed the outline of the plate using my inletting knife.


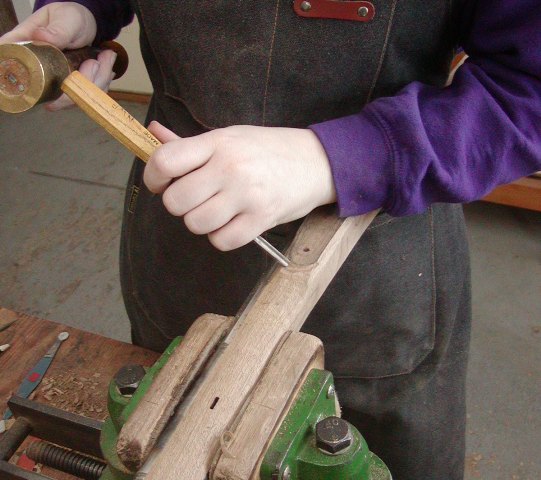
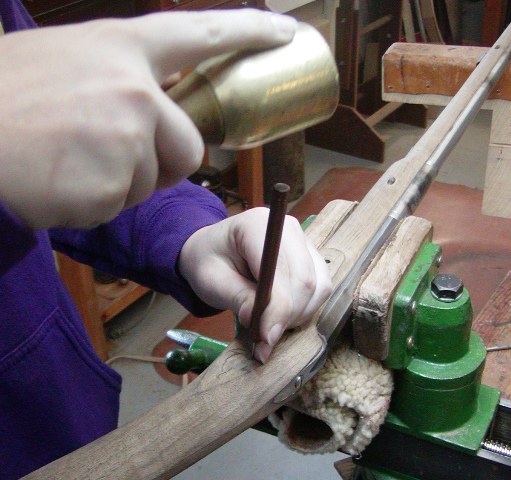
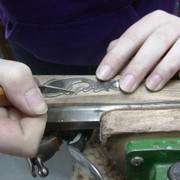
Once lightly scribed, she stabbed in the borders.


Then she back cut the edges and removed the wood from the mortise, which is only about 1/16" deep.


And she was done. This was the first side plate she ever inlet. She had one small chip come out near the tail of the side plate, which we will fix. She did a superb job.

dave
 
Hi,
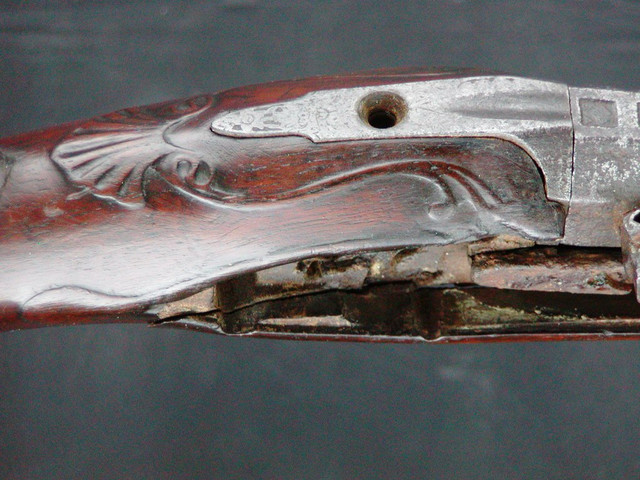
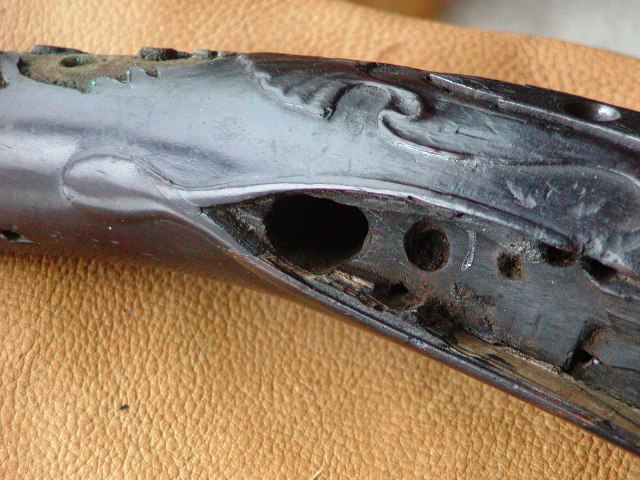
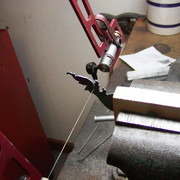
Thank you all for looking and your encouragement for Maria. Today we started cutting the lock moldings. The Brits did not fuss over them like some Germanic makers and modern makers. They did not worry about tight and precise cove moldings, complicated details with respect to the beaver tails or nose of the lock panels. They did not even worry about the panels being symmetrical or even tying them in with carving around the standing breech. Typically, the molding was prominent around the tail of the lock and the tear drop beaver tail, but often just faded out as it approached the nose of the lock panel and the bolster of the lock near the breech.


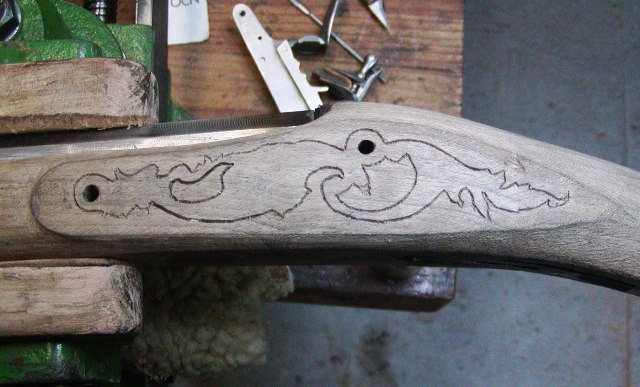
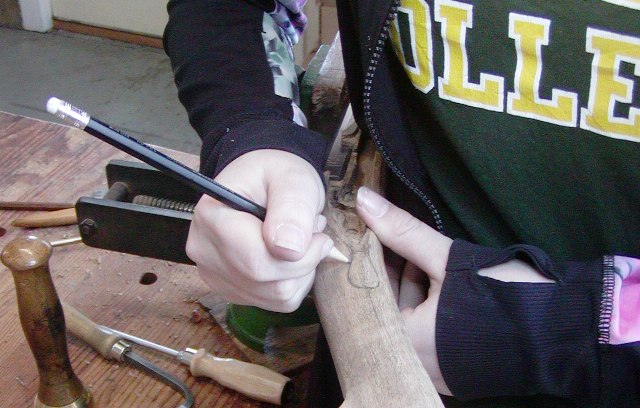
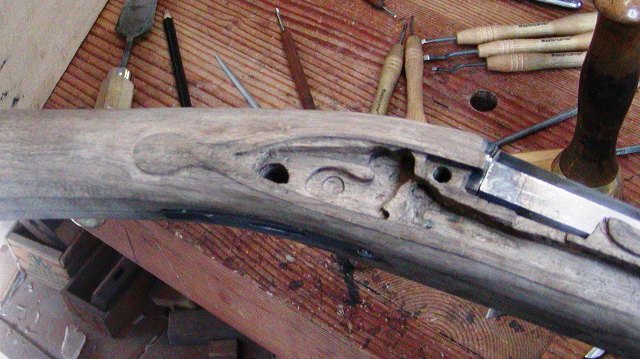
So on Maria's gun, we followed the same style. We finalized the macro shaping of the lock and side plate panels and then penciled in the outside border of the molding surrounding the lock.


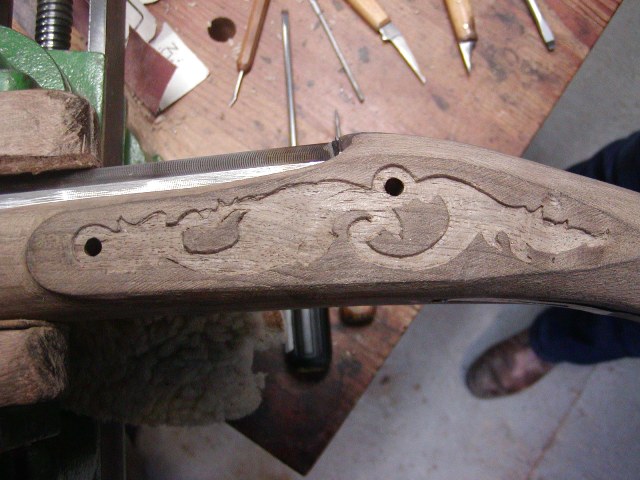
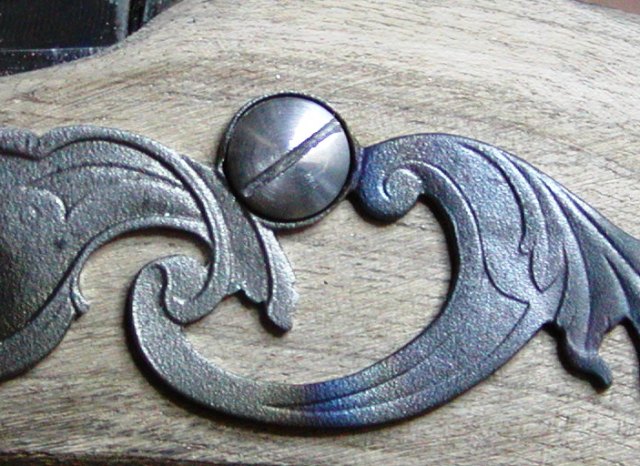
Most modern builders seem incapable of producing authentic lock moldings for English fowlers. They just cannot conceive how thin they were on mid 18th century guns. Anyway, I am teaching Maria how to get them right. After outlining the molding, Maria stabbed in the edges and removed the background.


She did the lock side and then started on the side plate side. We transferred the outline of the moldings to the side plate side by making a rubbing of the lock side and using it as a template for the other side.


The lock bolts registered its position on the other side. Then she traced it and drew her guidelines for the side plate moldings. On most British guns the moldings are not mirror images but they start and stop at the same places on the stock. We ended the day with Maria starting to cut the molding on the side plate side.

dave
 
Hi Guys,
Maria probably will post stuff during summer. Right now she has her last two months of high school to finish, she works at horse stables, at a local restaurant, 2 days a week with me, and has chores at home to do. I don't know how she does it particularly when she often has several hours of homework to do as well. She really doesn't have time to be active on this or any other forum right now. She worked at the stables the afternoon before our last session and the owner asked her to exercise several horses that were mostly cooped up during winter. To say the least, they were pretty wild so her legs were so tired the next day she had to work from a stool in my shop. Her time working with me and on horseback are her times to decompress and escape the drama of still being a high school student, which includes band, chorus, and running the school newspaper.

dave
 
Hi Guys,
Maria probably will post stuff during summer. Right now she has her last two months of high school to finish, she works at horse stables, at a local restaurant, 2 days a week with me, and has chores at home to do. I don't know how she does it particularly when she often has several hours of homework to do as well. She really doesn't have time to be active on this or any other forum right now. She worked at the stables the afternoon before our last session and the owner asked her to exercise several horses that were mostly cooped up during winter. To say the least, they were pretty wild so her legs were so tired the next day she had to work from a stool in my shop. Her time working with me and on horseback are her times to decompress and escape the drama of still being a high school student, which includes band, chorus, and running the school newspaper.
dave
With her horse experience, If she ever has freetime for another project, she will need to make a pair of flintlock dragoon pistols, or a carbine!
 
Hi Guys,
Maria probably will post stuff during summer. Right now she has her last two months of high school to finish, she works at horse stables, at a local restaurant, 2 days a week with me, and has chores at home to do. I don't know how she does it particularly when she often has several hours of homework to do as well. She really doesn't have time to be active on this or any other forum right now. She worked at the stables the afternoon before our last session and the owner asked her to exercise several horses that were mostly cooped up during winter. To say the least, they were pretty wild so her legs were so tired the next day she had to work from a stool in my shop. Her time working with me and on horseback are her times to decompress and escape the drama of still being a high school student, which includes band, chorus, and running the school newspaper.

dave
And, in her free time she does what? o_O 🤣
 

Latest posts

Back
Top