-
Friends, our 2nd Amendment rights are always under attack and the NRA has been a constant for decades in helping fight that fight.
We have partnered with the NRA to offer you a discount on membership and Muzzleloading Forum gets a small percentage too of each membership, so you are supporting both the NRA and us.
Use this link to sign up please; https://membership.nra.org/recruiters/join/XR045103
You are using an out of date browser. It may not display this or other websites correctly.
You should upgrade or use an alternative browser.
You should upgrade or use an alternative browser.
my gpr
- Thread starter ryzman
- Start date

Help Support Muzzleloading Forum:
This site may earn a commission from merchant affiliate
links, including eBay, Amazon, and others.
ryzman
40 Cal.
- Joined
- Jan 11, 2011
- Messages
- 289
- Reaction score
- 1
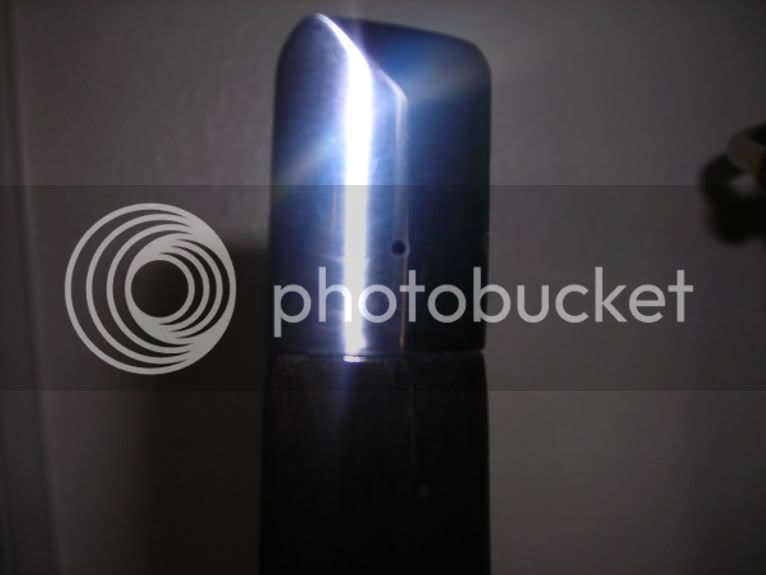
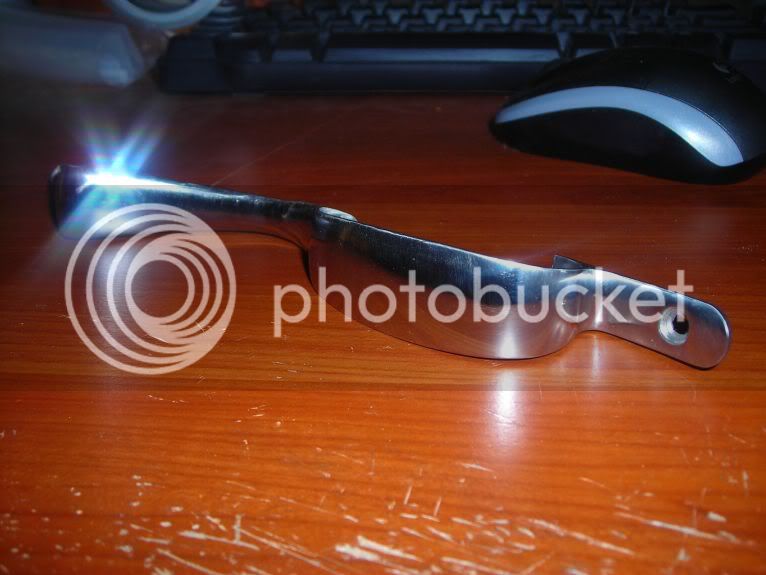
for sure im nowhere near getting them smoothed out. getting the parts smooth and shiny is such a chore. getting all the pits scratches and burs out of the parts takes lots of scrubbing. ive got a very fine file that im using first, then several levels of coarse to fine sand paper to make everything scratch free and smooth. lots of work to be done...I mention this because I can see some small scratches on your trigger guard that look like they've already been by-passed. You might want to take them out before proceeding any further. Bill
Runs!? Rubbing through!? You are working this finish WAY TOO HARD! Each coat should be rubbed into the grain, then left to dry. If you are doing it right and the heat and humidity is right, you can possibly recoat in about 10hrs. If you put it on thick, you will have all the problems you are having now and it will take forever to dry the way you want. IMHO, you are using my favorite finish and I have been around the horn with other finishes as well. It is just learning how to do it. I don't know what a run in the finish is, on properly applied finish. As far as sanding, I don't do that until a get around 5-7 coats, and then the purpose is to level the finish with the grain, not to try to remove it. I scuff it again after approx. an additional 2-3 more coats. Now I am starting to head toward the final finish and I am apply some light coats with very light scuffing between the coats always looking for just the area that needs more attention than the rest of the stock. For me, depending on the porosity of the wood and the my pickiness, it may have as many as 13-15 coats. The finish is the showing off of all your work. For my habits, I also am thinning the finish some as well, with a little bit of Japan drier in it. I have a small bowl that would used on the kitchen table for something like sauce for shrimp as a bowl to dip my fingers into to rub on to the stock. In that bowl, which is maybe about 2 1/2" dia. I will place about 1/4" at most in it and then maybe about 1/2 that amount of turpentine with about 3-4 drops of Japan drier in it. Of course this is all well mixed together. I have no idea anymore how many guns I have done this with after running the route of BLO and tung oil. These finishes are in a thing in my past, not ones I will use again.
ryzman
40 Cal.
- Joined
- Jan 11, 2011
- Messages
- 289
- Reaction score
- 1
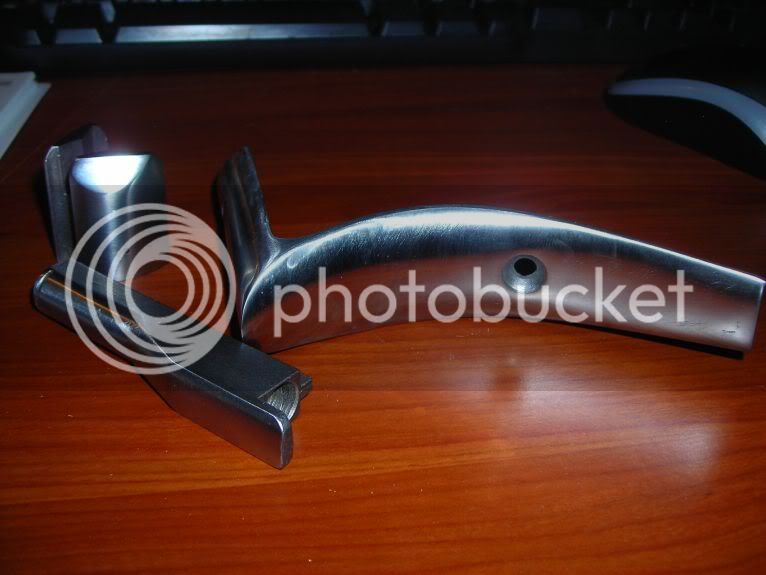
almost got these parts where i want them. there is still a few scratches and i see some imperfections...
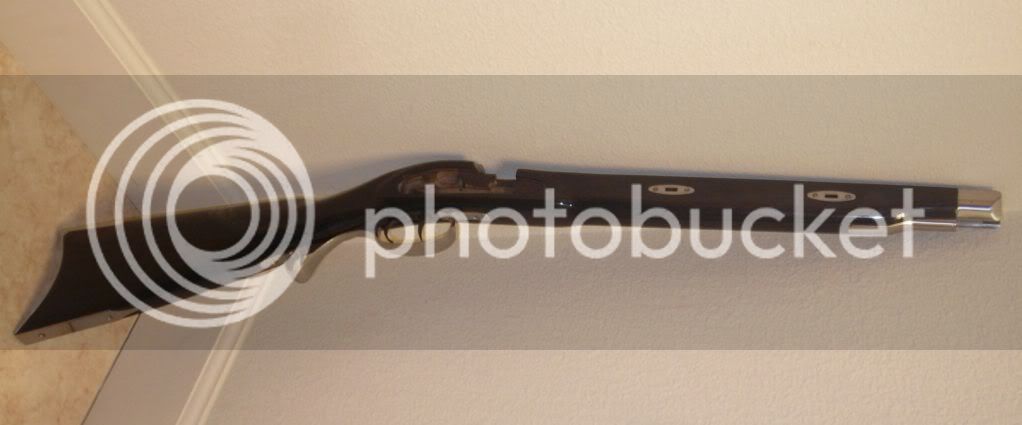
after finding an alcohol based stain my troubles with the tru oil is no more and my stock looks pretty good. will be applying the sheen conditioner after a couple more coats.

after finding an alcohol based stain my troubles with the tru oil is no more and my stock looks pretty good. will be applying the sheen conditioner after a couple more coats.
Rusty Spur 82
40 Cal.
- Joined
- Jun 16, 2010
- Messages
- 208
- Reaction score
- 1
I don't remember if you desire a glossy look to your stock or a satin look. My experience with the Birchwood Casy conditioner is that it will give your stock the satin look.If you want the glossy look then I think I would just use a wax.I remember Zonie explaining about the BWC's stock conditioner and how to apply it somewhere in a post,not sure where it is right off.I have used it to give my stock a satin look.
My way of using it is if I want a satin look the Conditioner is put on a heavy piece of fabric and is rubbed on using fairly light pressure and making sure you don't stay in one spot too long.
If you want a high gloss finish, bare down on the rag while rubbing and spend more time in an area before moving to the next one.
If you want a high gloss finish, bare down on the rag while rubbing and spend more time in an area before moving to the next one.
ryzman
40 Cal.
- Joined
- Jan 11, 2011
- Messages
- 289
- Reaction score
- 1
i saw zonies post on how to use the sheen conditioner and he says i can get a glossy finish with it. i think im sort of heading that direction however i might change my mind. im sort of making my mind up as i work the parts and continue with my coats of tru oil.
Rusty Spur 82
40 Cal.
- Joined
- Jun 16, 2010
- Messages
- 208
- Reaction score
- 1
Please don't post pictures like that without warning people to go get their sun glasses first. :wink: :v :thumbsup:
That's true but look at the bright side. (pun intended). :grin:
You now have something that is just what you want and you did it yourself. :thumbsup:
It is like no factory made gun and you learned a lot and, after your finished and looking back on it you will be mighty proud of what you've accomplished.
Unfortunately I suspect that you have caught the 'bug' by now. I hope you can afford it. :rotf:
The 'bug'? Yup. So......what are you going to build next? :rotf:
ryzman
40 Cal.
- Joined
- Jan 11, 2011
- Messages
- 289
- Reaction score
- 1
woah zonie... one project at a time! i still have the lock, which is very hard to polish because its perfectly flat and smooth and the sandpaper has a hard time biting the scratches..., and the barrel needs to be blued.
i have been bit by the bug for sure. its bad too, but luckily my wife likes me to keep busy and she enjoys criticizing my efforts (what about this scratch, or is that smudge supposed to be there)... shes already asked me about my next rifle build which is a good sign as long as she doesnt find out how much its gonna cost : )
i like the look of the H.E. Leman trade rifle from totw in flint, 54 cal, with iron furniture. if i do decide to undertake that project, i will need a ton of help from the members of this forum. options are still open and i have some time to make my final decision.
but like i said first things first. i look forward to finishing the gpr and going to the range and shooting it and from what ive read i wont be disappointed.
Just don't try and rush it now.
After putting in the work you have invested it would be a shame to screw up the remaining items in the interest of speed. :hmm:
After putting in the work you have invested it would be a shame to screw up the remaining items in the interest of speed. :hmm:
ryzman
40 Cal.
- Joined
- Jan 11, 2011
- Messages
- 289
- Reaction score
- 1
does it really take that long to get an order processed? what if i call ahead and ask if all the parts are in stock? can i get it sooner? ill take that into consideration when i order the kit.
ive got spring break coming up next week so i will try to get the lock plate polished and finish draw filing the barrel and get it ready for bluing.
what should i do with the ramrod? i dont put tru oil on it do i? should i just stain it.
the part that holds on the ramrod to the barrel, do i need to sand that down smooth? will the hot bluing process take to an non sanded part?
Rusty Spur 82
40 Cal.
- Joined
- Jun 16, 2010
- Messages
- 208
- Reaction score
- 1
I put a few coats of the BWC's filler on my ram rod just to seal the pores and followed up with a few coats of Tru Oil.The ram rod will be exposed to some rough treatment when used.
Before applying any sealers or fillers ask yourself, "Do I really like the color of the ramrod?"
If the answer is "yes" then do as Rusty Spur suggested.
If you want it to be dark they lightly sand it and apply the stain before applying the sealers and oils. Actually, I skip the sealers and go with the Tru Oil. It does penetrate the wood so it does provide a pretty tough protection against the water/fouling etc that the ramrod will be exposed to.
ryzman
40 Cal.
- Joined
- Jan 11, 2011
- Messages
- 289
- Reaction score
- 1
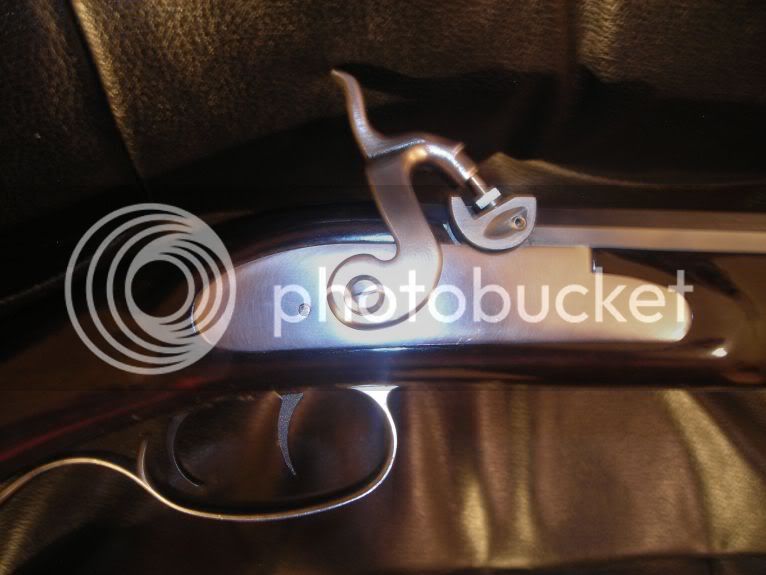
ok so i got done with the lock. I had issues trying to get all the pitting and scratches out of the metal and finally used my bench grinder to get a somewhat decent surface to begin sanding. there is some swirl marks in the metal but i am ok with that. all the metal parts have some swirl marks so i can live with it. the hammer nipple relationship is a little off but i will deal with that later. next i need to finish the barrel and get it blued. so far im really happy at how this project is turning out and cant really complain about the gpr kit from lyman. its been a lot of fun to put together.

Similar threads
- Replies
- 0
- Views
- 211
- Replies
- 3
- Views
- 231
- Replies
- 5
- Views
- 199


