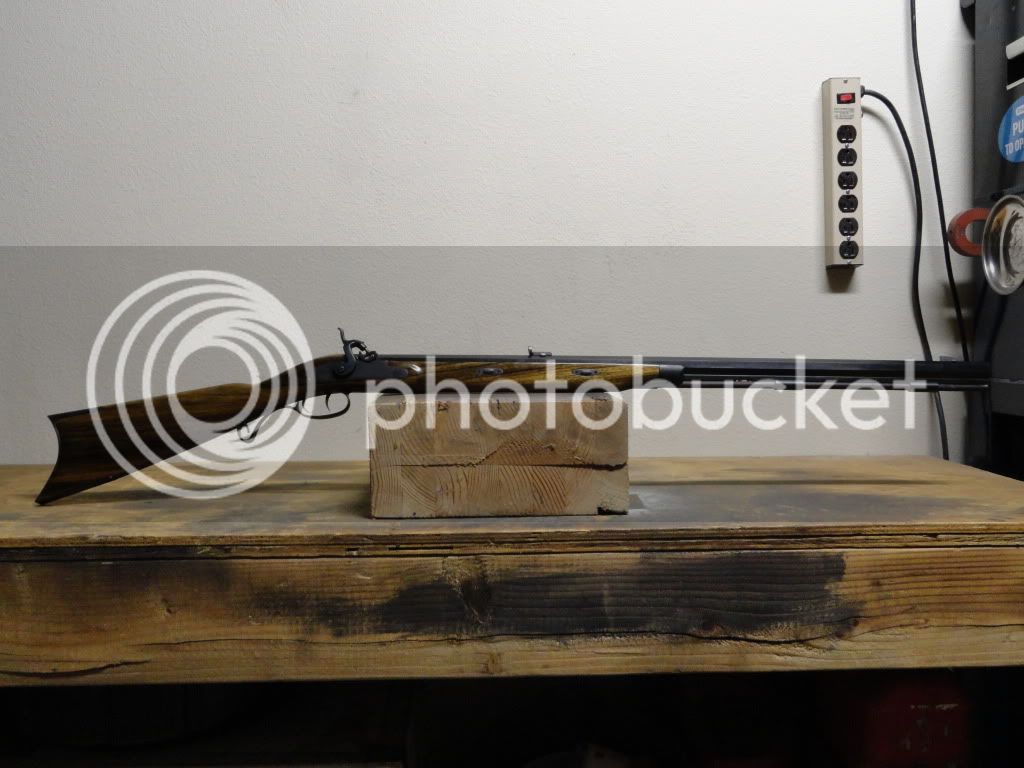
• Friends, our 2nd Amendment rights are always under attack and the NRA has been a constant for decades in helping fight that fight.

    We have partnered with the NRA to offer you a discount on membership and Muzzleloading Forum gets a small percentage too of each membership, so you are supporting both the NRA and us.

    Use this link to sign up please; https://membership.nra.org/recruiters/join/XR045103

my gpr

Muzzleloading Forum

Help Support Muzzleloading Forum:

This site may earn a commission from merchant affiliate links, including eBay, Amazon, and others.
does it really take that long to get an order processed? what if i call ahead and ask if all the parts are in stock? can i get it sooner? ill take that into consideration when i order the kit.

I have tried to get several kits from TOTW and never got one because of some item not availible. Usually the barrel, hope your luck is better.
 
i know... every kit i get somewhat interested in has some wait or out of stock next to the barrel and caliber i want. i will be getting my kit from somewhere else. also totw seems really expensive to me at least based on the price they ask for the lyman gpr kit. it was a lot more than where i ended up buying it. they really do have some beautiful rifle kits though. if only they would keep the parts in stock!
 
guys what other options do i have to finishing the barrel on my gpr. so far i know about cold bluing, hot bluing, and browning. is there any other way?
 
hopefully roy can comment on this, there is a bare metal finish that seems to work well. I'll see if I can find it
 
There is "aging".

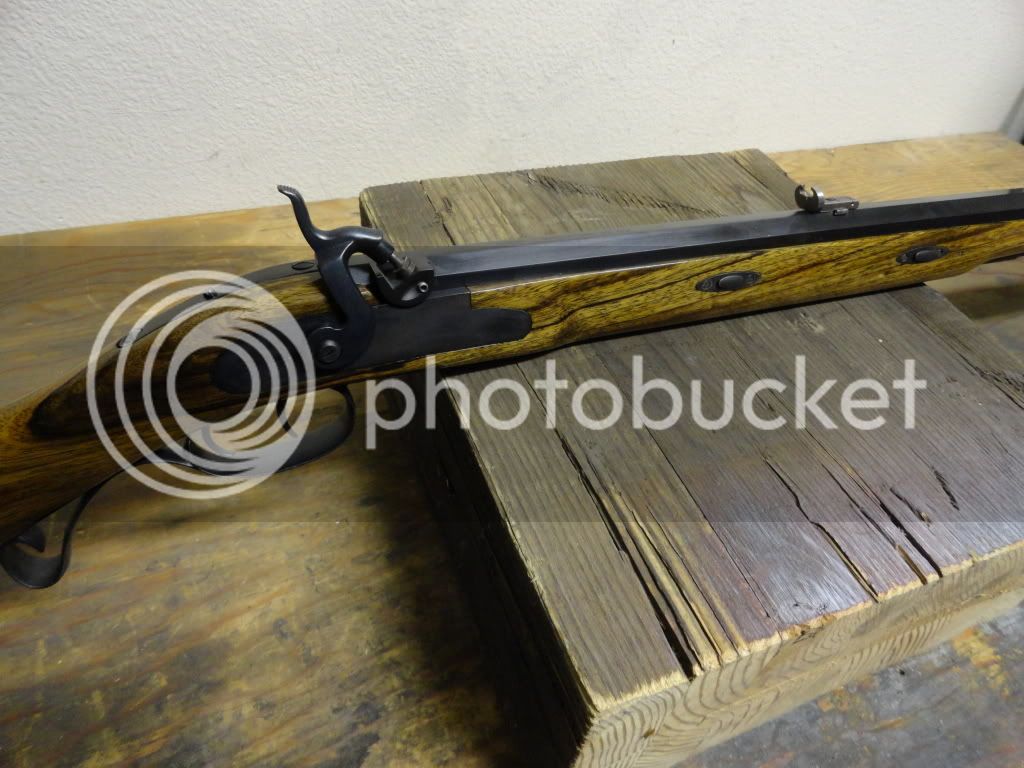
It is based on the idea of creating the condition of a well used poorly taken care of gun with most or all of the finish worn off of the barrel and lock.

Several different methods have been used varying from painting the de-oiled barrel with yellow mustard or painting it with vinegar and letting it sit for a day before washing off the stuff and reapplying it.

Some have taken to wrapping string around the barrel in a spiral pattern and soaking the whole thing with vinegar. That sometimes produces a spiral pattern on the barrel.

Navel Jelly, commonly used to remove rust will etch the surface of the barrel if it is left on for a long period of time. This produces a soft dull gray metal look that some like.

Distressing the surface by applying a chlorine bleach for a while will produce severe rust and pits making the barrel "age" 100 years in about 15-30 minutes. The loose rust is wiped off leaving a rusty mottled pitted surface.

Some have combined these with an application of cold instant bluing like Perma Blue. After applying the quick bluing agent the bluing is rubbed off in the areas where a hunters hand would have grabbed the gun to carry it. This is sometimes followed by mustard or other rusting agents. Navel Jelly will strip the cold bluing (or any other type of bluing) so most folks do not use it for treating a instant blued surface.

There's the Polished surface which is buffed to a mirror like finish. Surprisingly, a mirror bright finish is quite rust resistant if it is waxed.

That's just a few of the things that come to mind at the moment. I'm sure you will hear of others. :)
 
I finished the GPR yesterday and went to shoot it and take pics. This was a really fun build and i really like how it fires. great balance and positive ignition. cant wait to take it to the range and sight it in.
gprfinal3.jpg

gprfinal2.jpg

gprfinal1.jpg
 
Great job!!!!!!! :thumbsup: :thumbsup: :thumbsup: :thumbsup: :thumbsup: :thumbsup: :thumbsup:
 
Really look great.I coulg not tell from the pic's
for sure,but did you end up rust blueing the barrel?
Fly :applause:
 
Great photos of your rifle there partner.You did a very nice job building it.I couldn't help noticing that your lawn needs mowed though and you just have to do something with that rattle snake sticking his head out of the crack in those rocks. :wink:
 
Fly said:
Really look great.I coulg not tell from the pic's
for sure,but did you end up rust blueing the barrel?
Fly :applause:
hey fly,
no actually the barrel was hot blued. its a pretty neat process were the part is dropped in 3 types of baths at around 280 - 300 degrees. the first bath was a degreaser, then after rinsing it went into the potassium nitrate, sodium hydroxide solution, and then into the last bath which stopped the process somehow. im no expert but it was very interesting to watch and the end result looks great. oh and it only cost me a cool 20 bucks which i thought was very reasonable. trick is finding someone that does it. Lassen County Community College in Susanville California has a gunsmithing program and i got in touch with one of the staff members. he told me thursday was bluing day and i made the 85 mile trip. it was well worth it.
 
Man if I could do my barrel that cheap I would jump on it.I don't think the pic's do your gun just.

I can tell it your gun is very slick.My wife doe's not know I have this kit, & I have to sneak out in the
shop & lock the door to work on mine.

Fly :v
 
fly get rid of the cheek rest and get all the wood even with the metal parts. then start polishing the metal like crazy, then think about stock finish. i went with an ebony alcohol stain and tru oil. dont use minwax. and try to get those metal parts shining as best you can. i know its a labor of love but well worth it in the end.
i know how you feel with hiding the project from the wife. she knows i am interested in another project but un aware of the cost. im looking to spent about a grand on my next rifle kit. too much damn money if you ask me but where else can i get a custom rifle from?
just tell yourself there is always more work to do and you will end up with a beautiful piece of work. best of luck fly!
 
hey fly,
if you want to keep your cheek rest do it... i was in the middle of a birthday party slash barbecue when i wrote that last post. so take it with a grain of salt k.
ryz
 
Your fit of crescent shaped butt plate to wood impressed me.I find that to be very difficult to accomplish.
 
thank you alpha, but i have to admit the kit was very well made. the butt plate only needed a little adjustment to make it fit perfectly. lyman really makes a great product in their gpr kit.
 
so thank you all for your help and advise. i really enjoyed building the lyman gpr and i hope that i might have persuaded some of you to get your own kit. it turned out not to be terribly difficult however the more time you invest the better it will be. really great first project in my opinion.
thanks again!
 
Well Ive been looking at my ebony stocked rifle for the last year or so and finally got tired of it... I took some more wood off as it had a belly, sanded the old finish and stain away, applied 7 coats of true oil, cold blued the metal, and in my modest opinion, looks much better than my first attempt. Im pretty happy with it and look forward to making some smoke when it warms up a bit.

DSC00161.jpg


DSC00169.jpg


DSC00168.jpg
 
Nice build!!

I have just started mine. BTW how do you remove the endcap??

Thanks

IMGP5905.JPG[IMG]

Edited to try and add a jpeg picture... still no luck GRRRR!!!
 
I hate cold blue with a passion. It's only a coper wash with a chemical in it to turn the coper sulfate wash black!! When it was firet made it was refered to a TOUCH UP blue for replaced screw heads etc. Does not wear very well.
Really nice gun, by the way.
Now , remember that thes is my opinion only and as to opinionsare like A#*holls. Every body has one!!!
Bob Reader
 
Back
Top