• Friends, our 2nd Amendment rights are always under attack and the NRA has been a constant for decades in helping fight that fight.

    We have partnered with the NRA to offer you a discount on membership and Muzzleloading Forum gets a small percentage too of each membership, so you are supporting both the NRA and us.

    Use this link to sign up please; https://membership.nra.org/recruiters/join/XR045103

Octagon to Round Barrel inlet

Muzzleloading Forum

Help Support Muzzleloading Forum:

This site may earn a commission from merchant affiliate links, including eBay, Amazon, and others.

Roy

70 Cal.
Joined
Dec 12, 2005
Messages
4,763
Reaction score
4
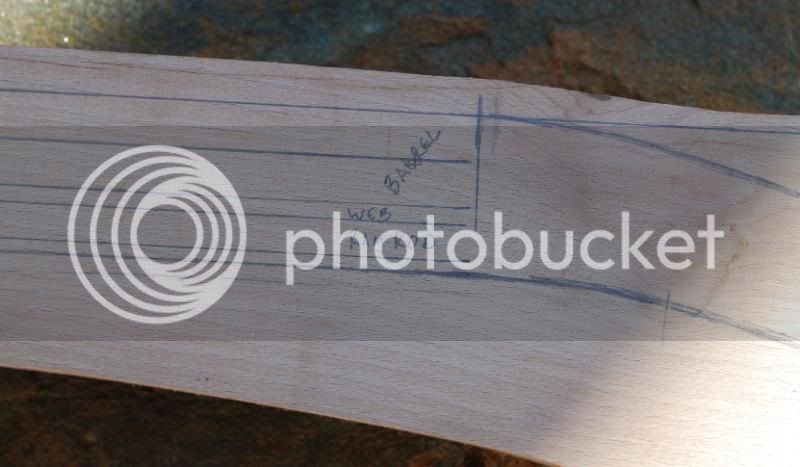
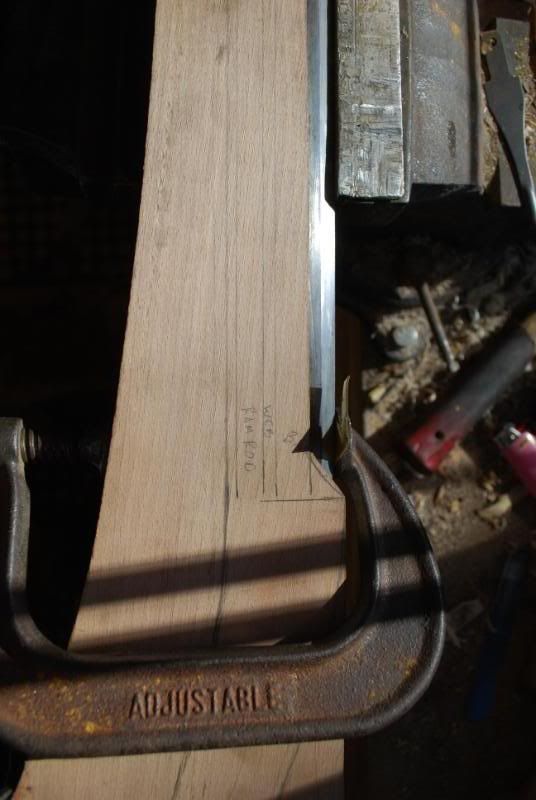
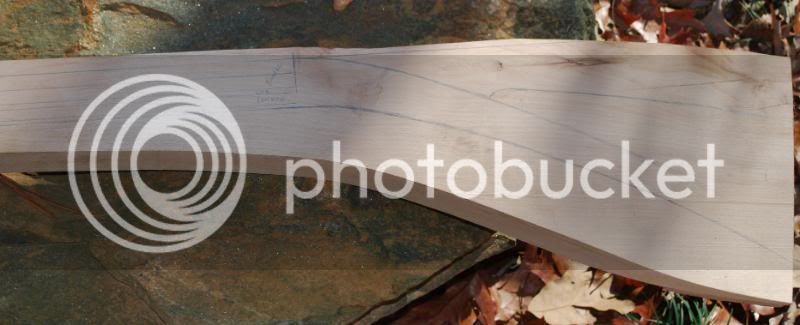
I will start out with Barrel layout.. The only measurements I get are the breech height/width and then at the muzzle.

Basic layout lines to start out from.
DSC_0726.jpg


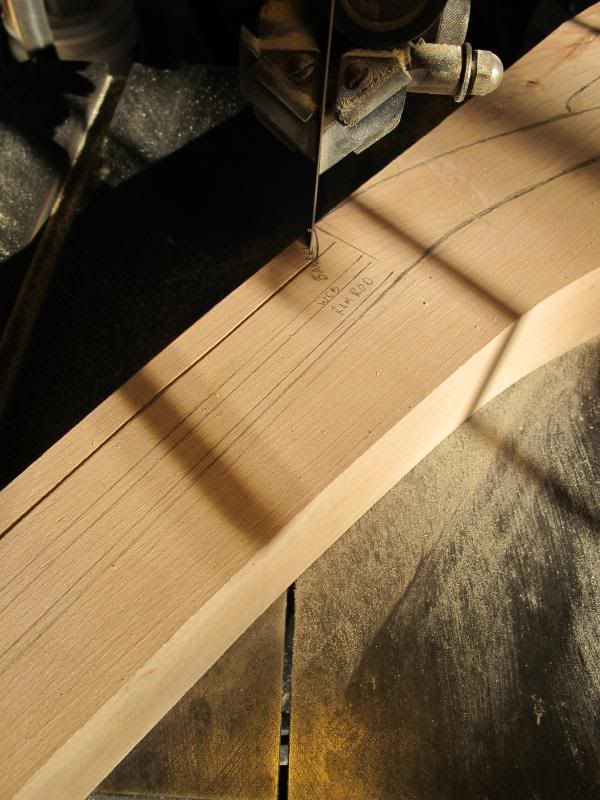
DSC_0727.jpg


Having removed the waste wood I have found where I want to have the barrel centered. Allowing enough room for the lock panels and cast off.
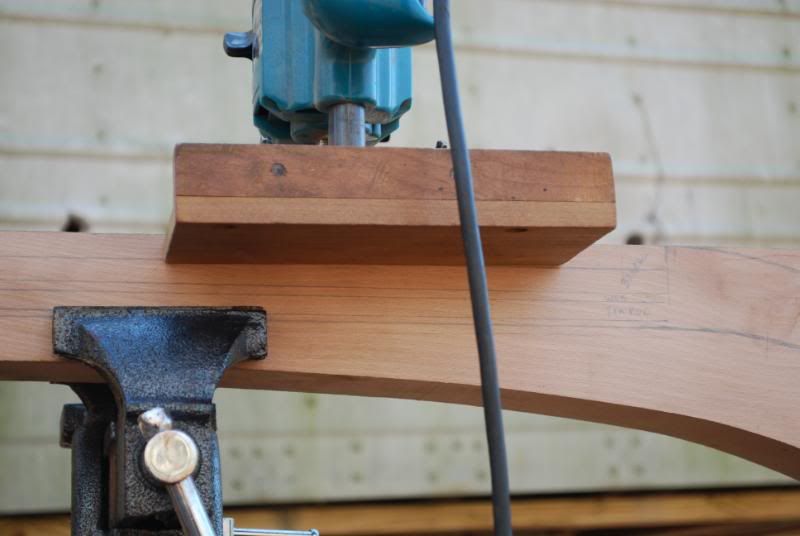
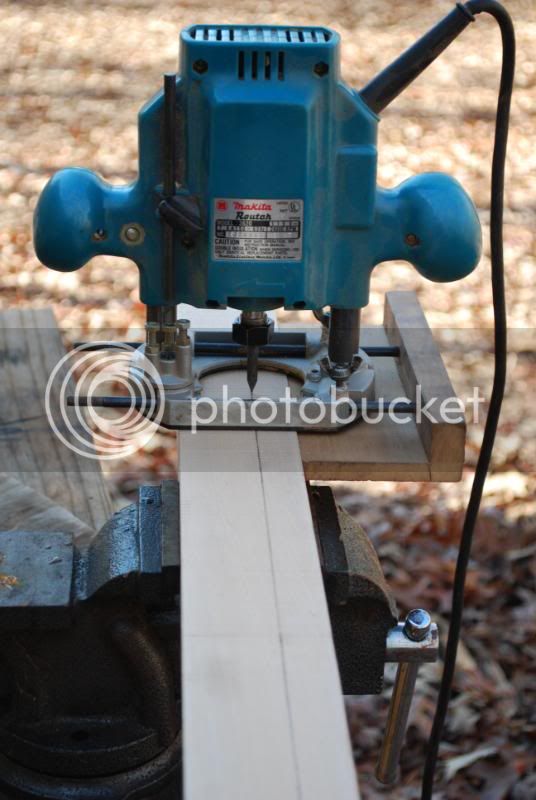
I am going to be using a router to help remove a bit of wood. If you do not have a router my method will still work.

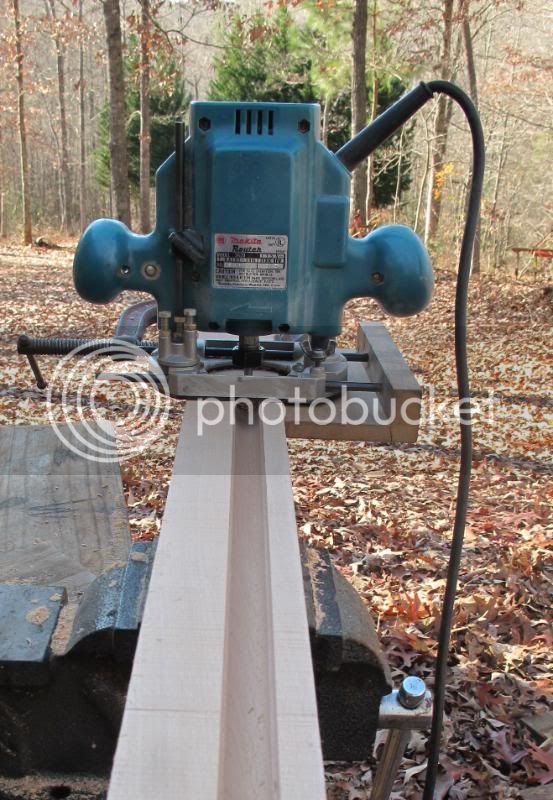
My outside vice with the router.. if its raining out I do the inlet all with hand tools if I can't wait.
DSC_0729.jpg


DSC_0731.jpg


My first cuts are with a 3/4" square bit..
DSC_0734.jpg


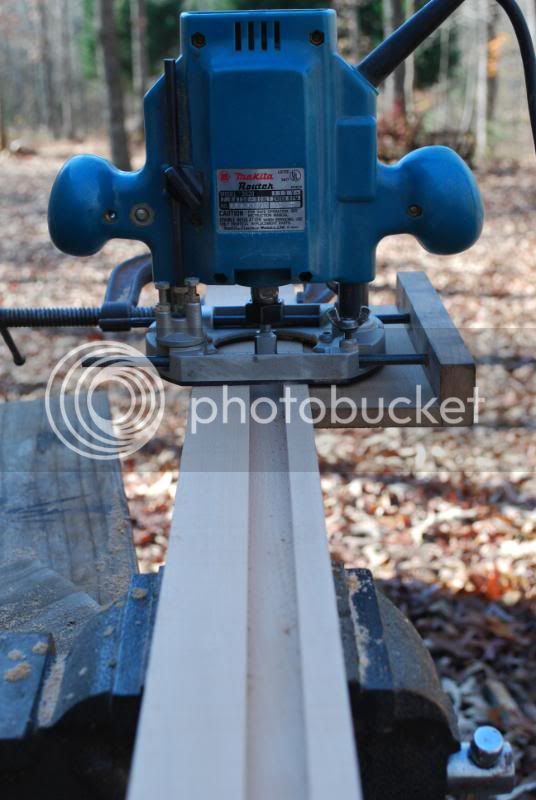
Depth gauge showing I took it to my center mark of the barrel.
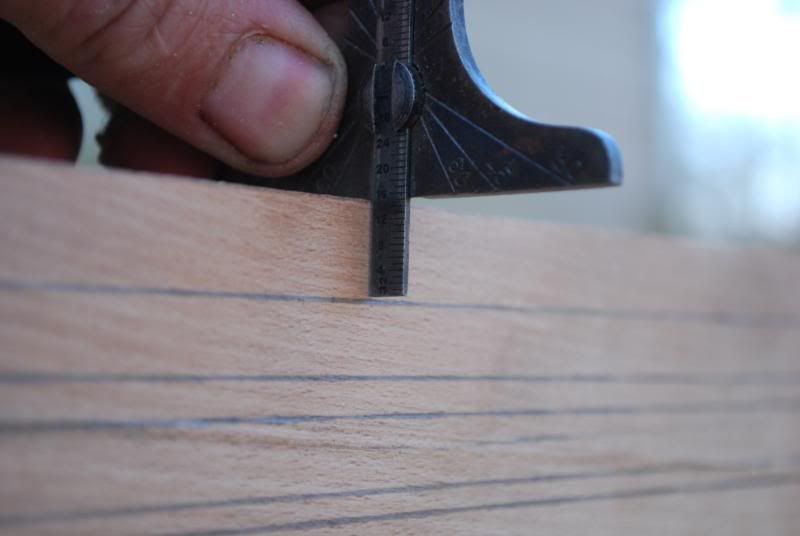
DSC_0732.jpg
 
Next I use a round bit and take it to the minimum measurements of the thinnest part of the barrel..
IMG_2643.jpg


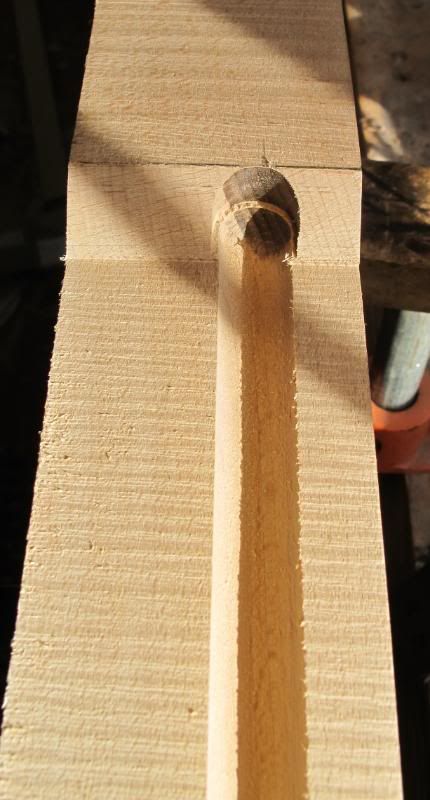
Remove the waste and this is what I have left.
IMG_2645.jpg


IMG_2646.jpg


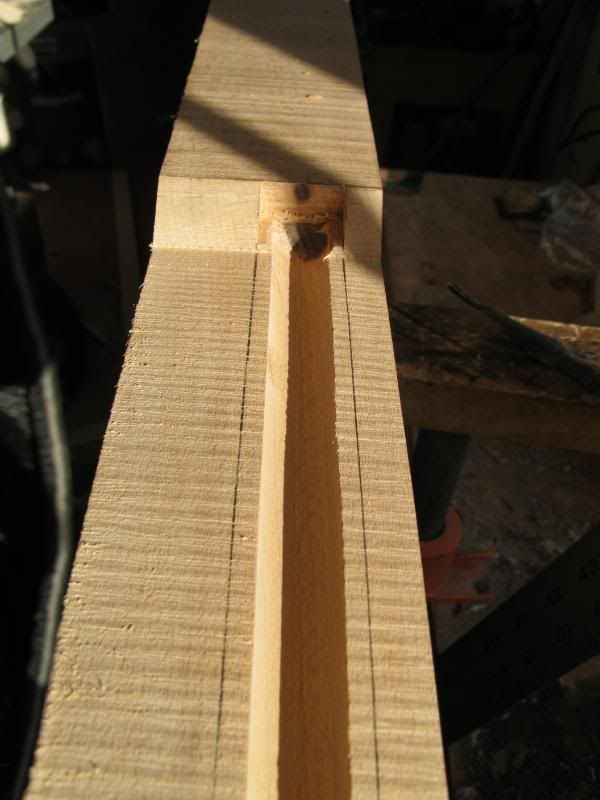
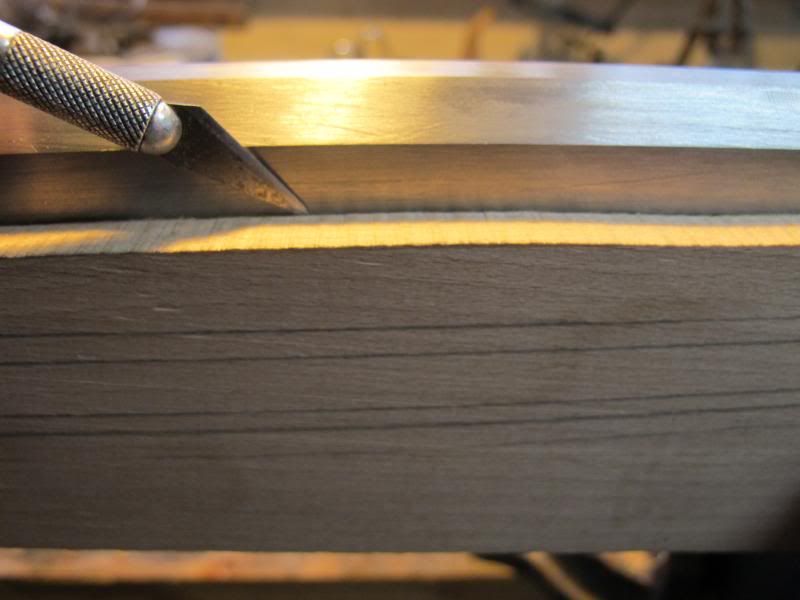
Next I am going to set the barrel back where it should be. Then scribe lines down the entire barrel to show its profile.
IMG_2649.jpg


IMG_2651.jpg


IMG_2652.jpg
 
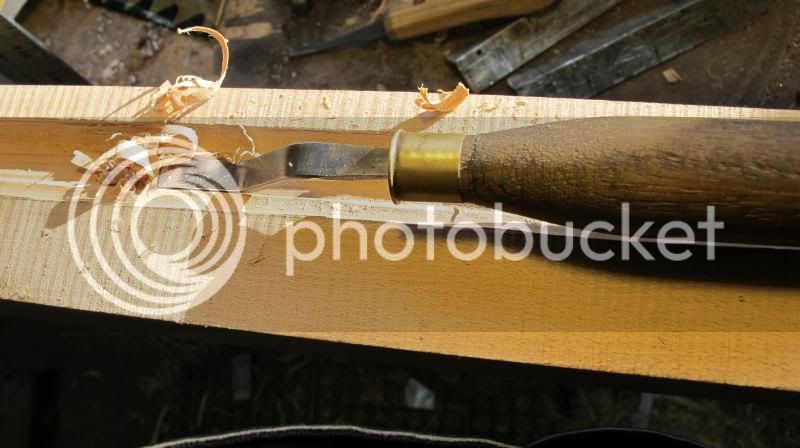
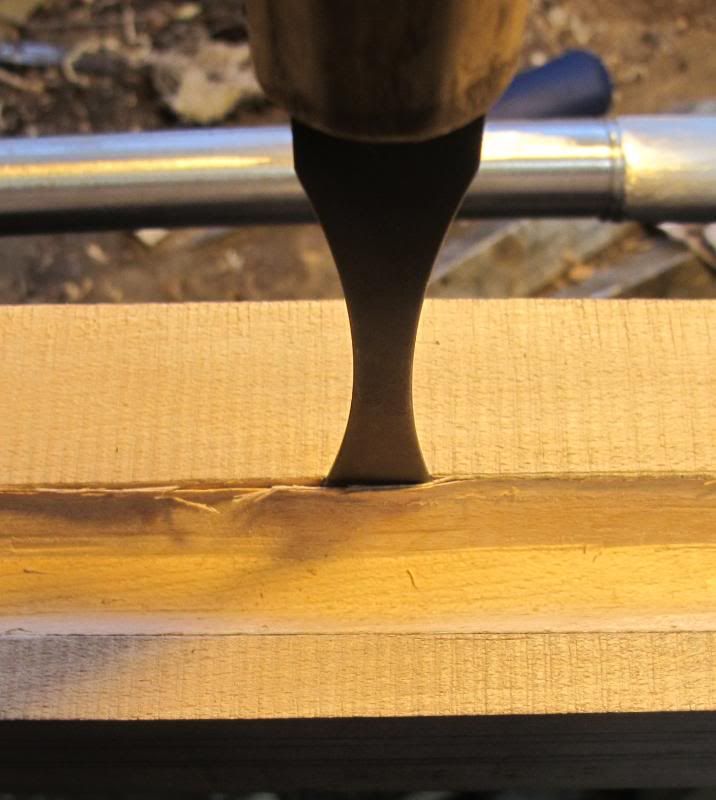
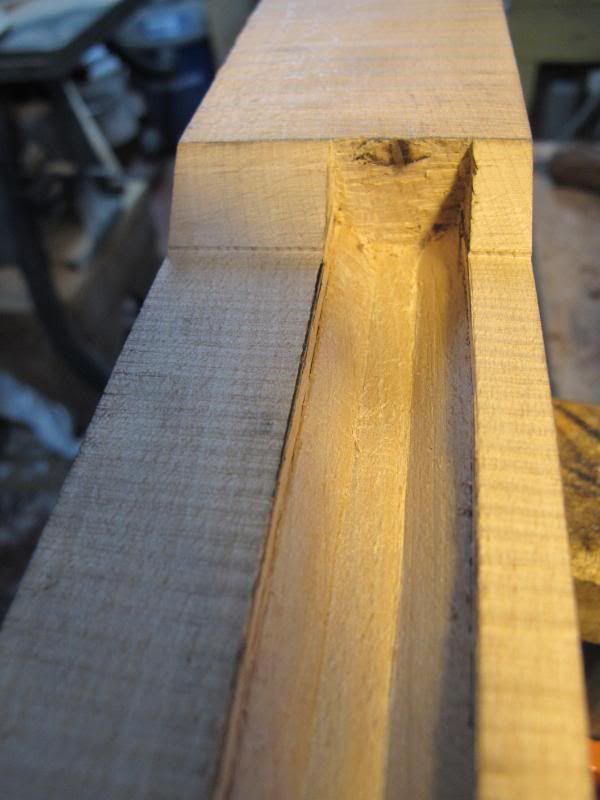
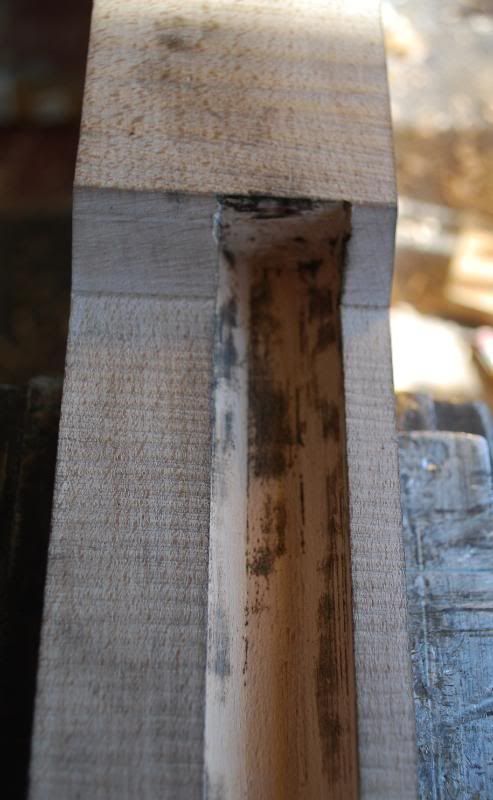
Pretty basic now.. I stab in just inside the lines and start removing wood with a gouge.
IMG_2654.jpg


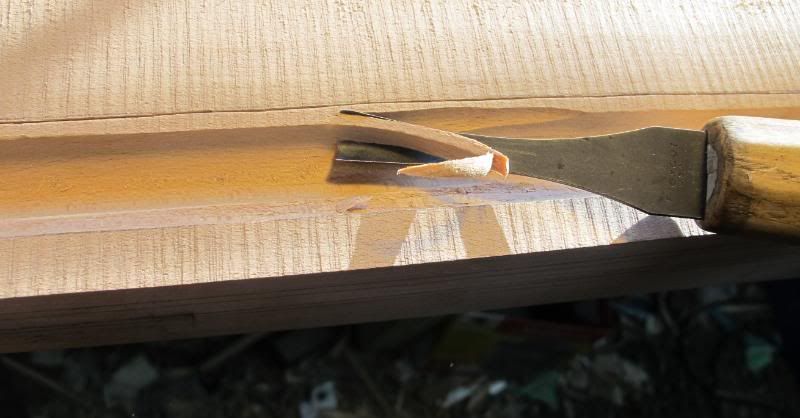
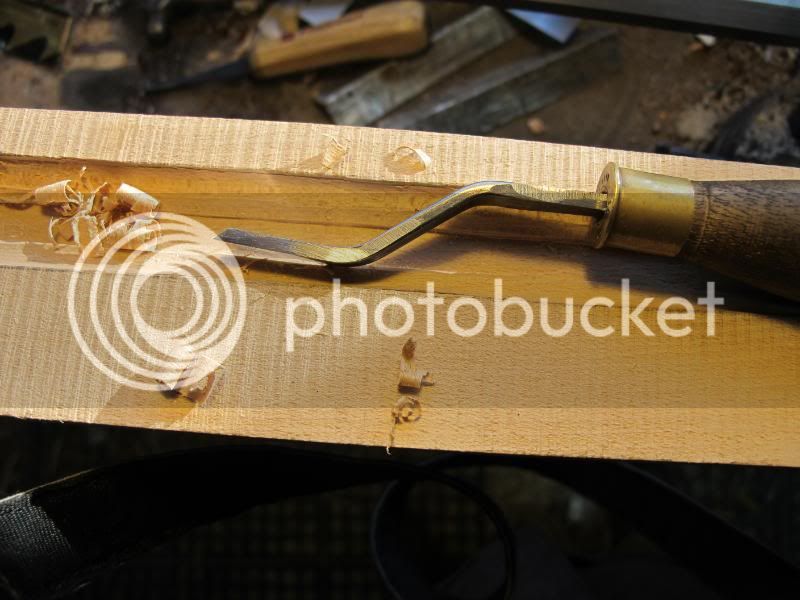
Next I start removing wood from the octagon area using chisels..
IMG_2655.jpg


IMG_2656.jpg


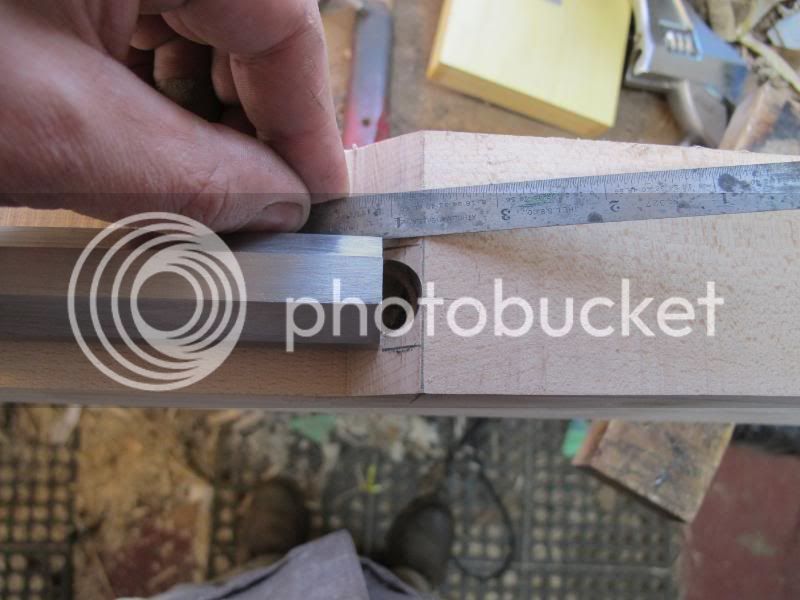
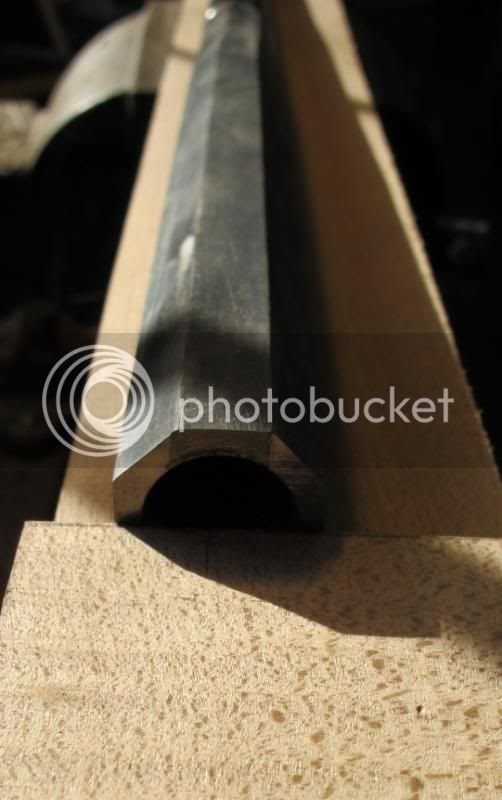
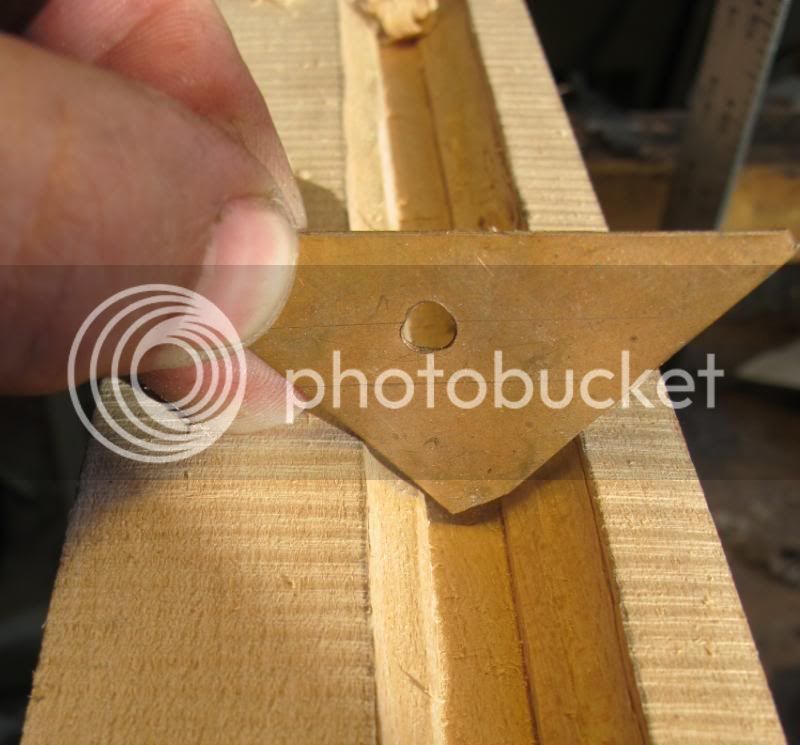
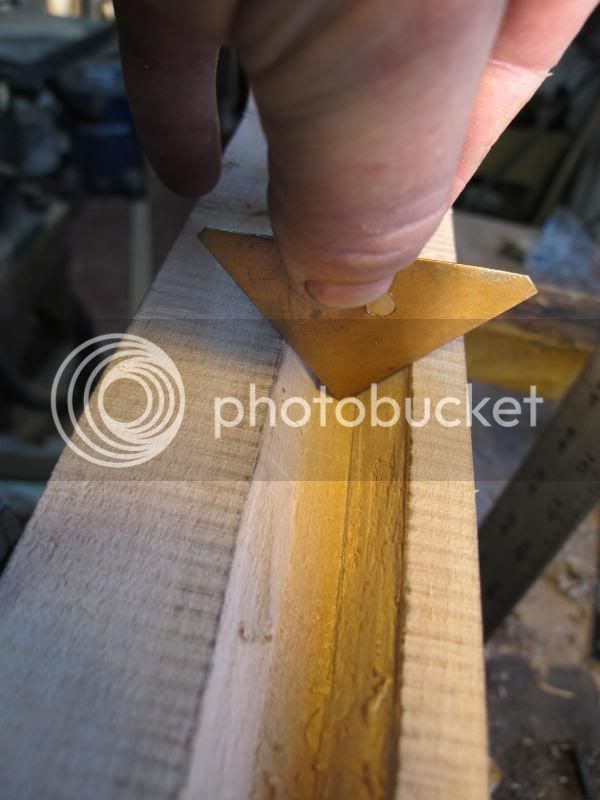
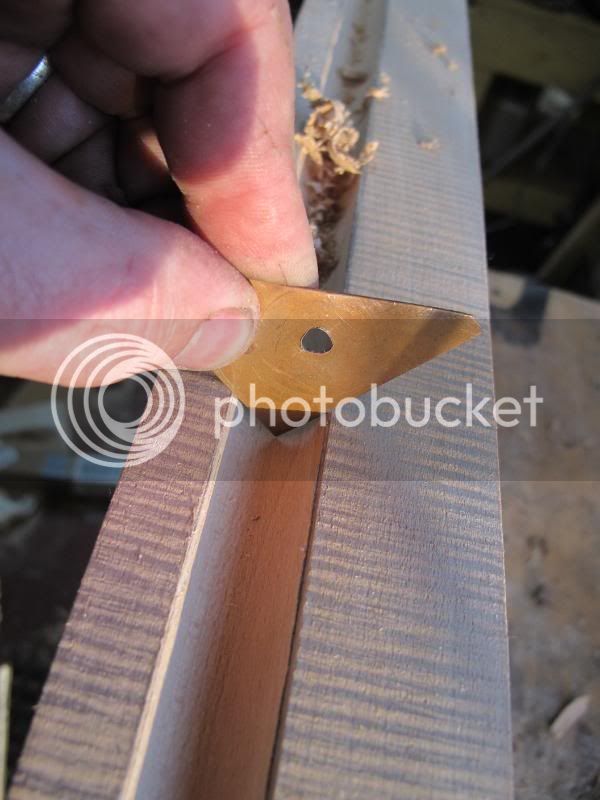
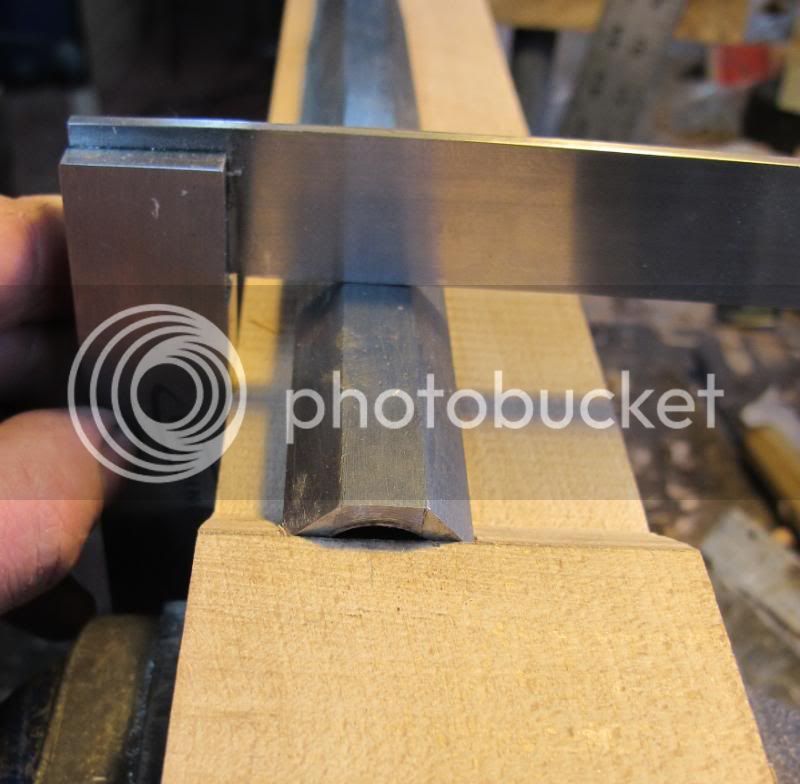
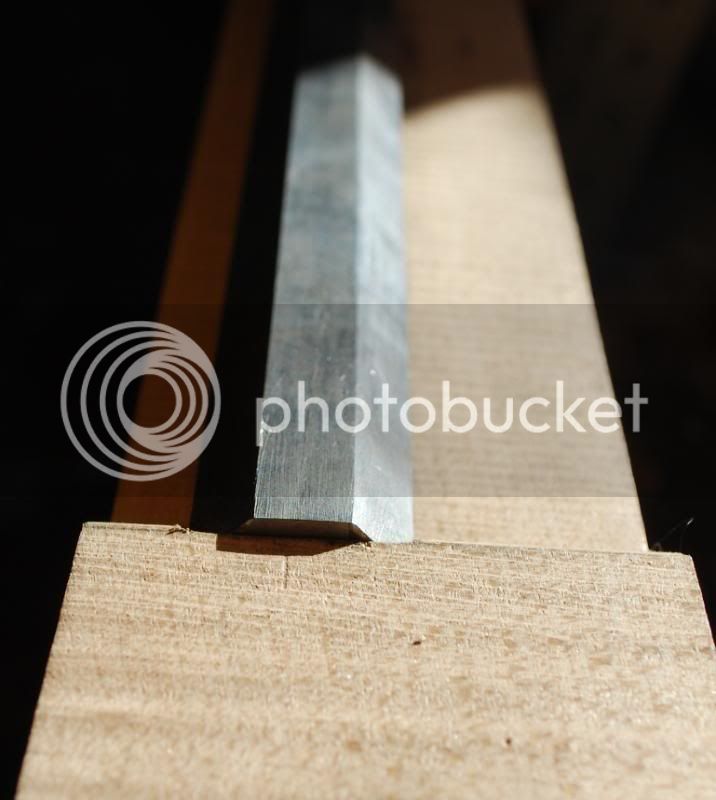
Now this is where my little 90 degree comes in to check the depth of the cuts. Once the sides touch (where I have the profile of the barrel cut in) along with the point
(touching the bottom of the channel) the barrel is roughly 1/2 way inlet.

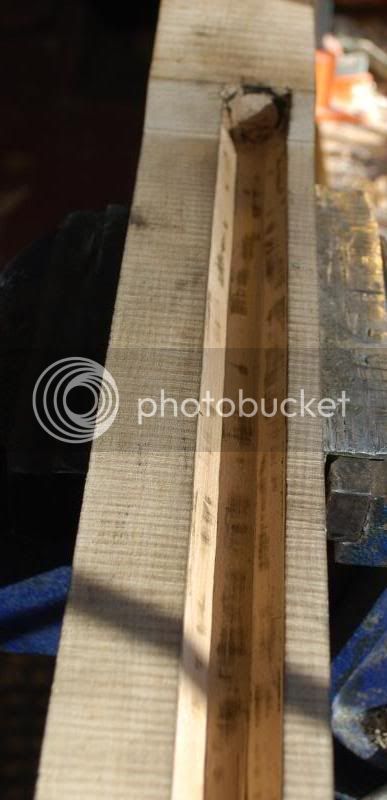
A bit more to go down.
IMG_2657.jpg


there..
IMG_2658.jpg


works on round too
IMG_2662.jpg
 
Still a bit more to do..
IMG_2665.jpg


Remember I stayed inside my lines for roughing out..
Scribing again.
IMG_2666.jpg


IMG_2668.jpg


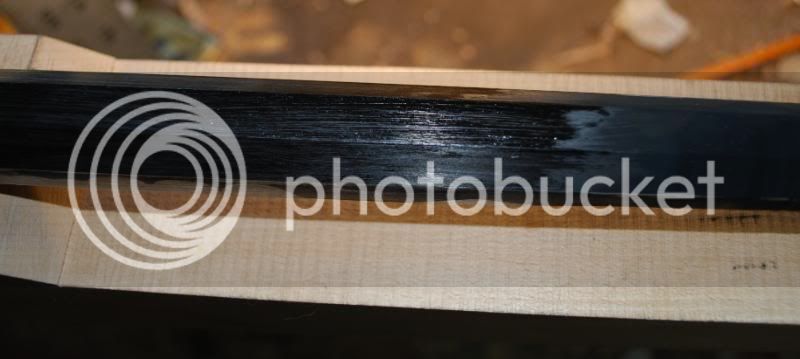
Just about to where I will use some inletting black..
IMG_2669.jpg
 
The messy part..
IMG_2670.jpg


a bit of a squeeze in the vice
IMG_2671.jpg


Hitting the tight spots..
IMG_2672.jpg


IMG_2673.jpg


I will finish inletting this barrel this morning so more to come.
I would probably would have had it completed if it wasn't for taking all of the pictures :haha: :v
 
Roy I can not begin to tell you how much I appreciate you posting this tutorial. It is already a great help to me and I know it will be to many others.

Merry Christmas.

Woodwright
 
man thanks!!!! i am going to do a pistol like that before to long and this will help greatly.
bananadance.gif
 
Oh boy Roy, that's lots of work.....nice job though. :thumbsup:
I did my first 15 barrel inlets by hand, then I found Fred Miller. :wink:
 
Not really :haha: just looks like it.. My best time on inletting a swamped barrel in 4 hours.. on average its 6-8 hours. I can't justify the extra money spent on shipping :haha:
 
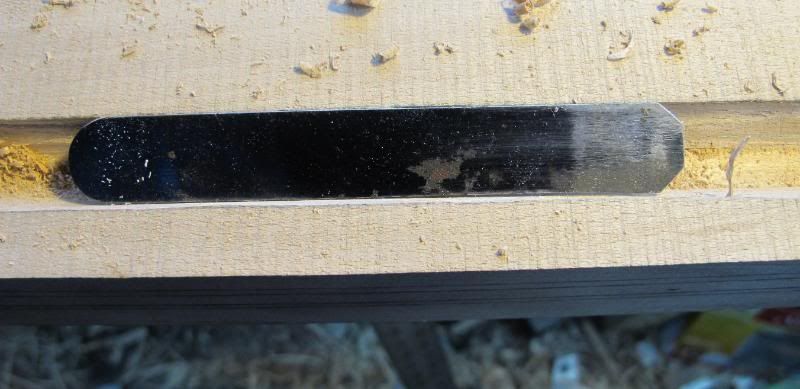
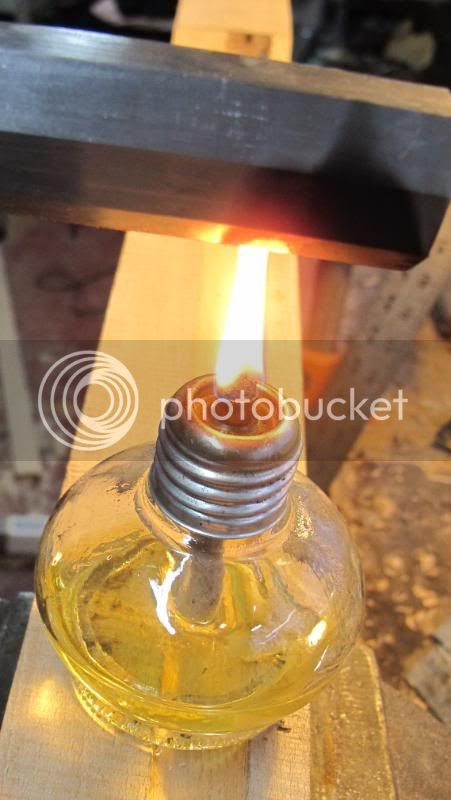
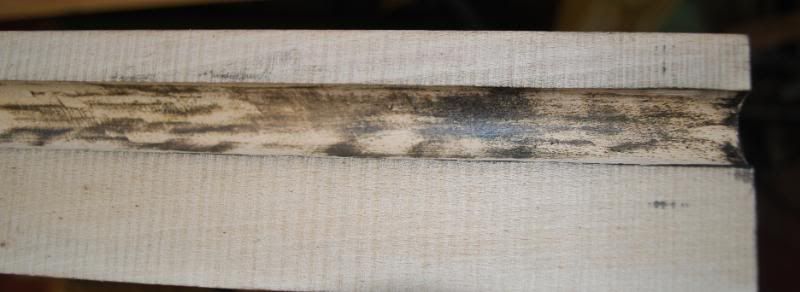
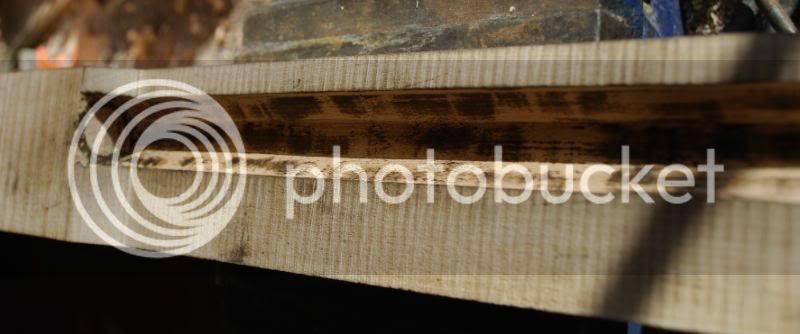
alright.. after blacking the barrel twice this is where I am at.

little light oil on with the lamp black does wonders...
DSC_0735.jpg


DSC_0736.jpg


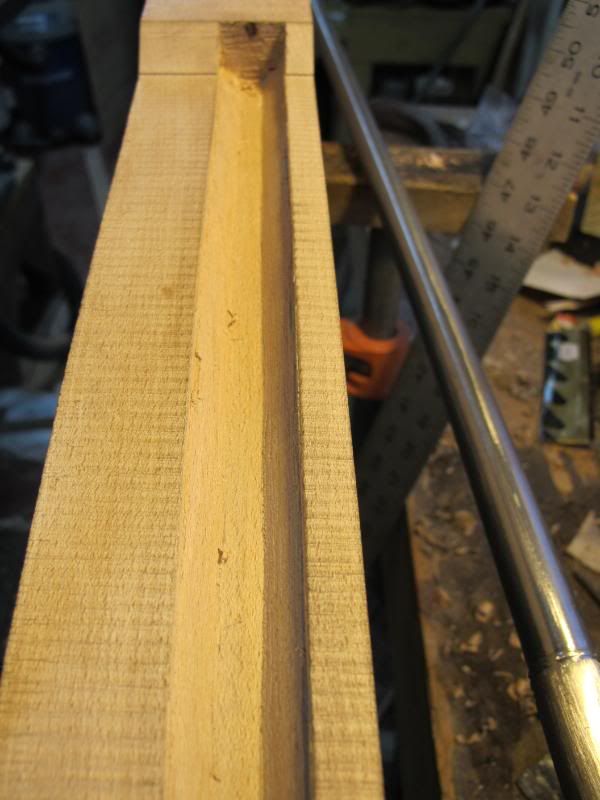
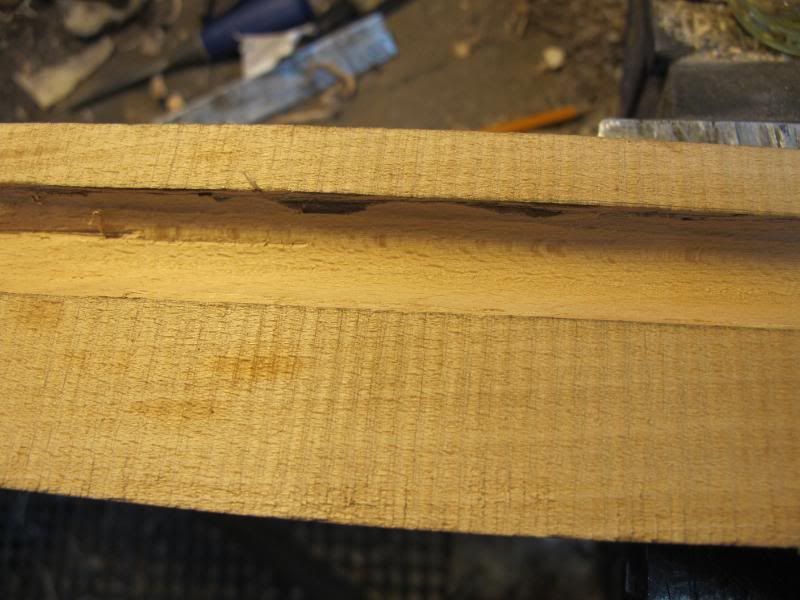
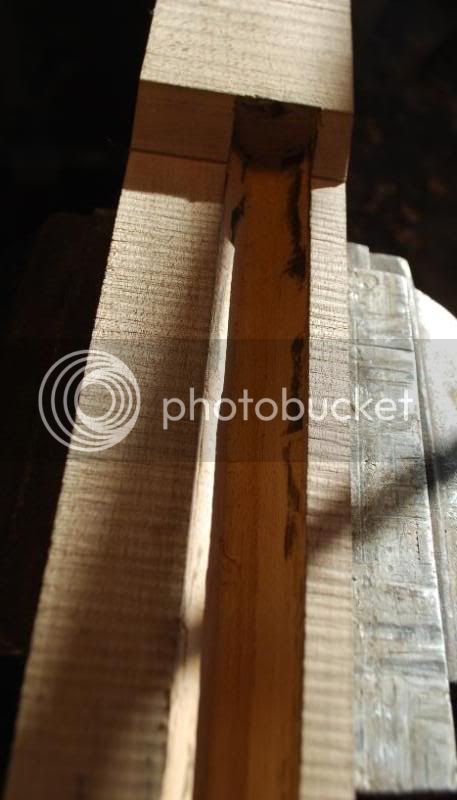
showing the high/tight spots..
DSC_0737.jpg


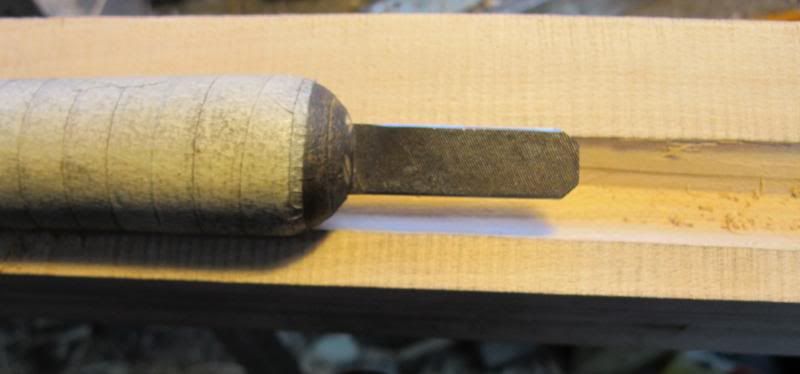
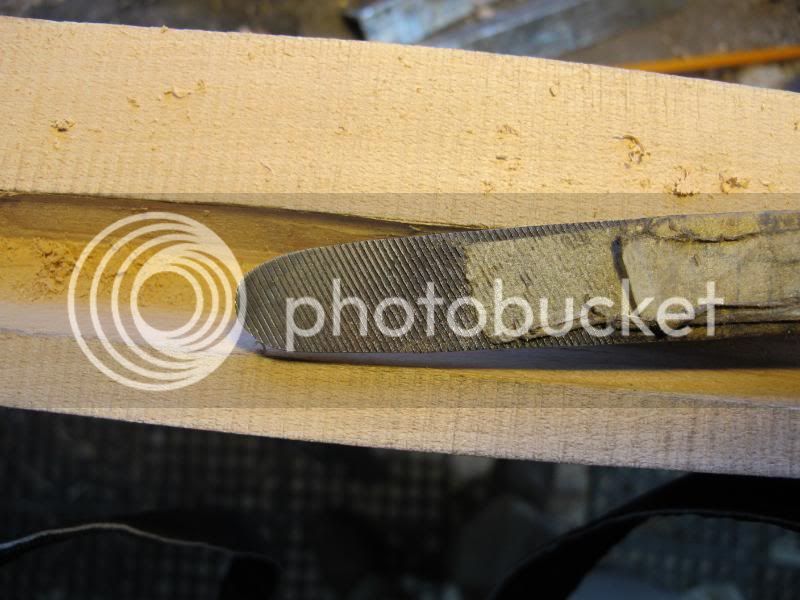
Right now I am mainly still using my bent chisel to remove the high spots.. and a gouge for the round area. As I get a bit closer I will switch over to the scrapers.
 
Very nice pictoral, Roy. Thank you for taking the time to post this.

A friend of mine uses a table saw to cut the outside flats, and then the center, bottom flat "sides" in his barrel mortises. This leaves very thin wood strips left to be removed with chisels and scrapers. He says it cuts( no pun intended) his time in doing a straight octagon barrel mortise to less than half of the time it took when he used chisels.

I am sure the same technique can be adapted to removing the waste wood from a swamped barrel, and probably from a half-round/half-octagon barrel mortise. It all depends on the precision used in setting up the work on the saw table so that the edges of a sawblade don't take too much wood out of the round bottom mortise. He would rather use scrapers to get the round barrel mortise to its final diameters, than to risk taking out too much wood with the saw blade.

He has also played around with using router bits, and he found that if he removes most of the wood from the mortise with his table saw, the router doesn't have to work so hard, and the chips do fly. He has several different sized radius half round router bits to use for this kind of work. :hatsoff: :hatsoff:
 
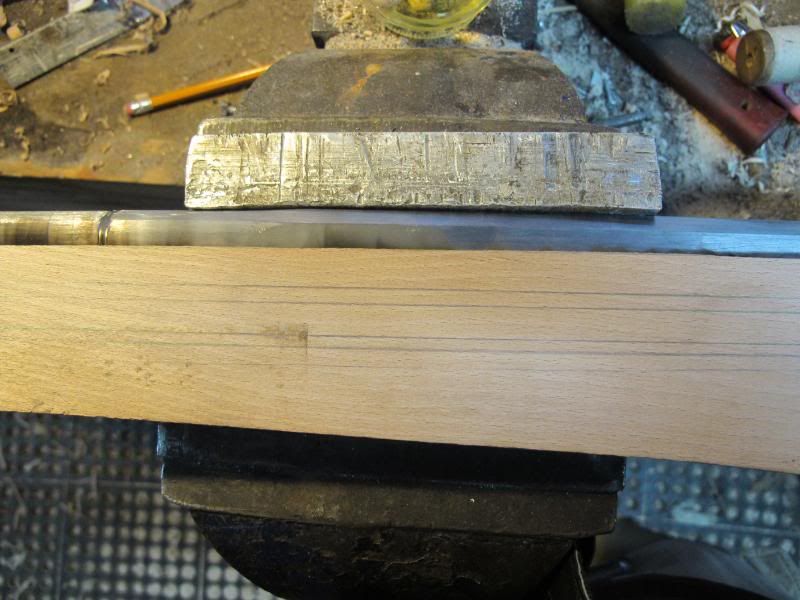
Little tip.. if you think your barrel is rocking.. use a clamp
DSC_0738.jpg


Getting closer.. going to start setting it back a hair too so the breech of the barrel will hit..
DSC_0739.jpg


closer
DSC_0741.jpg


I am pretty much happy
DSC_0740.jpg


DSC_0742.jpg
 
This is how I have been putting in barrels for about 8 or 9 years now.. the same 90 degree angle can be used for a swamped barrel too. This was all done by taking three measurments. :v
 
For a straight octagon barrel I just a router.. pretty much the same set up. Take my first cuts with whatever width the barrels is to where the bottem of the side flate would be in the stock. Take another bit the width of the bottom flat and cut down to where the bottom of the barrel channel is. With a chisel and a sraper I knock off the corners that are left. But its a rare thing for me to use a straight oct. barrel.. I really do not have a use for them. :v
 

Latest posts

Back
Top