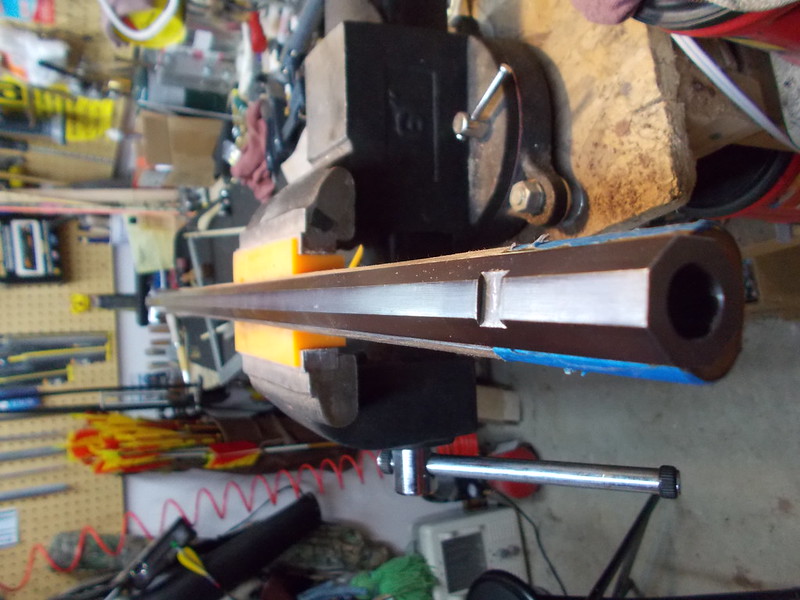
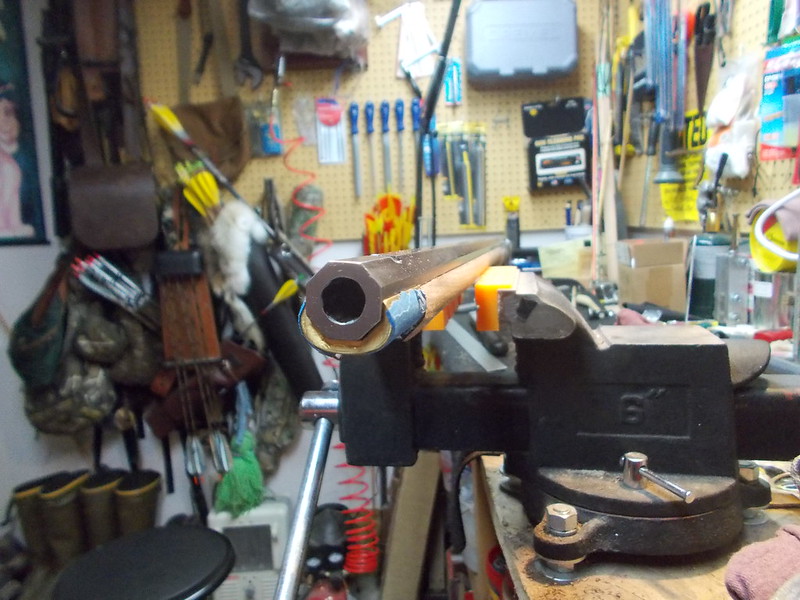
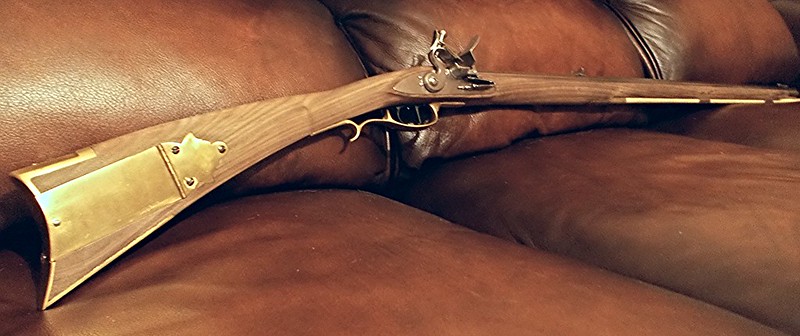
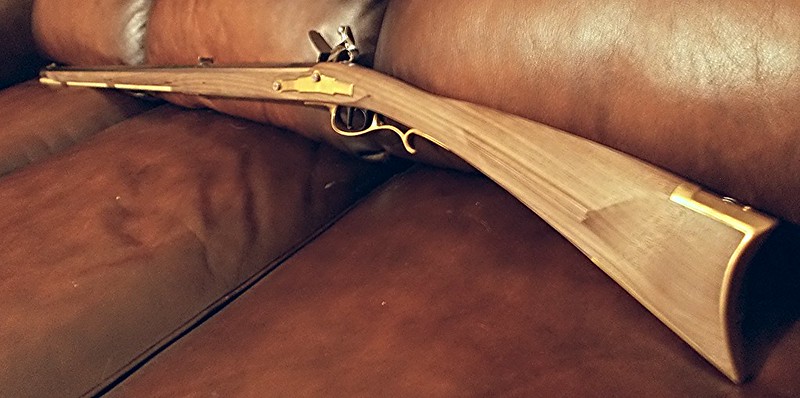
The Frontier Rebuild is nearing completion. I still have to finish some minor tweeks, final sanding and making sure things look right. I have a star inlay for the cheekpiece and a small acorn inlay that will cover an old sight mounting hole in the wrist and become kind of a thumbpiece. I am going to bed the breech as I have never liked the way Pedersoli many times had no wood right under the breech area...the barrel kind of "hangs". I haven't decided what to do with the barrel and lock...leaved them in the white or put a nice grey patina on it. Then, of course, staining and finish. Hopefully another month and she'll be all done. Just thought since it's been a year, I'd post the progress pictures.
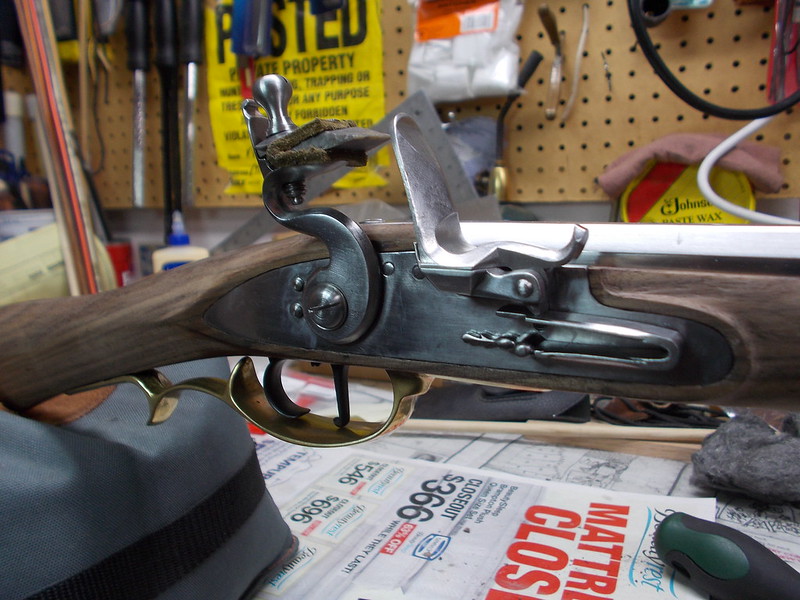
The Chamber's builders lock is smooth as silk. I'm really glad I put the work into using this lock and sent back both the L&R "drop in" and Pedersoli Flint, neither of which could compare to Chamber's quality. The old trigger pull was about 10 pounds with the old percussion Pedersoli lock. Now the trigger pull without the set trigger is maybe 3-4#.
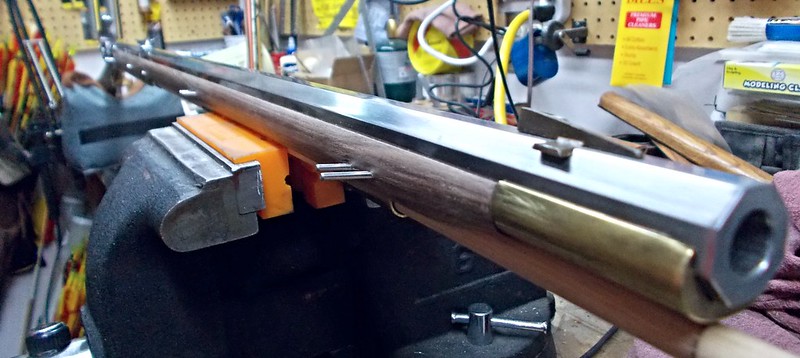
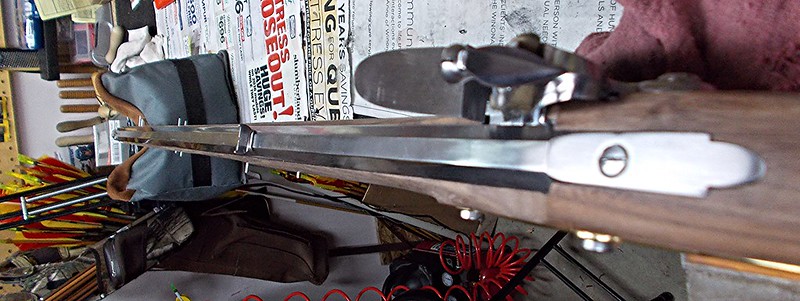
The forestock has been super-slimmed. I think the Frontier stock had more extra wood than some kit guns have! She's a skinny girl now. Not only did I take wood off the sides and taper them into the barrel vs the big flat tops it originally had, I have also removed wood off the top to give more barrel reveal and a lot off the bottom, then reshaping the ramrod channel. I also dispensed with the thin wood ramrod it had and replaced it with a 3/8" wood rod that tapers down to 5/16. There is already a threaded brass end on the part that goes in the gun and I'll install another on the muzzle end of the rod.
Those of you following this already know this was originally a .36 that I had rebored by Bobby Hoyt to a .45 with a 1-56 twist round bottom grooves. A new tang was put on and shaped. The panels were reshaped and thinned and a side plate was added. New sights were installed.
A brass patchbox with a button on top of the buttplate to operate it was installed. New thimbles were installed that pin, including an entry thimble. The barrel is now pinned vs the old screw-on method through the old thimbles.
Almost all areas of the stock were reshaped, including the cheekpiece. Like I mentioned, I'll be adding a star inlay on the cheekpiece and a small acorn thumbpiece.
You can't really see it on these pics, but in addition to inletting the trigger guard, I have also now filed tapers around the edges that still stuck up to further try to make that area look a lot better.
This project has dragged into it's third year now, so it will be nice to get it wrapped up. I will say this thing feels so nice in the hand now, I have no doubt I'll be putting it to use. Much better balance and feel.
For those who say the work and cost is not worth it...you're probably right! I wouldn't recommend it. :shake: But for about $300 and a great additional gun building learning experience, I'll end up with a near-custom gun.

Comments and suggestions welcome!
For those that want to review all aspects of this major rebuild, you can view all the pics, and their corresponding commentary at my Flickr Album.
https://www.flickr.com/photos/100435142@N08/albums/72157650877821348/page1


