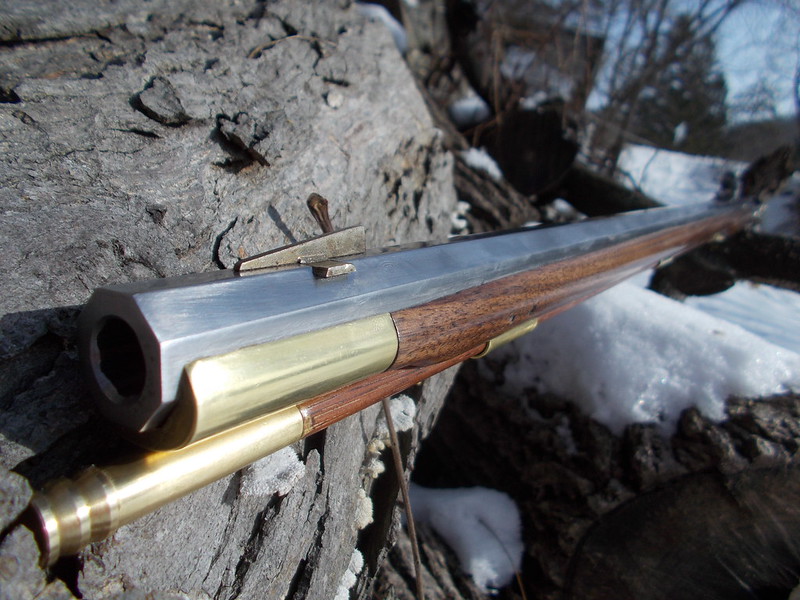
Pedersoli Frontier Rebuild Underway

Muzzleloading Forum

Help Support Muzzleloading Forum:

This site may earn a commission from merchant affiliate links, including eBay, Amazon, and others.
You've done so well, it doesn't look the least bit like a Frontier. I probably won't go as far as you, but you've provided an incredible "shopping list" of things that can be done to a Frontier. I'll use it like a shopping list for my own, but thanks to you I can make some pretty rational choices.

I really hope the mods will make this thread a sticky. Invaluable now and in the future!

:thumbsup:
 
Brownbear: Thanks for the kind words and encouragement.

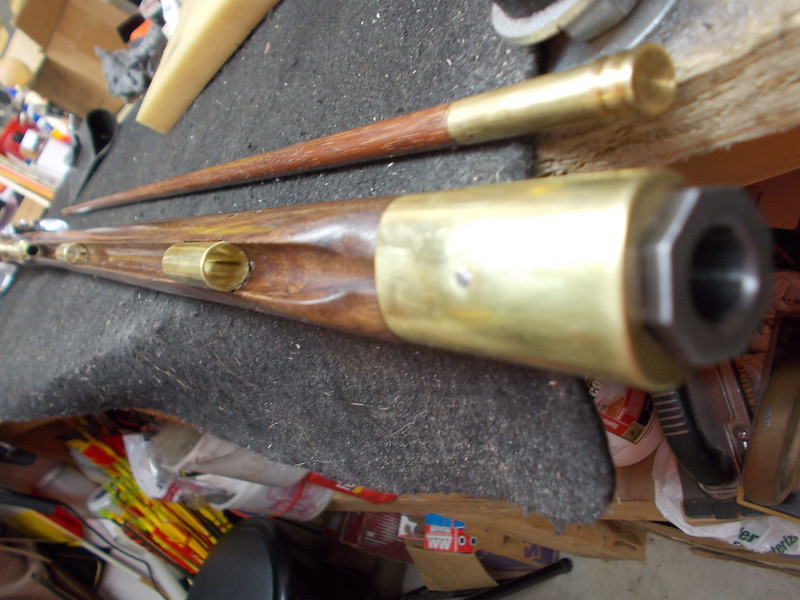
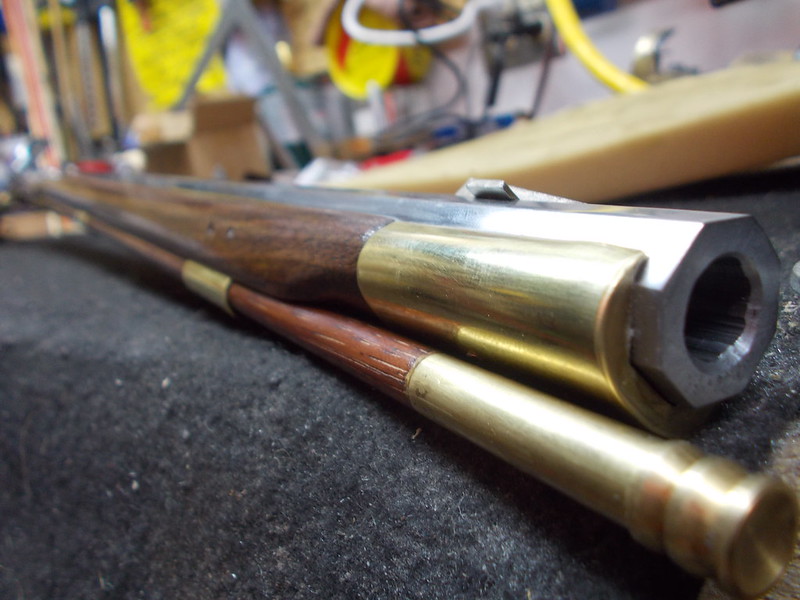
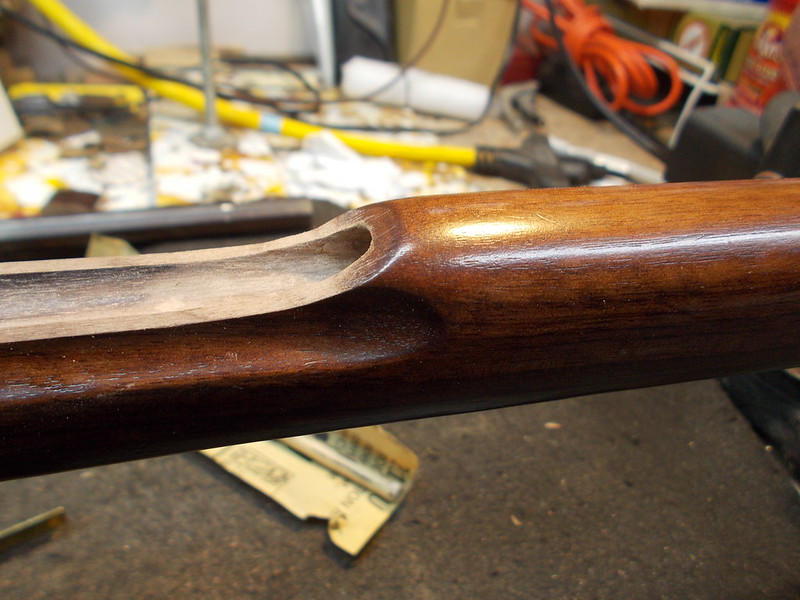
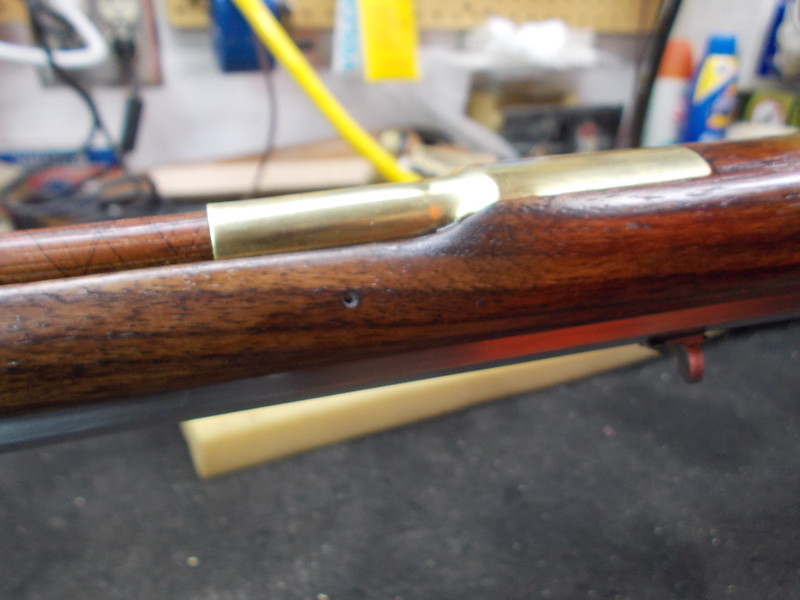
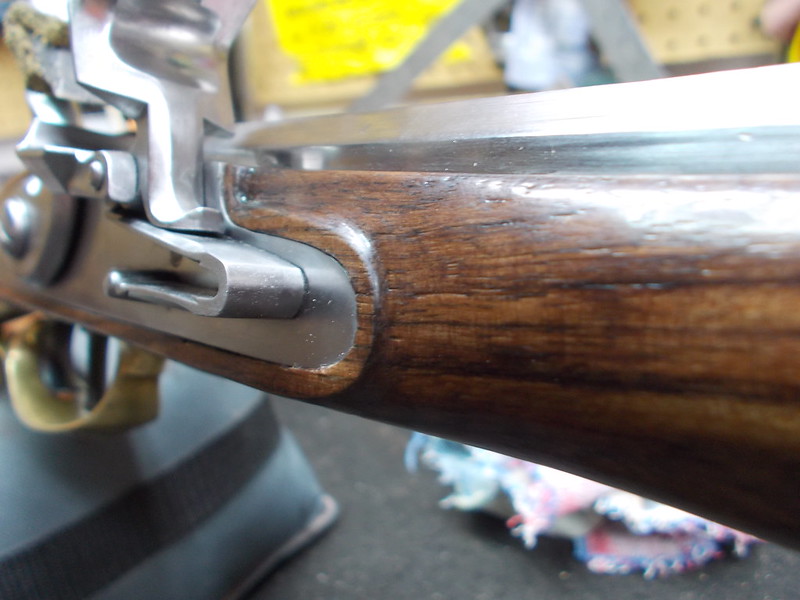
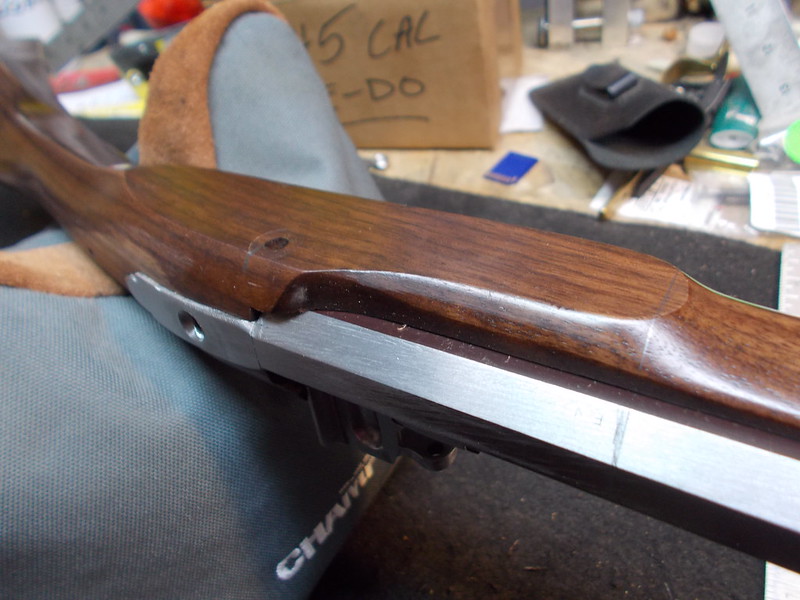
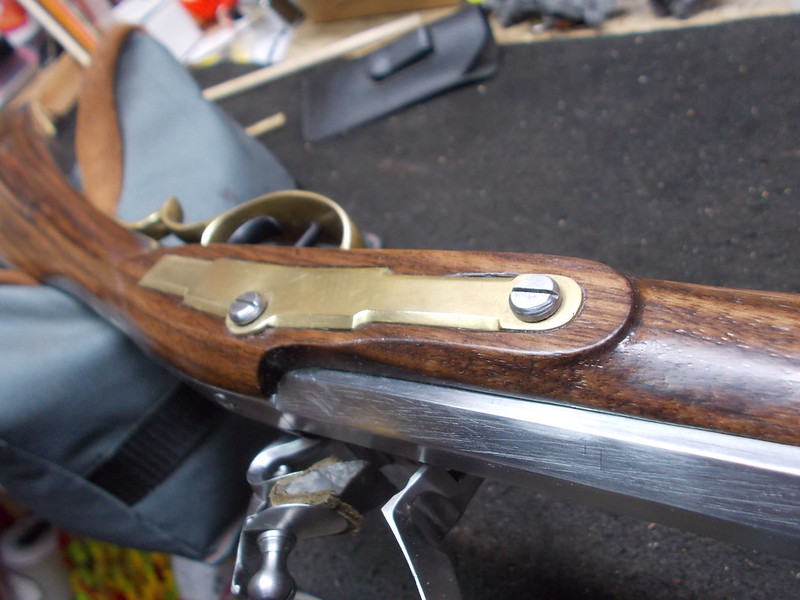
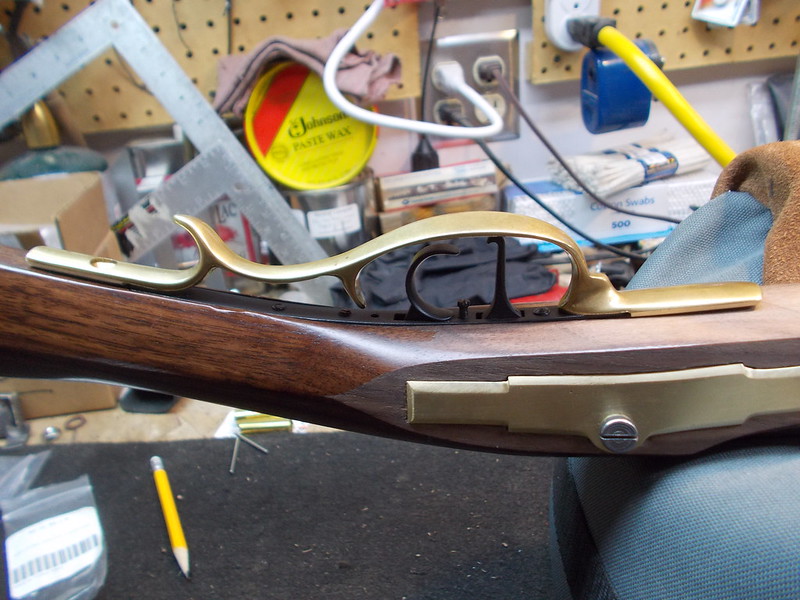
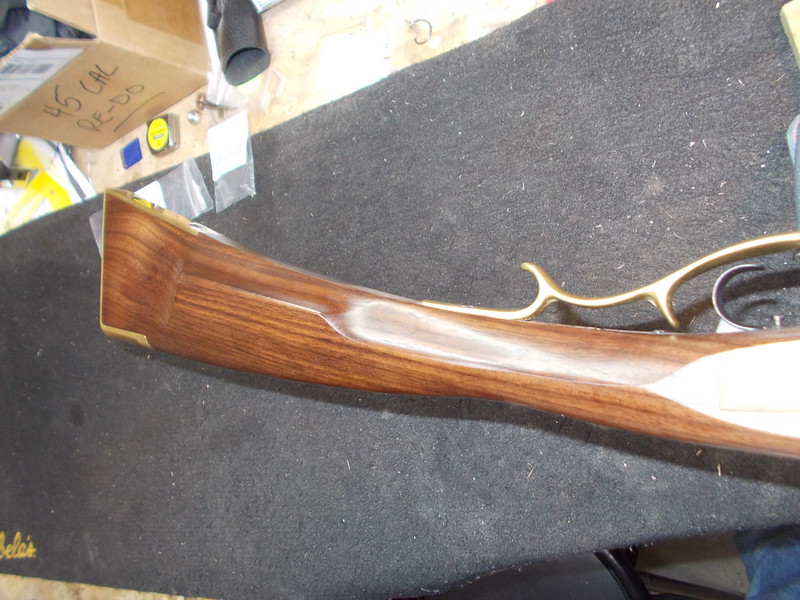
If I were to pick only one thing to do to a Frontier, it would be the drastic reshaping of the forestock. It takes only a few simple tools, an investment in a nosecap, and a few hours of work. That alone really helps remove weight up front to provide a better balance point.

Of course, that project would probably necessitate the removal of the old finish over the rest of the rifle so one could get a perfectly matching new finish. But when I look at the beauty of the wood under that "too thick" finish Pedersoli puts on, it makes me excited to see what I can do in the final finish of this project to greatly enhance the look of the Walnut stock.
 
Very nicely done.

:hatsoff:


This build really highlights the short comings of the factory and some semi custom offerings, going to bookmark this thread and use it as a reference, thanks again for sharing your work.
 
Apprentice...I've seen the posts of your work...top notch all the way...so to have you bookmark anything of my neophyte efforts is truly inspiring!

Thanks, ALL, for the many kind comments and encouragement during the progression of this project. These are a popular production gun, so if I've been able to demonstrate some things that can be done to spruce them up and it's helped others here, it makes it all the more worthwhile.

When I've finished the project, I'll post pics in a new thread. Hopefully in a few weeks.
 
Don't know about neophyte but I just went through your full set of build pictures and I have to say, you took an architectural pig and made a very pleasing and slender rifle out of it.

With the amount and quality of pictures you took it makes it easy to point out all of the extra wood that many leave behind.

I agree, this tutorial is well documented and would make an excellent sticky.

:hatsoff:

If I had to pick something to complain about, it would be that the lock is on the wrong side.

:idunno:
 
Will you have this shoot-able by the end of the month? I hope so..I got one you can try too!
Looking real good! :thumbsup:
 
I hope that you'll take some photos in natural light after you've finished. Its quite a transformation. :thumbsup:
 
Nice job indeed. What plans for color and finish of the stock do you have? With two Frontiers of my own I am following this with great curiosity!! Thanks for posting this! Greg. :)
 
I have posted more pictures. I'm down to the final finishing...only a few more days and she'll be done!

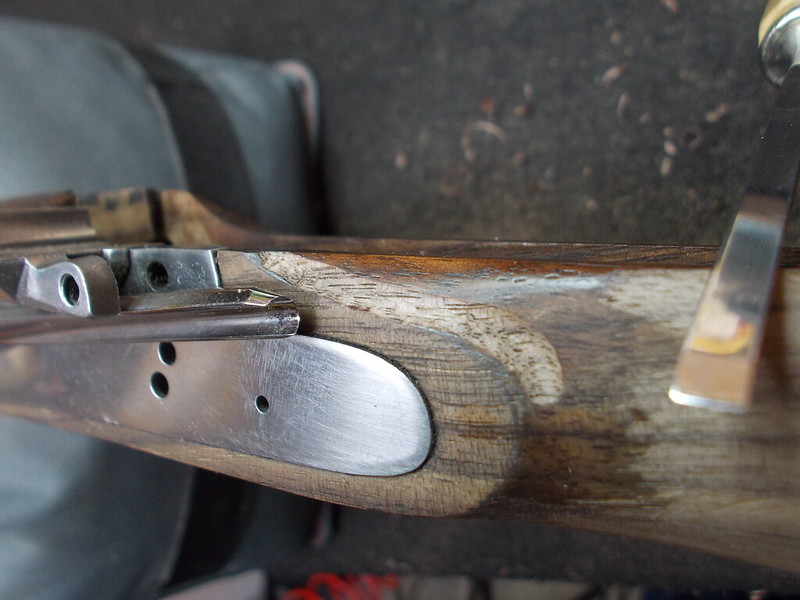
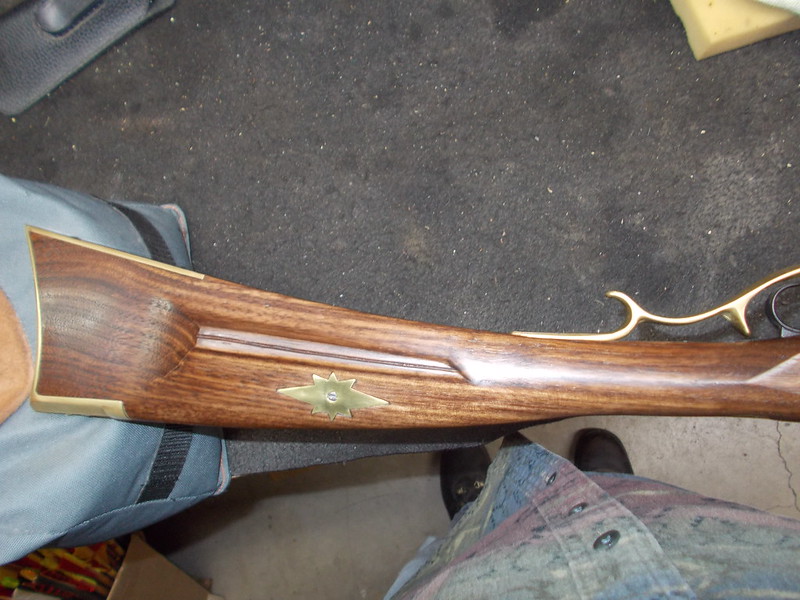
Items covered in the latest pics include some inlays, bedding the breech (lessons learned with liquid Acraglas vs Gel), whiskering, and finishing with oils.

Below is the link to the build album I'm keeping on Flickr. Once in, go to page 4. The new pics start with the Acorn thumbpiece inlay. A couple pics below the link just for fun!

Flickr Album for Frontier ReBuild

Four coats over about 6 days of Hot Rubbed Boiled Linseed Oil. No Stain. No final finish yet.

31881254603_e9767e60dc_c.jpg


31881255553_bf142a6b44_c.jpg
 
Wow! Spikebuck :thumbsup:

That rifle looks awsome!!

How would you like to be commissioned to do some more of your magic? :grin:

I remember reading your original topic which was very informative and entertaining at the same time. As you might know, I was able to purchase a Pedersoli Blue Ridge after going through a hail storm of red tape to get it.

I would love to make the kind of upgrades that you've preformed on your muzzleloader.

You really did do a great job!

Respectfully, Cowboy :thumbsup:
 
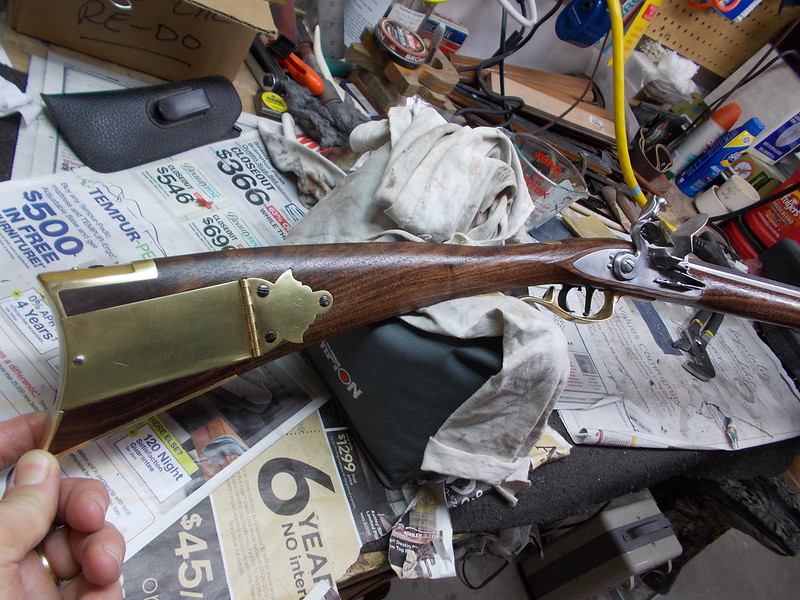
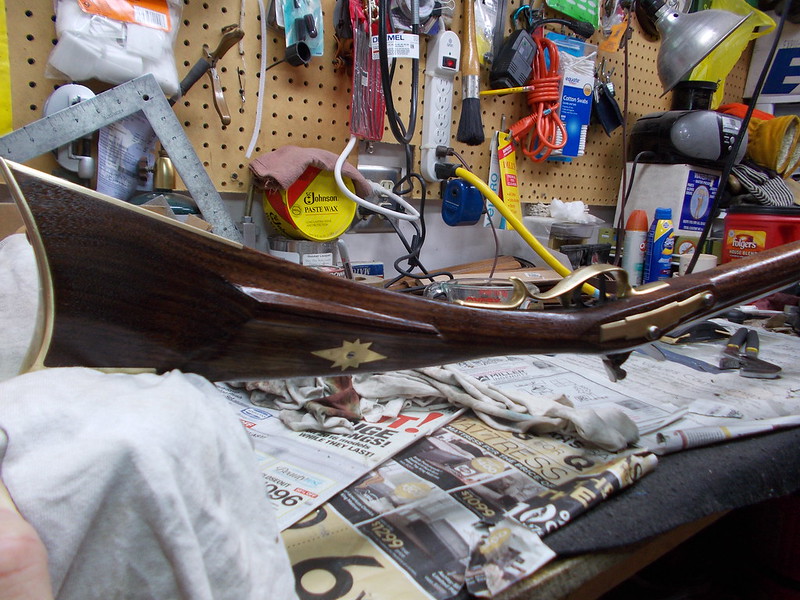
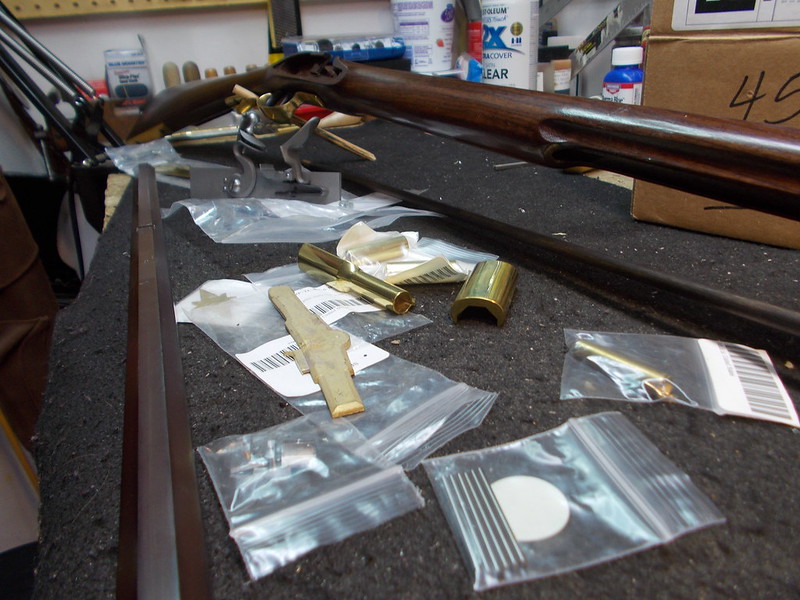
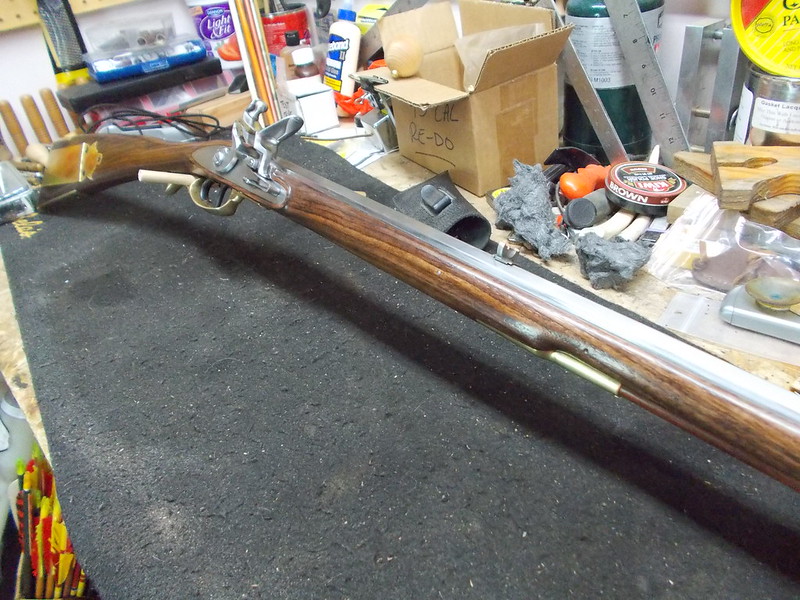
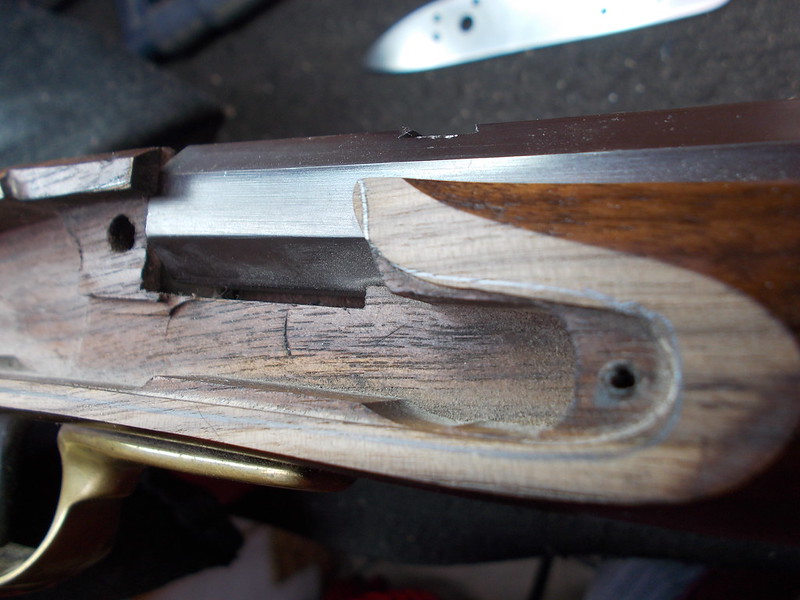
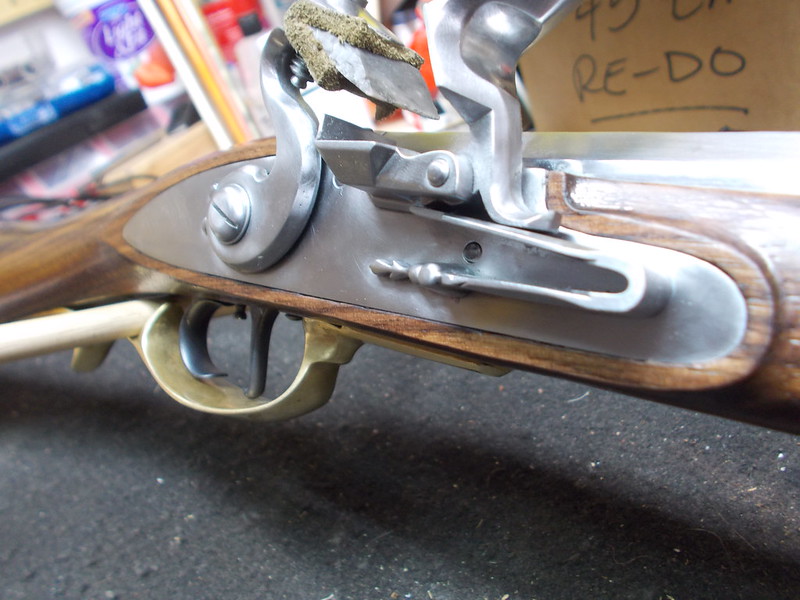
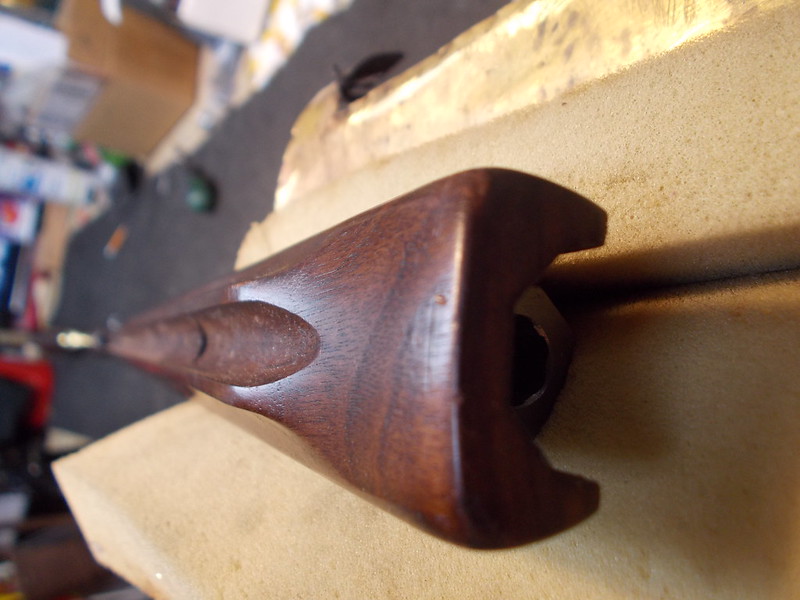
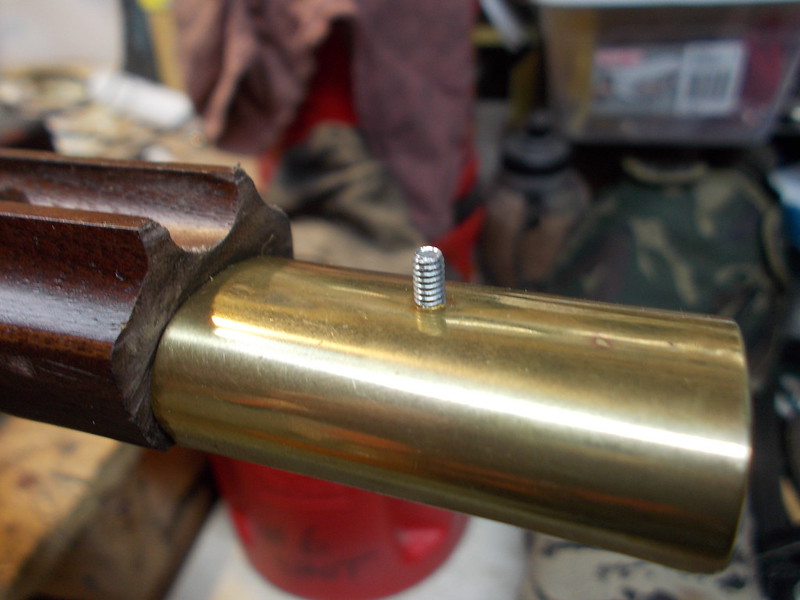
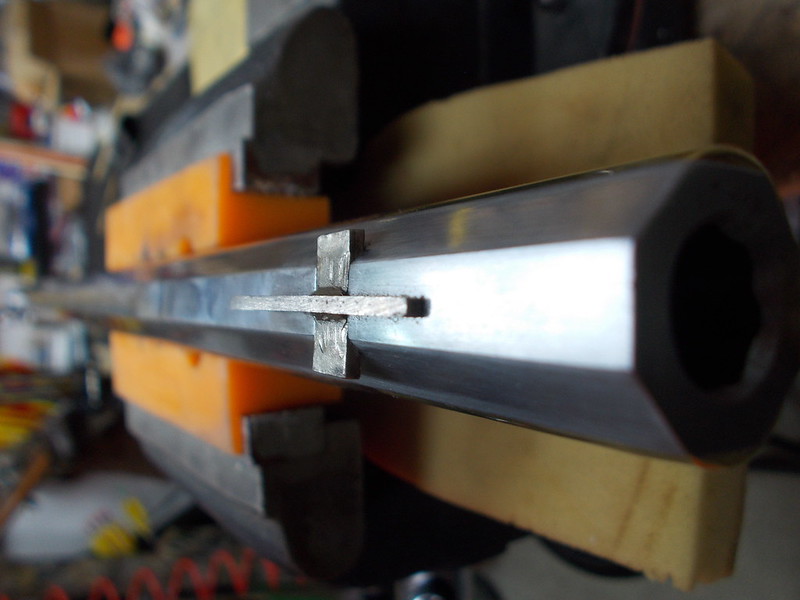
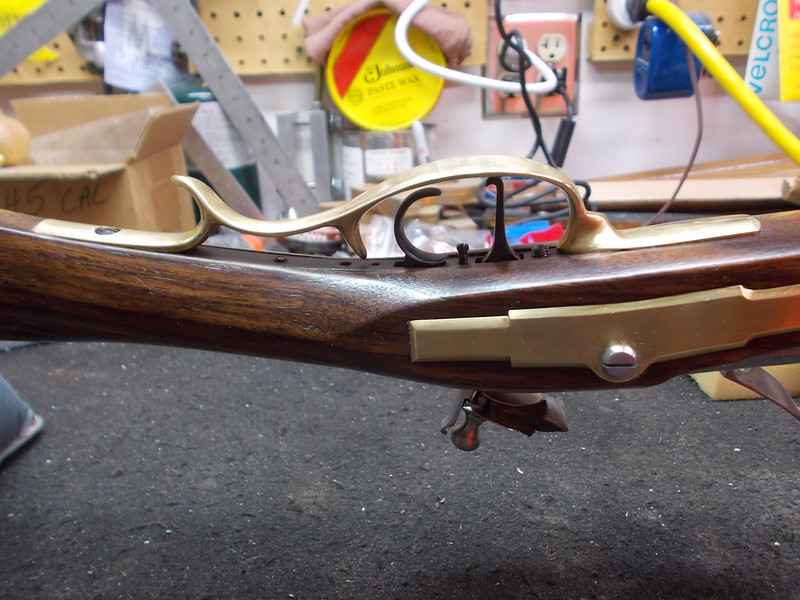
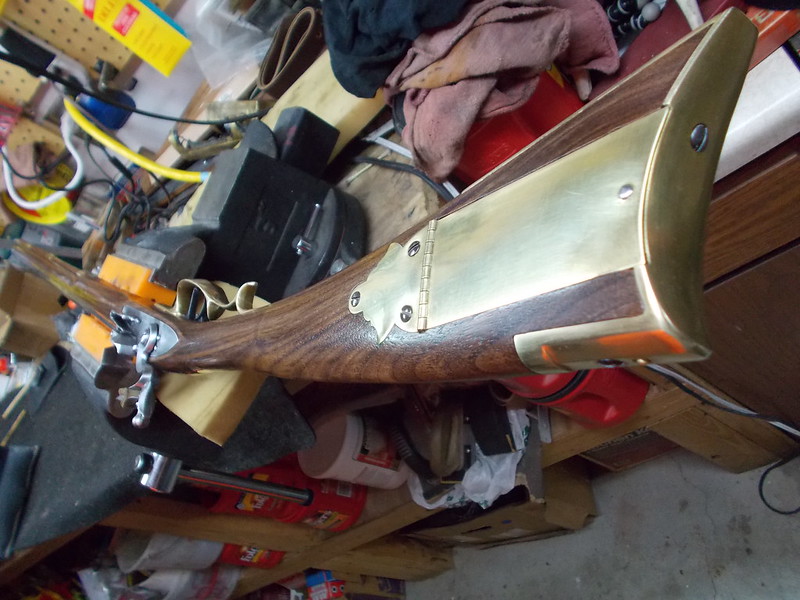
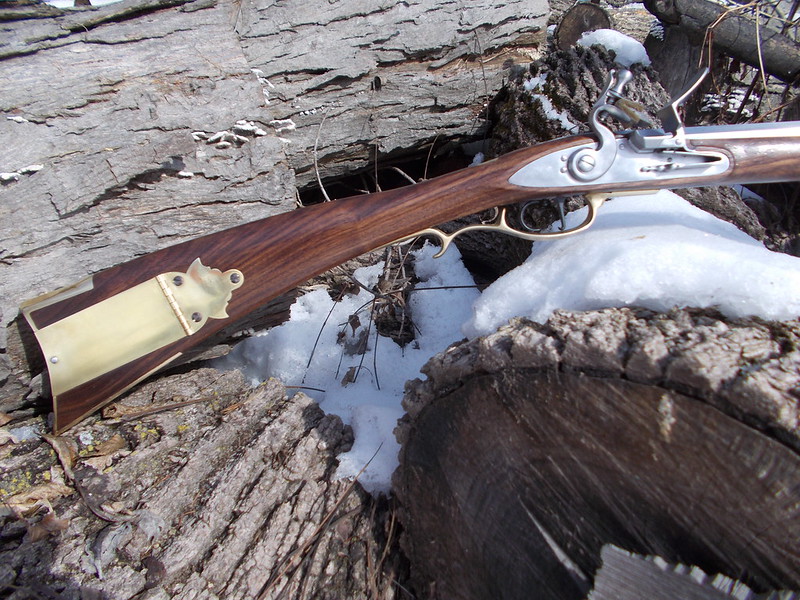
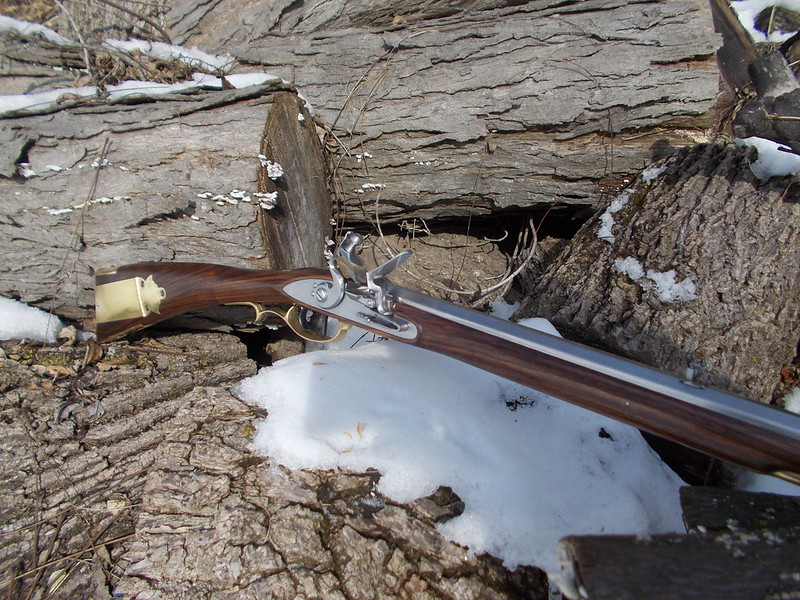
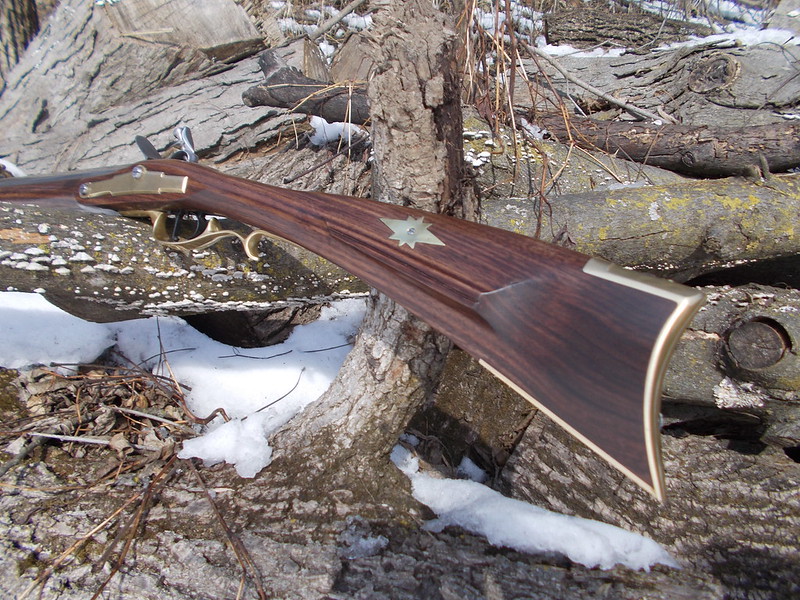
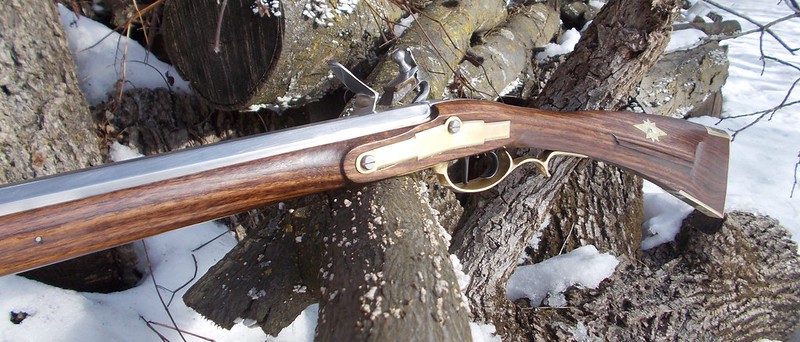
As many of you know from my ongoing thread about Rebuilding the Pedersoli Frontier, I have been diddling around, as time permitted, with reworking almost everything on this gun for about three years now. I’m happy to report the transformation is complete! Well, the front sight will get it's final work on the base to match the barrel once I’ve had a chance to shoot her and sight in.

The original gun was a Cabela’s Blue Ridge Percussion in .36. (AKA Pedersoli Frontier)

The transformed gun specs are:

Rebored original barrel to .45 with 1-56 twist round bottom grooves by Bobby Hoyt. The patent breech was cut off and a new plug and tang installed.
Overall Length 54”
Weight is 6.2#
Chambers Flint Lock built from his Builder’s Lock
Finish: No stain. 4 coats of Boiled Linseed Oil Hot Rubbed in over several days. 5 Coats of TruOil rubbed back. Johnson’s Furniture Paste Wax. Barrel & Lock left in the white.

The full story of what all I did to this gun (what didn’t I do?) is told in the series of pictures in my Flickr album, which can be found here:
https://www.flickr.com/photos/100435142@N08/albums/72157650877821348

Here’s some before and after pictures where I tried to take the pics from the same angle so one can really see the differences. Then I have some outdoor pics so you can see it in natural light. Well, natural in Minnesota in the Winter! Feel free to comment. Hope you like the transformation.

BEFORE:

16593107940_1af738809f_c.jpg


AFTER:

32626980431_8d89a41abe_c.jpg


BEFORE:

16857610991_204dfa2e19_c.jpg


AFTER:

32597349322_d86233c296_c.jpg


BEFORE:

16340746603_81da0ed8dd_c.jpg


22485717837_16fc44b98a_c.jpg


AFTER:
32626979481_92e413477c_c.jpg


BEFORE:

16934907226_683815e693_c.jpg


AFTER:

32750852875_81fdf2180e_c.jpg


BEFORE:

16934906466_18b6a29ef6_c.jpg


AFTER:

32597347452_1c5b375be4_c.jpg


BEFORE:

22904103295_e8da1fb16c_c.jpg


AFTER:

31936552473_44eff0e523_c.jpg


BEFORE:

23821900314_62dc11e999_c.jpg


AFTER:

32370669820_c1802456de_c.jpg


BEFORE:

24341800162_dd865eec16_c.jpg


AFTER:

31936550703_ab37e79ae4_c.jpg


BEFORE:

24441369112_008c55fd55_c.jpg


AFTER:

32370668770_f94f944fa2_c.jpg


BEFORE:

24691498511_c6fe60a1f2_c.jpg


AFTER:

31936549383_1b779d6656_c.jpg


BEFORE:

24667188202_ecb6c9779d_c.jpg


AFTER:

32370667590_cfea124fa7_c.jpg


FINAL PICS!
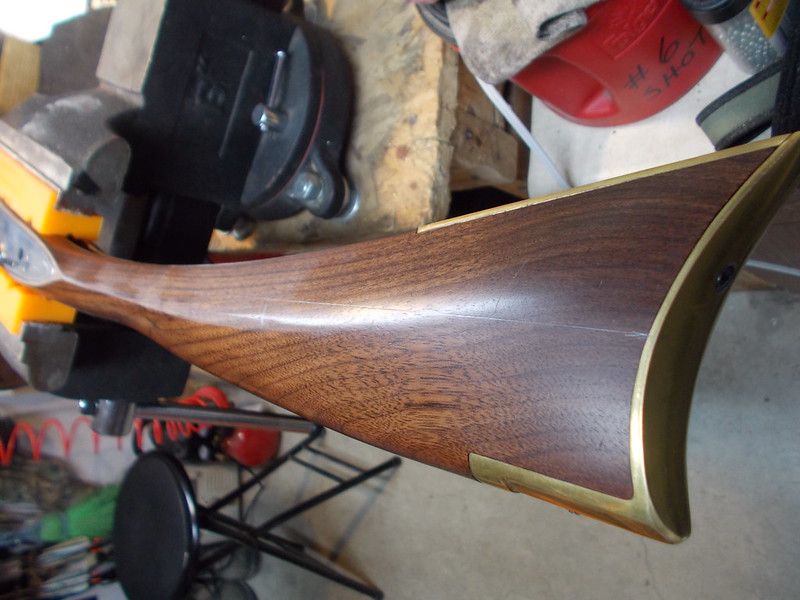
31936547933_f59c8da072_c.jpg


31936545863_50ea0fbd75_c.jpg


32597418762_4c81e05f37_c.jpg


32709899886_649ff51574_c.jpg


32597415542_ba17340e56_c.jpg


32597413022_84ce885a62_c.jpg


32709842386_cab8d6a249_c.jpg
 
Last edited by a moderator:
Now it's a sleek looking rifle with no excess clunky wood. It no longer (to me) looks like a Pedersoli. Very nice work. What's the barrel length, now?
 
Beautiful rifle. Remodeling a factory rifle is something I might do, indeed have done right from the get go. However, I wonder if the original price of the gun plus the money spent on remodeling might add up to the price of a nice kit that could be worked into an equally nice and maybe even better rifle. A Tip Curtis kit starts at $650.

On the other hand if you bought the rifle with no intention of remodeling it and after some time decided to make your changes I can see why you did it. Anyway I really admire what you've done.
 

Latest posts

Back
Top