• Friends, our 2nd Amendment rights are always under attack and the NRA has been a constant for decades in helping fight that fight.

    We have partnered with the NRA to offer you a discount on membership and Muzzleloading Forum gets a small percentage too of each membership, so you are supporting both the NRA and us.

    Use this link to sign up please; https://membership.nra.org/recruiters/join/XR045103

Rebuilding a Mendi Wheellock

Muzzleloading Forum

Help Support Muzzleloading Forum:

This site may earn a commission from merchant affiliate links, including eBay, Amazon, and others.
Joined
Feb 4, 2005
Messages
463
Reaction score
345
Location
SoCal - smogville
2018-03-23 15.36.09

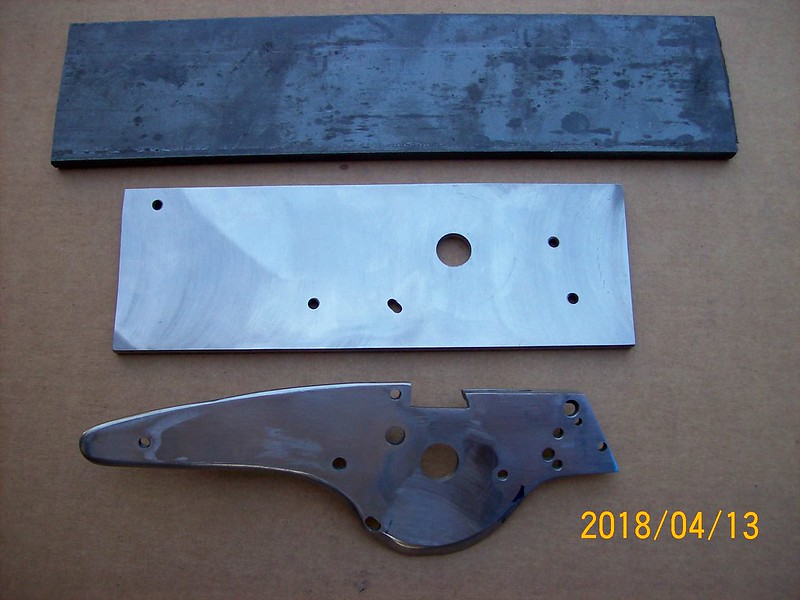
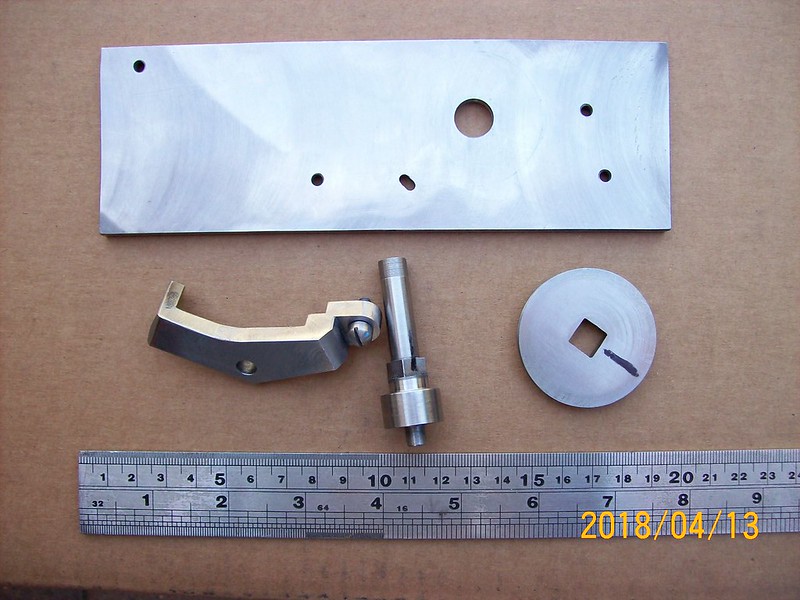
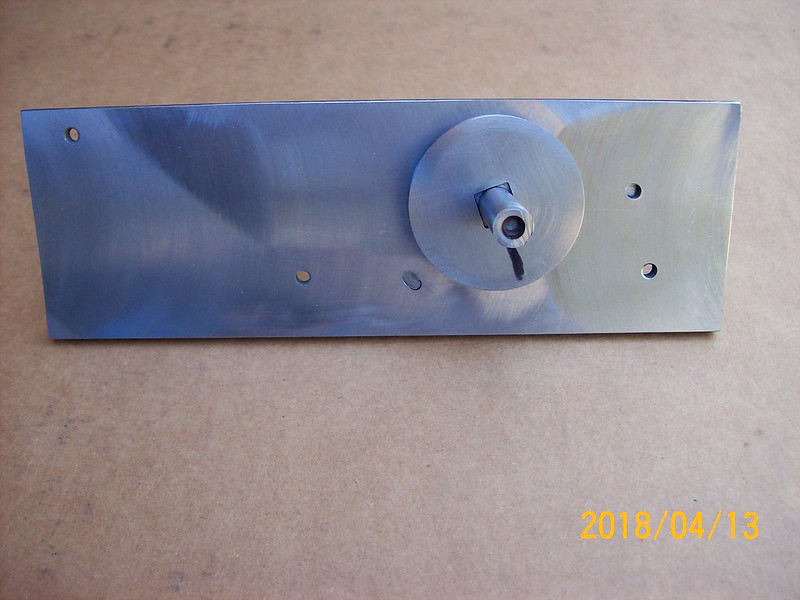
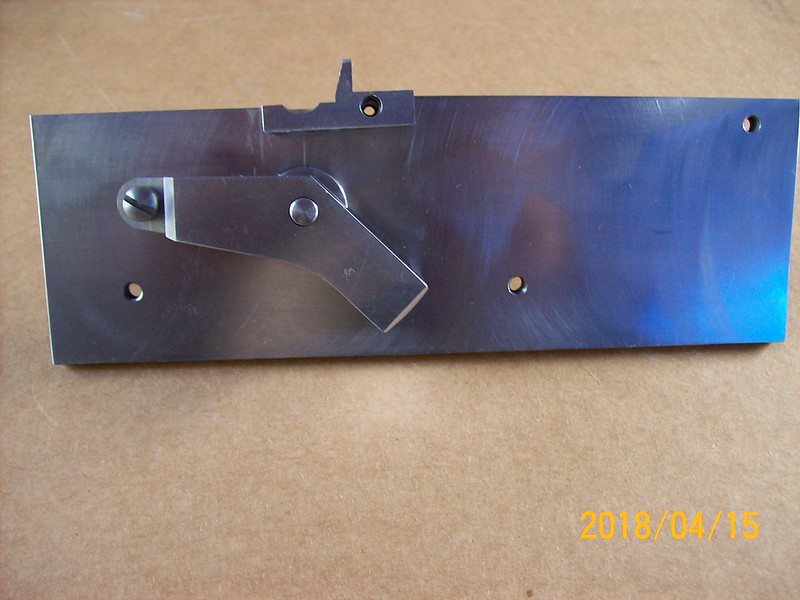
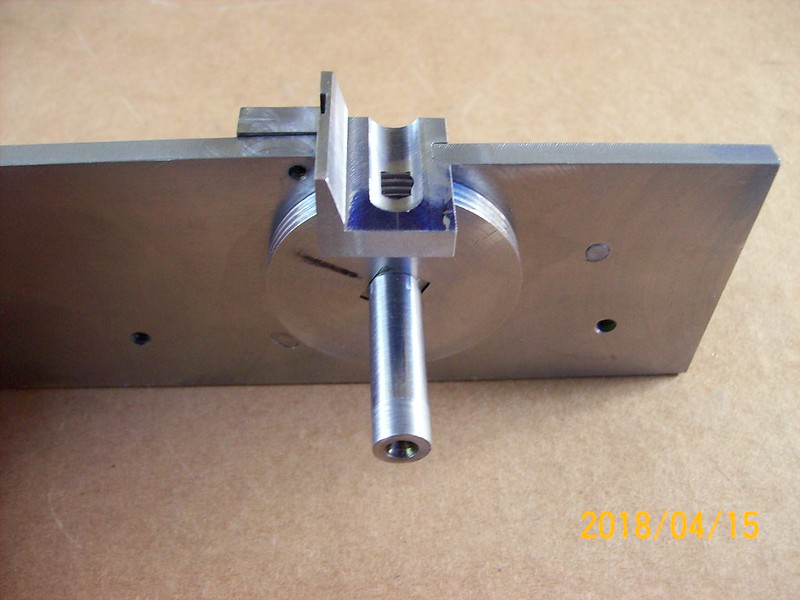
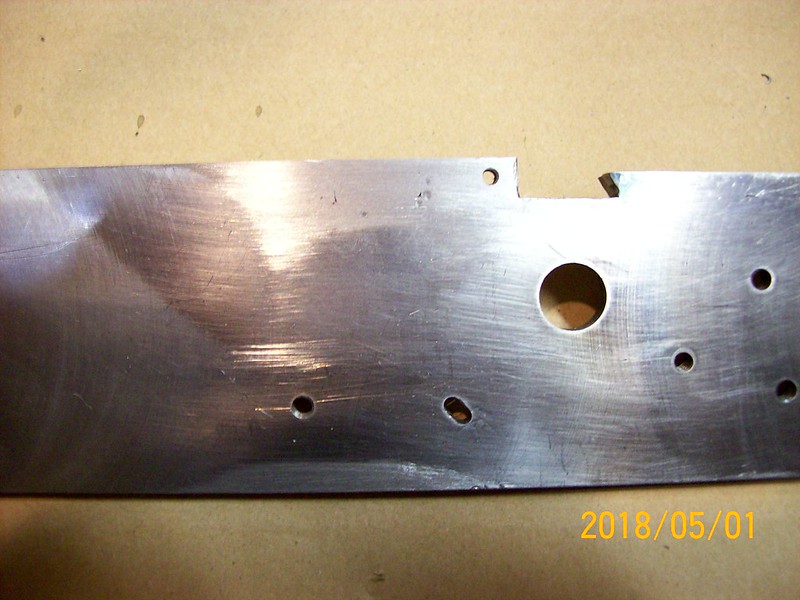
I built this lock drilling jig to work on my Mendi wheellock. I made several new wheel shafts, a new bridle and a new wheel. Unfortunately, the plate is so distorted that nothing seems to work. So it looks like making a new lock plate will be the next order of work.
I put a steel straight edge on the plate & there are many areas with over 30 thousands gaps. The plate is not parallel and working on one face makes problems on the other face. Will post photos as they occur. Mike
 
Looks like a lot of work. 30 thou gap that is bad, as a trained machinist, it looks like got your work cut out.
 
This lock was on a pistol I bought several years ago. Never fired it, the lock "sort of" worked, always dragged.
I finally thought I could machine a new tumbler shaft because the original cast piece was out of round (.407",.406", .405" & .404") & undersized and the hole in the plate was .417" diameter. Thought that was the problem. I made a new tumbler shaft to fit the existing hole and noticed the bridle always lifted also. The screw that held the bridle in place would cam the bridle up when tightened. I messed with the bridle and decided to make another and as I was still having problems with dragging and sticking. So I made another tumbler shaft with a larger diameter pivot in the lockplate. I made a replacement wheel to go with the new tumbler shaft and bridle but it was still dragging, so I finally put a steel rule on the lockplate and found that it was too screwed up to fix. So I was finished polishing that 'road apple' and will make a new plate that is flat and parallel.

The Mendi lock is much bigger than the Georg Lauber lock, in fact it has the same internal parts as The Rifle Shoppe's Dutch Musket wheellock (no. 629). The difference is the Dutch plate has a longer tail which makes it 8" long, whereas the Mendi plate is 7-1/8" long. The wheel on both is 1.75" diameter and I have laid out my parts on the photo of the Dutch lock and I can't find any difference. The wheel on the Lauber lock is 1-1/2" in diameter and the plate is 6.6" long. Since the lock is much larger than the Lauber lock, I'll probably put the rebuilt lock on a carbine.
Later, Mike
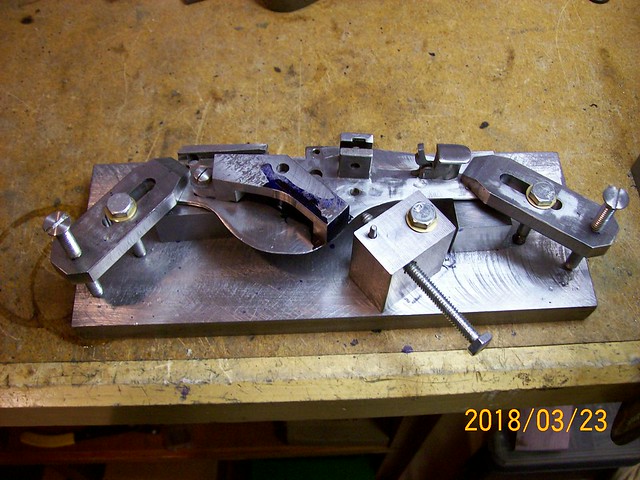
 
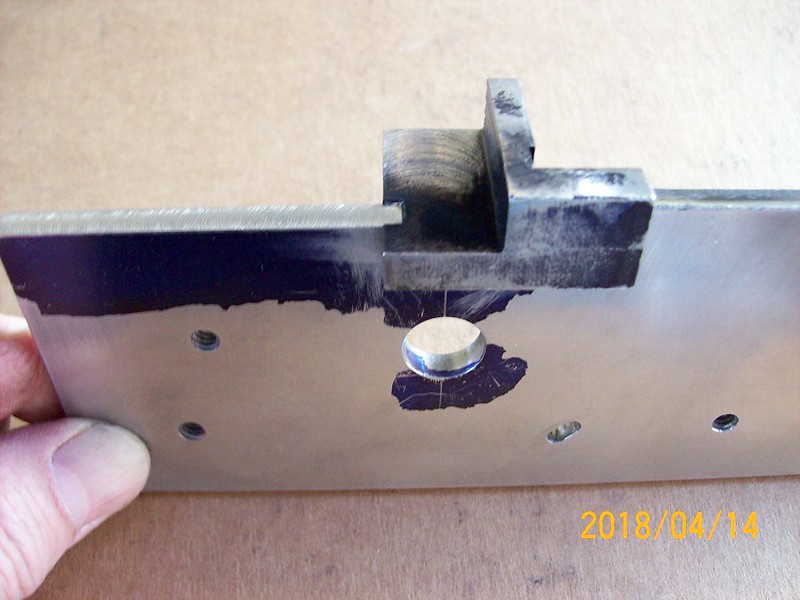
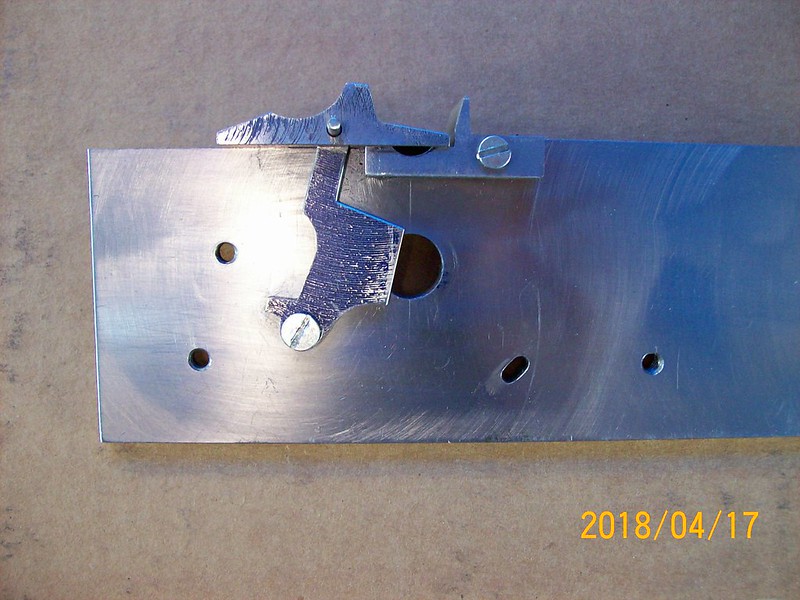
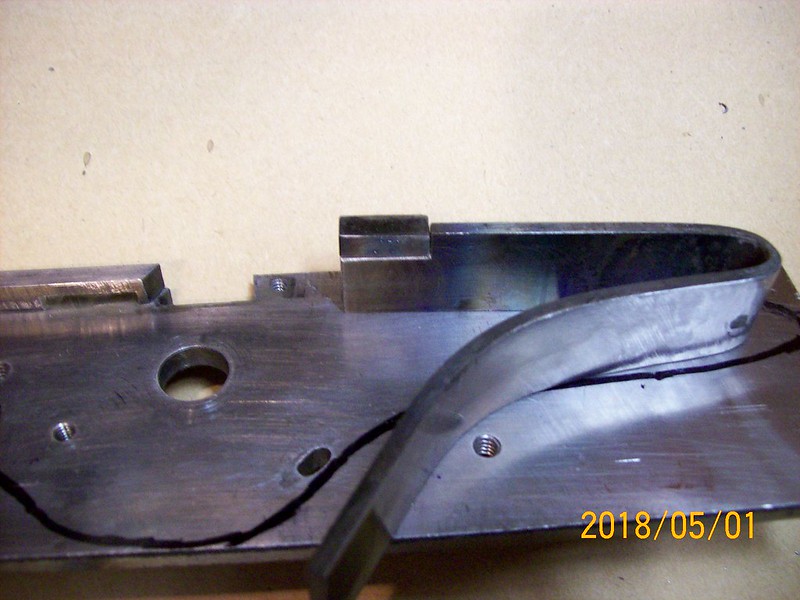
Photo of the rough pan installation from the rear of the plate.

100_0524

The pan is notched into the plate using the technique shown by 'raszpla'. He used to post photos of his wheellock builds here (but not for 2 years), he is the master builder. I've learned a lot by looking at his build photos.

I used a butane lighter to aid filing the notch and fitting to the lockplate. The black on the pan is soot. Later, Mike
 
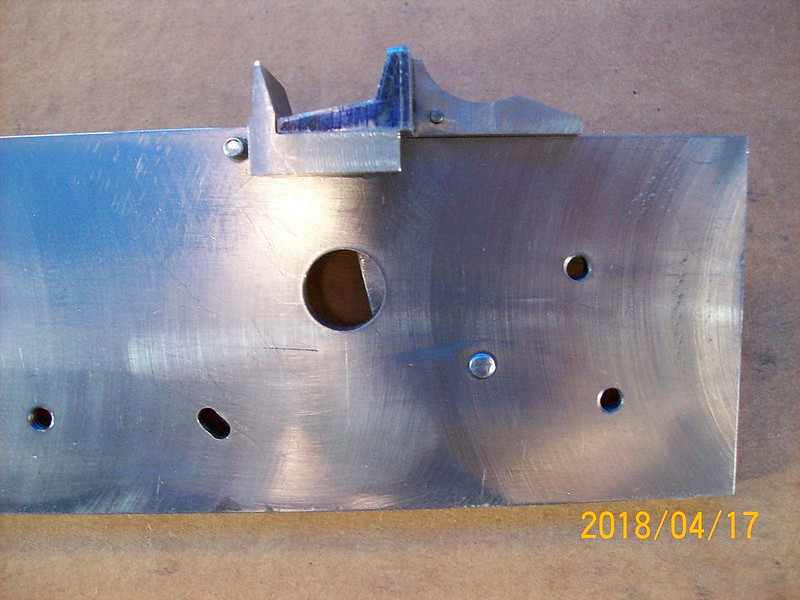
Working on the pan and fitting the wheel.

100_0540
Note that the back of the pan is slightly lifted above the plate. This is because the pan & wheel have to be ground together after the wheel is hardened. The wheel will cut grooves into the underside of the pan trough. Then the pan should be flush with the top of the plate.

Photo of the front showing the top of the pan and the wheel.

 
Photos of the pan cover and pan actuator arm:


and the front view:


The pan & arm have to be shaped to final size yet. The pin in the pan is 3/32" on the inside & 5/64" on the outside. I had to sharpen the 5/64" drill 3 times to get through the pan. Georg Lauber used a 1/16" pin on his plans - I won't use a 1/16" pin on anything unless someone is holding a gun to my head.

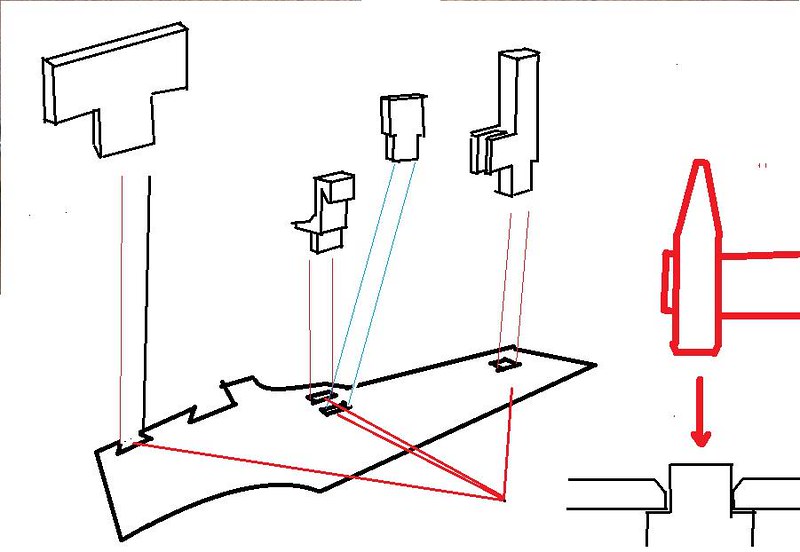
I have to install a "lock cover" piece on the inside of the plate as the next step. The lock cover adds thickness to the lock plate to match up with the thickness of the pan on the interior of the plate. It is installed as a dovetail piece and hammered in placed, should be "interesting". I've seen antique locks that you can just barely see the outline of pieces that are installed by hammering on the inside of the lock. If it worked 500 years ago, it should work now - of course they were working with wrought iron, not low carbon steel.

I notice the photos are distorted because I'm using the "macro" setting on the camera. Pay no attention, it's just an optical delusion.
 
Very interesting and precise build, Mike!

I have fancied making a wheellock for a long time now, but other "stuff" has always got in the way.
This is an easy build to follow, and thanks for showing us your progress.
(Been figuring on a wheellock with no chain, but cannot get past 2/5 to half a revolution without one!..)

Thanks again,

Pukka.
 
Ahoy Pukka, I still really like your snapping matchlock! You were sort of the inspiration for me trying to fix the Mendi lock, even if it was a fool's errand.

I had intended to make parts for the Mendi wheellock to get it to run better. It was too far out of whack for me to fix. The backside of the plate was as smooth as a dirt road after a rainstorm, including potholes. The lock plate was like a bad plane crash, only thing I could salvage were the screw holes. After making 2 tumbler shafts, 2 wheels and a new bridle it became obvious that it would be better to start with something flat & parallel. I don't think there is going to be any Mendi parts in this lock when I'm finished.

In order to make a wheellock I think you need to be a failed watch maker, but at least the parts are bigger and so are the tolerances. Later, Mike
 
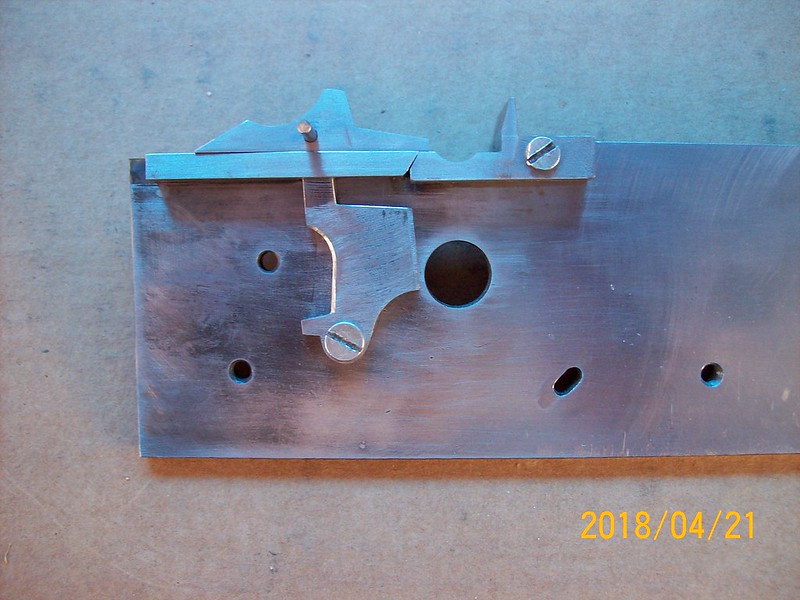
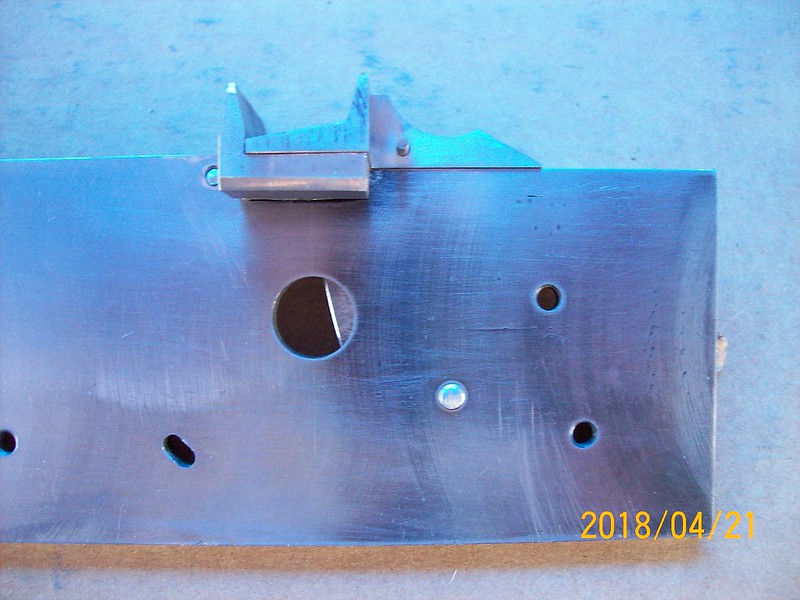
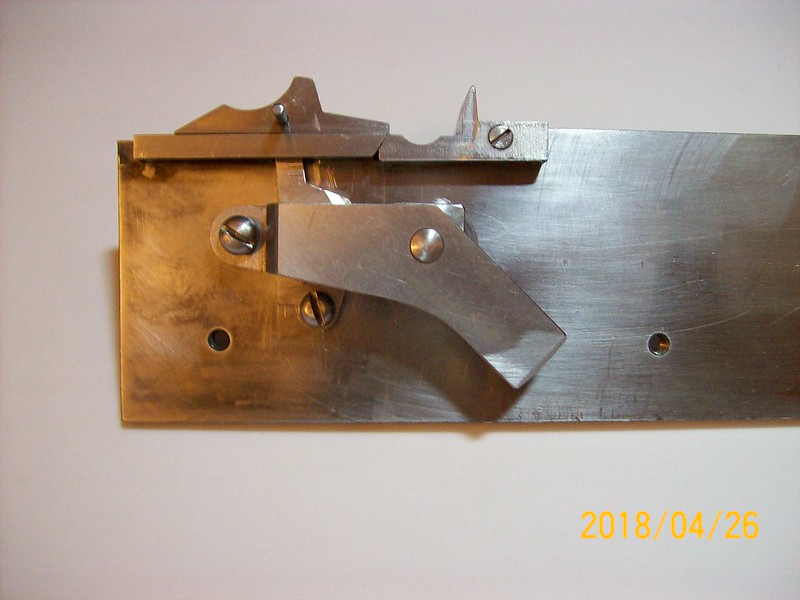
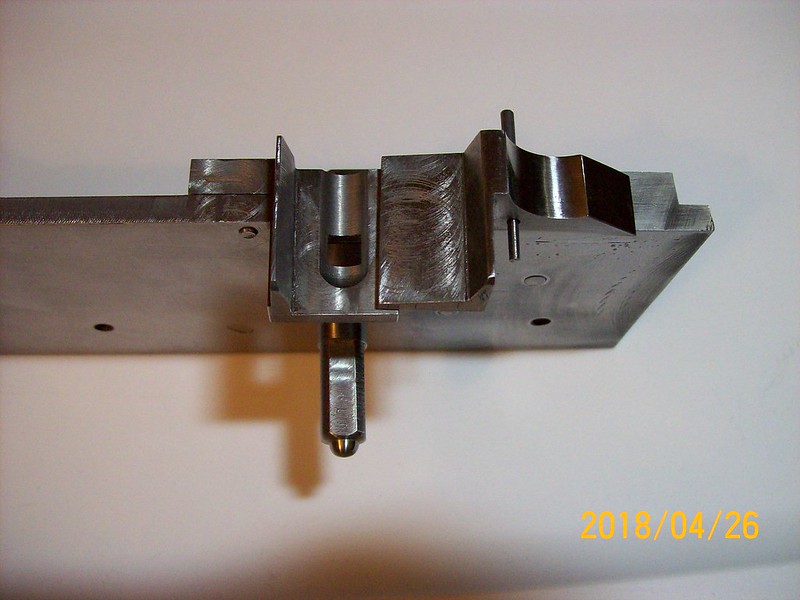
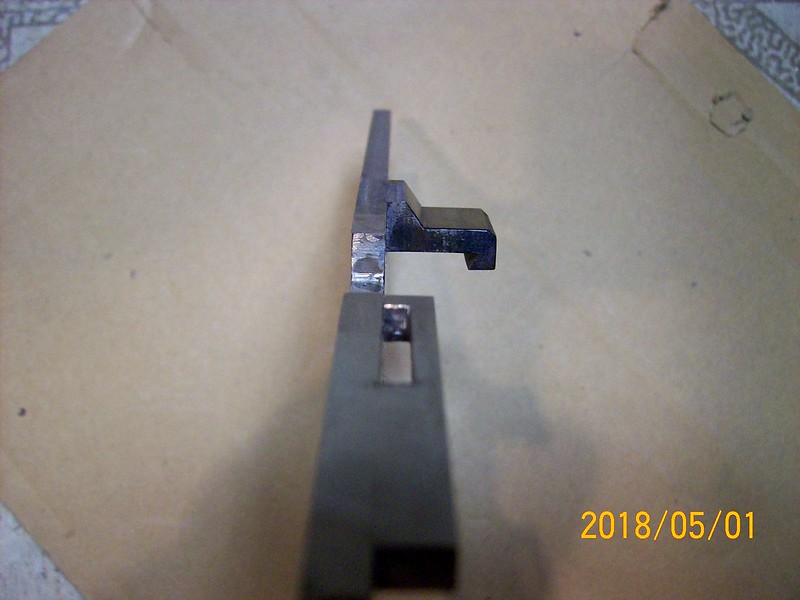
View of the inside of the lock with the lock cover installed, it adds the same thickness as the pan to the inside of the lock plate.

100_0548

The front view, the cover is installed using a dovetail thru the plate. The dovetail is hammered to expand it & then filed flush. It is just to the right edge of the sliding pan cover.

100_0550

Here is a sketch of the parts that are installed by hammering into the lock plate, 'raszpla' made this sketch as an explanation of the technique.

08
 
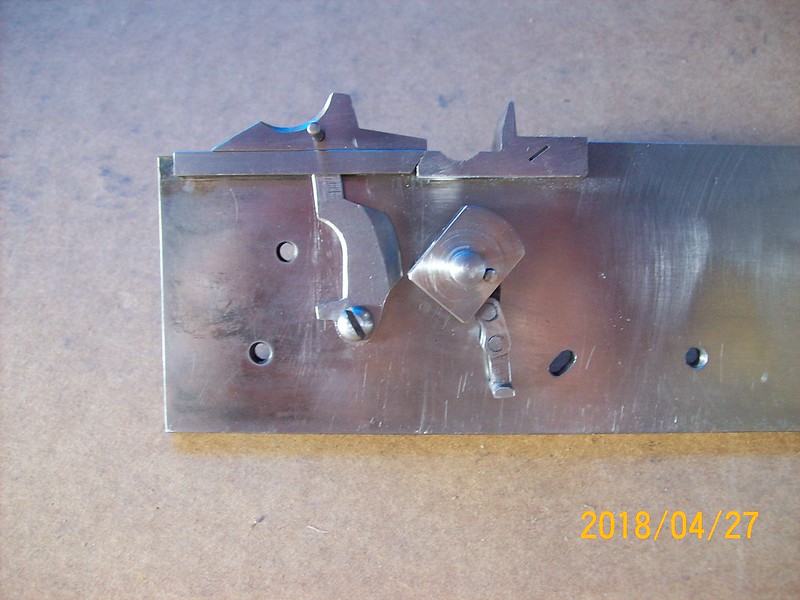
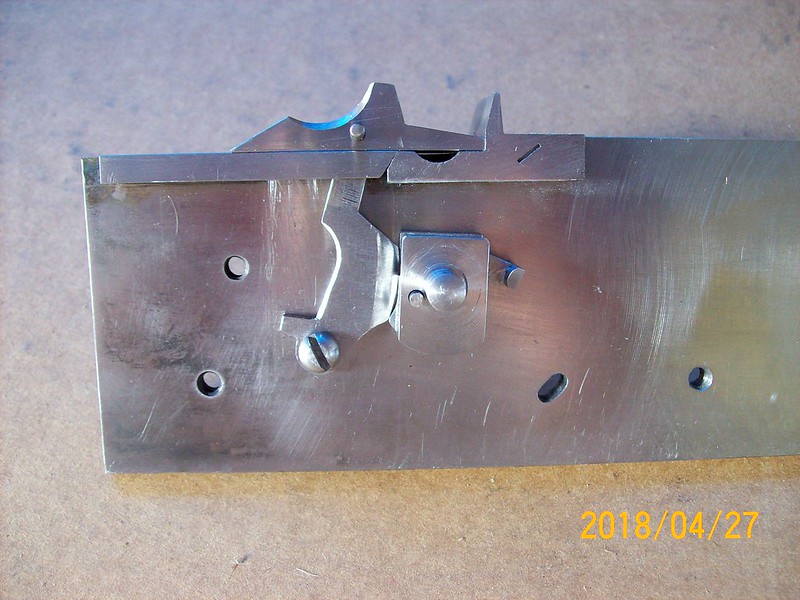
Progress photo with internal parts & finished screws. Made dome head screws to resemble the type used in the 1600's.

100_0564

Top view:

100_0566

Tumbler no.4, screwed up last tumbler when cutting for the chain installation. This one is partially cut for the chain.

100_0569

Hope to get the chain installed tomorrow. later, mike
 
RJDH said:
Very clean nice work, You're doing a grand job on it sir!!
Thanks Pukka!

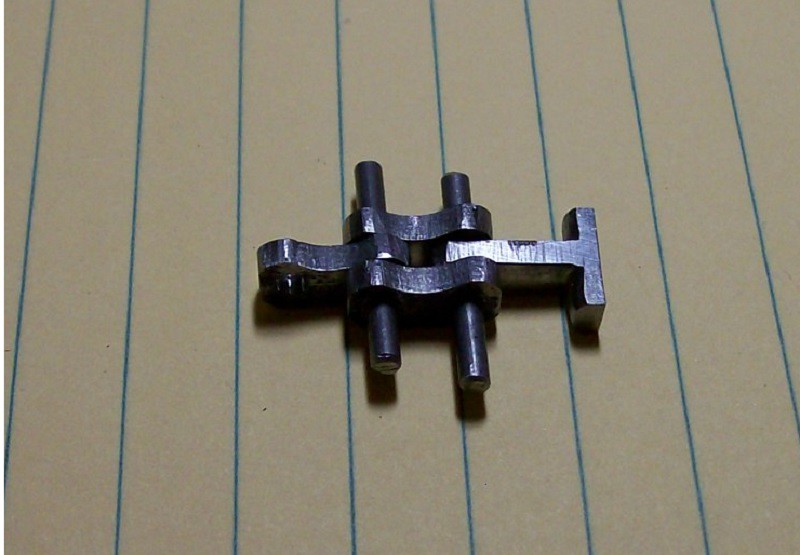
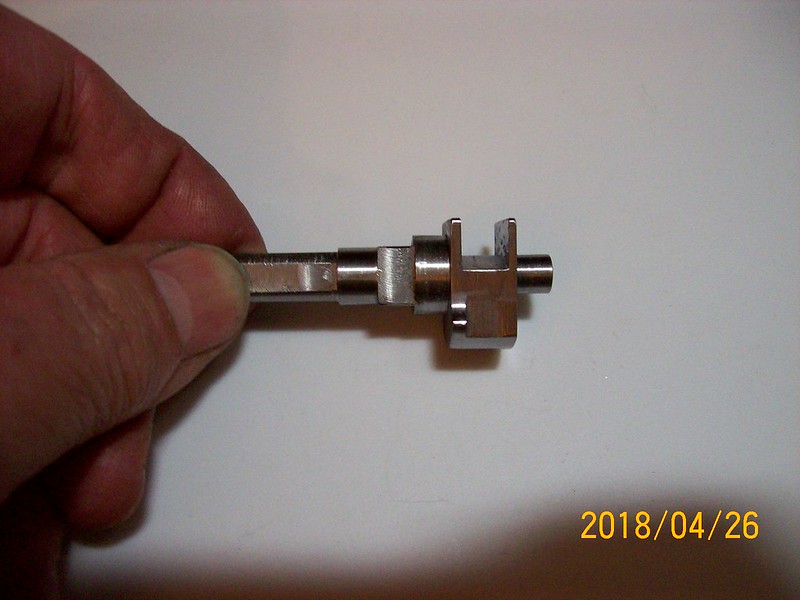
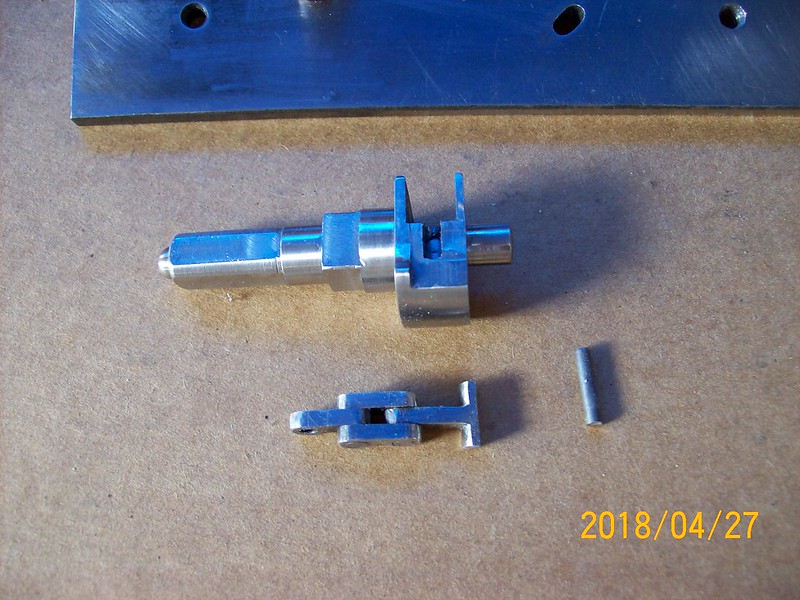
The tumbler (spindle is the correct terminology) cut for the chain:

100_0574

Tumbler with chain extended:
100_0571

Tumbler with chain in the cocked position. I put a kicker on the left side of the tumbler to hit the flashpan actuator quicker, don't know if it is necessary.

100_0570

Tha, tha, that's all folks.
 
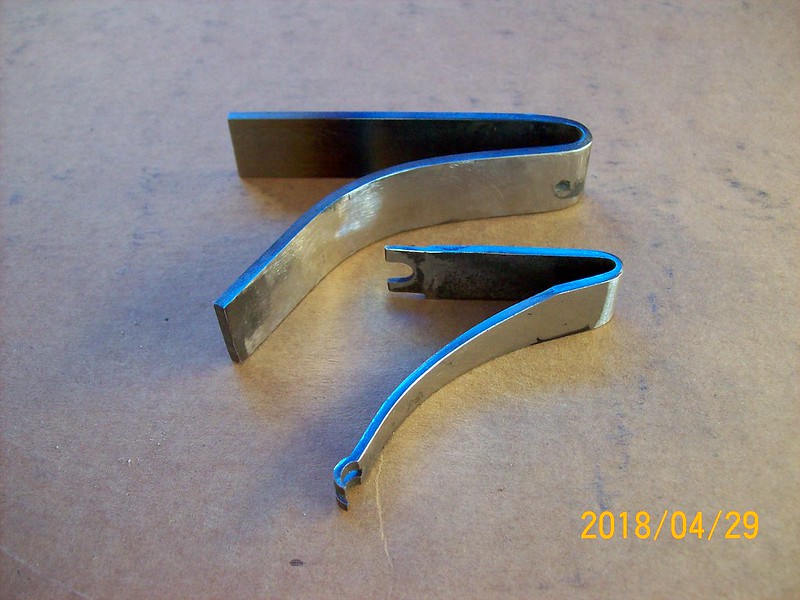
Photo of the beginning of a new mainspring with the Mendi spring for comparison:

100_0576

The Mendi spring is .089" thick by 5/8" tall, the new spring is .125" thick by 3/4" tall. The Mendi upper arm is only 2.1" long, the new one should be about 3" long.
I used my oxy-acetylene Cobra torch (used to be called a Henrob, works at 4 psi for both gases) to heat for bending and shaping. There's a lot of cutting, shaping & filing to do before it's ready to heat treat though. later, Mike
 
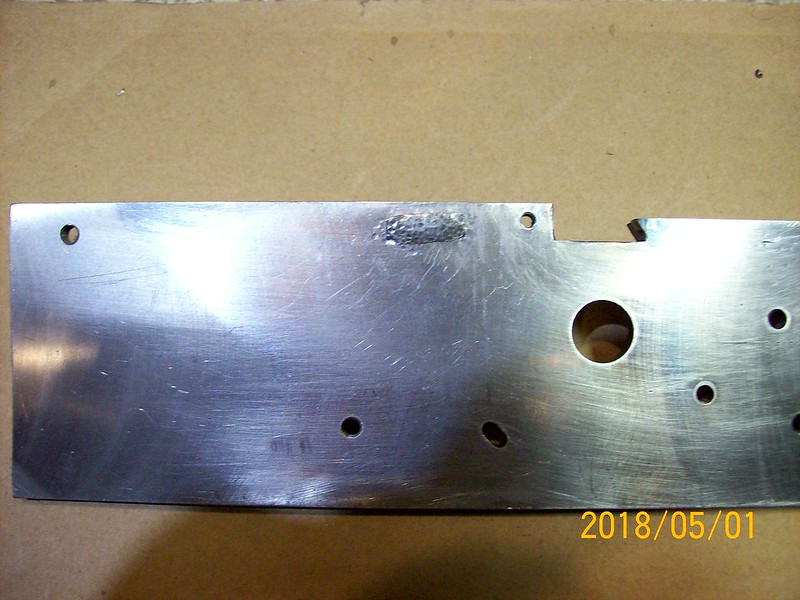
I installed one of the lugs that holds the mainspring in place. It is installed by inletting the lug through the lock plate and peening the head of the lug.
100_0578
Looks like a wart after peening the head over.

This is what it looks like after filing the head down:
100_0581

A photo of the lug and the coverplate that was dovetailed & peened to the plate:
100_0588

Here's the inside of the plate with the lug holding the mainspring. The lug has a dovetail at the top and the mainspring is beveled to fit inside the lug.
100_0585

That's it for today. Mike
 
Back
Top