• Friends, our 2nd Amendment rights are always under attack and the NRA has been a constant for decades in helping fight that fight.

    We have partnered with the NRA to offer you a discount on membership and Muzzleloading Forum gets a small percentage too of each membership, so you are supporting both the NRA and us.

    Use this link to sign up please; https://membership.nra.org/recruiters/join/XR045103

English style blunderbuss build

Muzzleloading Forum

Help Support Muzzleloading Forum:

This site may earn a commission from merchant affiliate links, including eBay, Amazon, and others.
Joined
Jul 8, 2011
Messages
105
Reaction score
151
I wanted to start a post of my blunderbuss build. This project began about 2 years ago when I saw a parts set from Pecatonica River at the Kalamazoo living history show. I ended up placing an order with them for walnut stock with just barrel channel and ramrod done, no other inlets. Their barrel is made by Rice in 4 bore flared to about 2 inches. The guys at Pecatonica were very easy to work with and their partially carved stock came as ordered some nice figured grain and tons of extra wood to work with, essentially no wrist. Perfect for this project as it will be modified quite a bit. This will be quite a few posts, as the gun is nearly finished. More to come!


IMG_5772.jpeg
IMG_5771.jpeg
 
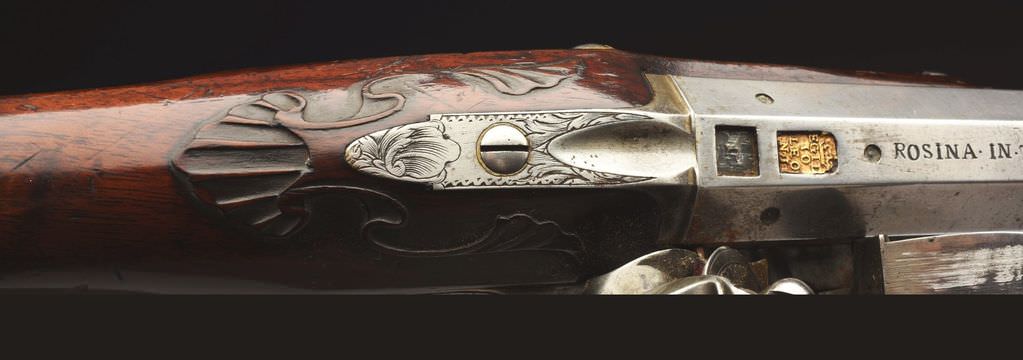
My vision for this project was for a fairly ornate english blunderbuss. I am only 3 years along my gun building journey, my last project was a Chambers NE fowler in 10 ga. I really wanted to learn more of the decorative skills like wire inlay, engraving, and improving my carving. I began my research with The Blunderbuss book by Foreman from TOW, good history and some fair quality black and white photos of originals. Most of my inspiration came from searching auction sites for fancy British examples from 1740’s-80s. I found a gun from 1747 by Jordan of London with “Bankers of 59 Strand” engraved on the thumb piece. This gun would be my reference for the general architecture.
 

Attachments

  • IMG_7445.png
    IMG_7445.png
    1.8 MB
  • IMG_7446.png
    IMG_7446.png
    215.1 KB
  • IMG_5352.png
    IMG_5352.png
    1.9 MB
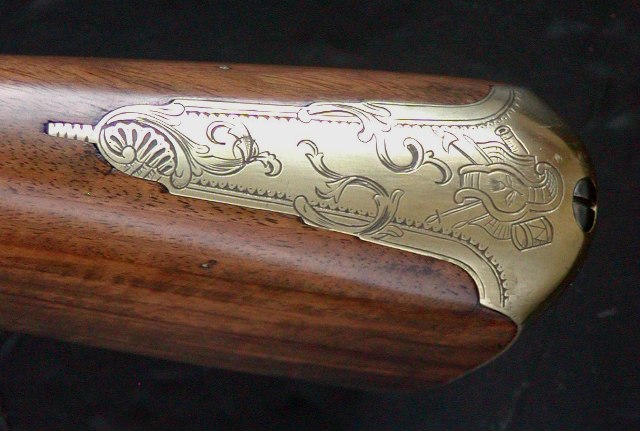
After studying a lot of english busses, I ordered a large english fowler butt plate, large acorn finial trigger guard, fowler style pipes, and a Chamber English round faced lock as well as their fancy english fowler side plate and thumb piece.

Soon I got right to work on the barrel. Draw filing, tang bent and worked into a thumbnail shape, breech face checked for a good seal. Barrel inlet first then the tang. There was a little extra space around the breech and tang bolster from the duplicator cutters, but I planned on bedding the whole barrel with Acraglass for strength, it is a 4 bore after all!
IMG_5811.jpeg
IMG_5814.jpeg
IMG_5825.jpeg
 
I built a blunder buss from a kit that I bought off of Mike Lee. It was also a 4 bore. We had a blast shooting cut up broom handles to 1” in length. I would load up about 5 of them and shoot them straight up and we would hear them bounce off of our tin roofs. No damage done and we all got a laugh. Shooting a load of cotton balls would make it snow in July.
 
The dreaded english butt plate… please, if you have a quicker way to do these, do tell. I have to clear my schedule for quite a while to finish these. I rough shape the butt end of the stock with a 18th century belt sander, then hit it with inletting black fitting the end first then down into the stock. About a thousand times I think…got a good fit.
IMG_5871.jpeg
IMG_5873.jpeg
IMG_5895.jpeg
IMG_5897.jpeg
IMG_5896.jpeg
 
Rapid fire progress pic dump… lock plate, lock bolts. The trigger posed some unique challenges, had to scoot it toward the lock so it would reach the sear arm, added some metal to the trigger height after bringing the wood as high as I dared without breaking into the ramrod channel. The whole trigger assembly was a pretty custom project. Had to anneal and bend the trigger guard quite a bit- scary. Those things are not cheap. Side plate was a challenging inlet job.
IMG_7451.png
IMG_7452.png
IMG_7454.png
IMG_7455.png
IMG_6503.jpeg
IMG_6502.jpeg
IMG_6628.jpeg
IMG_6629.jpeg
 
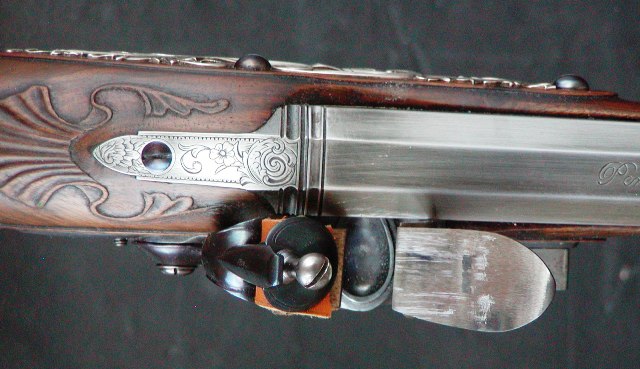
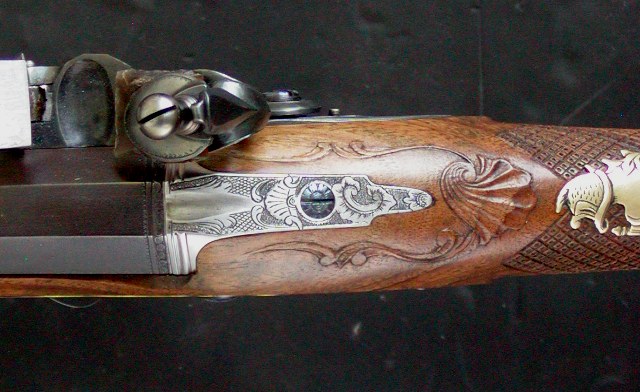
Early this spring I really started thinking about and studying wire inlay and engraving. Dave Person’s tutorials are priceless for any English project. I found all kinds of great references. Lots of threads here. I purchased John Schippers book on engraving, Sam Alfano’s old school hammer and chisel video, some books on English gunmakers. Searched as much English wire and engraving I could find. Bought some graver blanks, diamond stones, made some wire inlay tools and basically dived right in. Early efforts were pretty crude, but I was seeing rapid improvement.
IMG_7458.png
IMG_7462.png
IMG_7459.png
 
I thought about the carving for this project for quite a while. After studying lots of these guns, I concluded less is probably more. Even the fancier English blunderbusses had relatively little carving, although extremely well executed. Most commonly an English shell or plain beaver tail around the tang. Rarely beaver tails around the lock panels which I omitted. I did a shell on my fowler project but it was not at the British quality level. Here is the reference carving from an original and my design. Just have to take your time…thumbpiece inlet also.
IMG_7457.png
IMG_7468.png
IMG_7471.png
IMG_7470.png
IMG_7469.png
 
Hi,
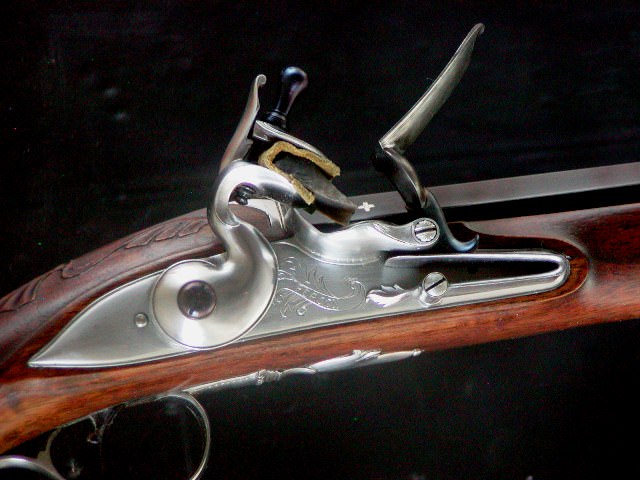
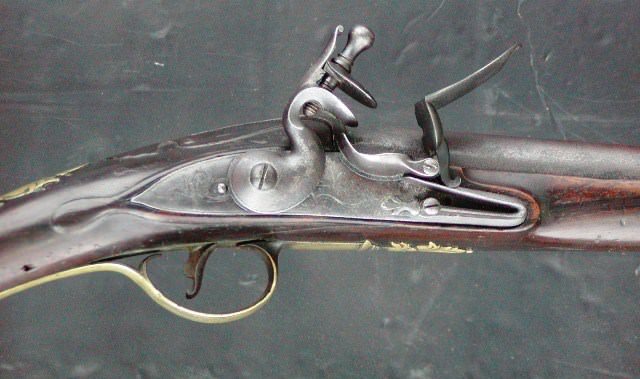
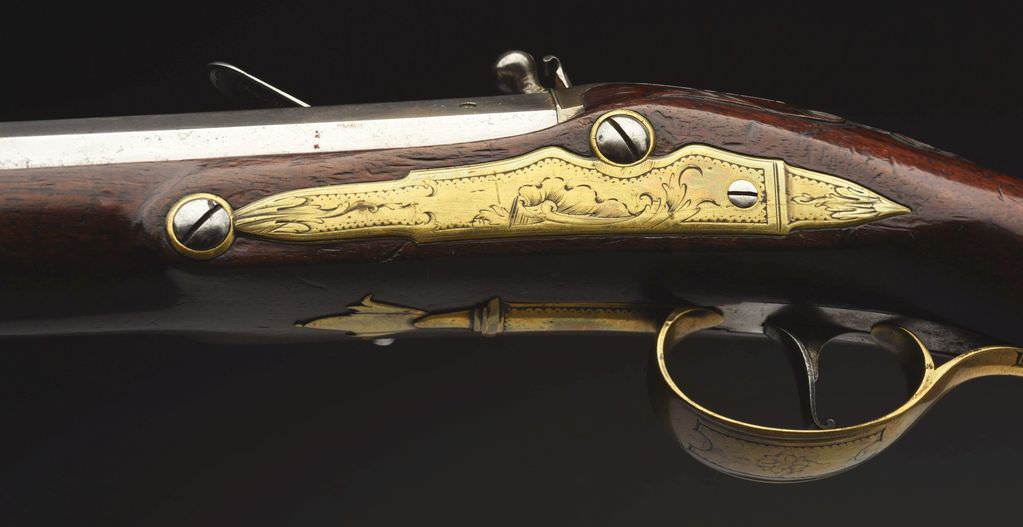
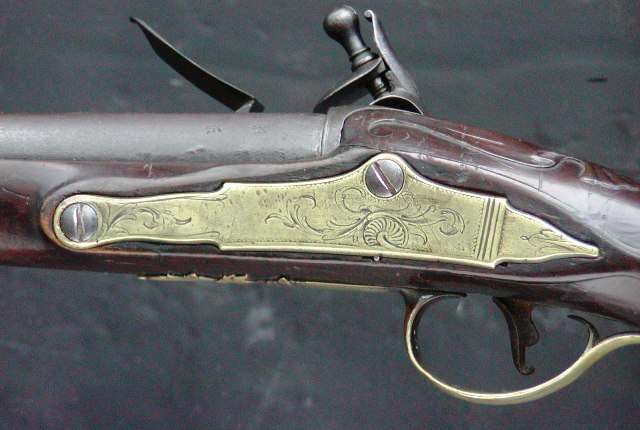
It is looking very good! I think you have the English flavor down. Keep the flats around your lock really thin even to the point of almost not existing.
vMLAxTd.jpg

DqYSIcE.jpg

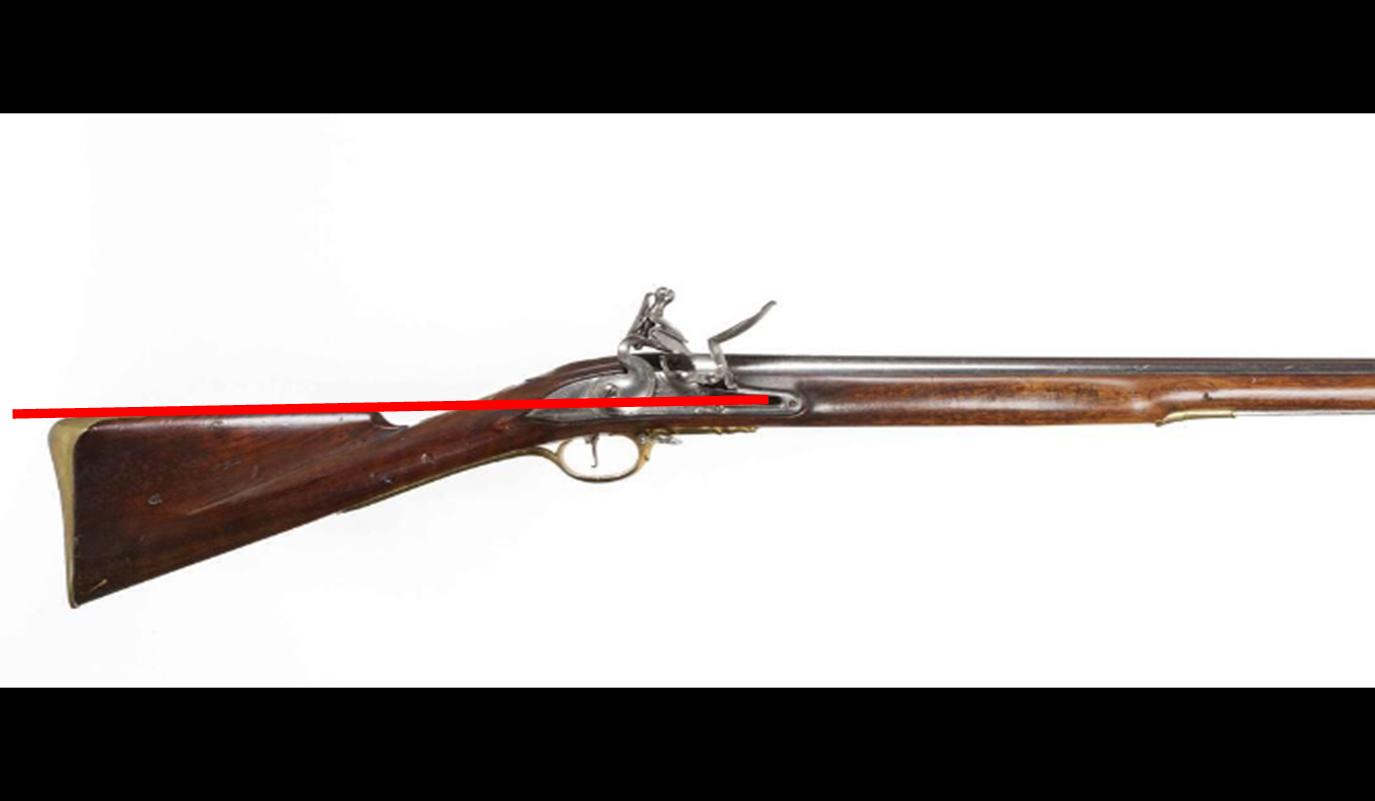
Make sure the top of the comb is angled such that if you lay a ruler on edge on top of it, the edge will pass through the flint cock tumbler screw.
JI1W79e.jpg


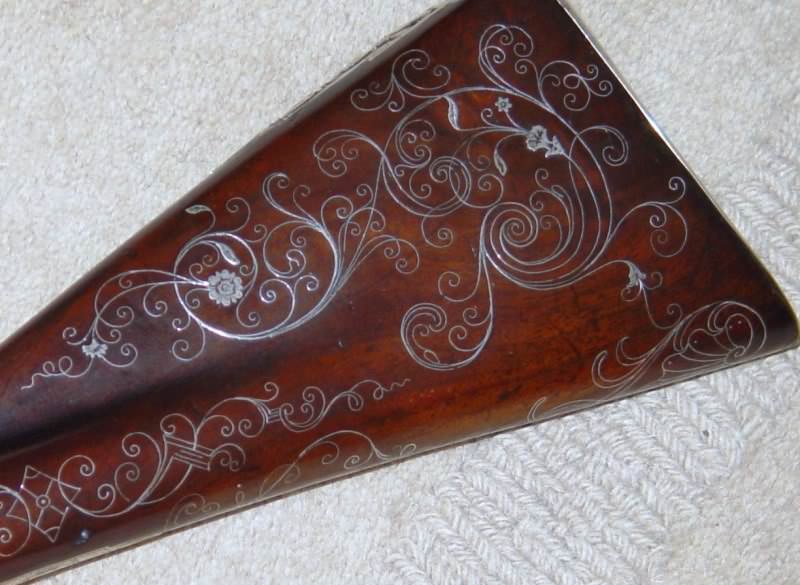
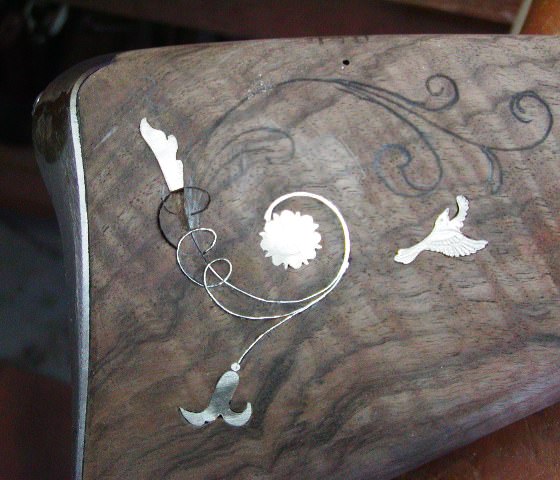
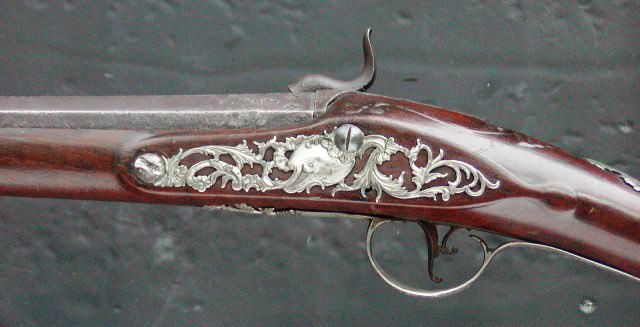
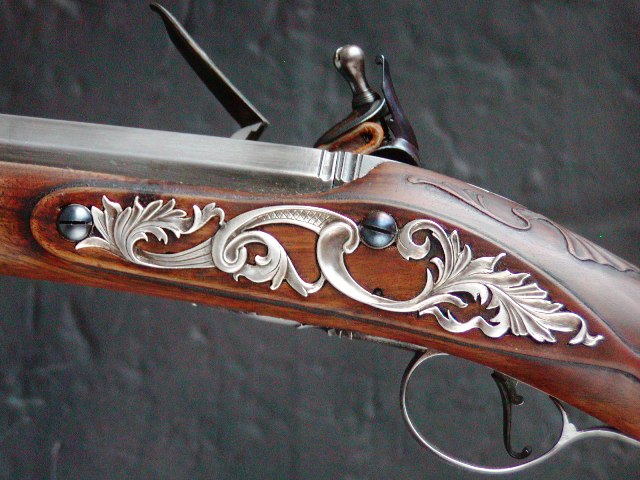
I encourage you to do the wire work. The English were mostly restrained with decoration but they almost always covered a lot of area with wire if they did it. You almost never see little isolated panels of wire or subtle accents. This is kind of an extreme example. but it gives you the idea.

Byh9XyV.jpg


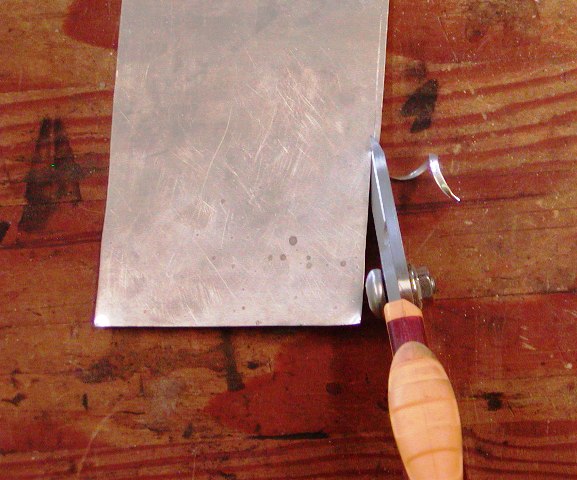
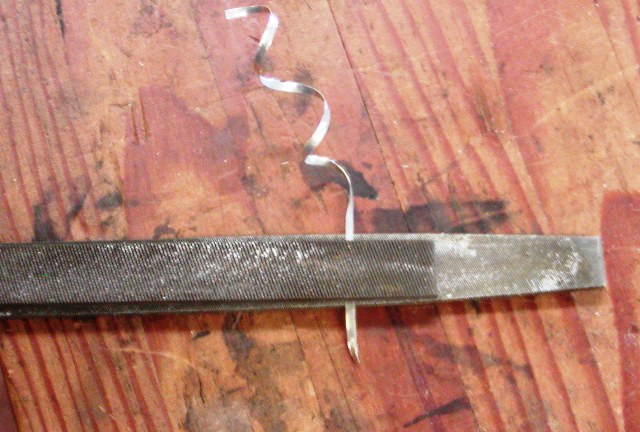
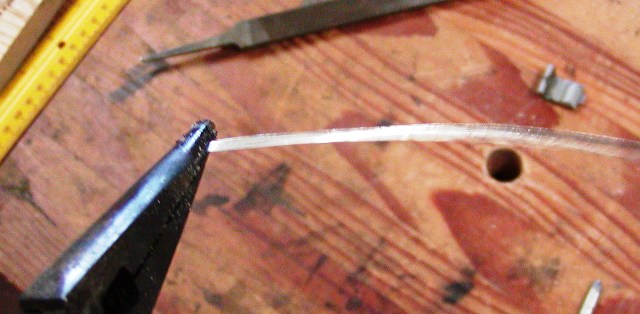
The wire ribbon is usually very thin, no more than 0.005" thick. None of the wire ribbon sold by muzzleloader suppliers is thin enough. I cut ribbon with shears from 0.005" silver sheet and then draw it between two coarse files to straighten and score it.
7Dkq6V1.jpg

71Stx2P.jpg

kr3QsTK.jpg


If I need thickness, I simply lay wire together as they did on the originals.
LhgQMJi.jpg

I use both sterling and fine silver depending on the objectives. With respect to engraving, Schipper's book can give you some guidance on designs but rely much more on images of originals. Schipper has his own style and it is unique to him.
tWLTocB.jpg

dhCs9dx.jpg

ptBse1j.jpg

jA9PEFc.jpg

r1MWM12.jpg


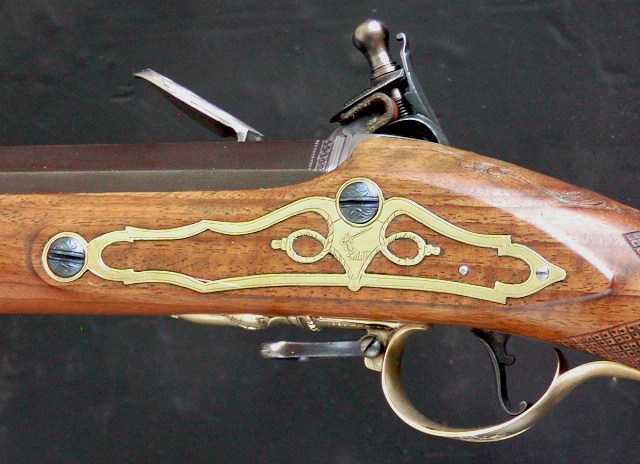
Finally, don't worry if your lock and side plate panels don't match. If you look down from the top or up from the bottom, you want the beginning and ending locations to match but all else is up for grabs. I find it most attractive and historically correct if you shape the side plate panel to frame the side plate nicely and closely and the lock panel should frame the lock nicely and closely. You don't want a lot of excess wood showing on the side plate side.
4QD3px5.jpg

ZWDBXMp.jpg

MCplaIf.jpg

ellOP4f.jpg


Good luck and very nice work so far!

dave
 
Last edited:
I am embarking on a similar project . I saw a picture of a 1760 French Espingola that is in the Army Museum in Paris, France. If you go online and look it up, you will find it easily. I connected with the Professor in charge of the department. He provided me with a couple of extra photographs and precise measurements. Because of the Olympic and Para-Olympic Games just past, his schedule was over full to say the least. "Merci Beau coup!" as we say here in bilingual Canada, to the Professor for his going above and beyond at such a busy time At this point in time: I have the full brass barrel already to be inset in the stock. It will only require the drilling of the touch-hole when all the final fitting is completed. . Lacking anything else, I acquired a brand new Pedersoli Brown Bess lock. The Professor confirmed that the stock is made from "frene" or in English - ash. I have a 8" tall x 4" wide x 30" long piece. I was able to purchase the ash in an almost dry state. I will continue the drying until January. Then the fun begins. The Professor has promised me some close-up photos of the "over" barrel metal clamping devise that I will have to manufacture on my own. I thank you for you excellent exposé of your beautiful work.
 

Attachments

  • Espingole_1760_France.jpg
    Espingole_1760_France.jpg
    983.2 KB
Hi,
It is looking very good! I think you have the English flavor down. Keep the flats around your lock really thin even to the point of almost not existing.
vMLAxTd.jpg

DqYSIcE.jpg

Make sure the top of the comb is angled such that if you lay a ruler on edge on top of it, the edge will pass through the flint cock tumbler screw.
JI1W79e.jpg


I encourage you to do the wire work. The English were mostly restrained with decoration but they almost always covered a lot of area with wire if they did it. You almost never see little isolated panels of wire or subtle accents. This is kind of an extreme example. but it gives you the idea.

Byh9XyV.jpg


The wire ribbon is usually very thin, no more than 0.005" thick. None of the wire ribbon sold by muzzleloader suppliers is thin enough. I cut ribbon with shears from 0.005" silver sheet and then draw it between two coarse files to straighten and score it.
7Dkq6V1.jpg

71Stx2P.jpg

kr3QsTK.jpg


If I need thickness, I simply lay wire together as they did on the originals.
LhgQMJi.jpg

I use both sterling and fine silver depending on the objectives. With respect to engraving, Schipper's book can give you some guidance on designs but rely much more on images of originals. Schipper has his own style and it is unique to him.
tWLTocB.jpg

dhCs9dx.jpg

ptBse1j.jpg

jA9PEFc.jpg

r1MWM12.jpg


Finally, don't worry if your lock and side plate panels don't match. If you look down from the top or up from the bottom, you want the beginning and ending locations to match but all else is up for grabs. I find it most attractive and historically correct if you shape the side plate panel to frame the side plate nicely and closely and the lock panel should frame the lock nicely and closely. You don't want a lot of excess wood showing on the side plate side.
4QD3px5.jpg

ZWDBXMp.jpg

MCplaIf.jpg

ellOP4f.jpg


Good luck and very nice work so far!

dave
Dave, thank you for visiting my thread. Your work is a major inspiration, I am trying to follow all I have learned about British work from you. I bought the Griffin and Tow book by your recommendation also, very nice reference. I was not aware of the comb line to tumbler screw rule of thumb, I was somewhat limited to the architecture of the pre-carve when determining my drop, but it shoulders very well. I dont have a good profile pic of the baluster wrist shaping yet, but I will soon. I will post some pics of the wire inlay and engraving today, please check it out. Your tutorials were instrumental in helping my learing curve. Wish you and your apprentice well, cheers!
 
Back
Top