Hi,
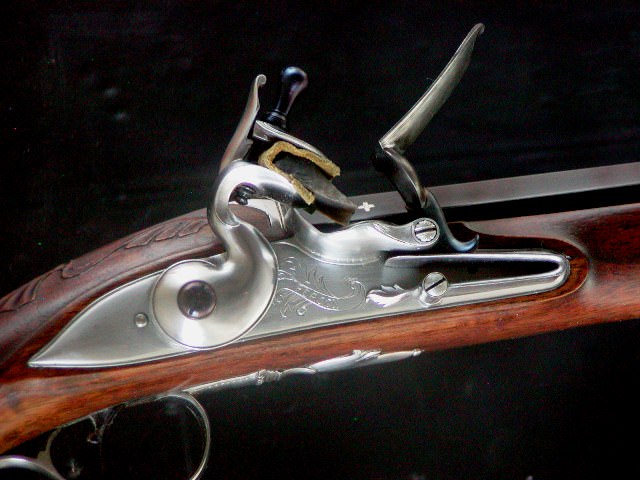
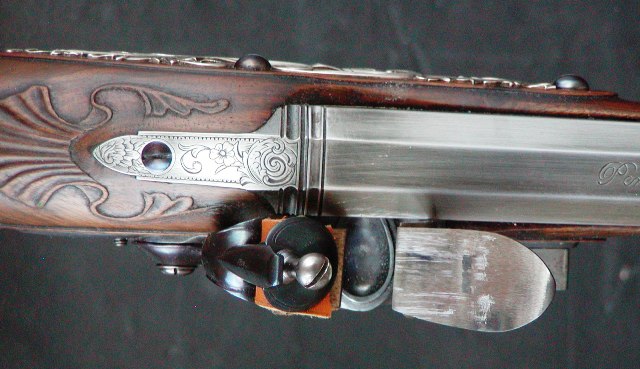
It is looking very good! I think you have the English flavor down. Keep the flats around your lock really thin even to the point of almost not existing.
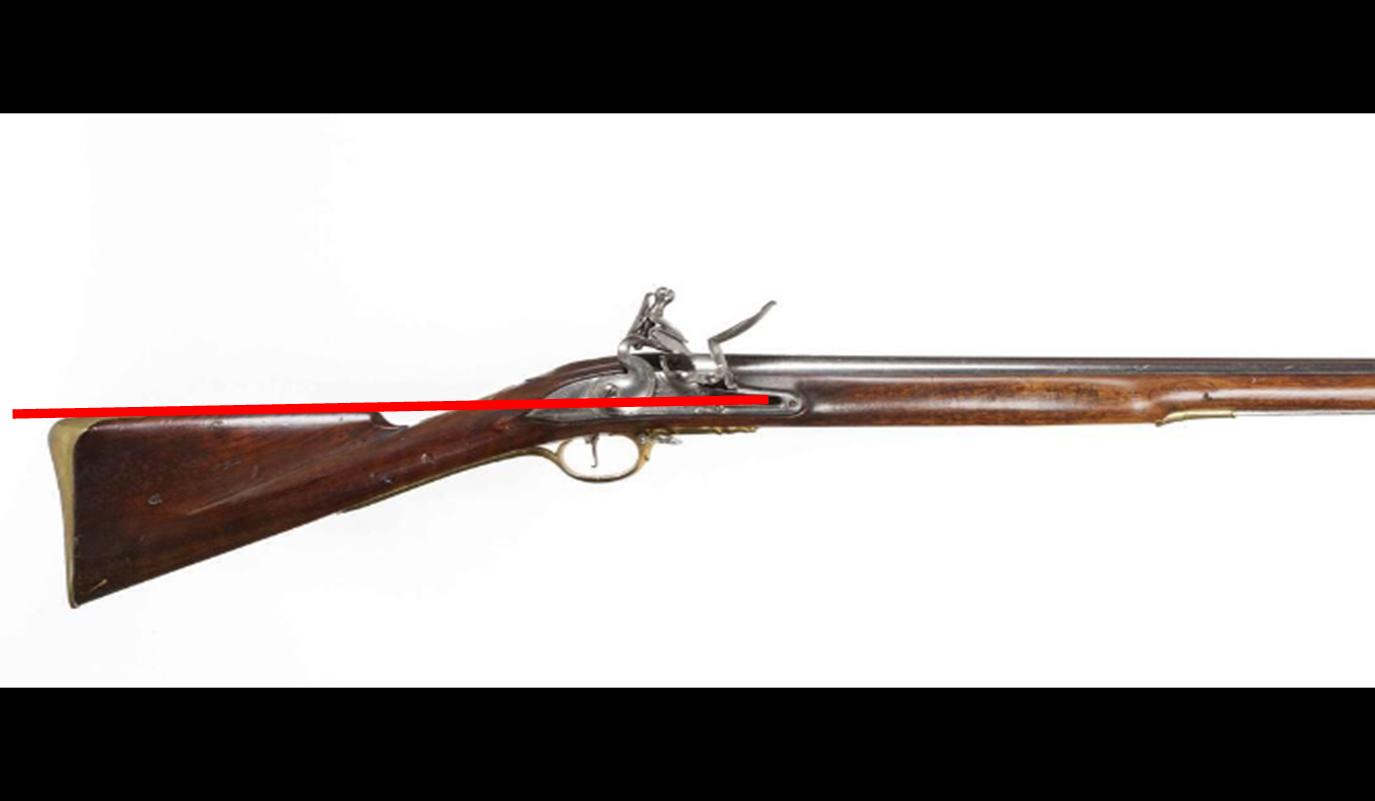
Make sure the top of the comb is angled such that if you lay a ruler on edge on top of it, the edge will pass through the flint **** tumbler screw.
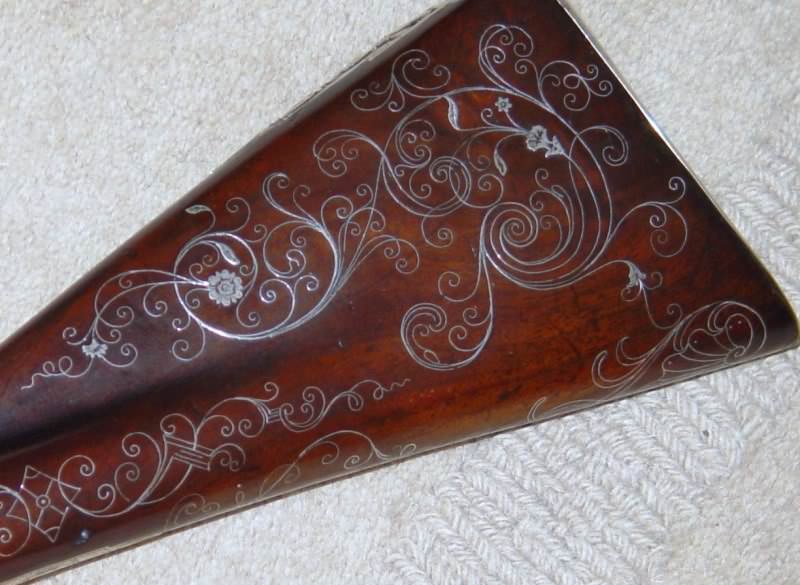
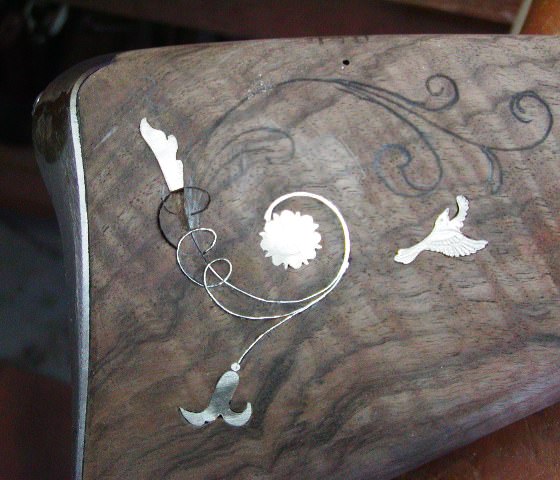
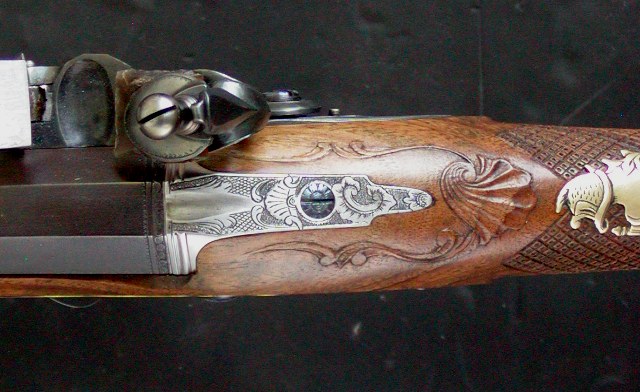
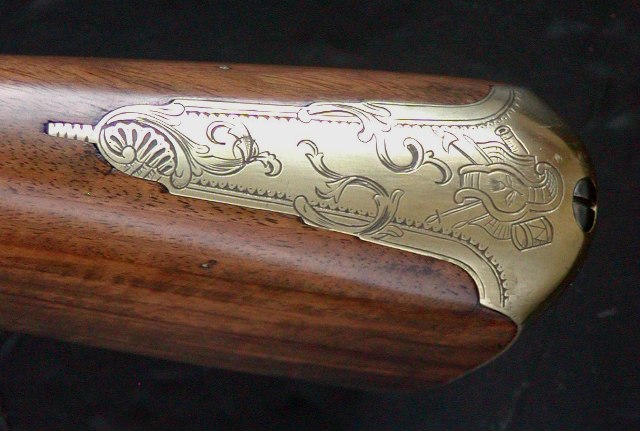
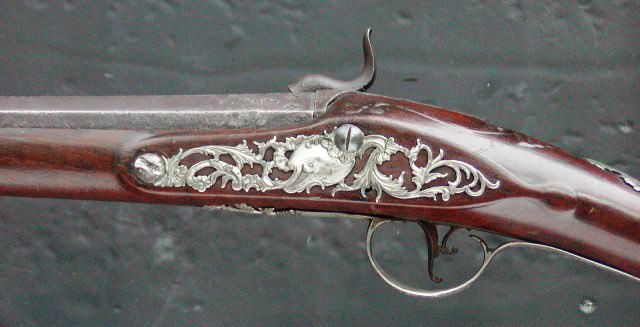
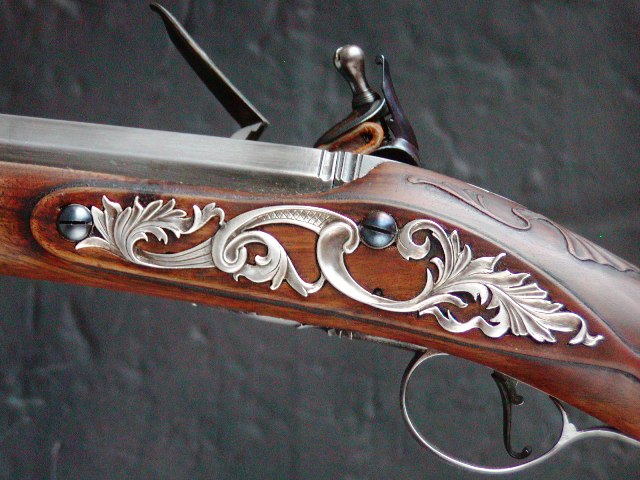
I encourage you to do the wire work. The English were mostly restrained with decoration but they almost always covered a lot of area with wire if they did it. You almost never see little isolated panels of wire or subtle accents. This is kind of an extreme example. but it gives you the idea.
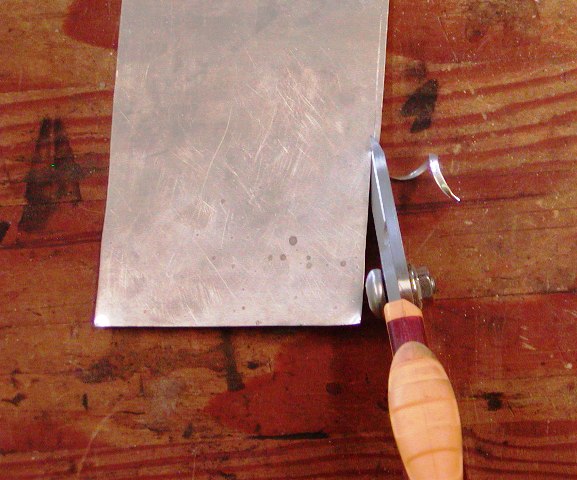
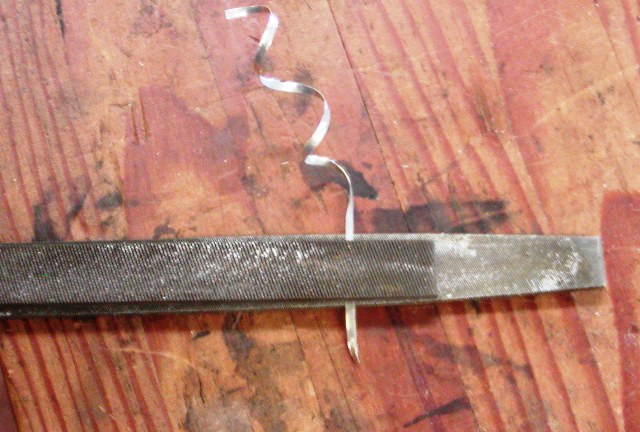
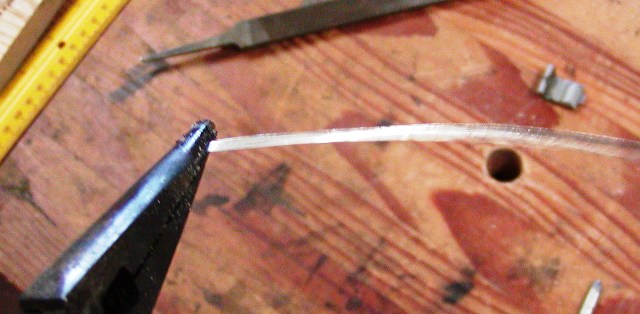
The wire ribbon is usually very thin, no more than 0.005" thick. None of the wire ribbon sold by muzzleloader suppliers is thin enough. I cut ribbon with shears from 0.005" silver sheet and then draw it between two coarse files to straighten and score it.
If I need thickness, I simply lay wire together as they did on the originals.
I use both sterling and fine silver depending on the objectives. With respect to engraving, Schipper's book can give you some guidance on designs but rely much more on images of originals. Schipper has his own style and it is unique to him.
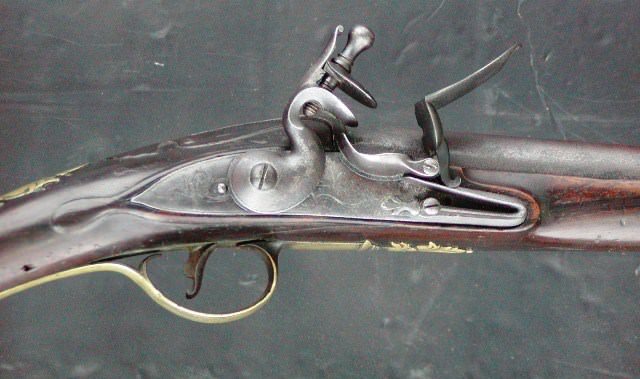
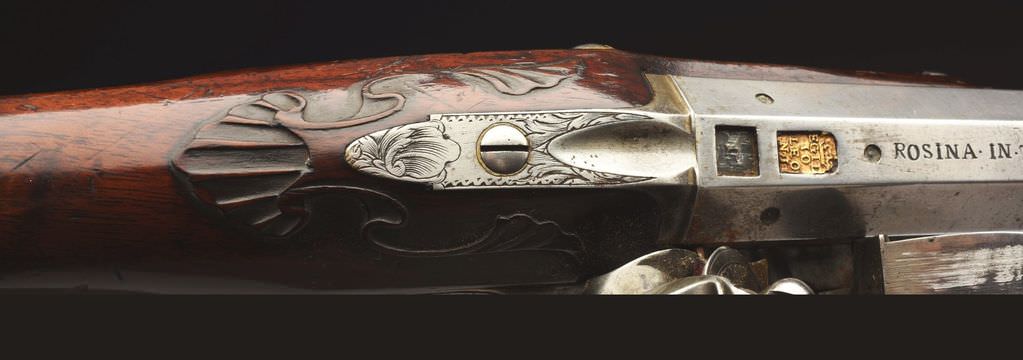
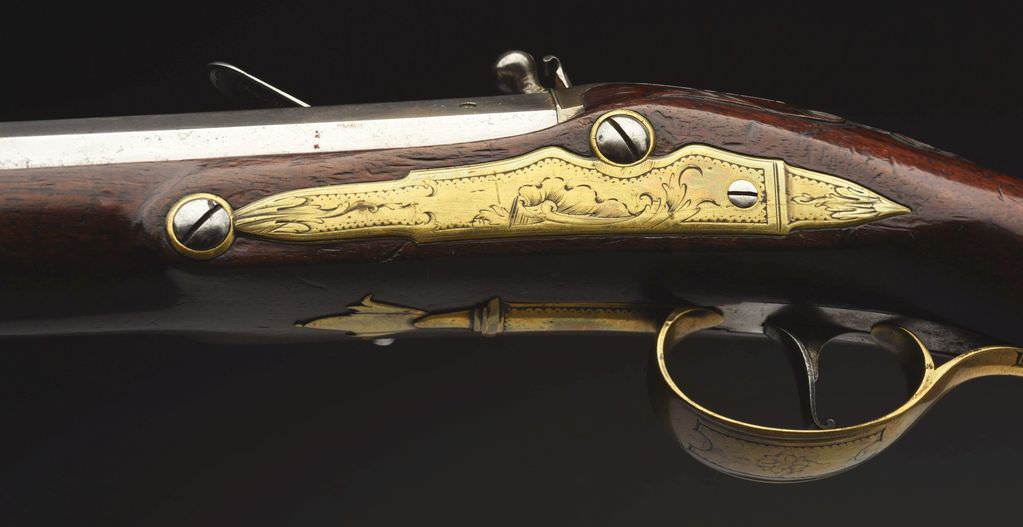
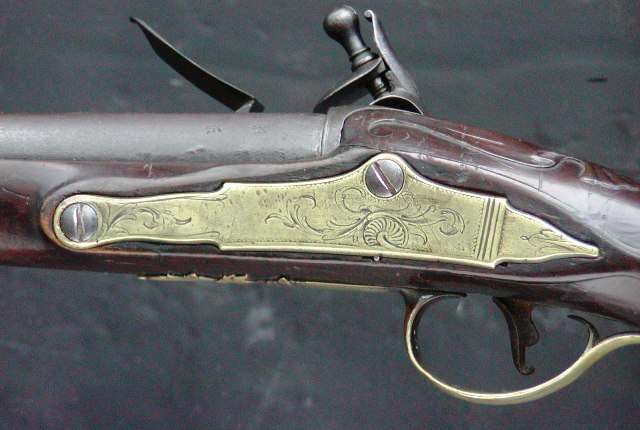
Finally, don't worry if your lock and side plate panels don't match. If you look down from the top or up from the bottom, you want the beginning and ending locations to match but all else is up for grabs. I find it most attractive and historically correct if you shape the side plate panel to frame the side plate nicely and closely and the lock panel should frame the lock nicely and closely. You don't want a lot of excess wood showing on the side plate side.
Good luck and very nice work so far!
dave