-
Friends, our 2nd Amendment rights are always under attack and the NRA has been a constant for decades in helping fight that fight.
We have partnered with the NRA to offer you a discount on membership and Muzzleloading Forum gets a small percentage too of each membership, so you are supporting both the NRA and us.
Use this link to sign up please; https://membership.nra.org/recruiters/join/XR045103
You are using an out of date browser. It may not display this or other websites correctly.
You should upgrade or use an alternative browser.
You should upgrade or use an alternative browser.
#3 Hawken Full Stock
- Thread starter sean30ber
- Start date

Help Support Muzzleloading Forum:
This site may earn a commission from merchant affiliate
links, including eBay, Amazon, and others.
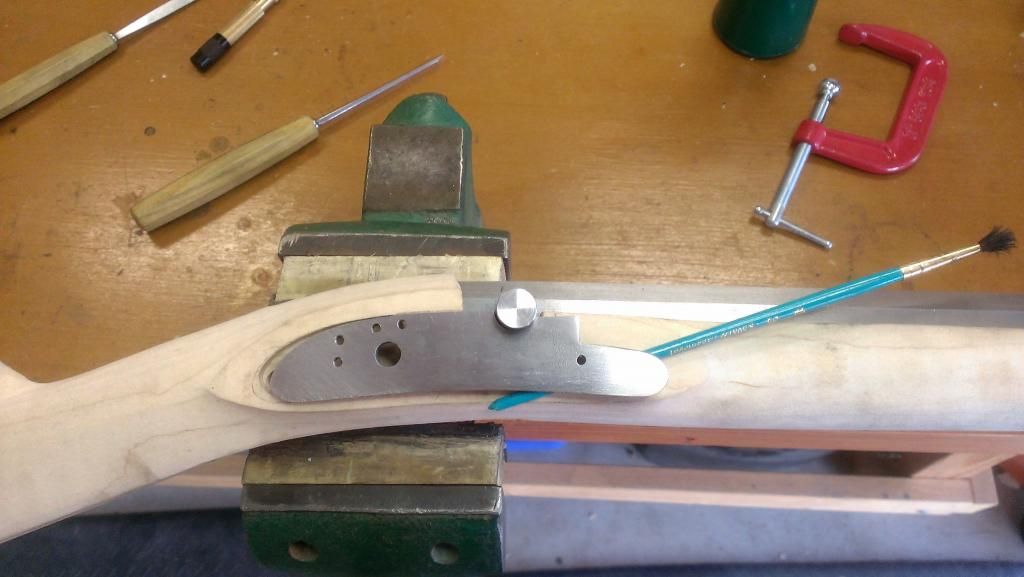
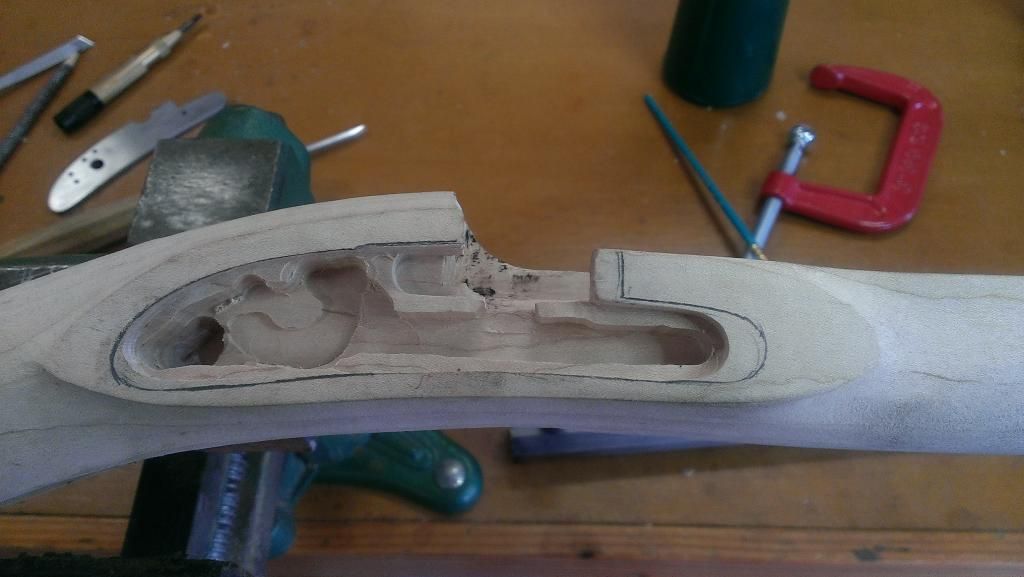
Here is a rough pencil line of the lock. Move it any other way and gaps start opening up. You can see the top behind the bolster and the bottom center are at the max. Ill have to reshape the lock flats a bit. The barrel channel was inlet low also so im going to have to file some out of the drum notch so the barrel sits down. I don't want to have to bed it up. You all seeing the same thing or am I missing something. Remember its only my third, still learning. Thanks for the responses.

galamb
58 Cal.
That doesn't look bad at all. Should come out fine if you are careful.
I doctored your pic a bit to show how I would deal with the lock panel once the lock is in - doesn't really look like you are going to have much to do - appears like maybe Don knows what he's doing :grin:

I doctored your pic a bit to show how I would deal with the lock panel once the lock is in - doesn't really look like you are going to have much to do - appears like maybe Don knows what he's doing :grin:

Don will probably forget more than Ill ever know about building guns :bow: I needed a good word on this, Thanks Galamb. Im rolling now.
galamb
58 Cal.
Dug out one more pic for ya, even with a pattern sometimes a pic helps.
It's a good shot of the trigger/lock area on the Carson Hawken (built by Sam)

It's a good shot of the trigger/lock area on the Carson Hawken (built by Sam)

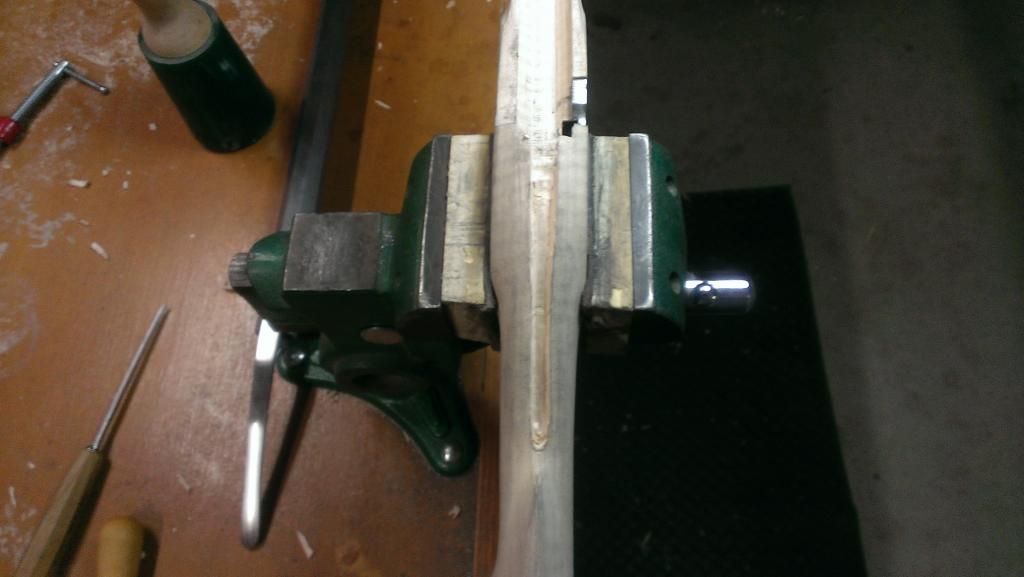
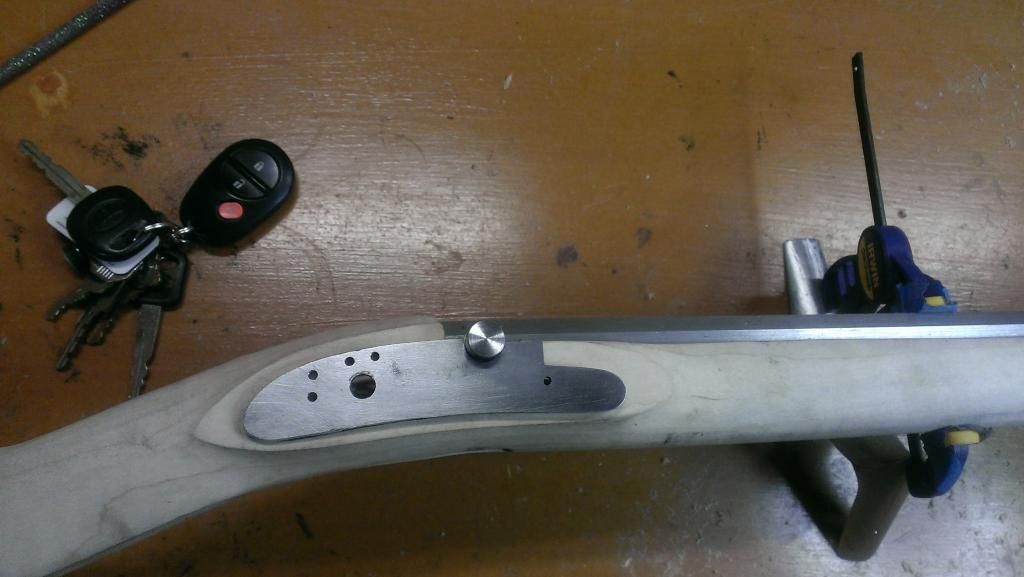
Thanks, Visuals always help. Well after 4 hours I got the butt plate fitted while thinking about the lock. No picture yet. I want to see it in the sunlight. Then I started on the barrel and lock. It still needs to go back about 1/16th but when I said I need a beer, I figured it was a good place to stop for the night. Here is the lock drum so far.

sean30ber said:Ive never done a pre-inlet lock and never had an issue. I got to tell you Im not liking the pre inlet locks. There would be no issues at all if lock panal were left uncut for our own aligning. Oh well.
Yeah, I'm with you on that. I've never done a pre-inlet lock....unless you count the T\C kit I did back in 1980. But really....that was already done and was just a drop and bolt in....so it doesn't honestly count as a real "build."
Dave
Galamb, or anyone, maybe you can answer this one. I've been looking at new builds and originals. I've notices there seems to be no rime or reason that I can see for having one or two lock bolts. I've seen both on e new and old. Is there a rule of thumb for this.
galamb
58 Cal.
Kinda sorta :grin:
"Generally" - a flint lock would have two lock bolts and,
a flint conversion would have two lock bolts
a "built as" an original caplock would normally only have one bolt
(although many "early" cap locks had 2 bolts - probably because that's the way the builders were used to installing locks)
of course, there are always exceptions.
In your case I would use two lock bolts since if the day ever comes that you want to convert it you will already have the bolt fitted (which you have to jig a bit sometimes to clear the bottom of the barrel.
I'm just starting a rifle that I'm building as a "conversion" although it will never be flint. I'm using the second lock bolt to keep it true to how it would have been if it was converted from flint to cap.
p.s. your lock is looking really good there. The only thing I would point out is compare how your lock panel looks at the rear of the lock and compare it to a couple original Hawken's. The rear of the lock panel tends to (tail down) a little - something you may want to consider when you get to finishing the panels after the lock is inlet.
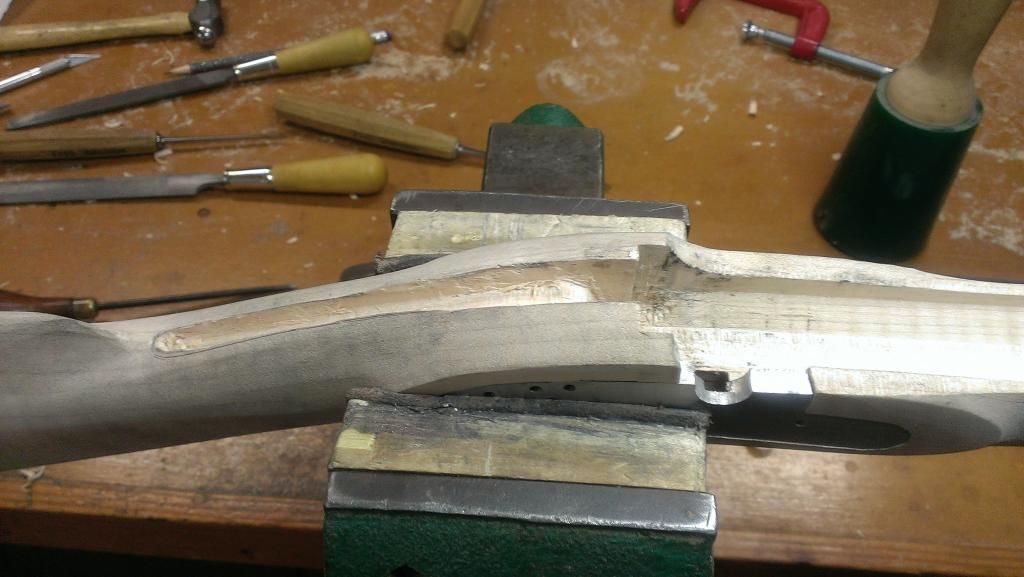
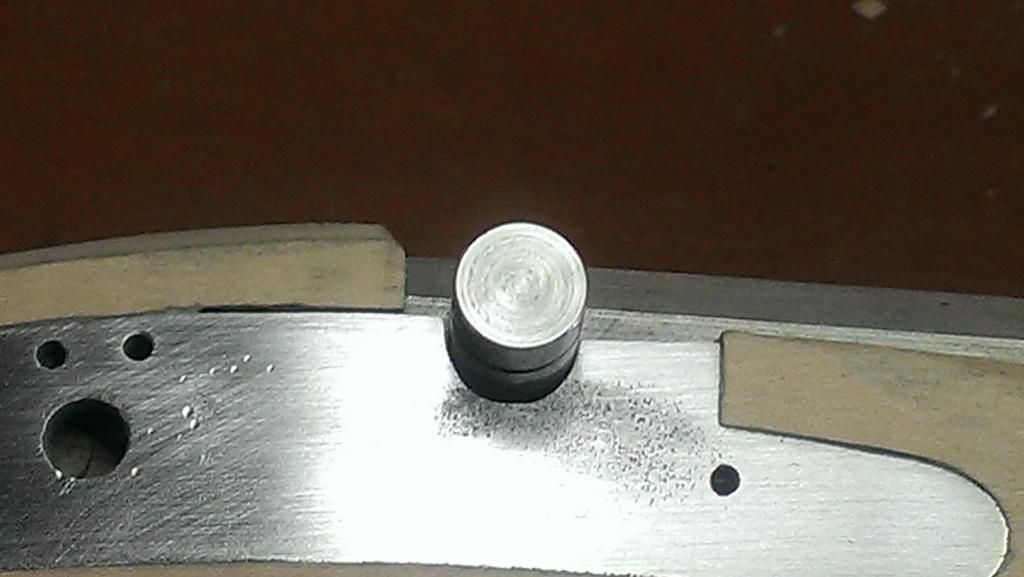
Ouch, I over did the drum cup. ALOT. It looked, when I eye balled it, like I would have to take off more and just round it smooth. Low and behold after I inlet the lock and set the barrel back down, I had taken to much. Guess ill be ordering a replacement plate. That's just hideous. The in-letting went smooth and there were no gaps what so ever. I inlet below the surface of the wood and sanded the wood down to meet the metal, I thought. Knocked the plate out and look at the sliver behind the drum that came with it :cursing: . I put the plate back in and you can see I didn't have it seated all the way down, as you can see there is still wood over the top. Dumb mistake. I can fix it and it will be behind the cock but still frustrating.

galamb
58 Cal.
Yes, that plate has to be super snug against the drum.
Not just for looks but to protect it from eventually getting broken off.
The hammer repeatedly hitting an "unsupported" drum will eventually crack it right where it threads into the barrel - and then you can end up blowing the plug out (at worst) or having hot gasses blow out and burn you (bad enough) - in any event not something you leave un-corrected.
** make another mental note for the next rifle - it's better not to have the drum installed until after the lock and barrel are in place - the world won't end if the drum is a hair off center but your life would certainly be easier :wink:
$25 mistake. Replacement lock plate, Drilled and Taped, ordered. Mental note made. Well ill work on a few other things while waiting.
sean30ber said:goofing around with the tang. Wow, the long Hawken tang is a PITA. This is after several hours. I have it about half way down now. Any great tips for in-letting these?
I was considering a TOW Tennessee stock they have on close-out sale, but it was pre-inlet for the lollipop tang. I could only see heart-break ahead on that one.
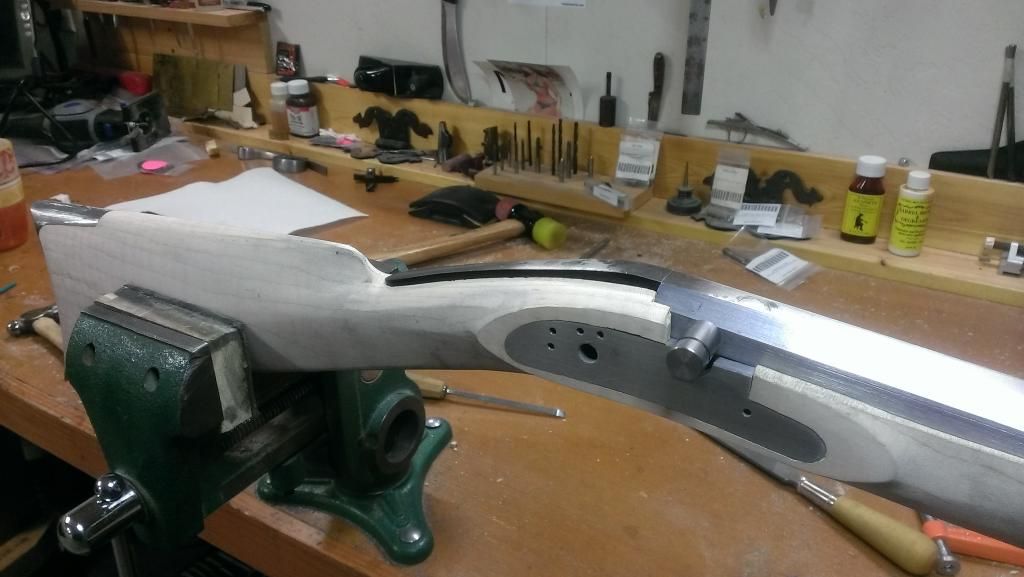
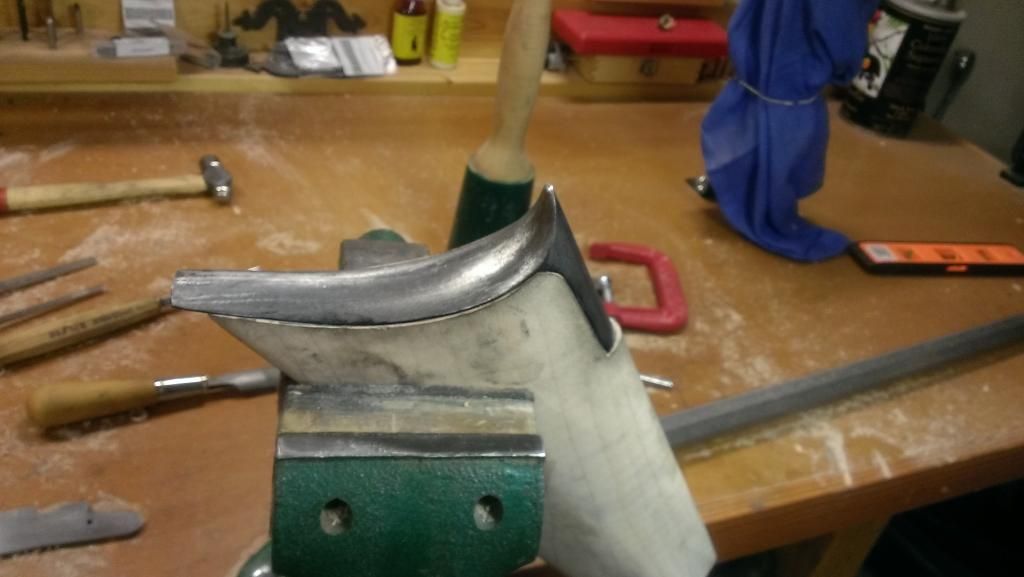
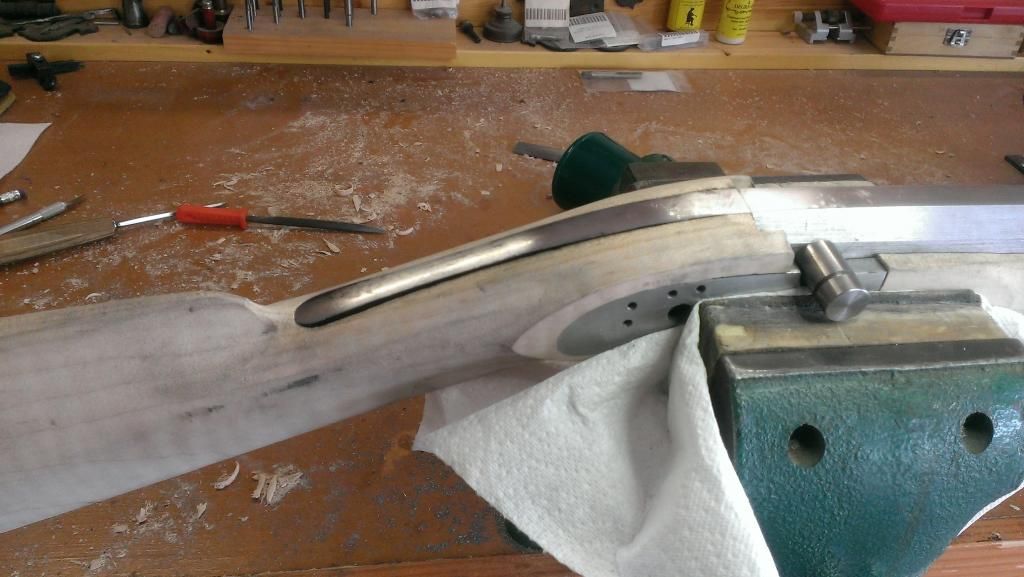
Left the tang alone today (frustrated) and finished the butt plate and toe plate, Figured Id get it protected as I bump it around. Busted a toe before and not fun, haha. Didn't take a bunch of pics of this as I forgot to during the process. Here are some finals. Still need to thin the whole stock out but that will be the last thing I do. The dirtier the stock gets the more curl I see in it. Should be pretty with some Aqua Fortis.
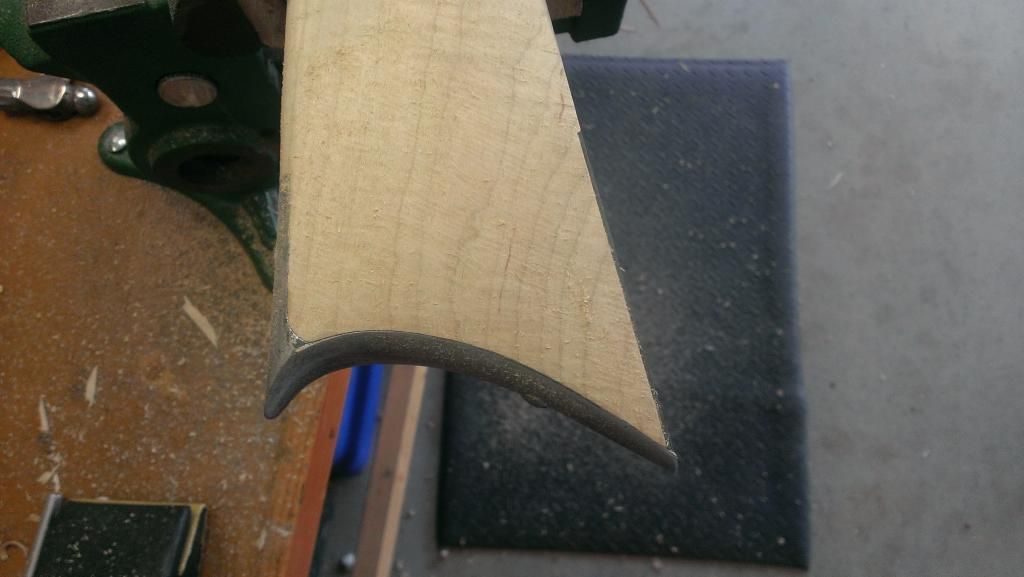
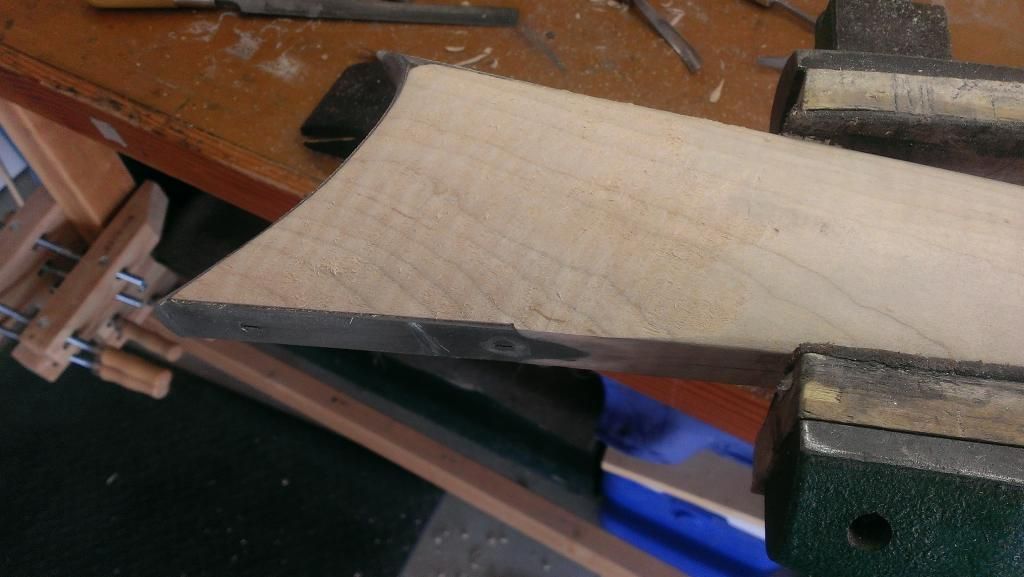
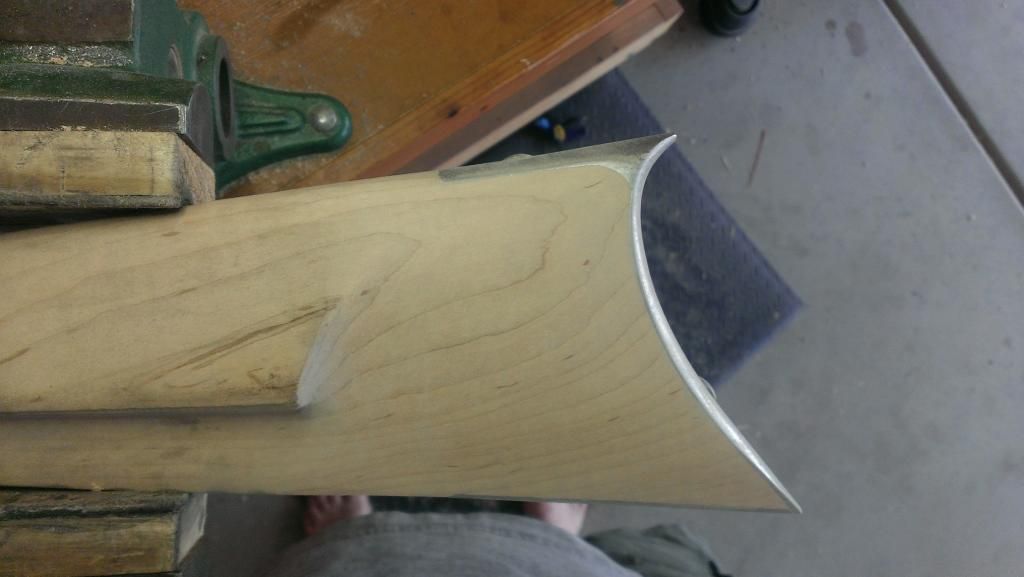
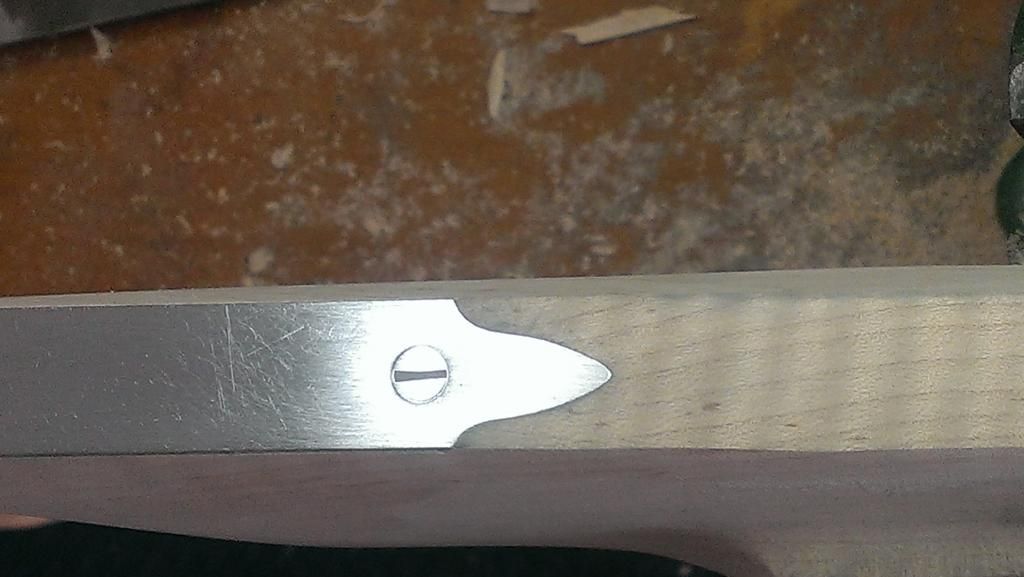


Im not sure if there is a trick with long tangs or just lots of inlet black and time. Anybody,Anybody?????
galamb
58 Cal.
Just time.
It's looking good - nice job on the toe plate...
It's looking good - nice job on the toe plate...
Looks really nice so far, Sean! Can't wait to see that maple stock wake up when you hit it with some stain!
Similar threads
- Replies
- 1
- Views
- 493
SOLD - Pending funds
Custom Full Stock Hawken Rifle In .50
- Replies
- 4
- Views
- 761
- Replies
- 6
- Views
- 1K
- Replies
- 5
- Views
- 1K
Latest posts
-
-
-
-
-
FOR SALE very nice Veteran Arms 1st Land Pattern Brown Bess for sale!
- Latest: FlintlockMilitaryRifle
-
-
-


