• Friends, our 2nd Amendment rights are always under attack and the NRA has been a constant for decades in helping fight that fight.

    We have partnered with the NRA to offer you a discount on membership and Muzzleloading Forum gets a small percentage too of each membership, so you are supporting both the NRA and us.

    Use this link to sign up please; https://membership.nra.org/recruiters/join/XR045103

My Apprentice and Her English Fowler

Muzzleloading Forum

Help Support Muzzleloading Forum:

This site may earn a commission from merchant affiliate links, including eBay, Amazon, and others.
Dave,
You‘re teaching a female to use tools and make weapons…? I have a bad feeling about this!

:)

Bur really, as Sam said, this should be the post of the year. Best of luck to you in teaching Maria and hopefully many more youngin’s.


….women with tools…:eek:
 
Very interesting how it is done. I am pretty sure that Maria will always remember these moments.
Will the long butt plate return get a tang to pin it to the stock?

Hi Bob,
Thanks and Maria will I think remember this work very well. She would be over here working everyday in the shop if she could. She is driven, disciplined, and laser smart. She just needs a little teaching and guidance and then I get out of her way. I help her course correct when needed but mostly stay out of the way. I let her learn mostly by doing, which she wants. She does not want to be a spectator. With regard to the butt plate return, we will add a lug for the cross pin. I am not sure if we will simply weld it on or rivet it and weld it on. I need to decide what the best lesson for her will be but she already has experience welding so adding riveting might be a good idea.

dave
 
Hi,
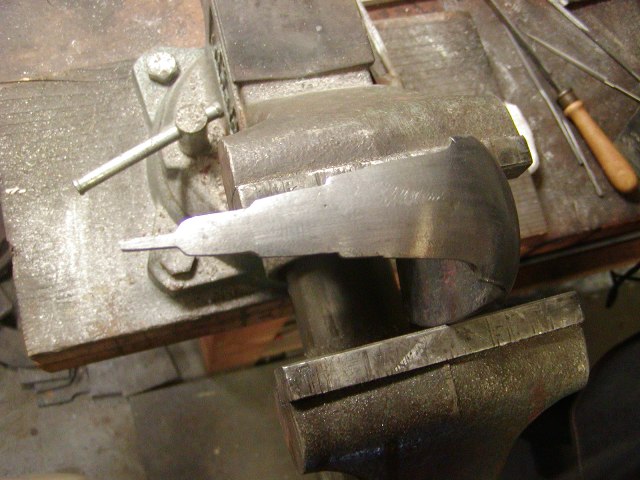
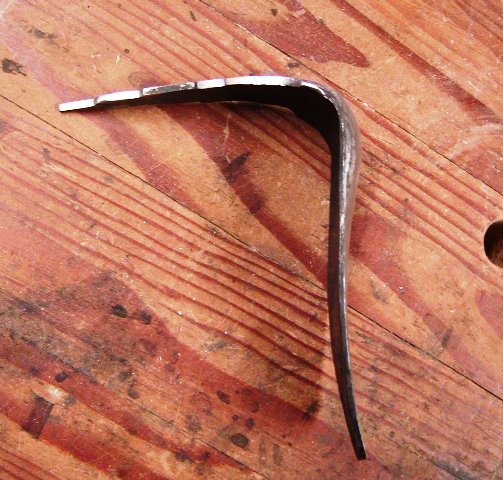
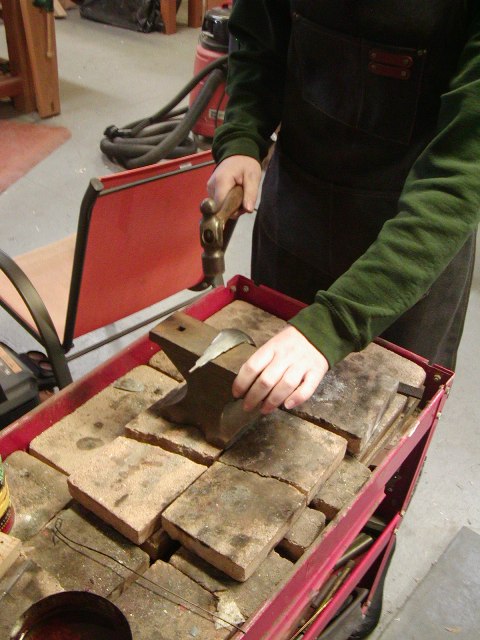
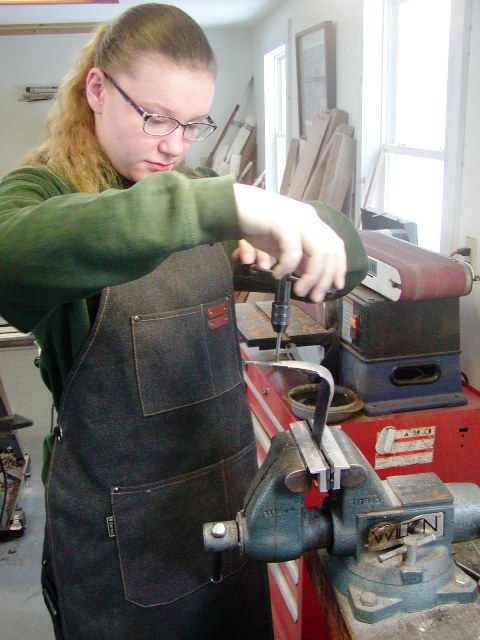
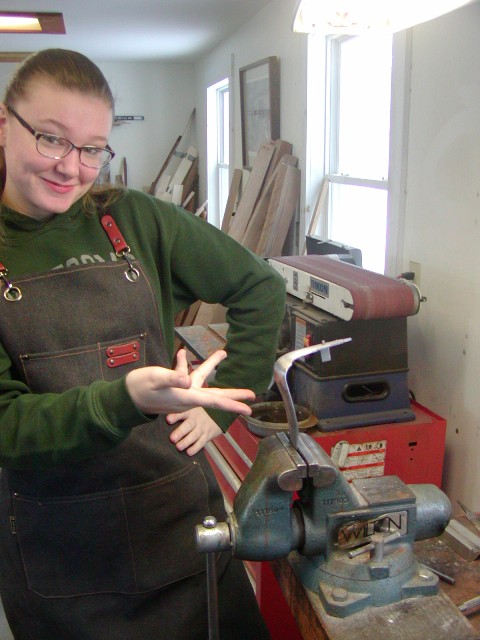
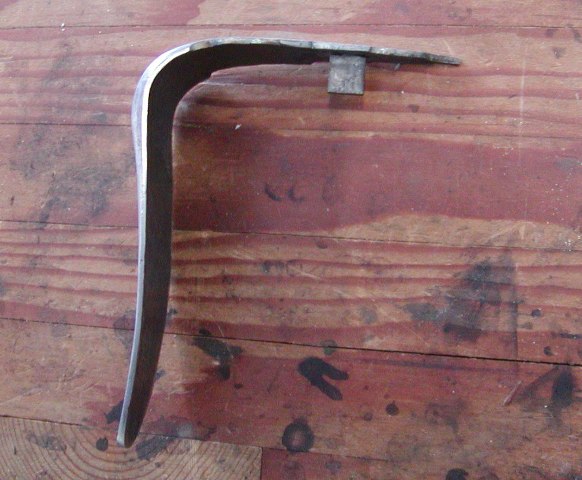
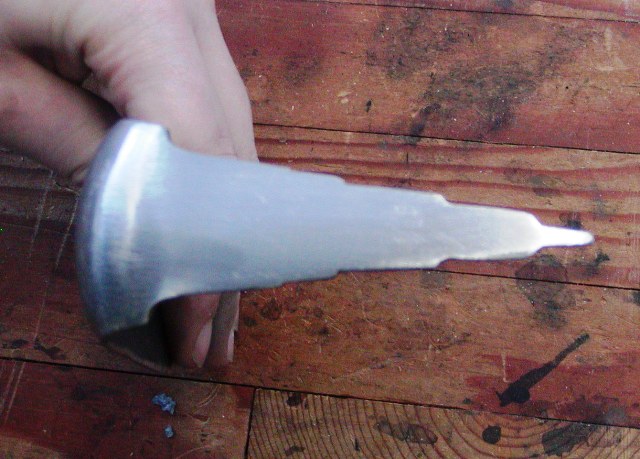
Maria worked today on finishing her iron butt plate. It was forged by Ian Pratt and we reshaped it a bit to look more like typical plates used on 18th century English fowlers. We also gave it a bit more crescent and rounded the bottom. It still needs final finishing and a lug riveted and welded under the return for a cross pin.


I had a lock plate and frizzen for another client's gun to case harden so I thought it a good time to introduce Maria to that process. She packed the steel box and programmed the oven for the temperature regime (1550 degrees F for 90 minutes). I typically set the ramp up heating rate to 1400 degrees/hr and bring the parts to 1520 degrees and hold them there for 5 minutes and then reduce the heating rate to 125 degrees/hr and raise the temperature to 1550. That way the fast initial rate of heating does not overshoot my ultimate target temperature. Before starting the oven, I had Maria practice grabbing the box at the right spot with heavy channel locks and remove it from the oven wearing heavily insulated gloves and face shield. After warned her that the next time she opens that oven, everything inside will be glowing orange and throwing out a lot of heat. Anyway, it all went well and we quenched the pack in water. Maria thought the whoosh of hot charcoal and metal hitting water was "epic".

dave
 
Okay. The comment about women with tools was meant to be “humorous” not “humorless“.
I would suggest you take a look at the lovely young lady in the photos and tell us if you think she is such a snowflake as to be offended by a little banter. My thoughts are that she could hold her own with style. But, for everyone who is offended by my remarks, please accept my apologies. I assure you that I didn’t mean to denigrate Miss Maria specifically or womanhood in general.

Now, can we get back to Dave’s wonderful thread and concentrate less on our hurt feelings.
 
The dream of any serious Apprentice is a Mentor who not only does great work, but can actually teach how to do something.

The dream of any Mentor is an Apprentice who is eager to learn and holds themself to high standards.

Looks like you all have a real dream team going on.

Gus
 
Last edited:
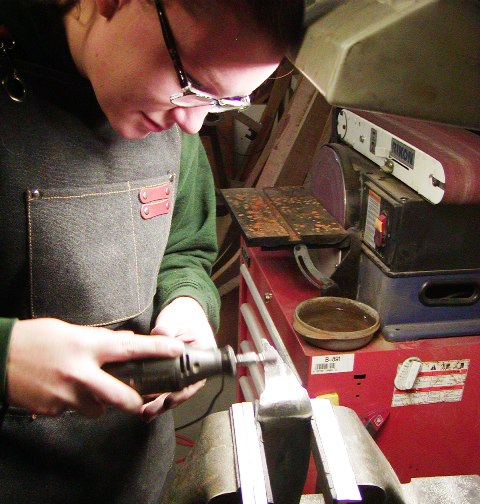
"Maria cleaning up the welds with the Dremel destroyer."

Got a big kick out of that. Once she masters that, she can begin on the Dumore Godzilla Grinder or "Hand Held Milling Machine" with 0-5/32" Adjustable Chuck.


1671704737490.png

Gus
 
"Maria cleaning up the welds with the Dremel destroyer."

Got a big kick out of that. Once she masters that, she can begin on the Dumore Godzilla Grinder or "Hand Held Milling Machine" with 0-5/32" Adjustable Chuck.
I have good results with a Dremel tool doing my lock mortises. (Being able to actually control the bit is the key) but that’s it’s only use with a gun stock for me.

View attachment 184662
Gus
 
Great thread Dave. I'm thrilled and jealous of having such a mentor as you.
Merry Christmas to y'all!
Fortunately Dave does "long distance" mentoring for us all. I know all of us understand the kind of time and effort it takes to document these builds as Dave does and we all greatly appreciate it! :thumb:
 
PathfinderNC wrote: "I have good results with a Dremel tool doing my lock mortises. (Being able to actually control the bit is the key) but that’s it’s only use with a gun stock for me."

It looks to me like Dave has Maria using the Dremel tool to "break through" the hard outer skin of the welding bead/s he made on the butt plate and that is exactly the right tool for that job. The surface of a weldment is normally so hard that it will ruin a good file in a heartbeat, unless it is a carbide file. However, once you get through the hard surface of a weldment with a rotary stone or sanding drum, then you can use hand files as normal.

Since the butt plate Maria is working on is made of iron/steel, one can also save a good deal of clean up time using a rotary stone or sanding drum before switching to hand files to do the initial smoothing.

While I agree the use of a Dremel Tool or Dumore "Handy" Grinder on ML guns is definitely limited, it can add a lot of versatility for a number of limited uses.

Gus
 
Hi, and thanks for the votes of confidence and support.

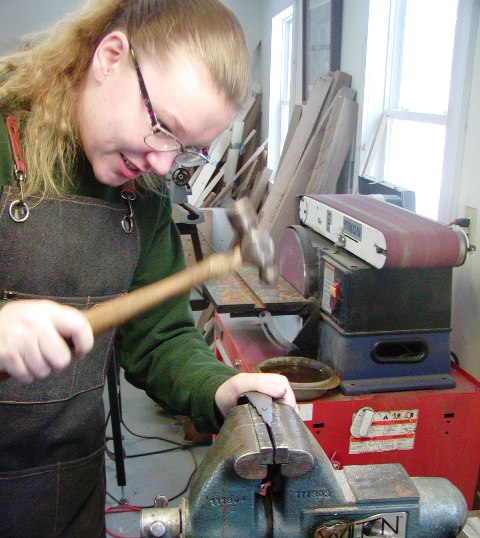
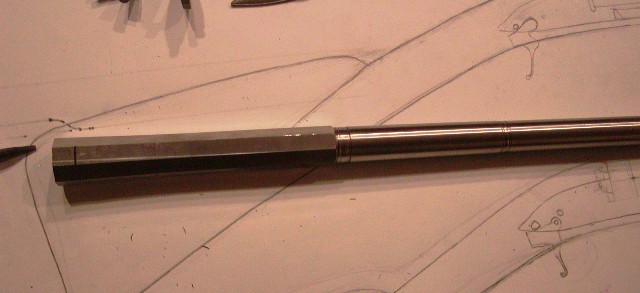
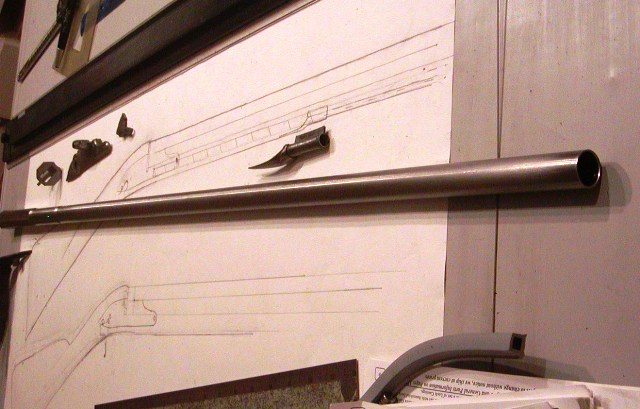
We are on a roll now because the barrel came from Rice. It is 20 gauge, 41" long, and it 1 1/32" wide at the breech. It weighs just over 2lbs and the barrel wall thickness at the muzzle is 1/16". I believe it is made from 4140 steel. So next week we start inletting the barrel and parts. Today, Maria finished her butt plate by attaching a lug under the return for a cross pin. She did this by cutting and filing a rectangular lug from 1/8" thick steel and filed one end into a round peg. She then cut 8-32 threads into the peg. Then the butt plate is drilled and tapped for an 8-32 thread. The top of that hole is countersunk slightly.


The lug is theaded into the butt plate and adjusted so it tightens down when lined up properly.


Next she peened the excess peg down into the counter sink. We love bashing stuff.


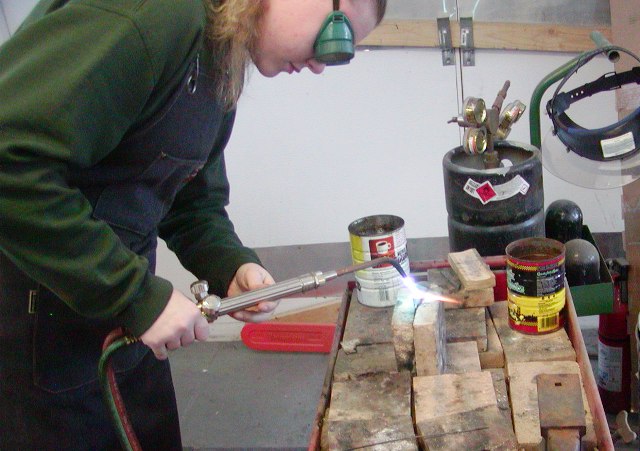
Then the peened mound of excess metal is heated and welded to the butt plate locking it all together. We love burning and melting stuff.


Grind, file, and sand the return smooth and clean and we are done.


dave
 
We love bashing stuff.
We love burning and melting stuff.
My kind of shop! I'll be over with my kit soon. Hope your shop is insured! 🤣

Kidding of course but, have really enjoyed following this thread so far! Looking forward to the seeing the young lady with her completed firearm!:thumb:☕
 
Hi and thanks again for all your kinds comments and support. Maria had no idea she had such a big audience until yesterday.

The Rice barrel is beautiful and will make a very light, well balanced bird gun. It is of an earlier 1690s-1710s design but will work fine. We may make a few minor profile changes.


Jason provided a hooked plug and standing breech, which were beautifully machined and very precisely fit. Unfortunately, the tang on the standing breech is only 1.6" long, which is way too short. It needs to be about 2.25" long to be historically accurate for the gun and to be able to fit a tang screw that threads into a trigger plate at the right position on the stock for a Chambers round-faced English lock. With the short tang, the trigger plate would have to be too far forward or have a very long front extension. So, we are going to use a standing breech from TRS (which I have) and replace the hooked plug. We will cut a hook from a standard breech plug fitted to the barrel. Maria will learn to fit a breech plug and shape a hook, basic skills she should learn to be a competent muzzleloader gunsmith. We will save Jason's hooked breech and eventually use it on a pistol for which it is ideal. She already removed the hooked plug provided and needed almost her entire weight on the wrench to move it at first. But she did it without damaging the hook.

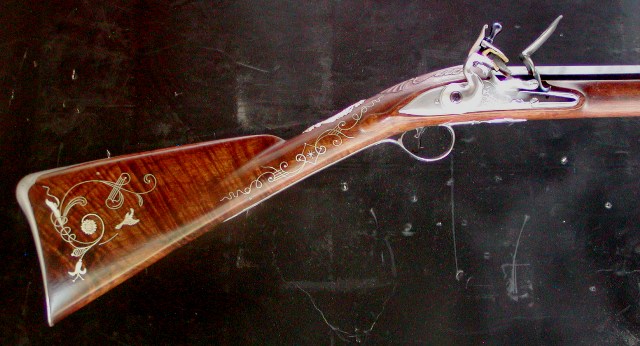
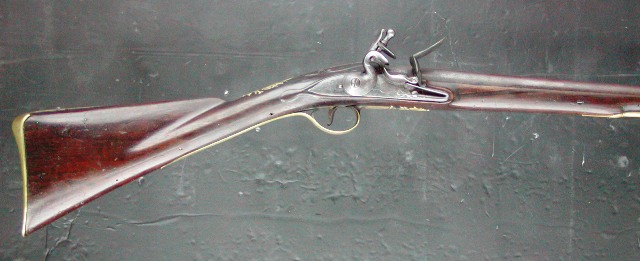
We were struggling a bit with designing the gun so it fit her but retained the architecture we wanted. Maria needs about 3.25" of drop at heel but also needs a tall comb, and slight positive pitch. These are suggestions James Rogers mentioned to me when fitting women and he is bang on. Well James, Maria and I fussed with adjusting the design of the high end fowler I built and merging it a bit with the original fowler I bought from Jim Kibler.


We had what seemed a pretty good compromise but then Maria shouldered the silver mounted Heylin gun I bought from you. It was almost a perfect fit. It just needed about 1/4" more drop at heel.


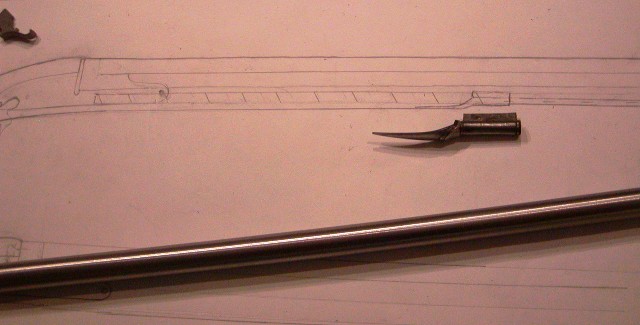
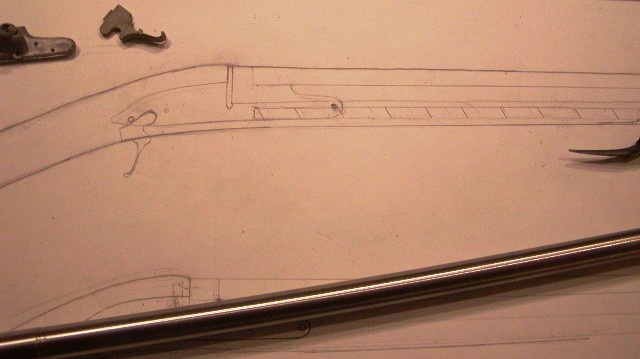
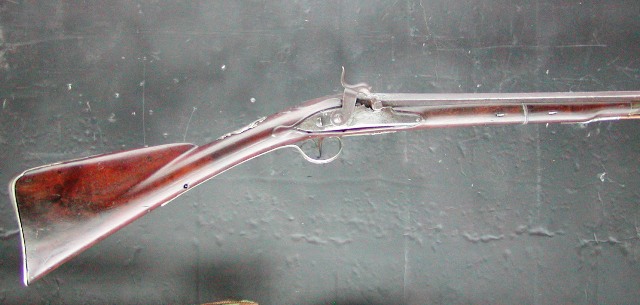
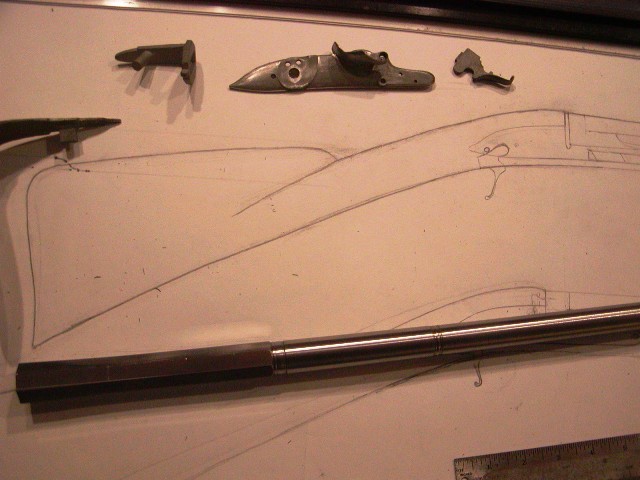
We went back to the drawing board and designed a new gun using the Heylin as our model. We made it a little more robust given what her fowler is supposed to represent (a good but not 1st quality export fowler from London) and that she will use it for reenacting a member of Warner's Green Mountain Boys. She fell in love with the Heylin and maybe she will try to make a copy in the future with silver mounts. I try to always urge her to shoot high and be fearless of failure. Here is our final design.


This is going to be a beautiful and elegant gun.

dave
 

Latest posts

Back
Top