• Friends, our 2nd Amendment rights are always under attack and the NRA has been a constant for decades in helping fight that fight.

    We have partnered with the NRA to offer you a discount on membership and Muzzleloading Forum gets a small percentage too of each membership, so you are supporting both the NRA and us.

    Use this link to sign up please; https://membership.nra.org/recruiters/join/XR045103

Rebuilding a Mendi Wheellock

Muzzleloading Forum

Help Support Muzzleloading Forum:

This site may earn a commission from merchant affiliate links, including eBay, Amazon, and others.
RJDH said:
If it were me, I'd be cutting the dog out with a hacksaw and files!

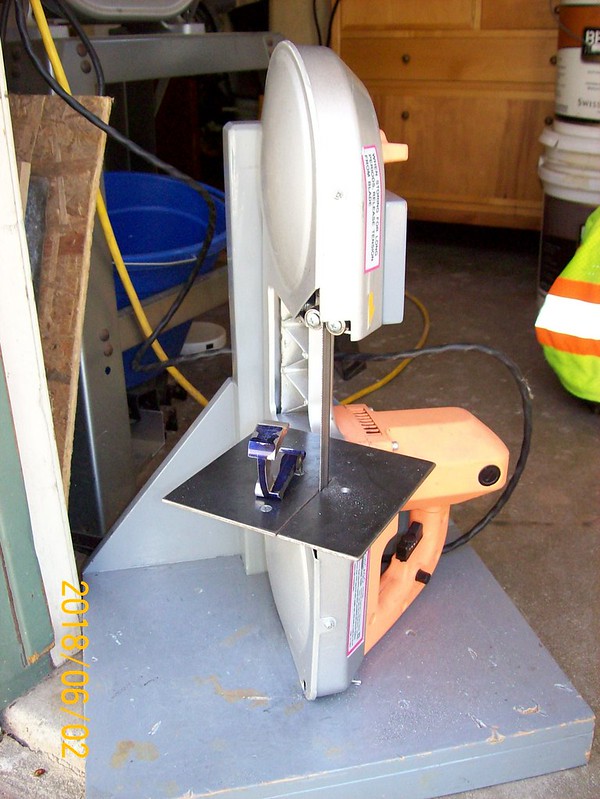
Say hello to my little friend!:
https://flic.kr/p/27Hh1vw
You've got to have ear protection with this little beast. But,if you buy one of these portable saws throw the blades away & get some American blades. The chinese blades won't cut wood let alone steel.

Well, the profiling is about done and started some file work on the lower arm like the lock I posted on 5/25:
https://flic.kr/p/KDTztU

later, Mike
 
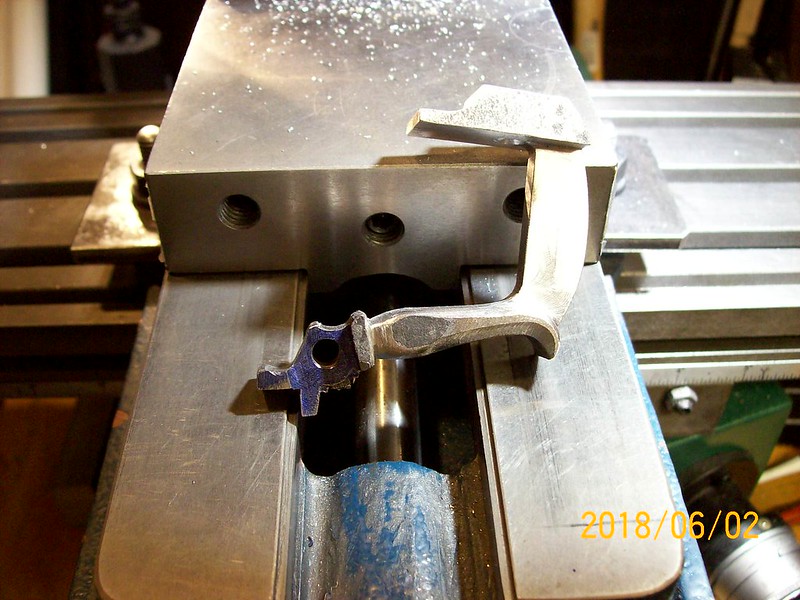
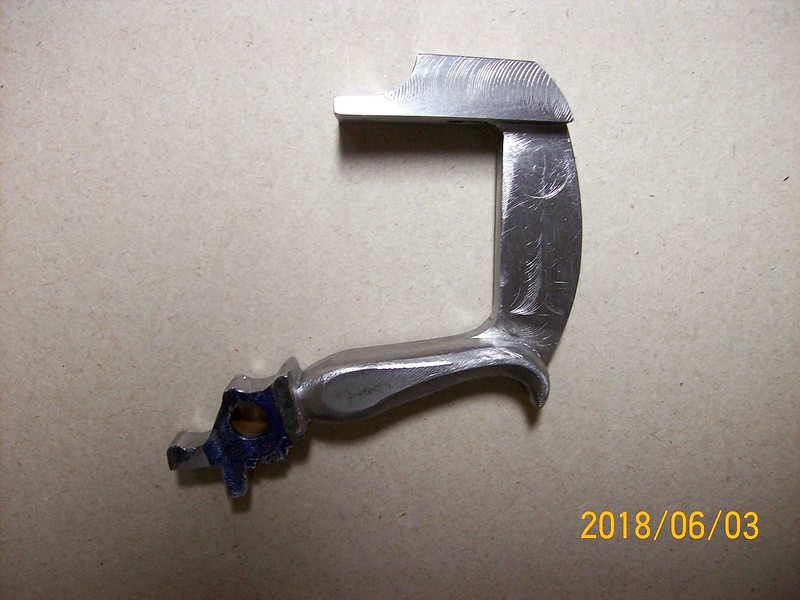
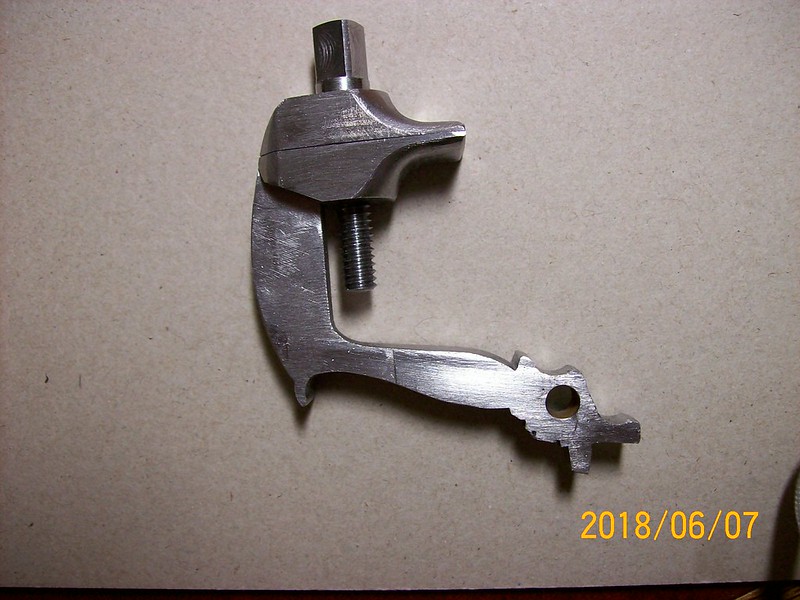
Still working on the dog. Made two lower jaws & then the piece decided to go "walk about" in the shop. Spent hours looking for it, finally gave up and cut another piece of steel to size & was mounting in the mill vise and there it was, hiding inside the back of the vise (Murphy's Law again). Here is the front of the semi-finished piece:
https://flic.kr/p/26ByhRc

The backside:
https://flic.kr/p/26ByhTB

There is still lots of work to do, but I'll never shape a lower arm like this again - way to much work! Mike
 
Major Dorman said:
Your work looks great. :applause:
Thank you sir.

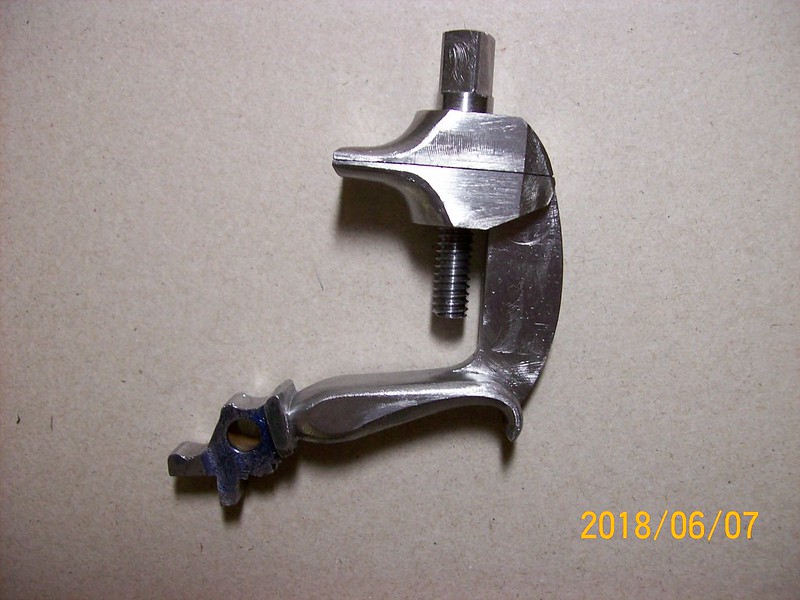
On another muzzleloading site someone posted that he always noticed something to correct whenever he posted photos. He wasn't wrong, the jaws of the dog looked way too thick, so I thinned them down last night. I cut them down from about .350" to .275" thick.

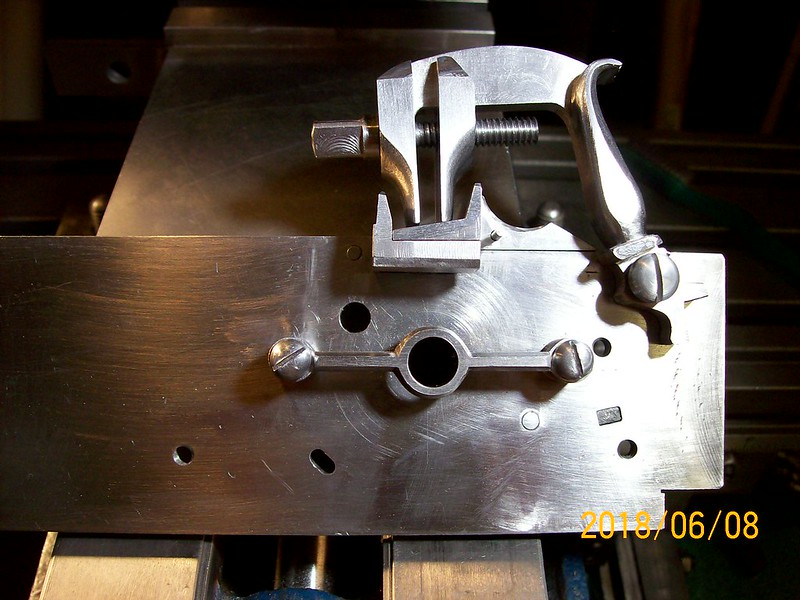
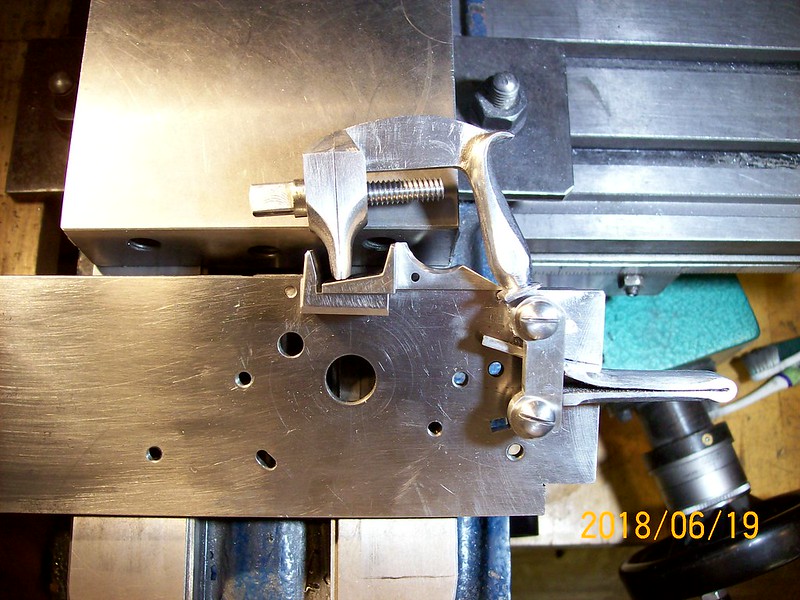
I did some more profiling this morning on the dog & dog jaws, trimmed down the flashpan fence, drilled & tapped the lockplate for the dog pivot, and made the pivot screw this afternoon. This is where we are now:
https://flic.kr/p/KTFiN5

later, Mike
 
I hope you realize the jet from the vent will
hit the pyrite....I put a deflector in place
on mine.
 
wulf said:
I hope you realize the jet from the vent will hit the pyrite....I put a deflector in place on mine.
I was planning on using a ferro rod instead of pyrite, do you need a deflector on it also? I do have a couple of photos that you posted of the deflector you used, but we're not close to getting this project wheel spinning yet. I'll try to keep the holder w/ deflector in mind when I get to that bridge. thanks, Mike
 
Yes...that is quite a blast and just to make sure
I use them. Also you can get those fire sticks in
3/8" now. Maybe other size too. I am flattered
that you refer to my work too.
 
wulf said:
I am flattered
that you refer to my work too.
To steal & paraphrase a quote (I. Newton): "I stand on the shoulders of giants." Wulf your gunsmith work is exceptional.

I've been working on the spring for the dog. My spring material is .172" thick and have taken it down to .135". The portion where the mounting screw goes is about .120" thick. I have draw filed the thickness of the leaf to a taper from .135" to .110". There is a tab that will be inletted into the lockplate near the screw hole. Here's a photo prior to the draw filing:
https://flic.kr/p/285qWfJ
I have to drill & tap a hole in the lockplate, inlet the spring tab and then heat & bend the spring leaf. Makes me nervous about bending the spring in the right place.

Mike
 
Took a break for a few days on the wheellock.

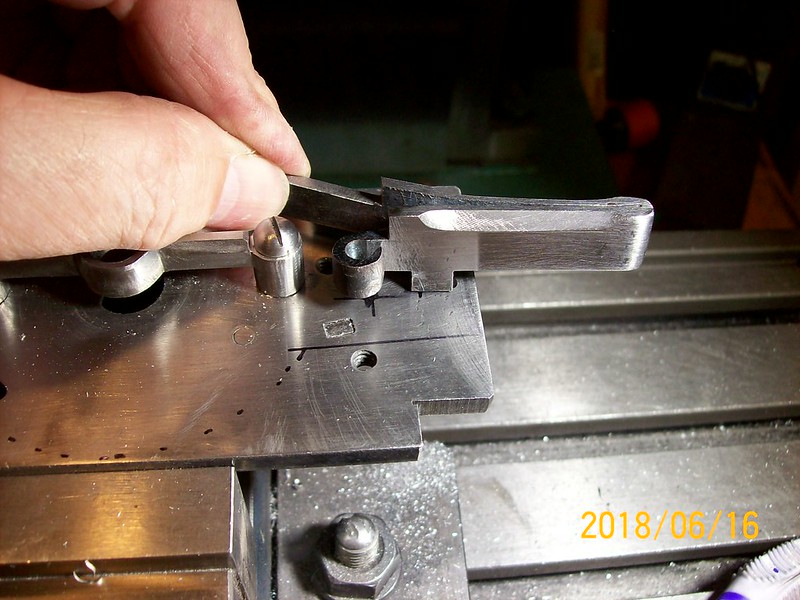
I clamped the dog spring in a vise & heated & made a 90 degree bend using the acetylene torch.

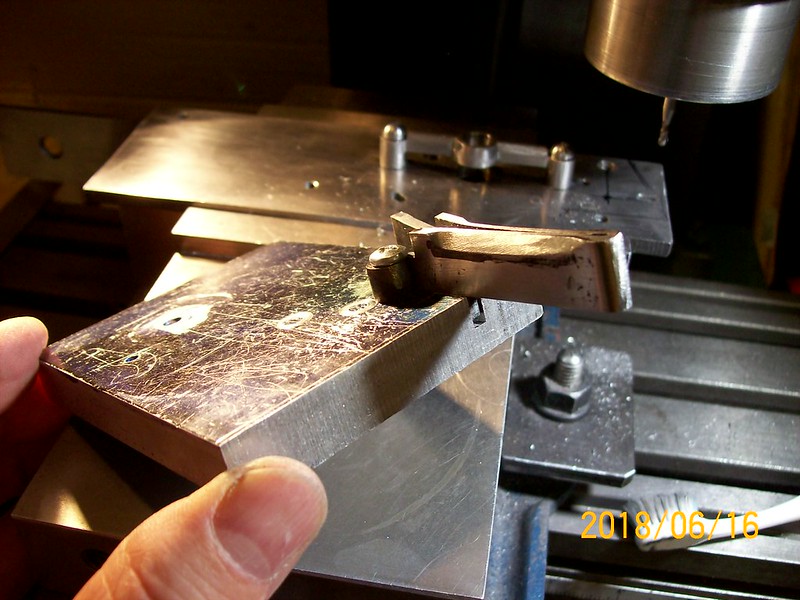
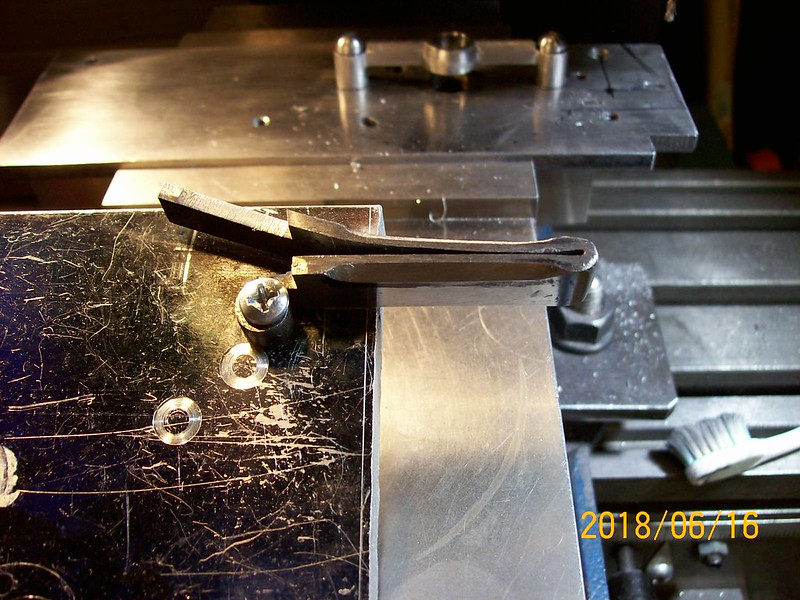
Then I made a little aluminum jig to help bend the dog spring the rest of the way when heating:
https://flic.kr/p/JC4o2V

The spring tab is inlet into the edge of the jig & tapped for a screw:
https://flic.kr/p/25vYhCC

Slotting the wheellock plate for the tab:
https://flic.kr/p/JC4nYt

Checking the location of the tab:
https://flic.kr/p/25vYhyu

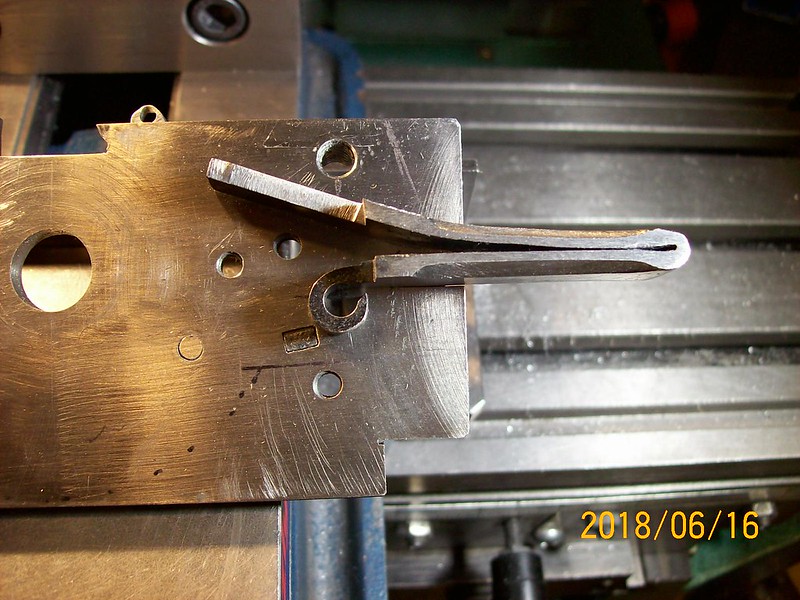
Dog spring mounted:
https://flic.kr/p/JC4o6c

Next we have to drill & tap for a 8-32 screw (make a screw too), make a brace between the spring & the dog screw, fit the brace and trim the spring & polish & harden the spring, and trim the dog legs to work with the spring. Sounds like too much work.

Later, Mike
 
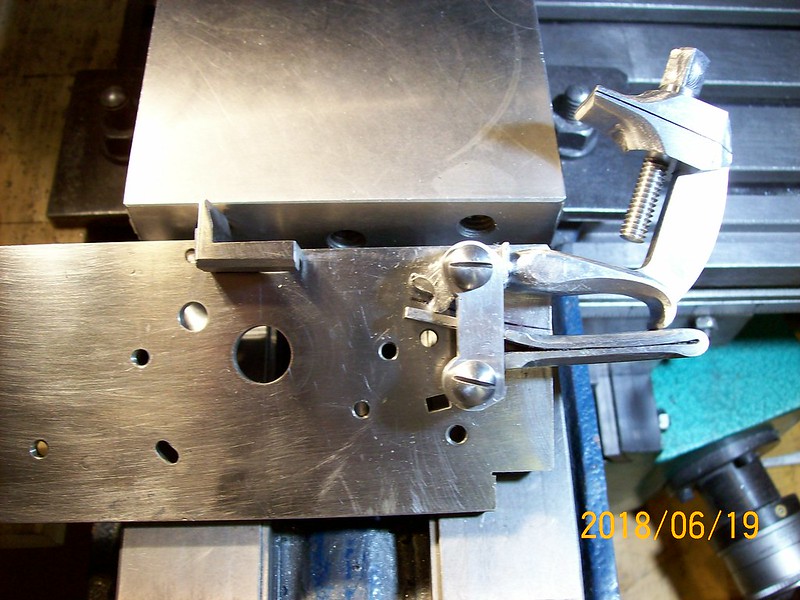
Photo of the dog bridle fitted & the dog feet trimmed somewhat against the spring: https://flic.kr/p/25BNYcw

Another photo of the dog in firing position with the pan cover just sitting in place:
https://flic.kr/p/2719vSc

I should be able to trim the front portion of the lockplate tomorrow. I still have to make a spring for the pan cover yet, so I won't trim the rear portion of the plate so that I can still clamp the plate in the vise.

Mike
 
Haven't posted for a while, have been under the weather.

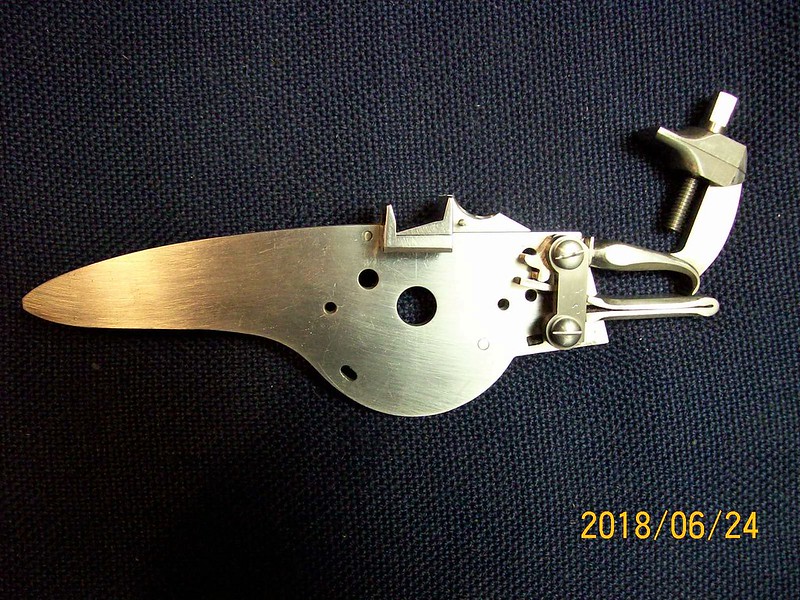
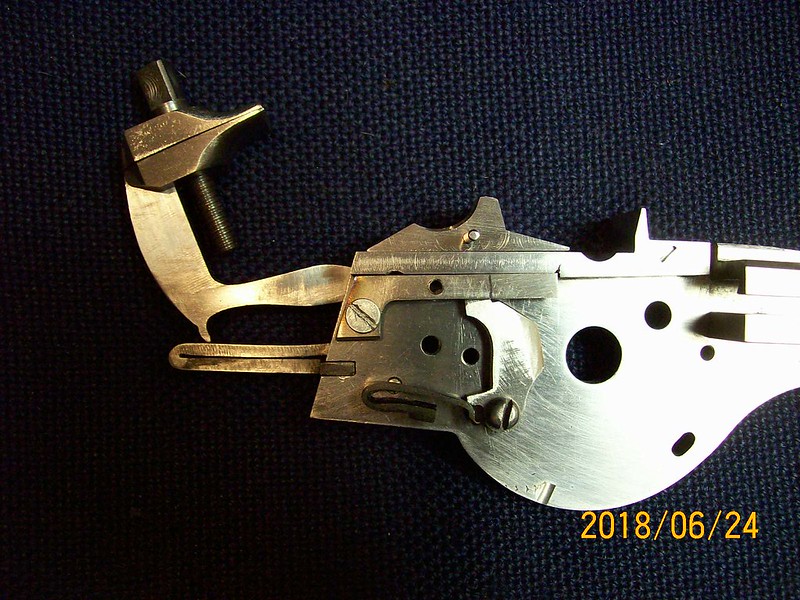
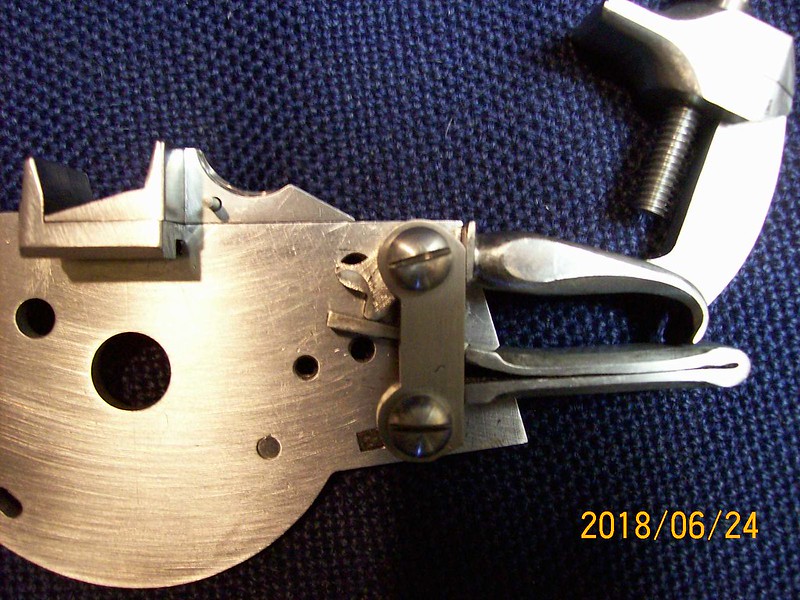
I trimmed the plate profile, made a new pan cover actuator spring, made a new spring to keep the pan cover closed (drilled half way thru the old one when I was drilling for the dog spring screw), thinned the pan cover and did some profiling inside the lock. Here's a photo of the wheellock as it stands today:
https://flic.kr/p/28uQMri

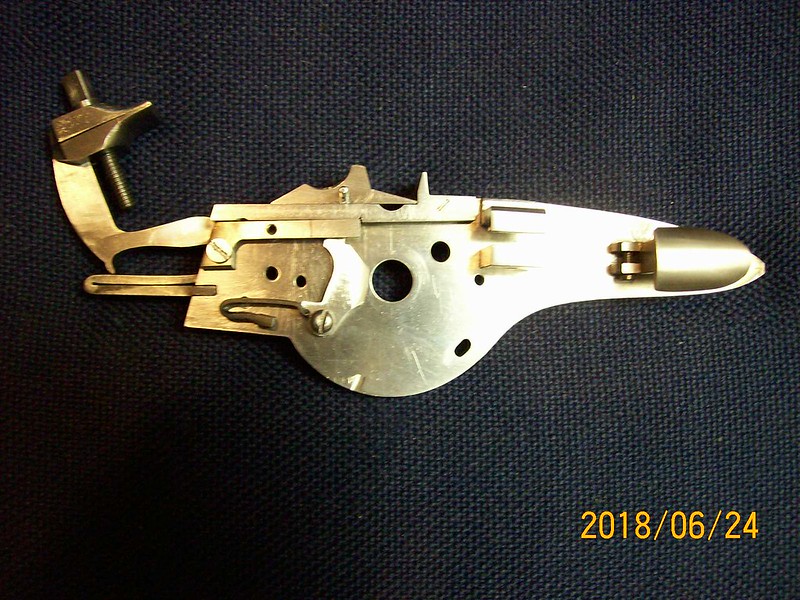
Here's a photo of the interior of the lock:
https://flic.kr/p/28uQMwP

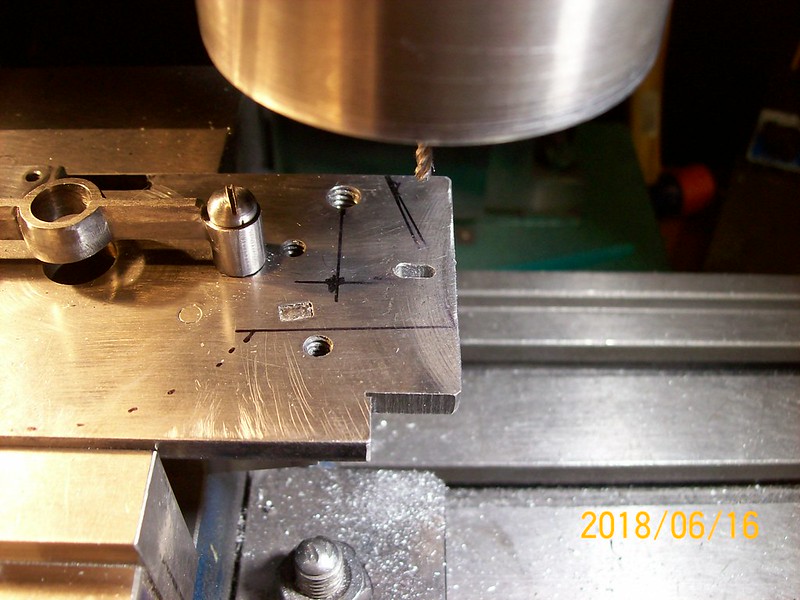
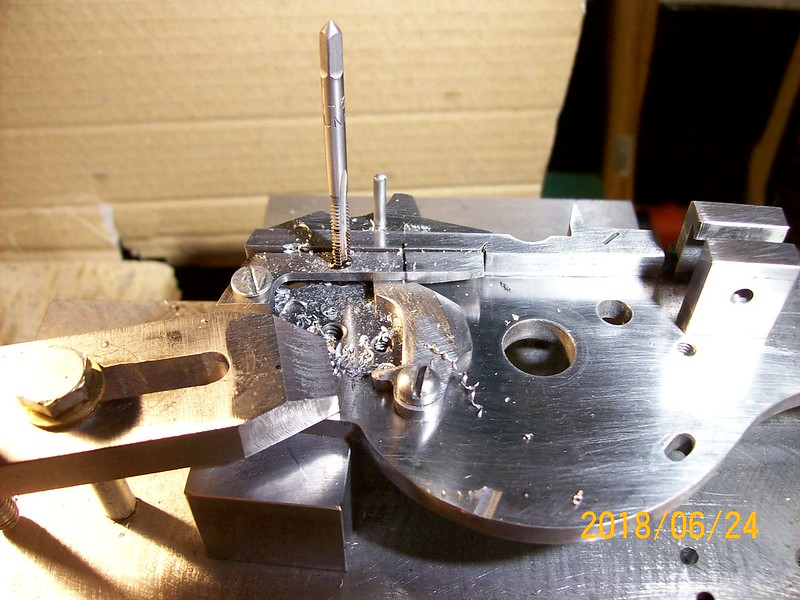
Here's where I'm drilling & tapping the pan cover spring for a release button (and this is where I screwed up):
https://flic.kr/p/28qspLo
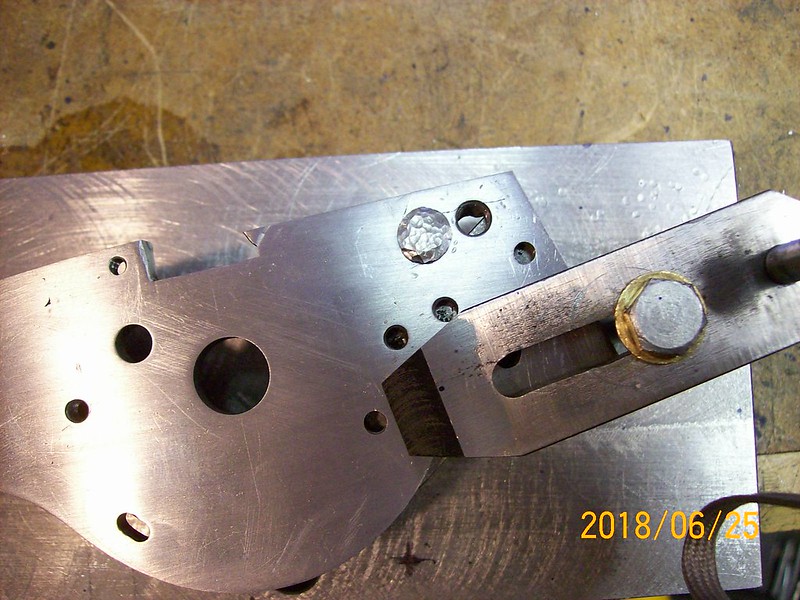
Note the machining divot at the bottom of the lockplate. The plate slipped in the vise when I was cutting the curved bottom. There wasn't enough flat area of the plate to clamp to & it slipped & the end mill bit into the plate. If it had been on the outside I could have removed the divot because that area is going to be beveled anyway (Murphy strikes again).

Everything looks OK here (but is it?), the pan is cocked open & held by the pan cover spring:
https://flic.kr/p/28uQMt2

Yikes the release button hole is under the dog foot!
https://flic.kr/p/28uQMw8

So now I have to make a new spring and rivet the hole up in the plate. I'll try to get the release button in the right place next time.
 
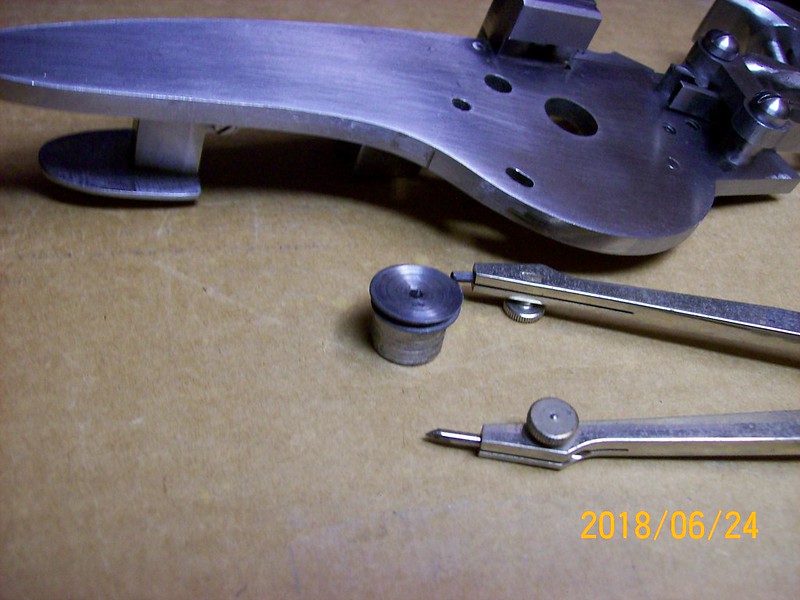
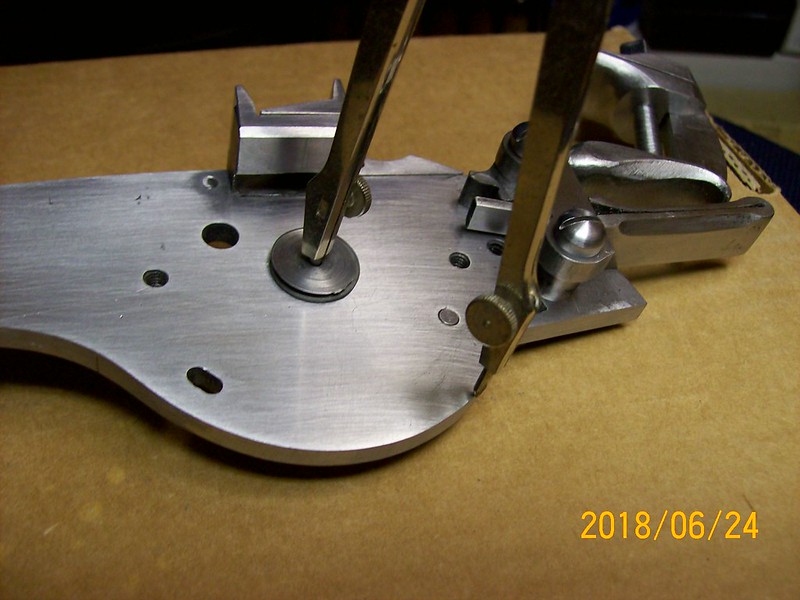
When I was profiling the lockplate I put the tumbler in the plate & placed the wheel on it and made marks with a small sharpie pen & machinist ruler. I rough bandsawed the plate & ground & filed to the marks but it didn't look right. So I made a gizmo to scribe the bottom of the lockplate. It's a button (made from a guardrail tie-rod) that fits in the tumbler (spindle) hole:
https://flic.kr/p/25JWH61

I put marking dye on the plate and scribed a line with a compass. It gives you a sharp, clear grind line.
https://flic.kr/p/JR3Ff6

Mike
 
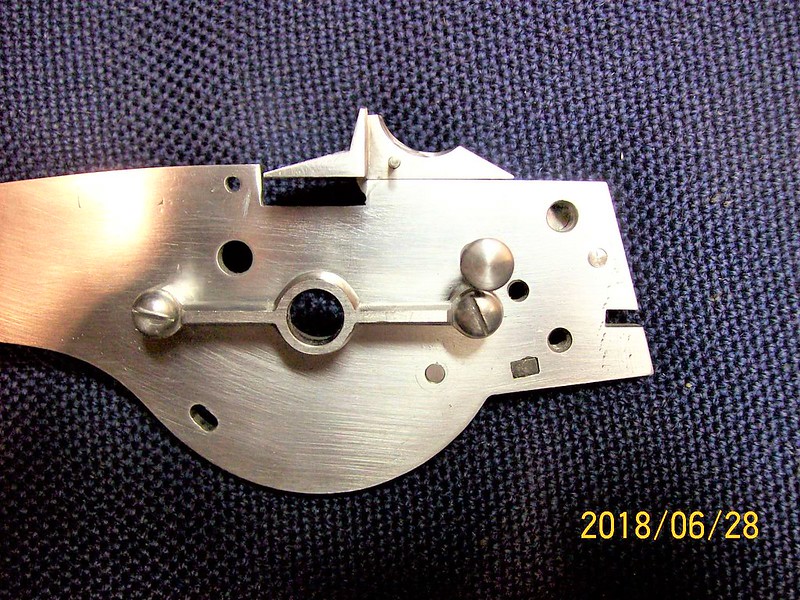
Here's a photo of the pan cover release button hole riveted up:
https://flic.kr/p/25Sinkq
I had to drill out the first rivet because the steel was crumbling on the edges when I was mushrooming it. The steel was from a bolt that was zinc plated. Perhaps the plating made it brittle?

Photo of the plate showing the rivet dressed down & the release button in place:
https://flic.kr/p/25Sinim

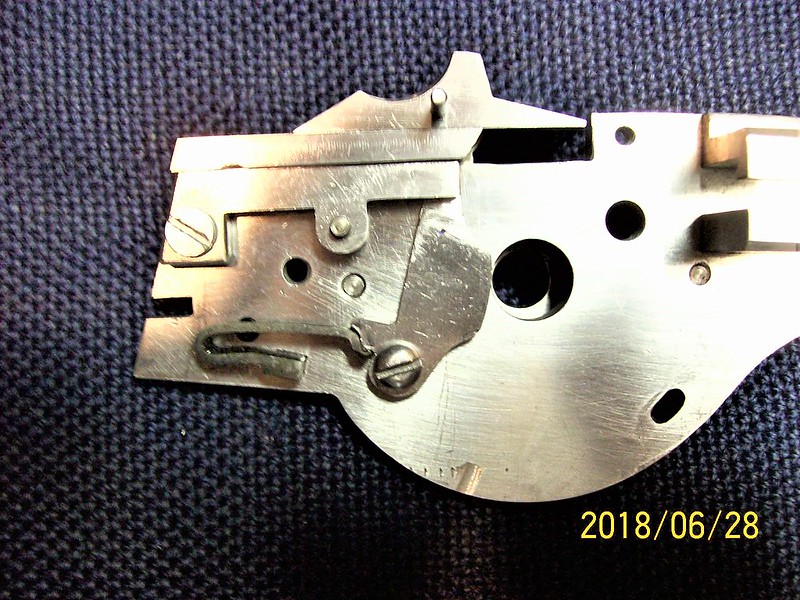
Back of the plate showing a new pan actuator arm & the pan cover spring:
https://flic.kr/p/25Sinhj
The release button screw pops thru the pan cover spring.

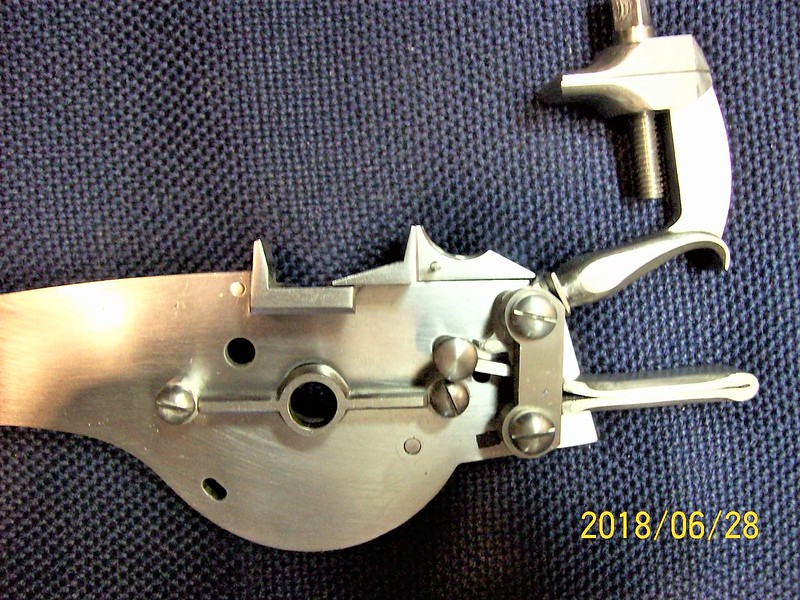
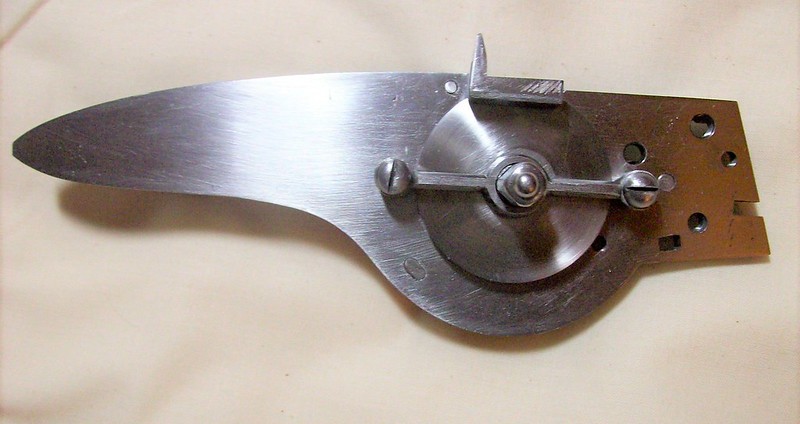
Plate front showing parts in place:
https://flic.kr/p/25SinfL

later, Mike
 
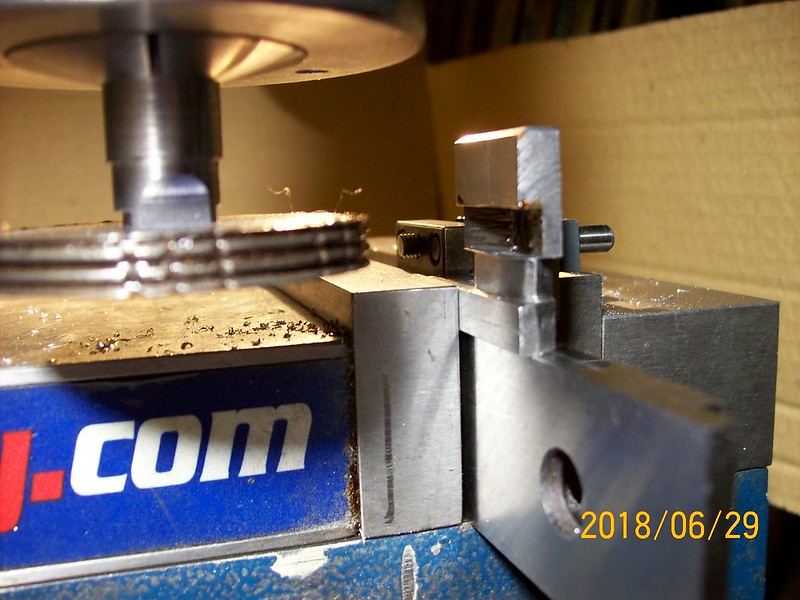
I'm using the Mendi wheel to cut grooves into the underside of the powder pan. I made a soft steel shaft and press fit it into the wheel.
https://flic.kr/p/LwA54Q

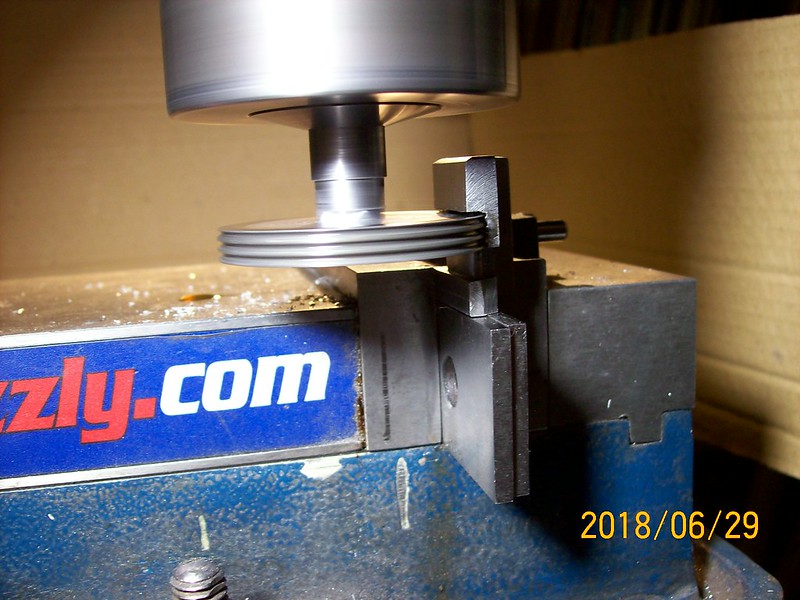
Here's an action shot of the wheel cutting the grooves. I'm using cutting oil and JB Bore Paste on the wheel:
https://flic.kr/p/27yWzEh
The new wheel that I made has the same metric groove spacing as the Mendi wheel. I made the wheel as a replacement back when I was trying to use the Mendi plate at the start of the current fiasco.

see ya, mike
 
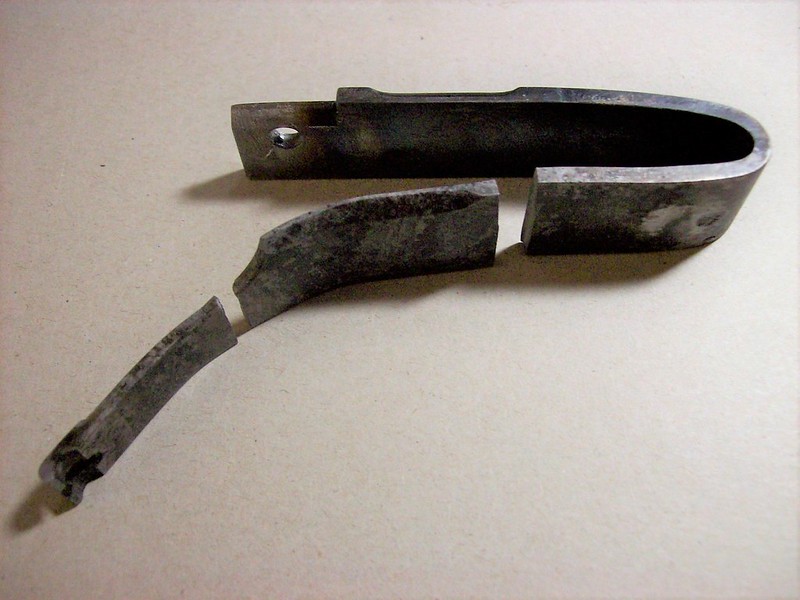
How sad. :(

To see hours of work, gone in an instant can be truly disheartening. :shake:

I've got great faith in you though.
You will rebound from this and the next spring will be even better than this one was. :thumbsup:
 
Back
Top