• Friends, our 2nd Amendment rights are always under attack and the NRA has been a constant for decades in helping fight that fight.

    We have partnered with the NRA to offer you a discount on membership and Muzzleloading Forum gets a small percentage too of each membership, so you are supporting both the NRA and us.

    Use this link to sign up please; https://membership.nra.org/recruiters/join/XR045103

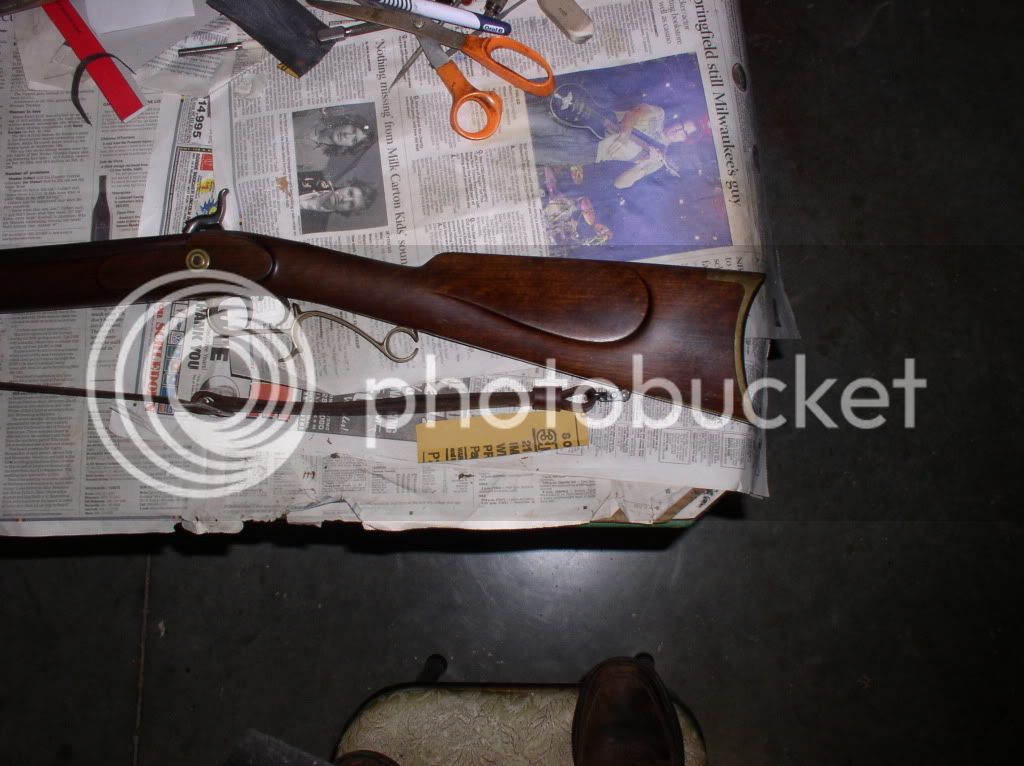
Refinishing a TC Hawken

Muzzleloading Forum

Help Support Muzzleloading Forum:

This site may earn a commission from merchant affiliate links, including eBay, Amazon, and others.
Looks good. I like the wings next to the wedge plates. I would be interested in seeing your progress when you start the wire inlay.

I bought the brass fore end cap. Not much progess this week. I got some free tickets to the state high school championshipt basketball games, so I haven't been getting home until after 11:00. I did start stripping the stock of the remaining finish, so I hope to start the final stock shaping and sanding. I was also thinking about adding some lenght to the comb of the buttplate, but haven't decided if it's worth the effort.

Good to see you making some progress, tim
 
Got a little more done. I got the stock stripped, sanded and a couple of coats of finish applied, I used black paint to fill the wood grain. I just used thinned Tru-Oil, no stain. I applied it like I would if I was using Permalyn sealer, but it on, wait and wiped off. While waiting on the finish, I got the gap on the underrib fixed by soldering a piece of steel to the end and filed it to shape. I darkened the brass and but it together to see what it looks like. I still have to go back and do the final finish on the metal parts, but I want to go and shoot it next weekend. I need to decide if I am going to strip the blue and brown the steel parts.

Here are the latest pictures.

DSC00001.jpg


DSC00002.jpg


DSC00004.jpg


DSC00005.jpg
 
i really like the dark finish. so much better than it was... really good job!
bananadance.gif

DSC00001.jpg
 
Due to a few problems with life, I had to put my project on hold for awhile and now I am able to get it started again so I picking back up where I left off. Just wanted to post a couple of pictures of the project so far and to revive the thread now that I'm working on the rifle again. I've ordered a new trigger guard that I posted earlier and with a little luck, I should be able to make it work. I do have the TOTW catalog so I was able to do a little sizing comparison. Any comments and suggestions would be most helpful. I've also ordered the parts to convert the tang screw to a through bolt. Here's a couple of pictures of the things I've done so far.
Star inlay under lock bolt.
2546252380104169197S500x500Q85.jpg

Star inlay and homemade toeplate.
2578501050104169197S500x500Q85.jpg
 
Another quick update. I managed to get the new triggerguard mounted. It still needs polishing and final fitting but I like it better than the orginal guard.
2821799040104169197S600x600Q85.jpg
 
After practicing on another rifle first, I finally got around to doing the wire eagle on the cheek piece. At the rate I'm going, I might get this done by summer. :snore:
Getting started.
2181994200104169197S500x500Q85.jpg

Close up
2544261620104169197S500x500Q85.jpg

Both the practice rifle and the Hawken
2950483420104169197S600x600Q85.jpg
 
Pictured below is a "kit" TC Hawken that originally was uncomfortable to shoot...mainly because of the "bulgy" cheekpiece and high comb. So both were altered and it became my elk rifle and has shot 3. Presently it's the "loaner" rifle for first time elk hunters in our camp....Fred

TCHawken.jpg
 
Thanks for sharing that picture Fred. I really like the way you slimmed down the wrist and reshaped the cheek piece. I still have a lot of wood to remove from my Hawken. What type of finish is on your rifle? I like the darker finish but I don't want mine so dark it hides the grain.
 
This stock had no figure...straight grained. Used a walnut/mahogany stain and Wahkon Bay Trucoat for the finish....wanted a dull look. It's surprizing how much "excess" wood can be removed and it then becomes a much slimmer, better looking rifle and very comfortable to shoot even w/ my big elk loads.....Fred
 
Well it's finally finished. It took a lot longer that I thought it would. Finish is one application of a water based Mahogony stain and eight coats of tru oil with the last one left as high gloss. The barrel has six coats of LMF cold browning.Not sure if I like the high gloss so it may get changed but it needs to get taken to the range before that happens. Any comments pro or con would be appreciated.
2971638680104169197S600x600Q85.jpg

2738099060104169197S600x600Q85.jpg

2761023280104169197S600x600Q85.jpg

2028434760104169197S600x600Q85.jpg

2879875260104169197S600x600Q85.jpg

2761084570104169197S600x600Q85.jpg

2262056410104169197S600x600Q85.jpg

2138361820104169197S600x600Q85.jpg
 
Please, more info on the eagle inlays. Your pictures don't do that area justice. Other then that, nice work.
Paul
 
RhinoDave, there is a very serious problem with this rifle.

It is in the wrong gun case. (That is to say, a gun case other than my own). :rotf:

seriously- great work- you should be justifiably proud!
 
Thanks all for the kind words. The eagles are patterned from a book called "Treasury of American Design. There were several different figures of Eagles in various flight postures to choose from in it.
The wire work is pretty standard flat wire I purchased from Dixie gunworks over thirty years ago and never used until now.
Some closer pictures of the wire inlays.
2532384650104169197S600x600Q85.jpg

2766836710104169197S600x600Q85.jpg

2284845030104169197S600x600Q85.jpg
 

Latest posts

Back
Top