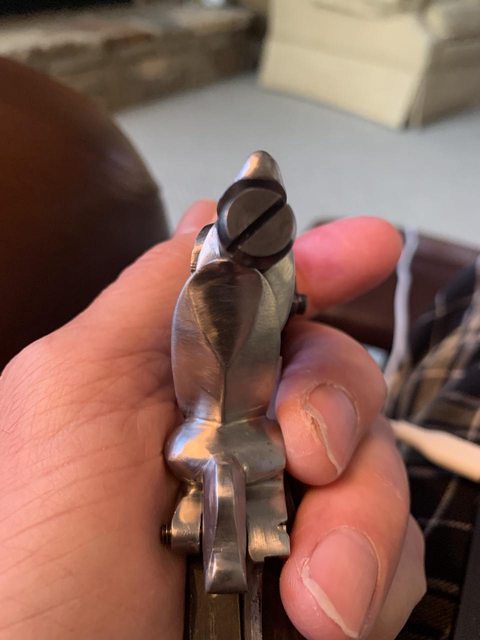
I'm not an expert on the internals of the lock, but I can speak about "tuning" your flint.
A sharp flint that is the width of your frizzen face is what you want.
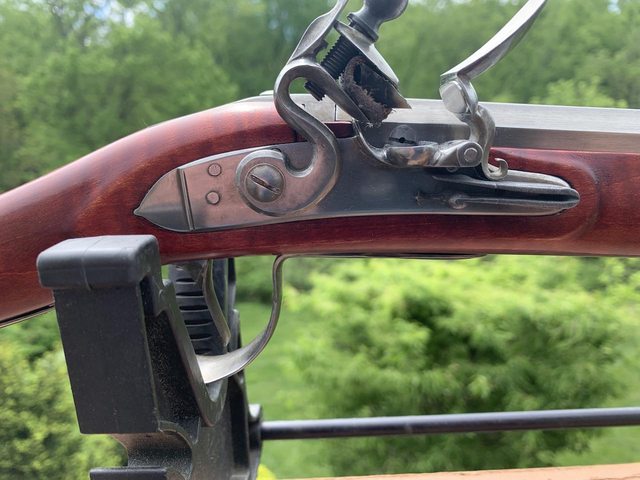
I was first instructed to make sure the tip of the flint rests centered over the pan when the cock is at rest.
Second, pull back the hammer to half cock and lower the frizzen so it covers the pan. The flint should not touch the frizzen, but should be pretty close to it (between an eighth and quarter of an inch) and should point at the frizzen face at or above the half way mark up the frizzen face (I prefer it at least 60% up the frizzen face). Itoit points too low, you can flip the flint. It shouldn't point directly at the face, but have a slight downward angle or it will wear your flint quickly.
Third, you should be able to release the hammer from half cock and lower it slightly while holding it. With your other hand raise the frizzen up slightly and you should get a mostly straight line between the flint and frizzen base.
That should get you a long strike/scrape to make sparks and ensure the frizzen isn't blocking them from dropping into the pan while simultaneously avoiding smashing flints.
The caviot is that individual lock may have varied geometry so this set up won't be quite identical between locks of different style/geometry. That said, it is a guideline that has held pretty well for me.


")