- Joined
- Nov 26, 2005
- Messages
- 5,240
- Reaction score
- 11,006
Hi,
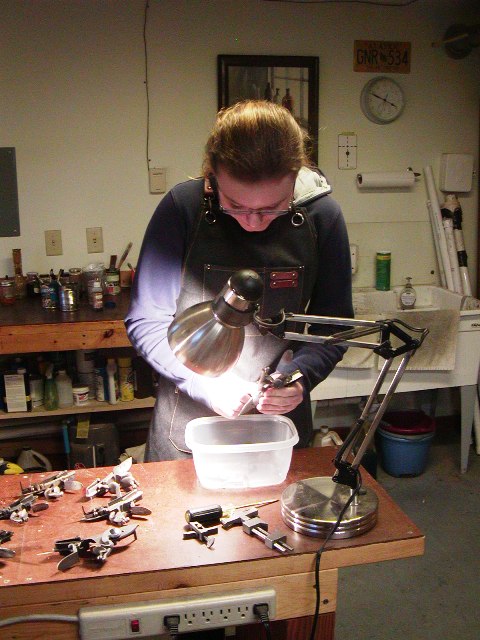
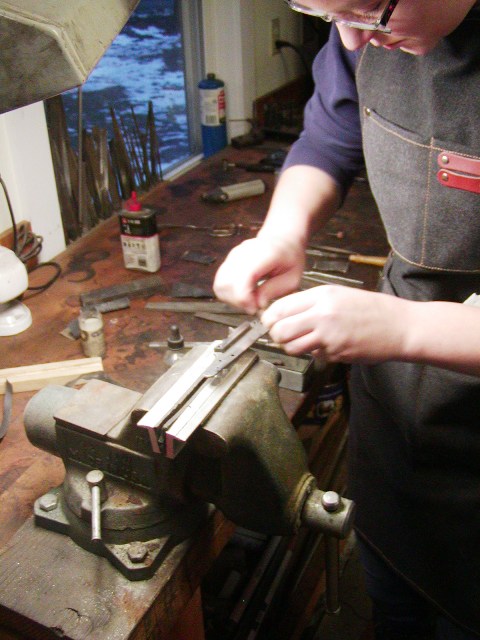
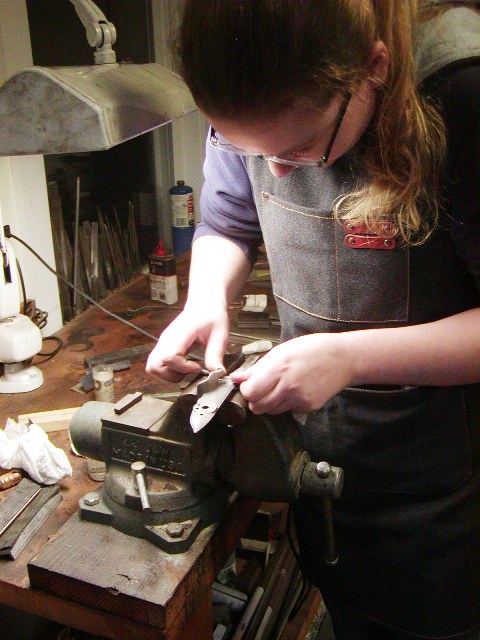
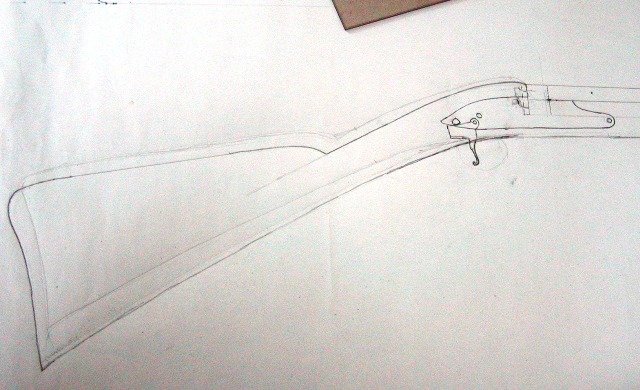
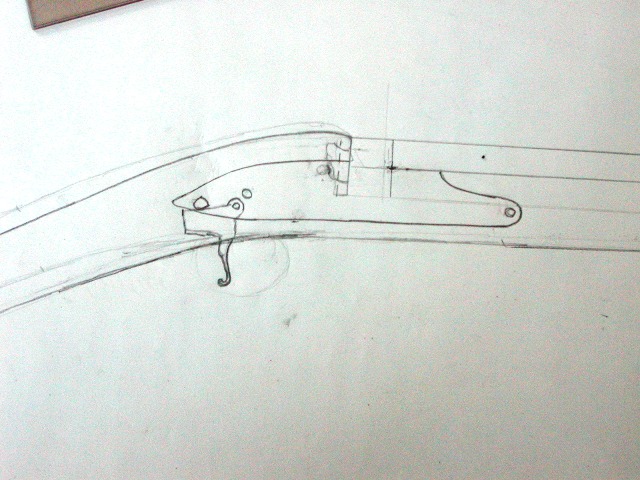
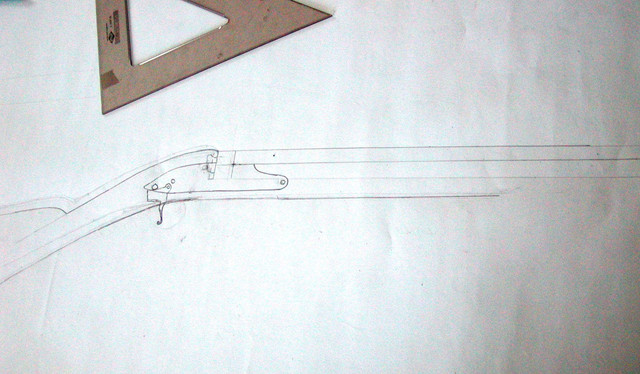
Lots of stuff happening this winter. I have an apprentice, Maria Gray. She is a local high school senior who is greatly focused on history. She is a member of Herrick's Vermont Rangers and Warner's Green Mountain Boys. She intends to major in history in college. Maria is extremely smart and a lightning quick study. She wrote a grant proposal to her school for a senior project making a flintlock gun and learning the history of their manufacture. The school system in Bethel, VT awarded her $1000 for the project. Maria is the second high school student supported by their schools (different school systems) to work with me to build historical guns. I am informed that more are coming. Maria and I dug deeply into the history of arms carried by those units. It was clear that many carried muskets, including the long land pattern Brown Bess but also civilian fowlers. The fowler fit Maria better because she wants to use it for reenacting but also for hunting. She is tall and needs quite a bit of drop in the stock such that the muskets would be horrible guns for her. I showed her a range of examples of fowlers available to 18th century New Englanders and she chose an English export fowler (not a trade gun, which seems to obsess so many who think colonists only carried old muskets, rifles, and trade guns, a terrible distortion of reality). So we are making a good quality English export fowler based on my work and a gun restored by Jim Kibler that I own. The lock will be a Chambers round-faced English lock, the barrel will be a 20 gauge Rice Dolep barrel, the stock is a nice piece of English walnut that I bought from Jim Kibler some years ago. We have not decided on whether the mounts will be brass or iron (steel). I have a Fabulous iron plate forged by Ian Pratt, which is a possibility. This will be fun and I will post updates as we proceed. Here are our preliminary drawings but we have to add more drop. They are tracings of original 1760s fowlers that I own.
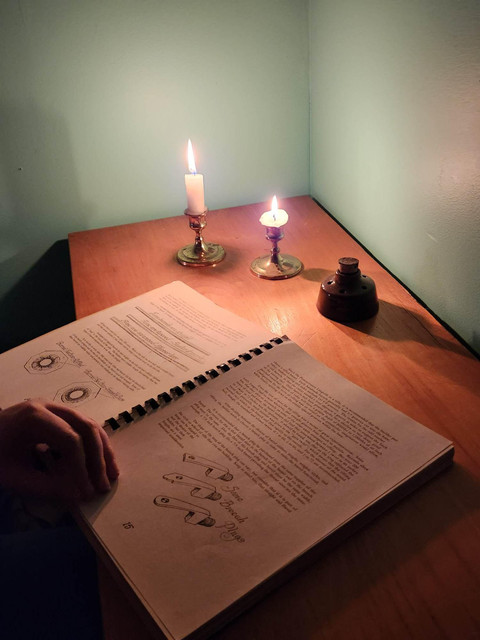
Maria really gets into the 18th century. She has my copies of Grinslade's "Fowlers", John George's "English Guns and Rifles", Dixon's "The Art of Making the Pennsylvania Longrifle" , my working copy of Neal and Back's "Great British Gunmakers 1740-1790", and papers by DeWitt Bailey and Joe Puleo on the Wilson family and Ketland family of gunmakers; respectively. She enjoys reading by candle light. I advised her to freeze the candles first and they will last longer.
dave
[
Lots of stuff happening this winter. I have an apprentice, Maria Gray. She is a local high school senior who is greatly focused on history. She is a member of Herrick's Vermont Rangers and Warner's Green Mountain Boys. She intends to major in history in college. Maria is extremely smart and a lightning quick study. She wrote a grant proposal to her school for a senior project making a flintlock gun and learning the history of their manufacture. The school system in Bethel, VT awarded her $1000 for the project. Maria is the second high school student supported by their schools (different school systems) to work with me to build historical guns. I am informed that more are coming. Maria and I dug deeply into the history of arms carried by those units. It was clear that many carried muskets, including the long land pattern Brown Bess but also civilian fowlers. The fowler fit Maria better because she wants to use it for reenacting but also for hunting. She is tall and needs quite a bit of drop in the stock such that the muskets would be horrible guns for her. I showed her a range of examples of fowlers available to 18th century New Englanders and she chose an English export fowler (not a trade gun, which seems to obsess so many who think colonists only carried old muskets, rifles, and trade guns, a terrible distortion of reality). So we are making a good quality English export fowler based on my work and a gun restored by Jim Kibler that I own. The lock will be a Chambers round-faced English lock, the barrel will be a 20 gauge Rice Dolep barrel, the stock is a nice piece of English walnut that I bought from Jim Kibler some years ago. We have not decided on whether the mounts will be brass or iron (steel). I have a Fabulous iron plate forged by Ian Pratt, which is a possibility. This will be fun and I will post updates as we proceed. Here are our preliminary drawings but we have to add more drop. They are tracings of original 1760s fowlers that I own.


Maria really gets into the 18th century. She has my copies of Grinslade's "Fowlers", John George's "English Guns and Rifles", Dixon's "The Art of Making the Pennsylvania Longrifle" , my working copy of Neal and Back's "Great British Gunmakers 1740-1790", and papers by DeWitt Bailey and Joe Puleo on the Wilson family and Ketland family of gunmakers; respectively. She enjoys reading by candle light. I advised her to freeze the candles first and they will last longer.

dave
[


