I haven't looked at this page in a while Mike, but I gotta say, that's one tight solder joint. :thumbsup: Sorry about the different color in brass, that's why I was mentioning earlier that I like to make repairs look obvious. Enhance your repair work so it stands out, so folks can see your craftsmanship, and don't try so hard to make a perfect blend. Just my philosophy. :surrender: Good work Mike. Bill
-
Friends, our 2nd Amendment rights are always under attack and the NRA has been a constant for decades in helping fight that fight.
We have partnered with the NRA to offer you a discount on membership and Muzzleloading Forum gets a small percentage too of each membership, so you are supporting both the NRA and us.
Use this link to sign up please; https://membership.nra.org/recruiters/join/XR045103
You are using an out of date browser. It may not display this or other websites correctly.
You should upgrade or use an alternative browser.
You should upgrade or use an alternative browser.
my edward marshall build
- Thread starter hoochiepapa
- Start date

Help Support Muzzleloading Forum:
This site may earn a commission from merchant affiliate
links, including eBay, Amazon, and others.
hoochiepapa
75 Cal.
- Joined
- Oct 25, 2010
- Messages
- 5,853
- Reaction score
- 7
Thanks, Bill! I have an idea of how I want that to look now, at least the buttplate, I'm gonna try some sculpting, maybe some leaves and such. But the extension is giving me idea problems. I have decided to follow your suggestion and make a delineation between the two parts, some straight lines and a border.
You have been a great help. Thanks.
You have been a great help. Thanks.
hoochiepapa
75 Cal.
- Joined
- Oct 25, 2010
- Messages
- 5,853
- Reaction score
- 7
Guess what, Bill? I was drilling a hole in the buttplate for a screw, and didn't have it clamped tight enough, ZING!! it landed on the extension, and it broke off. I was able to solder it back on really close to where it was.
Life is exciting.
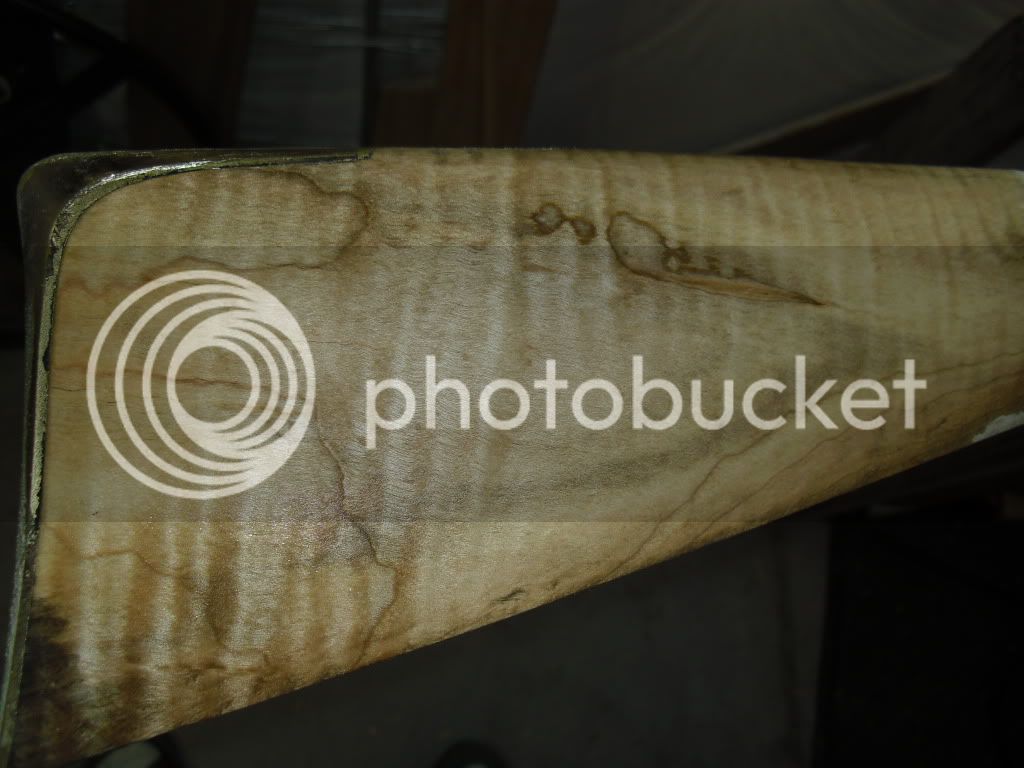
Patchbox or not? The gun I'm using as a model has none, it is a smoothbore. And I have never done a wooden one, which would be H/C. Or I have one like is on the Christian Oerter. ??
Life is exciting.

Patchbox or not? The gun I'm using as a model has none, it is a smoothbore. And I have never done a wooden one, which would be H/C. Or I have one like is on the Christian Oerter. ??
hoochiepapa
75 Cal.
- Joined
- Oct 25, 2010
- Messages
- 5,853
- Reaction score
- 7
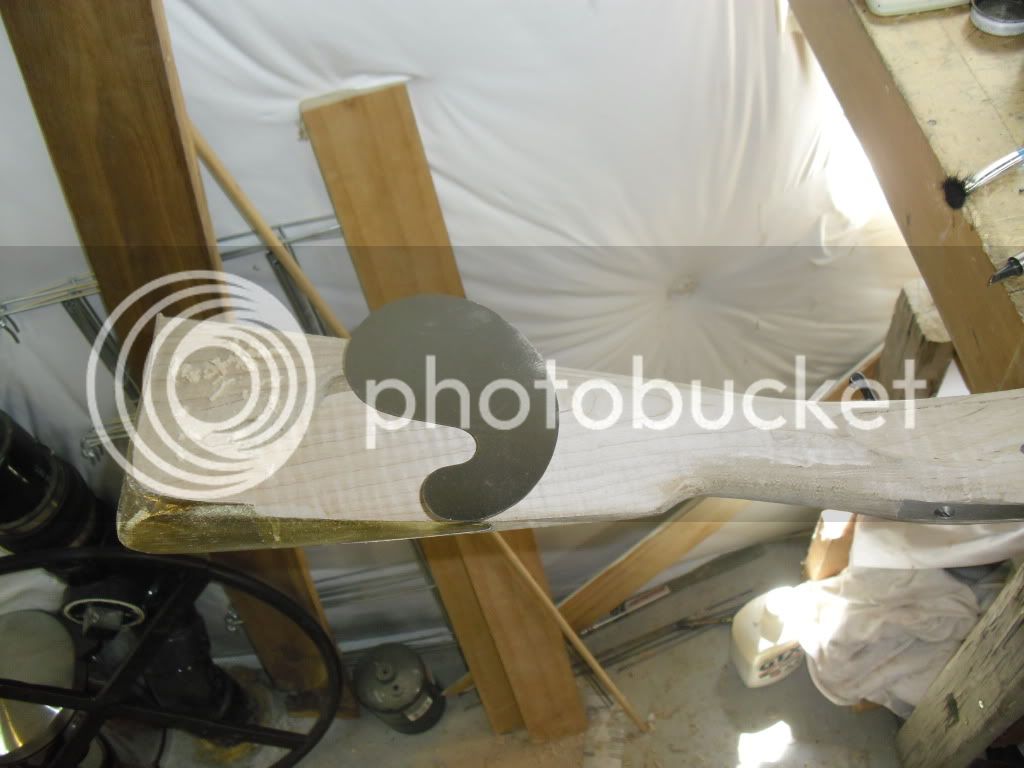
Shaping the buttstock. I stumbled across my packet of scrapers, and am having fun with them, they cut surprisingly fast.
hoochiepapa
75 Cal.
- Joined
- Oct 25, 2010
- Messages
- 5,853
- Reaction score
- 7
Ok, I'll try asking questions again.
Should I engrave the barrel before or after the hot blueing? I intend to use the procedure outlined here many times about using a browning agent and then boiling it to turn it blue. But won't the browning procedure give the engraving a rusted look? :idunno:
also, and I can't find a picture of a rifle that's clear enough, but there is a portion of the lock plate that is thick, where the bolster is. Should the inlet for the plate be uniform around the plate as far as depth goes, or should the thick areas be flush?
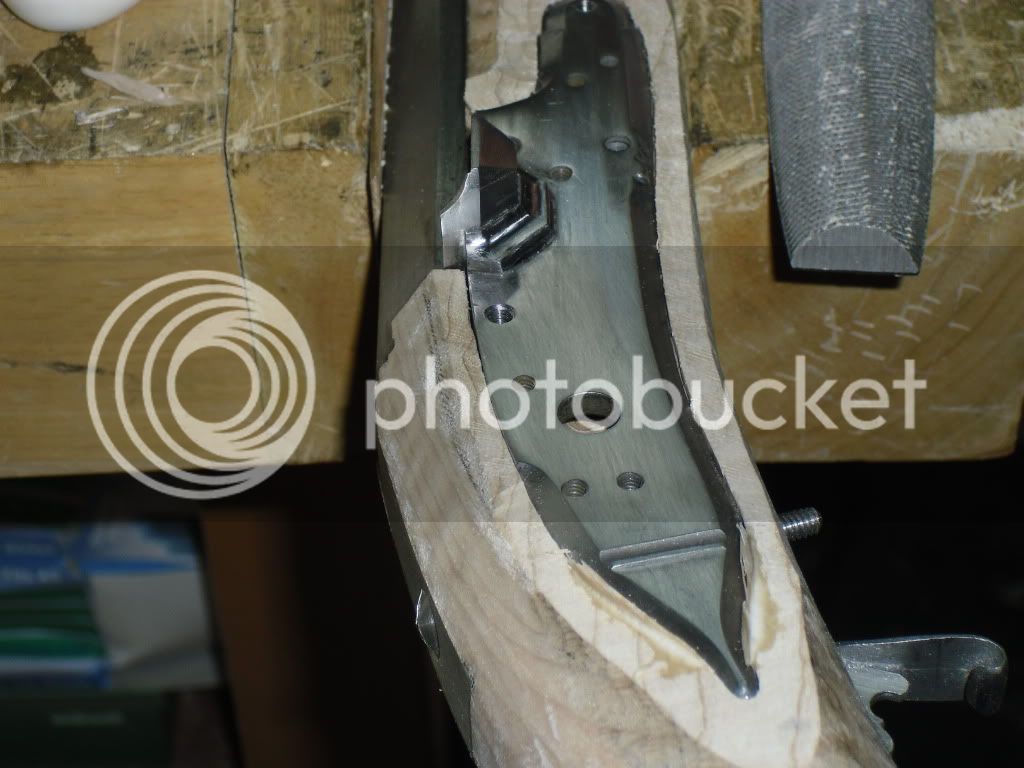
Don't mind the slivers of wood, I'm trying to fill those gaps. I already did on the tang, and it looks good.
Should I engrave the barrel before or after the hot blueing? I intend to use the procedure outlined here many times about using a browning agent and then boiling it to turn it blue. But won't the browning procedure give the engraving a rusted look? :idunno:
also, and I can't find a picture of a rifle that's clear enough, but there is a portion of the lock plate that is thick, where the bolster is. Should the inlet for the plate be uniform around the plate as far as depth goes, or should the thick areas be flush?

Don't mind the slivers of wood, I'm trying to fill those gaps. I already did on the tang, and it looks good.
hoochiepapa
75 Cal.
- Joined
- Oct 25, 2010
- Messages
- 5,853
- Reaction score
- 7
Never mind.
hoochiepapa
75 Cal.
- Joined
- Oct 25, 2010
- Messages
- 5,853
- Reaction score
- 7
We move pretty slow around here, too,
Thanks.
Thanks.
My bbls are engraved before browning so the name doesn't stand out. The concave surfaces of the cheek are roughed w/ a round Surform and then a *49 Nicholson rasp and finally scrapers made from single edged razor blades. When drilling brass, the drill's cutting lips are stoned square so the drill doesn't grab......Fred
hoochiepapa
75 Cal.
- Joined
- Oct 25, 2010
- Messages
- 5,853
- Reaction score
- 7
Fred, you're like an encyclopedia! Thanks.
Those scrapers had been under some stuff that I was going to add to my kayak, and when I was cleaning up (a relative term), I ran across them. I used them on the kayak to smooth the fiberglas. THey're more fun on the wood stock.
Those scrapers had been under some stuff that I was going to add to my kayak, and when I was cleaning up (a relative term), I ran across them. I used them on the kayak to smooth the fiberglas. THey're more fun on the wood stock.
hoochiepapa
75 Cal.
- Joined
- Oct 25, 2010
- Messages
- 5,853
- Reaction score
- 7
Inletting the toe plate.
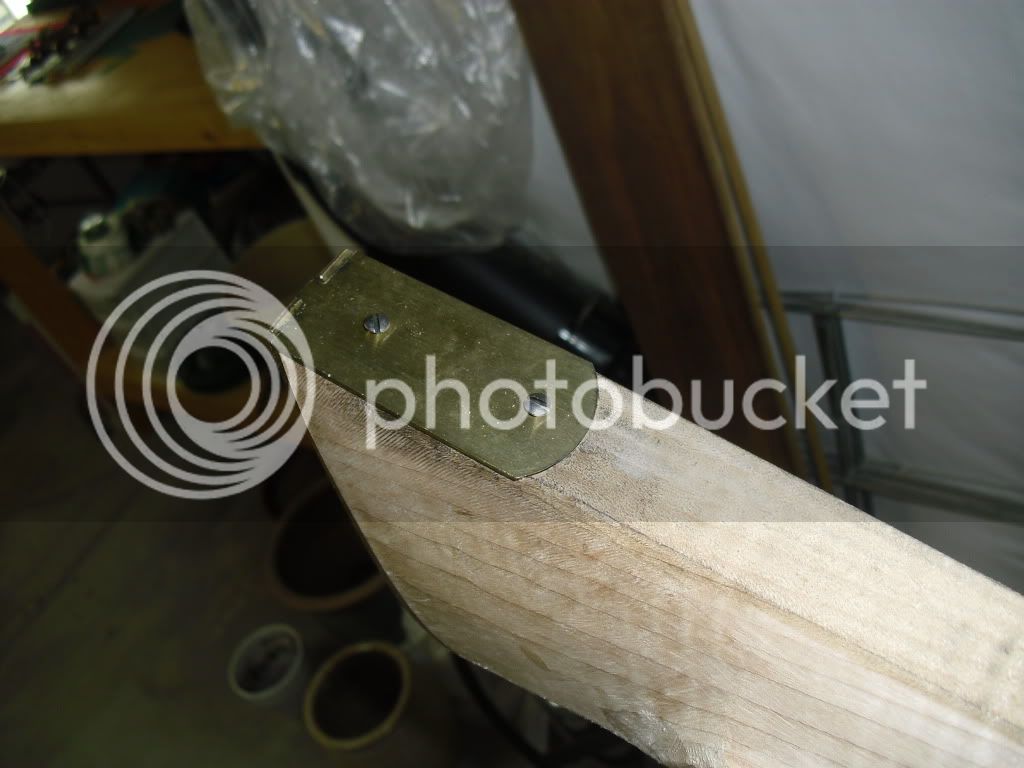
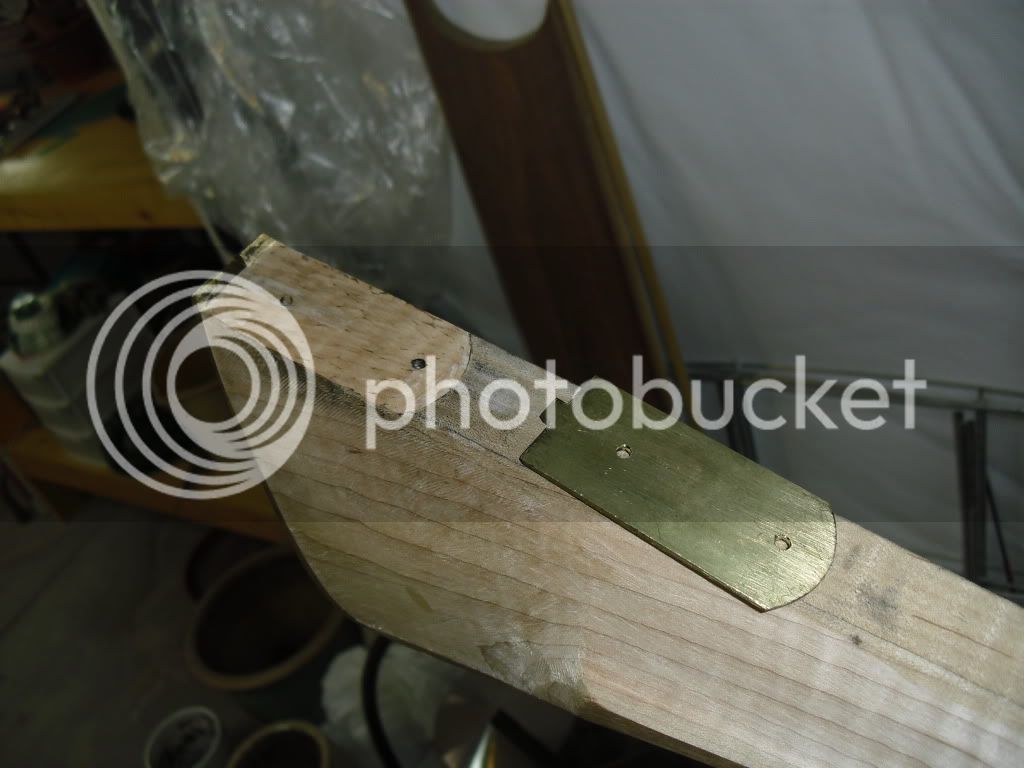
I'm putting the little tab on like the Moravians did, but the rifles of this period had a rounded toe and very few that I have seen had a flat toe or toe plate.


I'm putting the little tab on like the Moravians did, but the rifles of this period had a rounded toe and very few that I have seen had a flat toe or toe plate.
hoochiepapa
75 Cal.
- Joined
- Oct 25, 2010
- Messages
- 5,853
- Reaction score
- 7
Toe plate inlet.
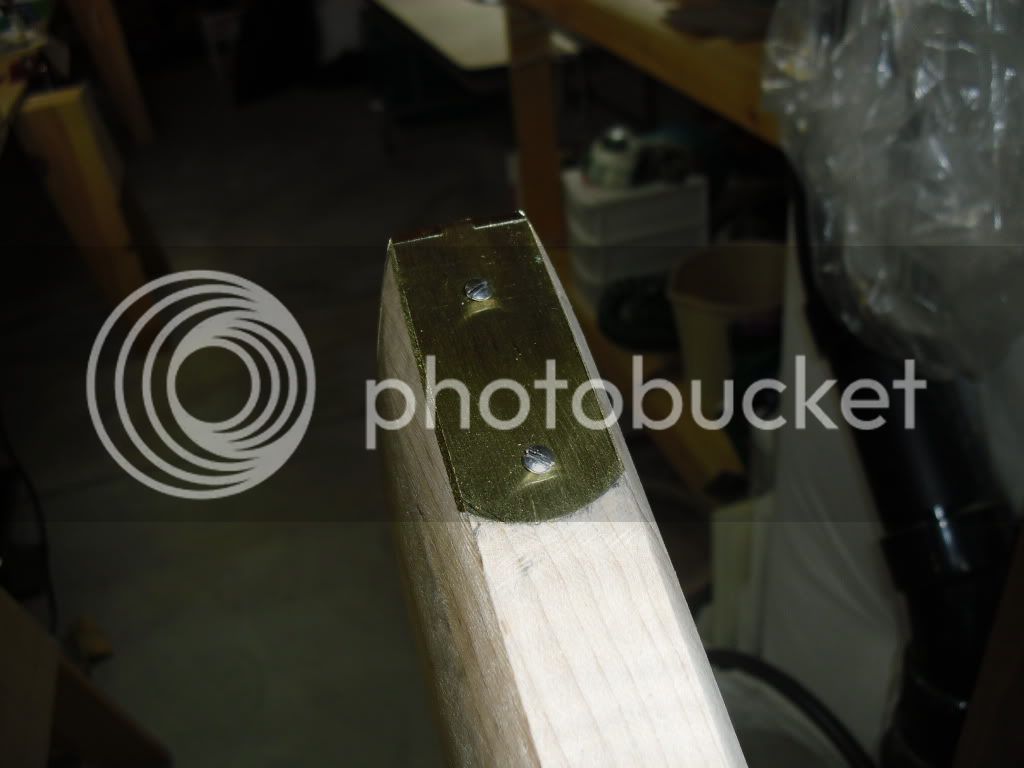
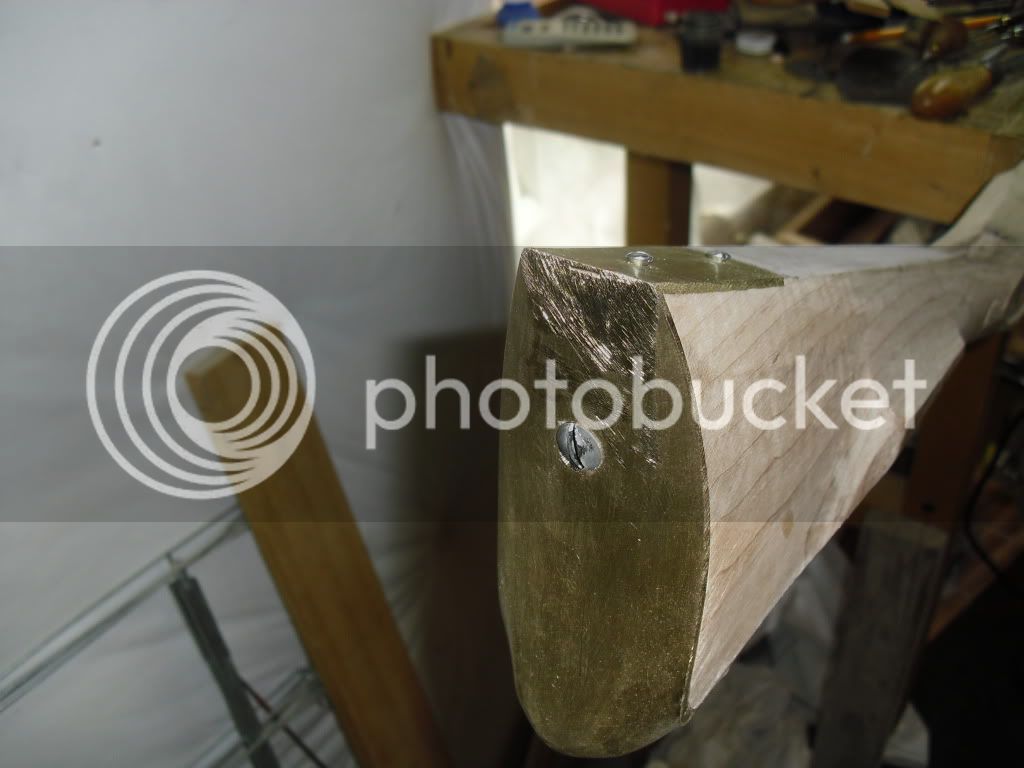
That little recess will disappear when I re-contour the butt plate. Looks pretty good, I think.


That little recess will disappear when I re-contour the butt plate. Looks pretty good, I think.
hoochiepapa
75 Cal.
- Joined
- Oct 25, 2010
- Messages
- 5,853
- Reaction score
- 7
I'm going to attempt to make a muzzle cap like one in Shumway's book, "Jaeger Rifles". This is a scan of what I'm trying to duplicate.
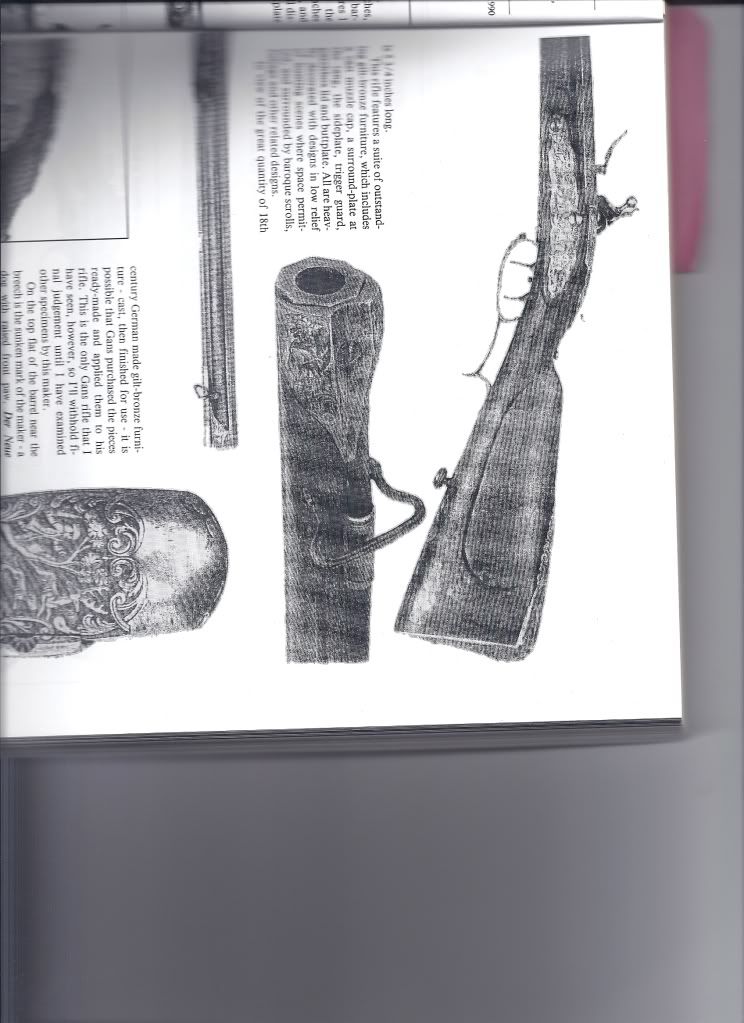
I have silver soldered a cap on the end of this "U" and I will layer pieces on the side to make what I hope looks like the Muzzle cap.
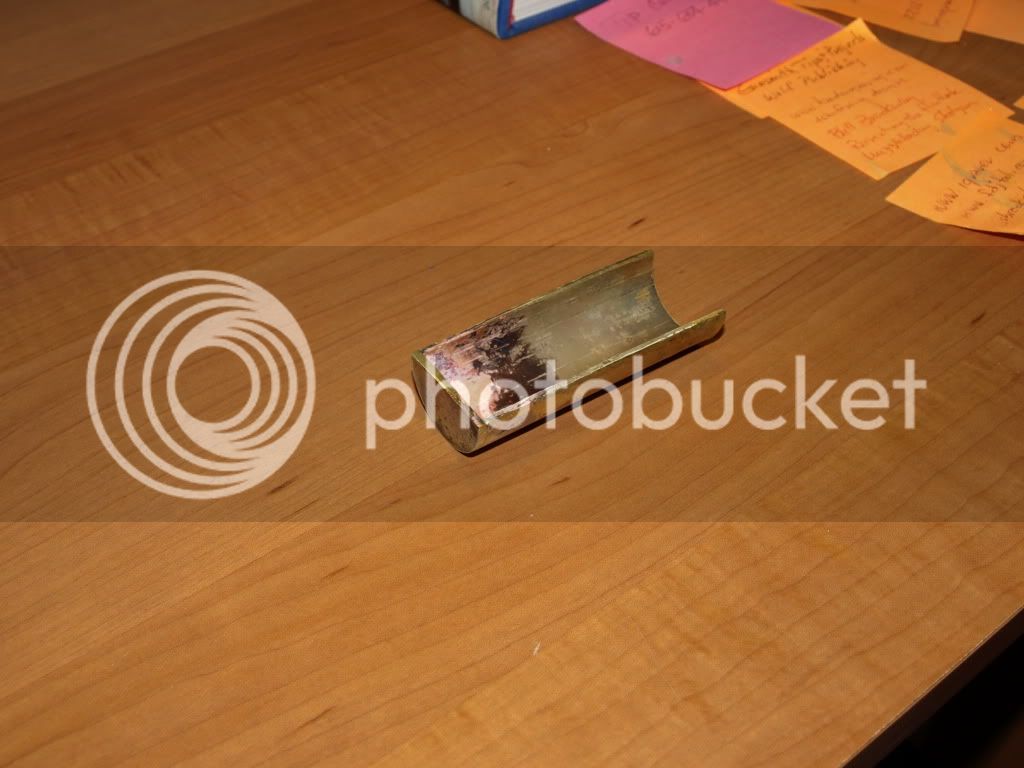

I have silver soldered a cap on the end of this "U" and I will layer pieces on the side to make what I hope looks like the Muzzle cap.

hoochiepapa
75 Cal.
- Joined
- Oct 25, 2010
- Messages
- 5,853
- Reaction score
- 7
I started the bend in my vise, and then used a 1-inch steel bar for a mold and hammered around it in my vise. I was surprised how round it came out.
hoochiepapa
75 Cal.
- Joined
- Oct 25, 2010
- Messages
- 5,853
- Reaction score
- 7
THe first (?) layer on, if I have to do more, how?
All the soft solder will melt.
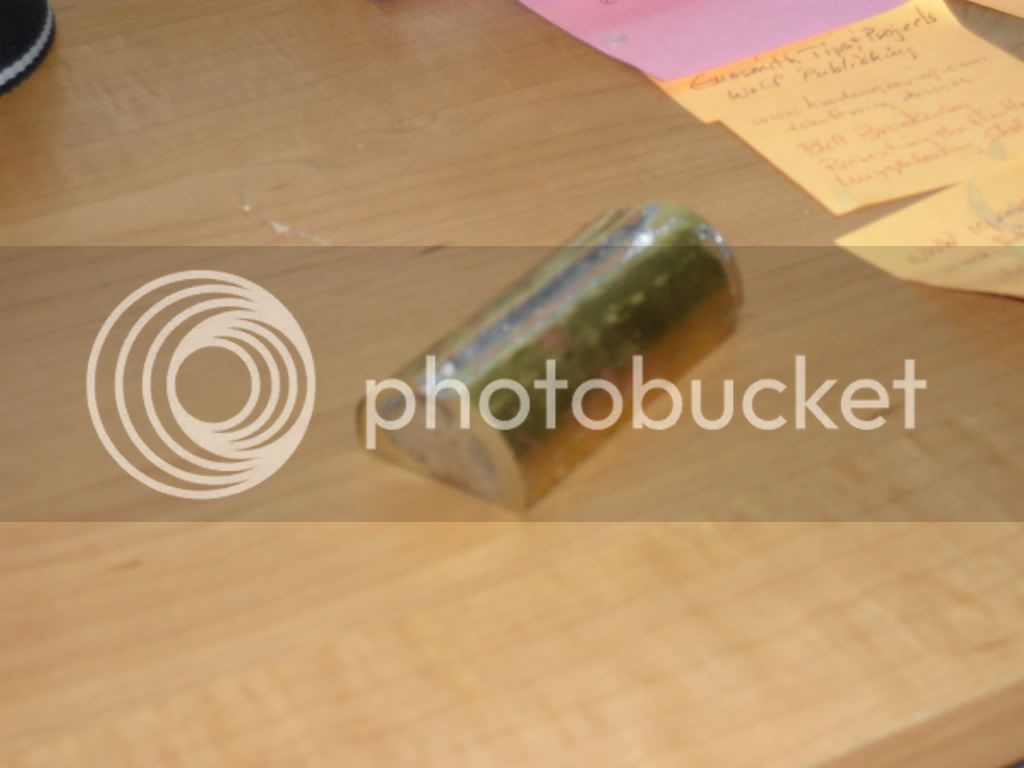
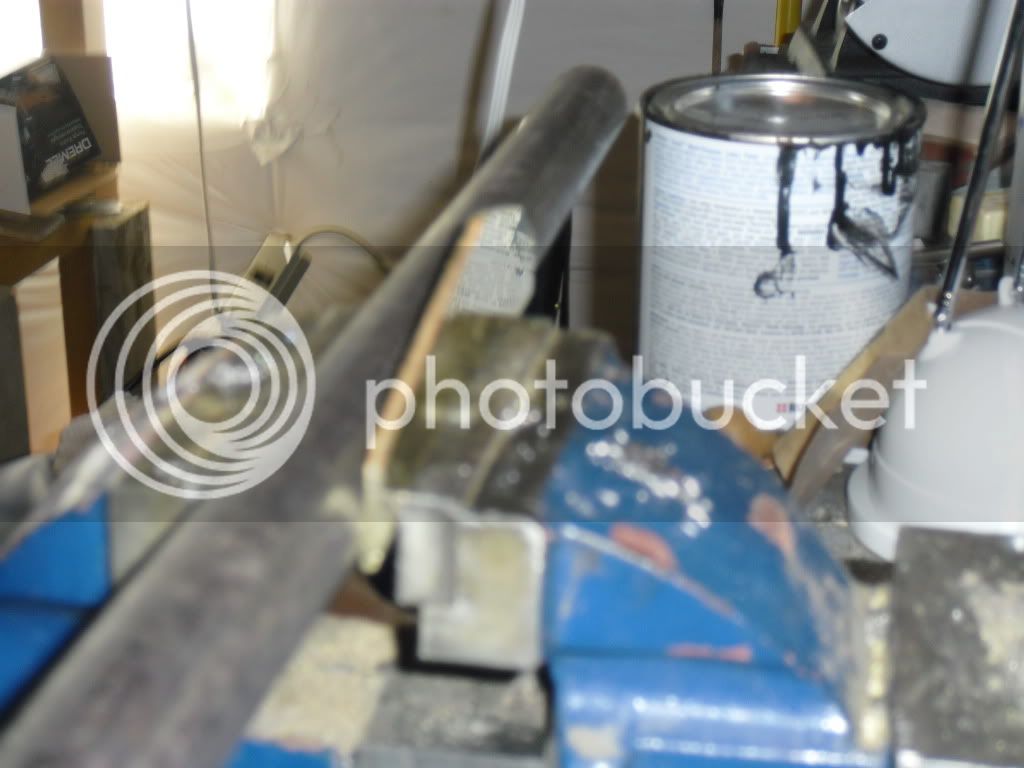
Here ya go, Bill! I just hammered the brass around this bar, and then flipped it over and did the other side. sorry, blurry pics.
All the soft solder will melt.


Here ya go, Bill! I just hammered the brass around this bar, and then flipped it over and did the other side. sorry, blurry pics.
Ok, I see how that works now, you're going to build that cap from layers of brass. Wow, that's comlpicated!
I'm thinking you could pin all that soldered stuff together before going to the next layer. Not an easy job for sure. You would need to get some small gauge brass brazing rod to hold the pieces together, especially on the ends and in the middle of the cap. Drill through so the pins are skin tight. You could just leave the ends peened on the inside of the cap, as well as on the outside any place there will be no overlapping layer, then file it flush later. But where layers will cover up any pins, the pins will need to be slightly counter sunk and filed off flush, so they won't hold the next layer up. I hope this makes sense.
I don't think wire or clamps will do the job, since wire gets hot and stretches and gets loose. Clamps will exert pressure in unwanted directions and probably make all your pieces slide around. If you pin it all together, what you see is what you get before it's soldered (unless the pins don't hold ).
).
You may need to tweak the pin idea somewhat, come up with your own variation that will work best for this project. Maybe even small threaded brass machine screws will work better.
Good luck Mike, I hope this cap works out. I'd like to see the finished project. Bill.
I'm thinking you could pin all that soldered stuff together before going to the next layer. Not an easy job for sure. You would need to get some small gauge brass brazing rod to hold the pieces together, especially on the ends and in the middle of the cap. Drill through so the pins are skin tight. You could just leave the ends peened on the inside of the cap, as well as on the outside any place there will be no overlapping layer, then file it flush later. But where layers will cover up any pins, the pins will need to be slightly counter sunk and filed off flush, so they won't hold the next layer up. I hope this makes sense.
I don't think wire or clamps will do the job, since wire gets hot and stretches and gets loose. Clamps will exert pressure in unwanted directions and probably make all your pieces slide around. If you pin it all together, what you see is what you get before it's soldered (unless the pins don't hold
You may need to tweak the pin idea somewhat, come up with your own variation that will work best for this project. Maybe even small threaded brass machine screws will work better.
Good luck Mike, I hope this cap works out. I'd like to see the finished project. Bill.
hoochiepapa
75 Cal.
- Joined
- Oct 25, 2010
- Messages
- 5,853
- Reaction score
- 7
Thanks, Bill! i like your ideas. I think I'll try the pin idea, I even have some long enough, that aren't plated.
I hope this works out, too. I'm having a lot of fun, and that's the important part. My wife says she hasn't seen me this engrossed in something in a long time.
I hope this works out, too. I'm having a lot of fun, and that's the important part. My wife says she hasn't seen me this engrossed in something in a long time.
Similar threads
- Replies
- 47
- Views
- 2K
- Replies
- 3
- Views
- 309
- Replies
- 23
- Views
- 2K


