• Friends, our 2nd Amendment rights are always under attack and the NRA has been a constant for decades in helping fight that fight.

    We have partnered with the NRA to offer you a discount on membership and Muzzleloading Forum gets a small percentage too of each membership, so you are supporting both the NRA and us.

    Use this link to sign up please; https://membership.nra.org/recruiters/join/XR045103

Starting my winter pistol build early

Muzzleloading Forum

Help Support Muzzleloading Forum:

This site may earn a commission from merchant affiliate links, including eBay, Amazon, and others.
Joined
Jun 19, 2024
Messages
173
Reaction score
244
Location
Pennsylvania
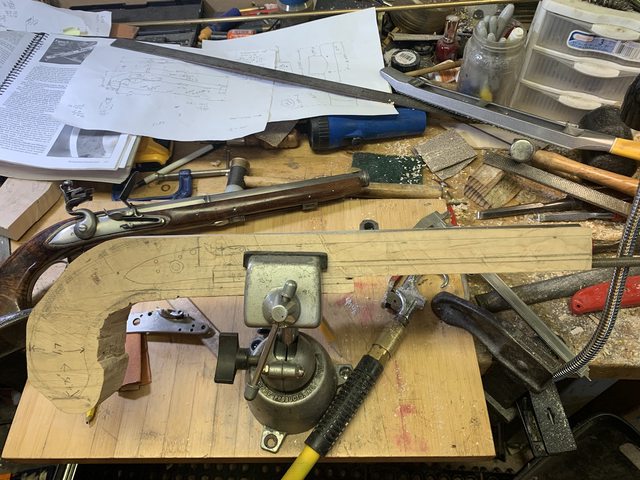
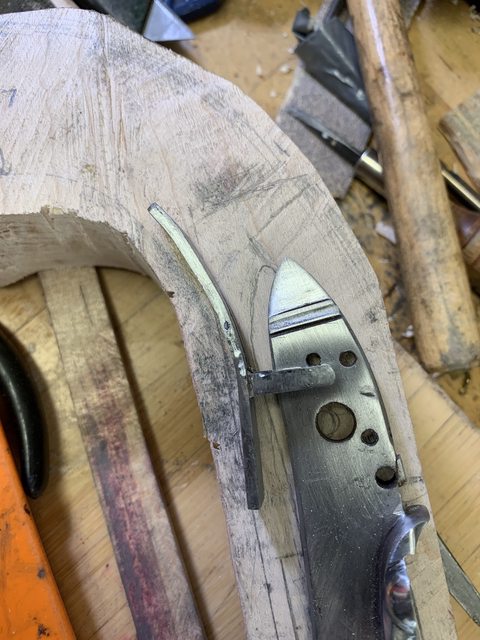
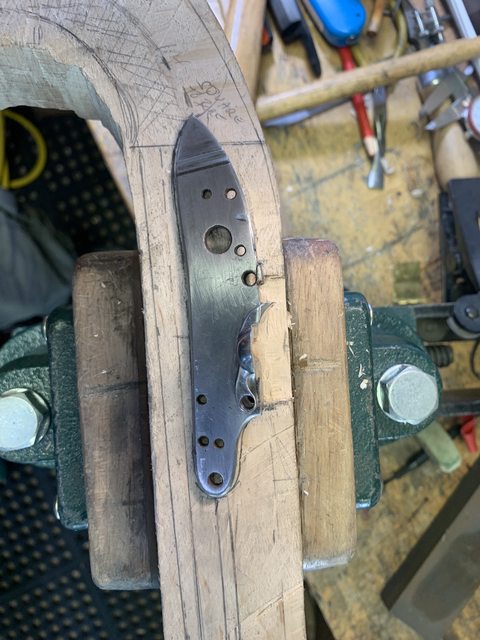
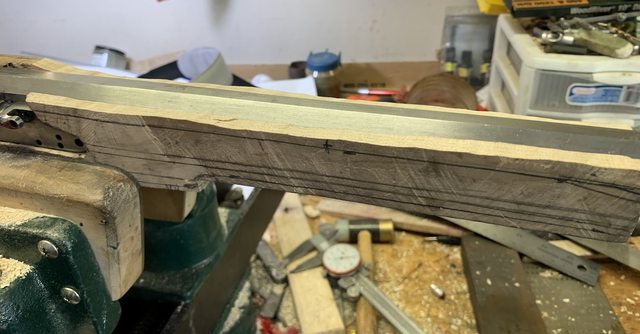
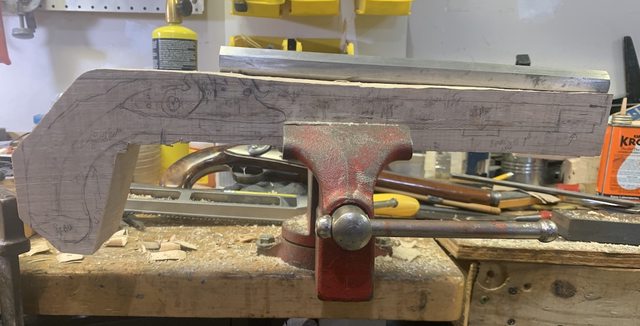
Or...just prepping for the days of January\February 2025 when the weather is lousy. I started out with a block of Maple. Sawed the rough shape of the pistol I have a 13" .45 Cal barrel that will be used. Going to pattern it after the Chambers American Flintlock Pistol.

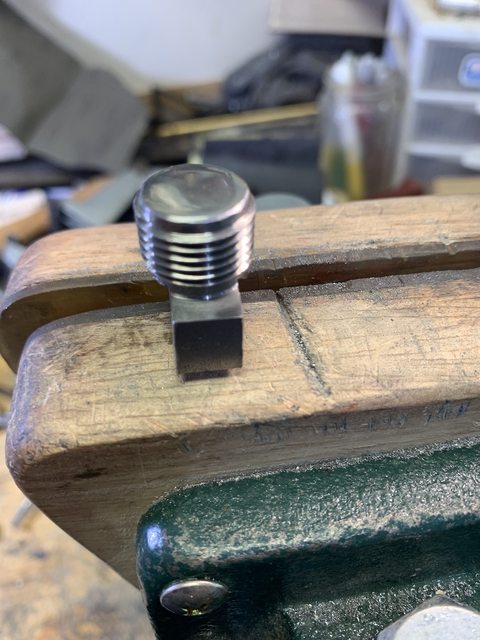
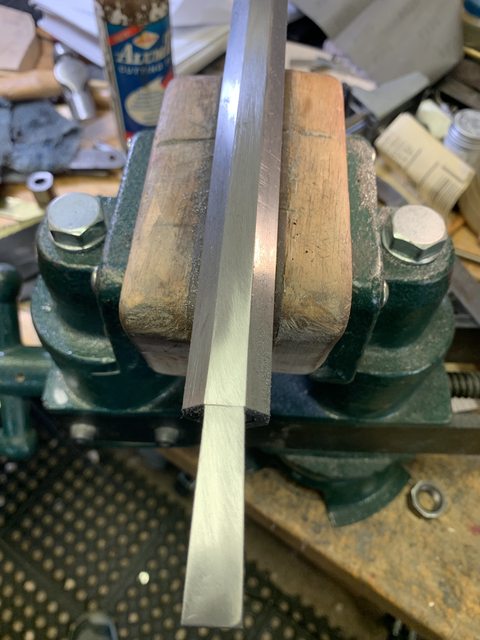
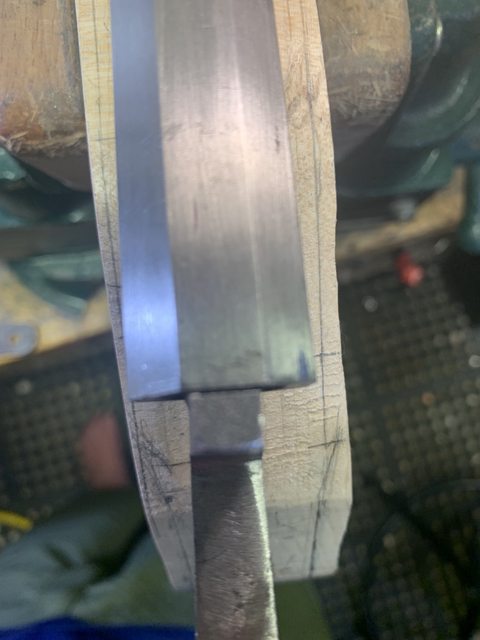
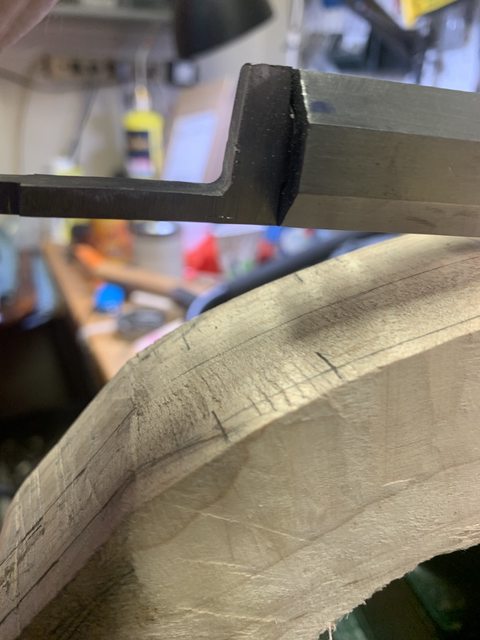
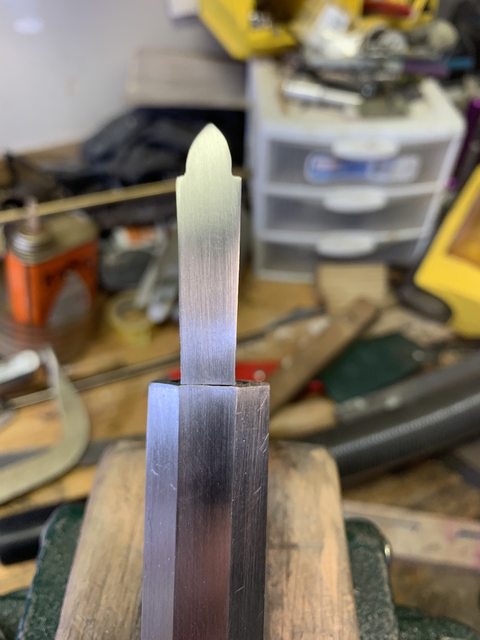
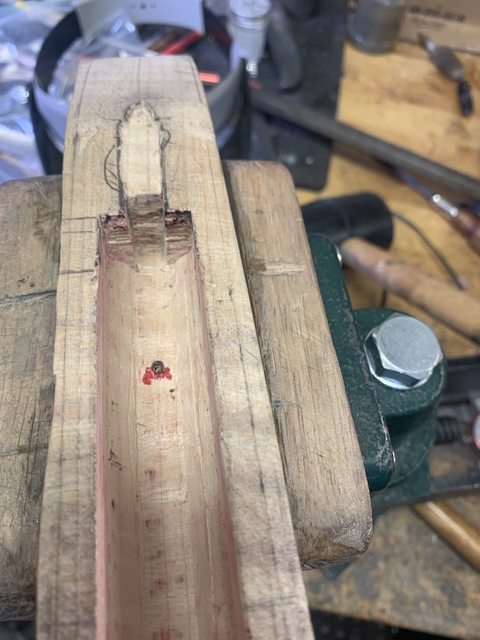
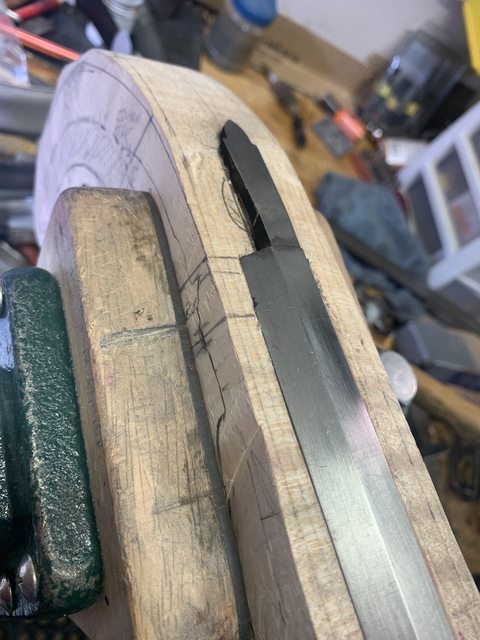
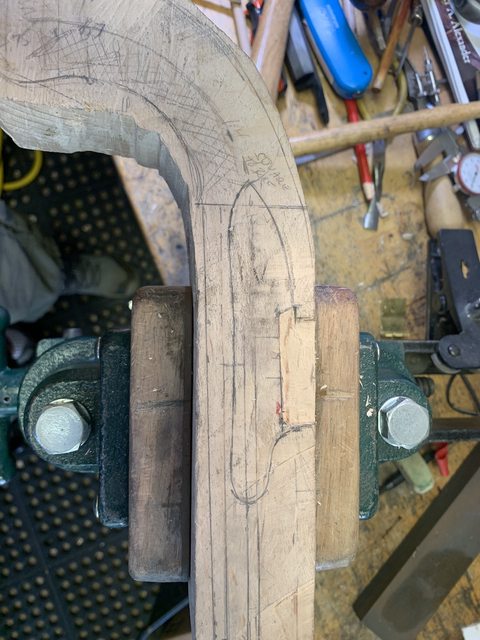
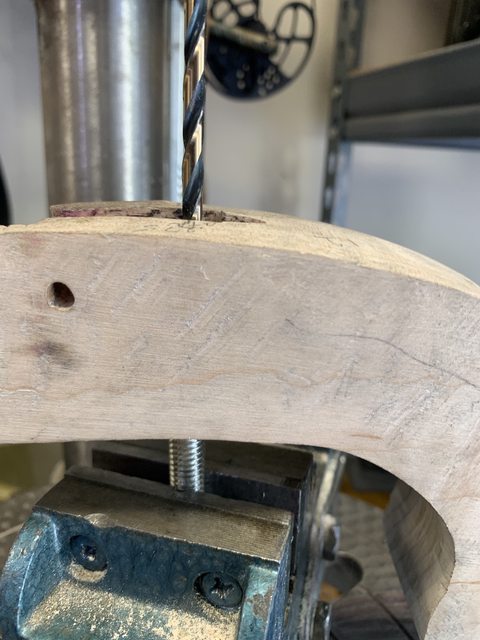
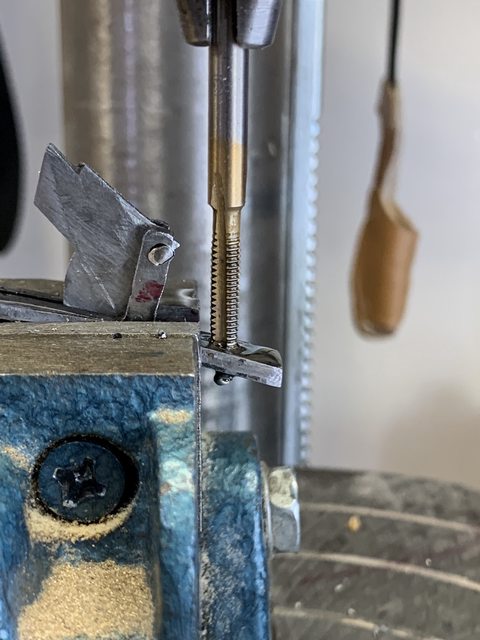
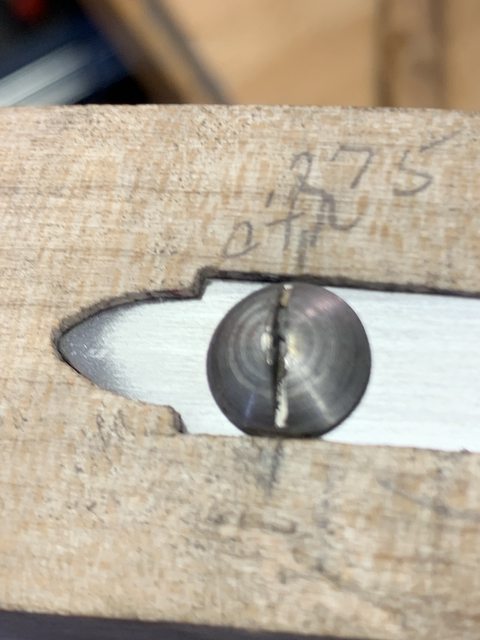
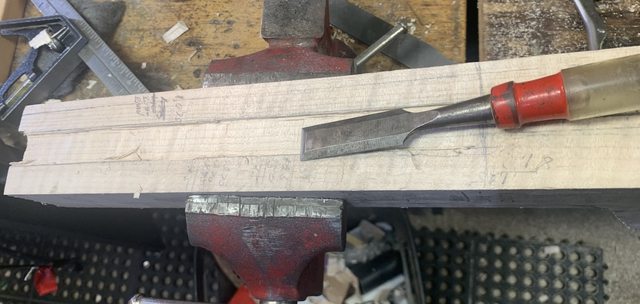
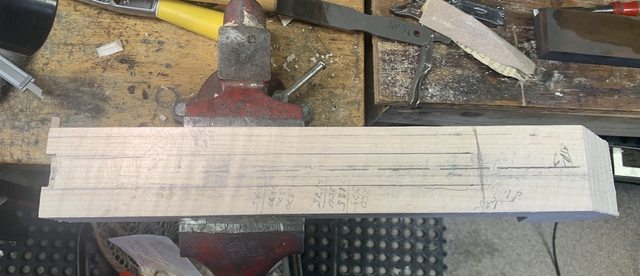
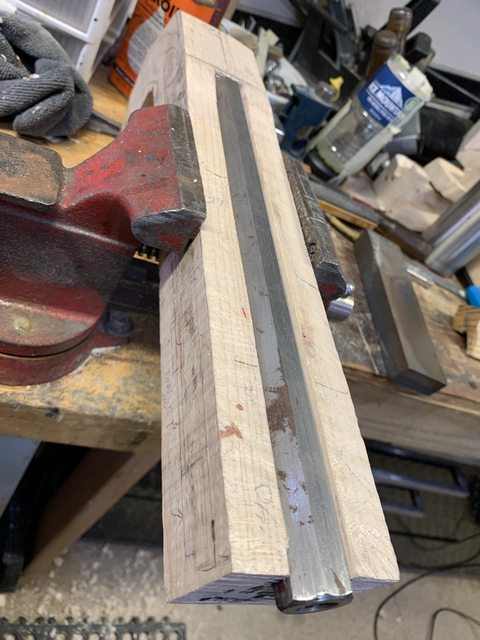
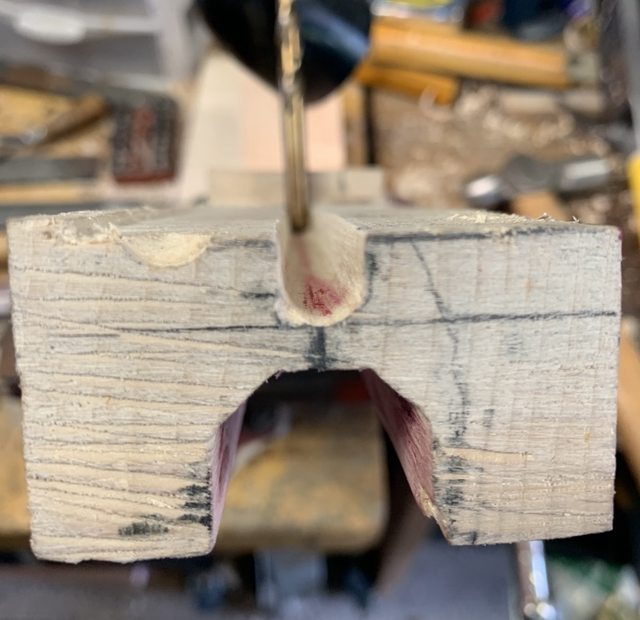
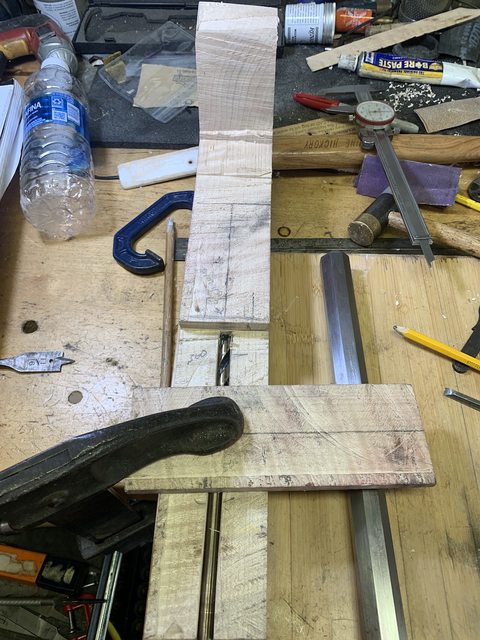
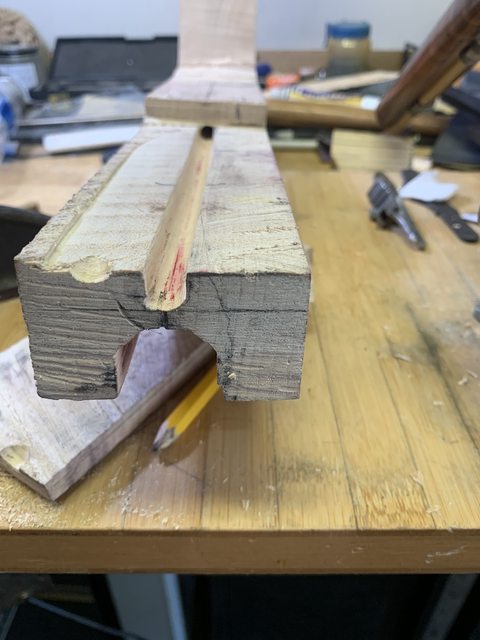
I got the barrel channel cut. Not the tang yet as I need to buy the breech plug, drill and tap the barrel and seat it. Today I received my 12" 5/16" drill bit and finished the ramrod hole. Next is to rough cut the width. Then inlet the tang.....and move on from there!!!

ZXplT3Wl.jpg


hlZbZmTl.jpg
Lg2RfHbl.jpg


WrVkK2Ol.jpg
xNwqqSCl.jpg
vaPhCbel.jpg
LRKLzN3l.jpg
 
Today I decided to make my Trigger Plate (TP) for the pistol. I cut some metal, cut the trigger slot, then silver soldered two lugs that will be the trigger pivot point. I left the lugs high so I could fit it once the lock and TP are inletted.

IsAcPGul.jpg


VqA0FUOl.jpg
dbg8Zg0l.jpg
H2dlx3Ul.jpg
 
I keep "pecking" away at it a little at a time. The breech plug is coming and I have to drill\tap the barrel. Then fit the breech plug for a good fit\seal.

My plan is to make my own RR pipes and butt cap via peening sheet brass.

But.....archery season is fast approaching and I've got a very nice ten point on my cameras. Once that starts everything else is on the back burner.

Then again.....I may be done by Christmas if I get that ten point early. You know....the best laid plans of mice and men.......
 
I am enjoying this build. I am curious why you kept the barrel channel walls so high rather than cutting them lower to nearer the finished height. Seems a lot more work inletting the barrel this way.
Thanks.
You raise a valid point. I'm probably over cautious when "leaving enough meat" on the rough out. It's always easier to take off wood and\or metal than to glue\silver solder it back on.

I likely could have removed another 1/4" of the wood height before starting the barrel channel, but that additional channel "digging" was straight down, and perhaps added another 3 "pass's" with the chisel. Rasping down the remainder is fairly quick.

I'd chalk it up to personal preference more than anything else. 👍
 
Got around to drilling the tang hole, and no matter how many times I do this, I have a proclivity to be off center. This one is .010 off to one side.....or really .005. I can fix it with the counter sink, but that will take some time.

I drilled the tang, then I drilled through to the trigger plate, then drilled the correct size hole in the TP for an 8-32 thread. It all came together well.....except for the fix I will have to do.

sgqVJ6dl.jpg
mZbWeDXl.jpg
YmeDJHtl.jpg

G3hc9VUl.jpg
BK53Ruyl.jpg

AIh6yH8l.jpg

e6MzTTal.jpg
 
what is the distance from the trigger plate to the sear bar? I just noticed how high the trigger pivot looks.
From the bottom of the TP to touching the sear bar, the distance is .560. If you've looked at my pics of the TP, I silver soldered the forks for the pivot pin. Those "forks" have been filed down since I located where I wanted the pivot point to be. BTW, the pivot point is in line with the sear bar and a little less than .250" away.
 

Latest posts

Back
Top