Welp....always some setbacks. At times they can be small setbacks, and at times not so small. I'd say this one was between small and the middle.
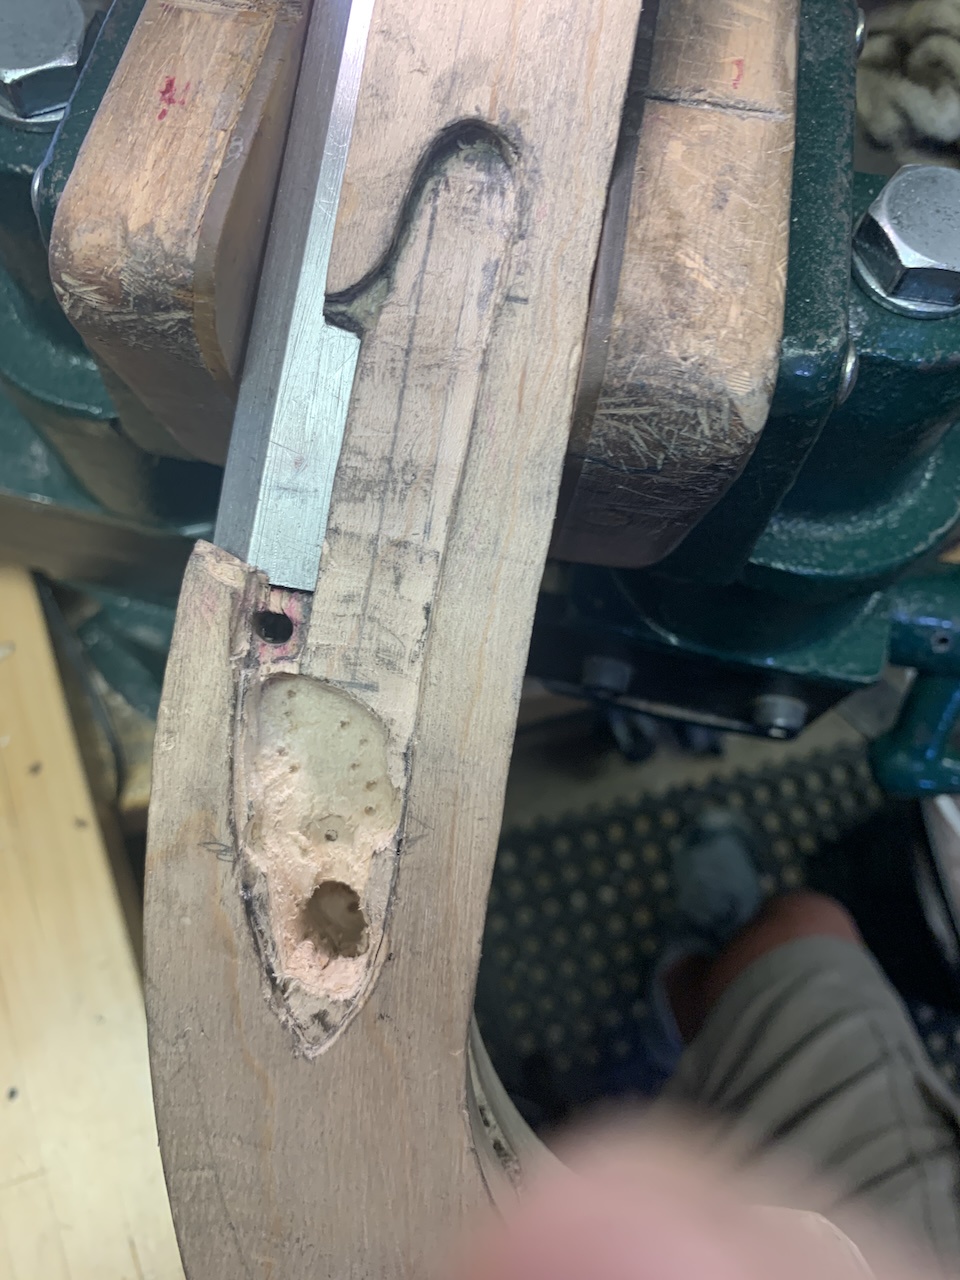
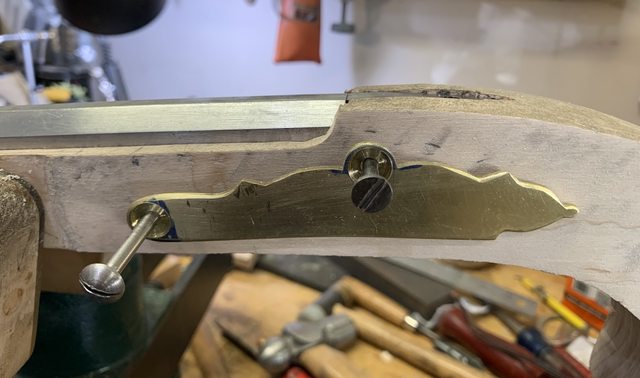
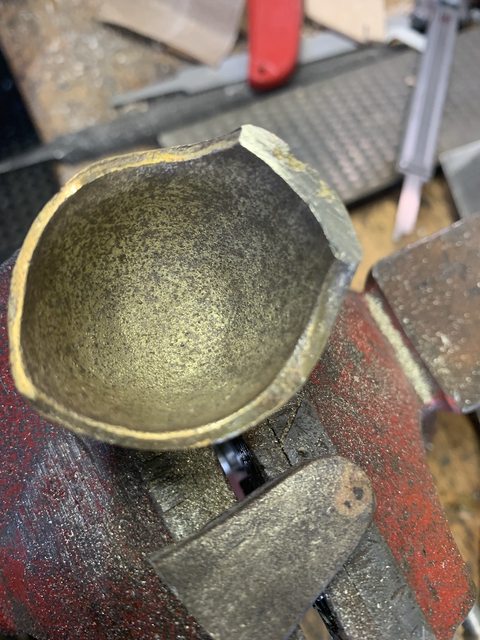
I'm installing a buttcap on this pistol and the one I have is cast. I was planning on "beating" one out of sheet brass, but this one came along on a great deal.
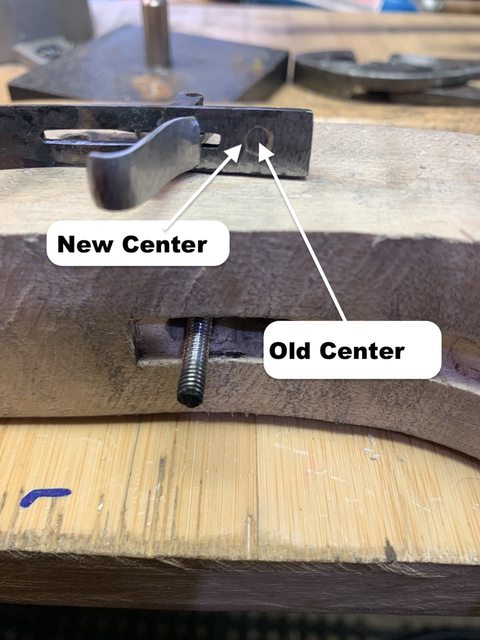
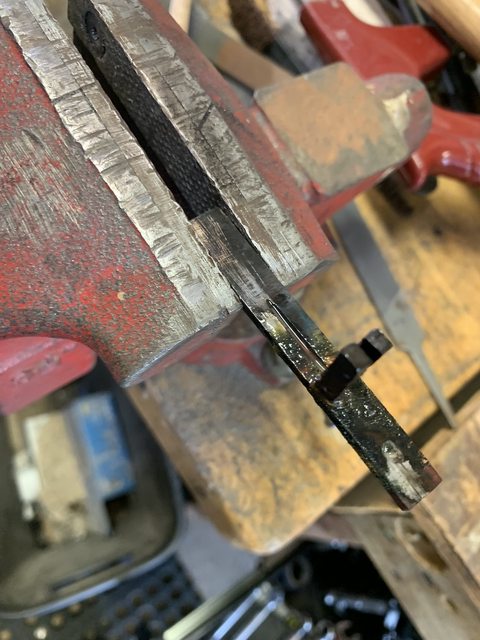
I needed the tang of the cap to bend towards the middle just a bit more to get the profile I wanted. I annealed it. And didn't hit it hard, but on the second hit (again, not hard) SNAP!!
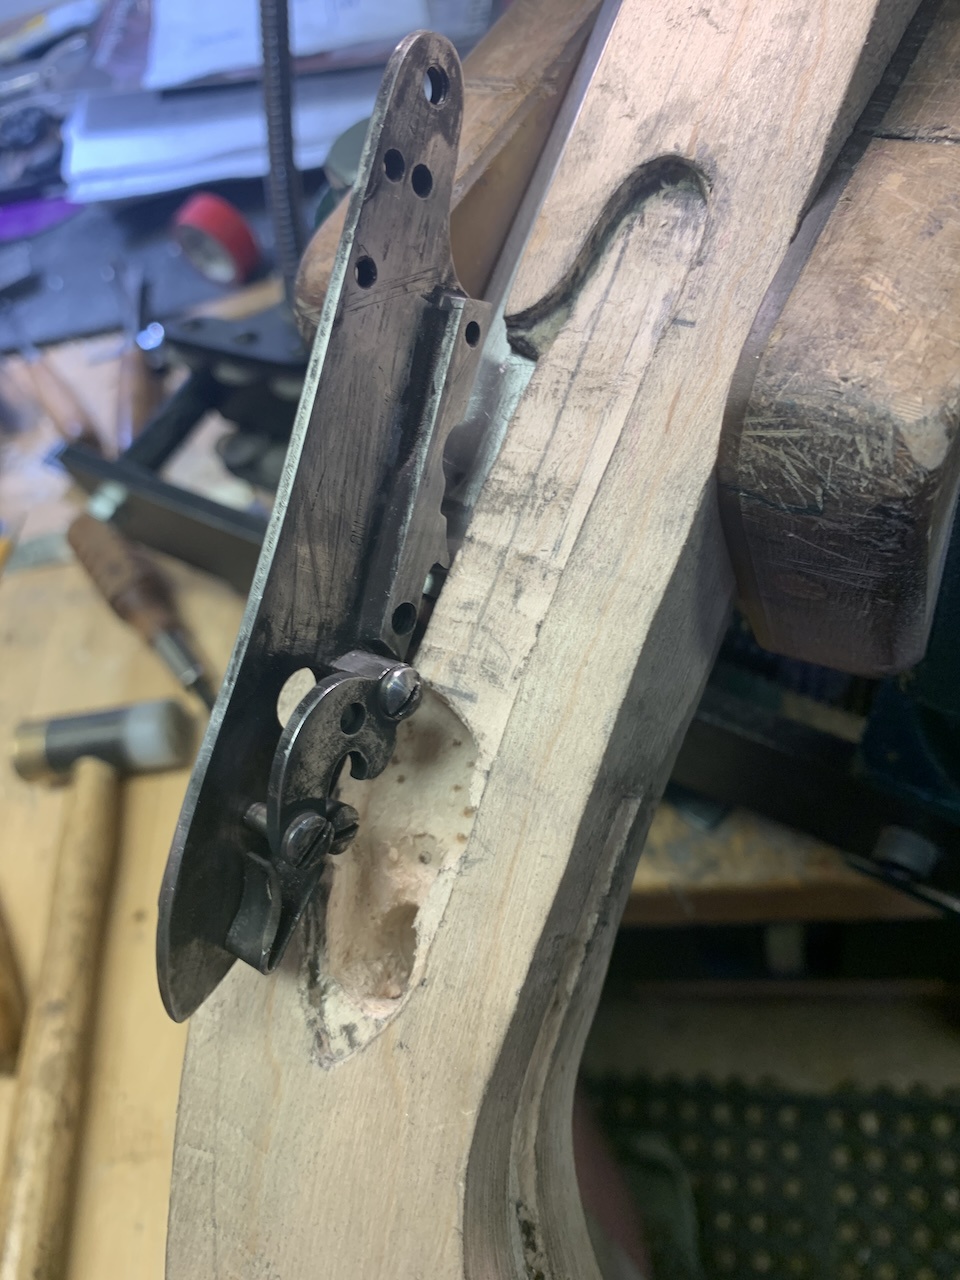
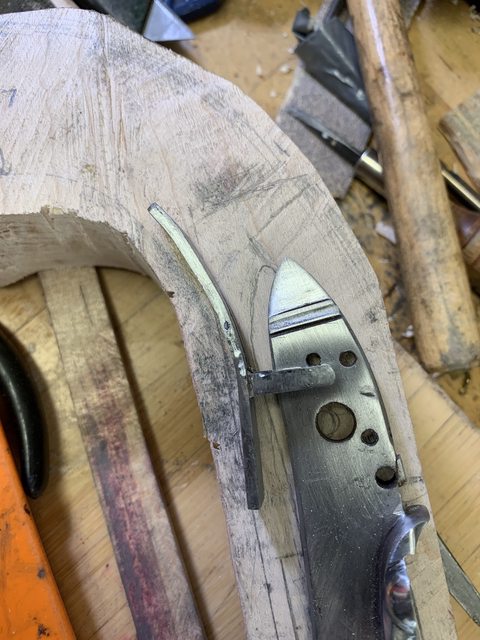
I just needed a little bit more of the tab closer to the center in order to match the contour of the grip. I want the buttcap to tilt slightly up from the rear. I didn't need much movement of the tab.....but I certainly got more than I wanted!
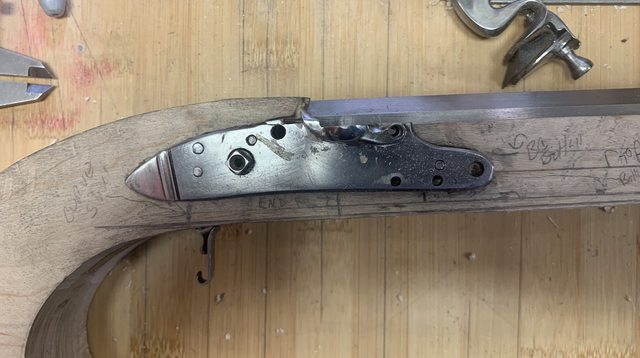
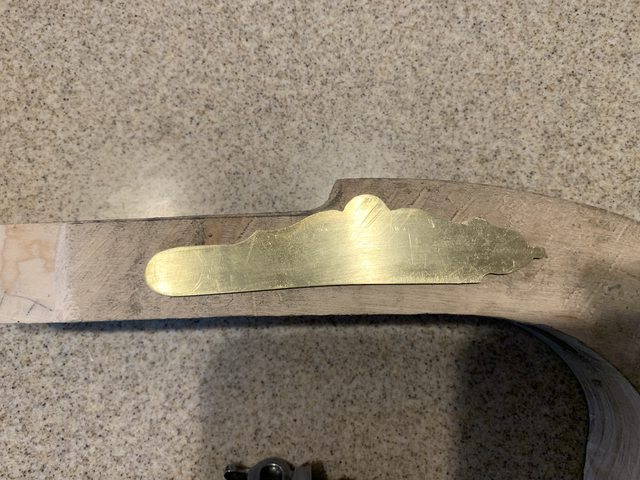
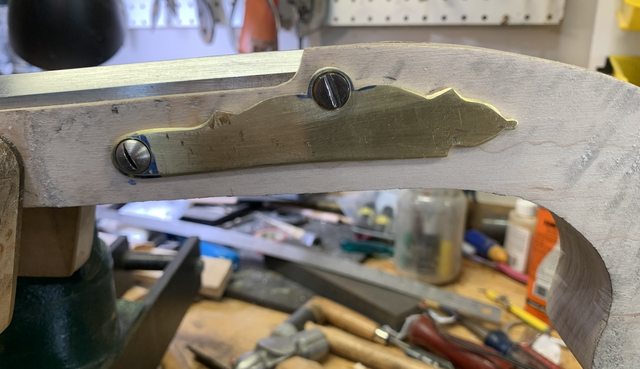
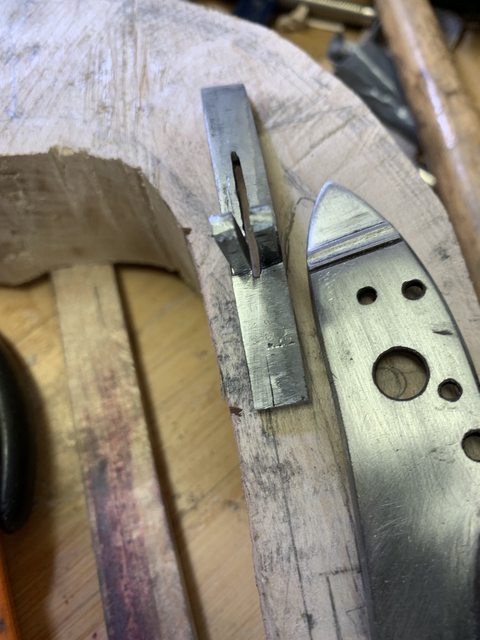
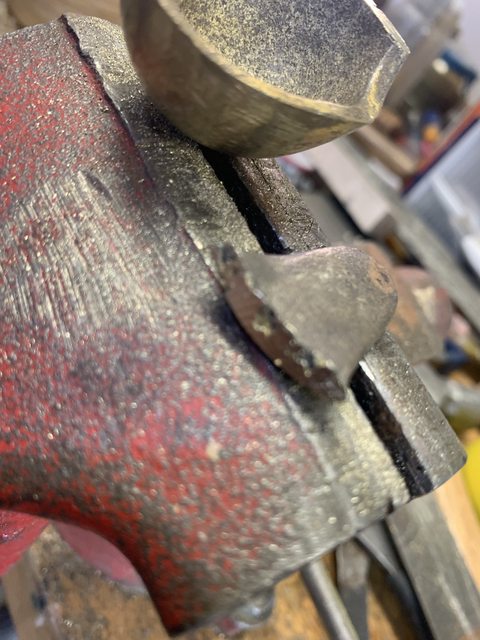
I'm going to blame it on casting voids. (What? My fault?) Maybe you can tell from the pics....but these pics I already began to file the break. I think I can get the angle right silver soldering it back together. I need to square up the break...that will lose maybe 150-thousands on the length, but that's not much.
I thought I'd file a small bevel on each broken piece, fill it with SS, as I will attempt to make it look like that silver solder joint look like that silver line is suppose to be there.
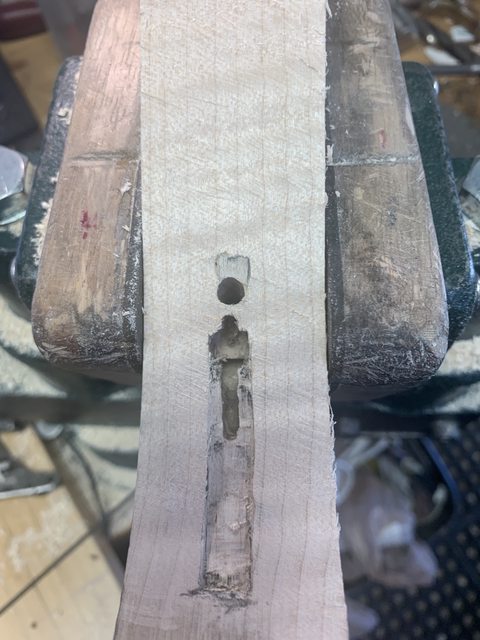
This may work out OK.....this may end up being one in the trash and a learning curve.